The post Barnboard Quilt Photo Contest appeared first on WoodWorkers Guild of America.
from Blog – WoodWorkers Guild of America https://ift.tt/2EESZmo
The post Barnboard Quilt Photo Contest appeared first on WoodWorkers Guild of America.
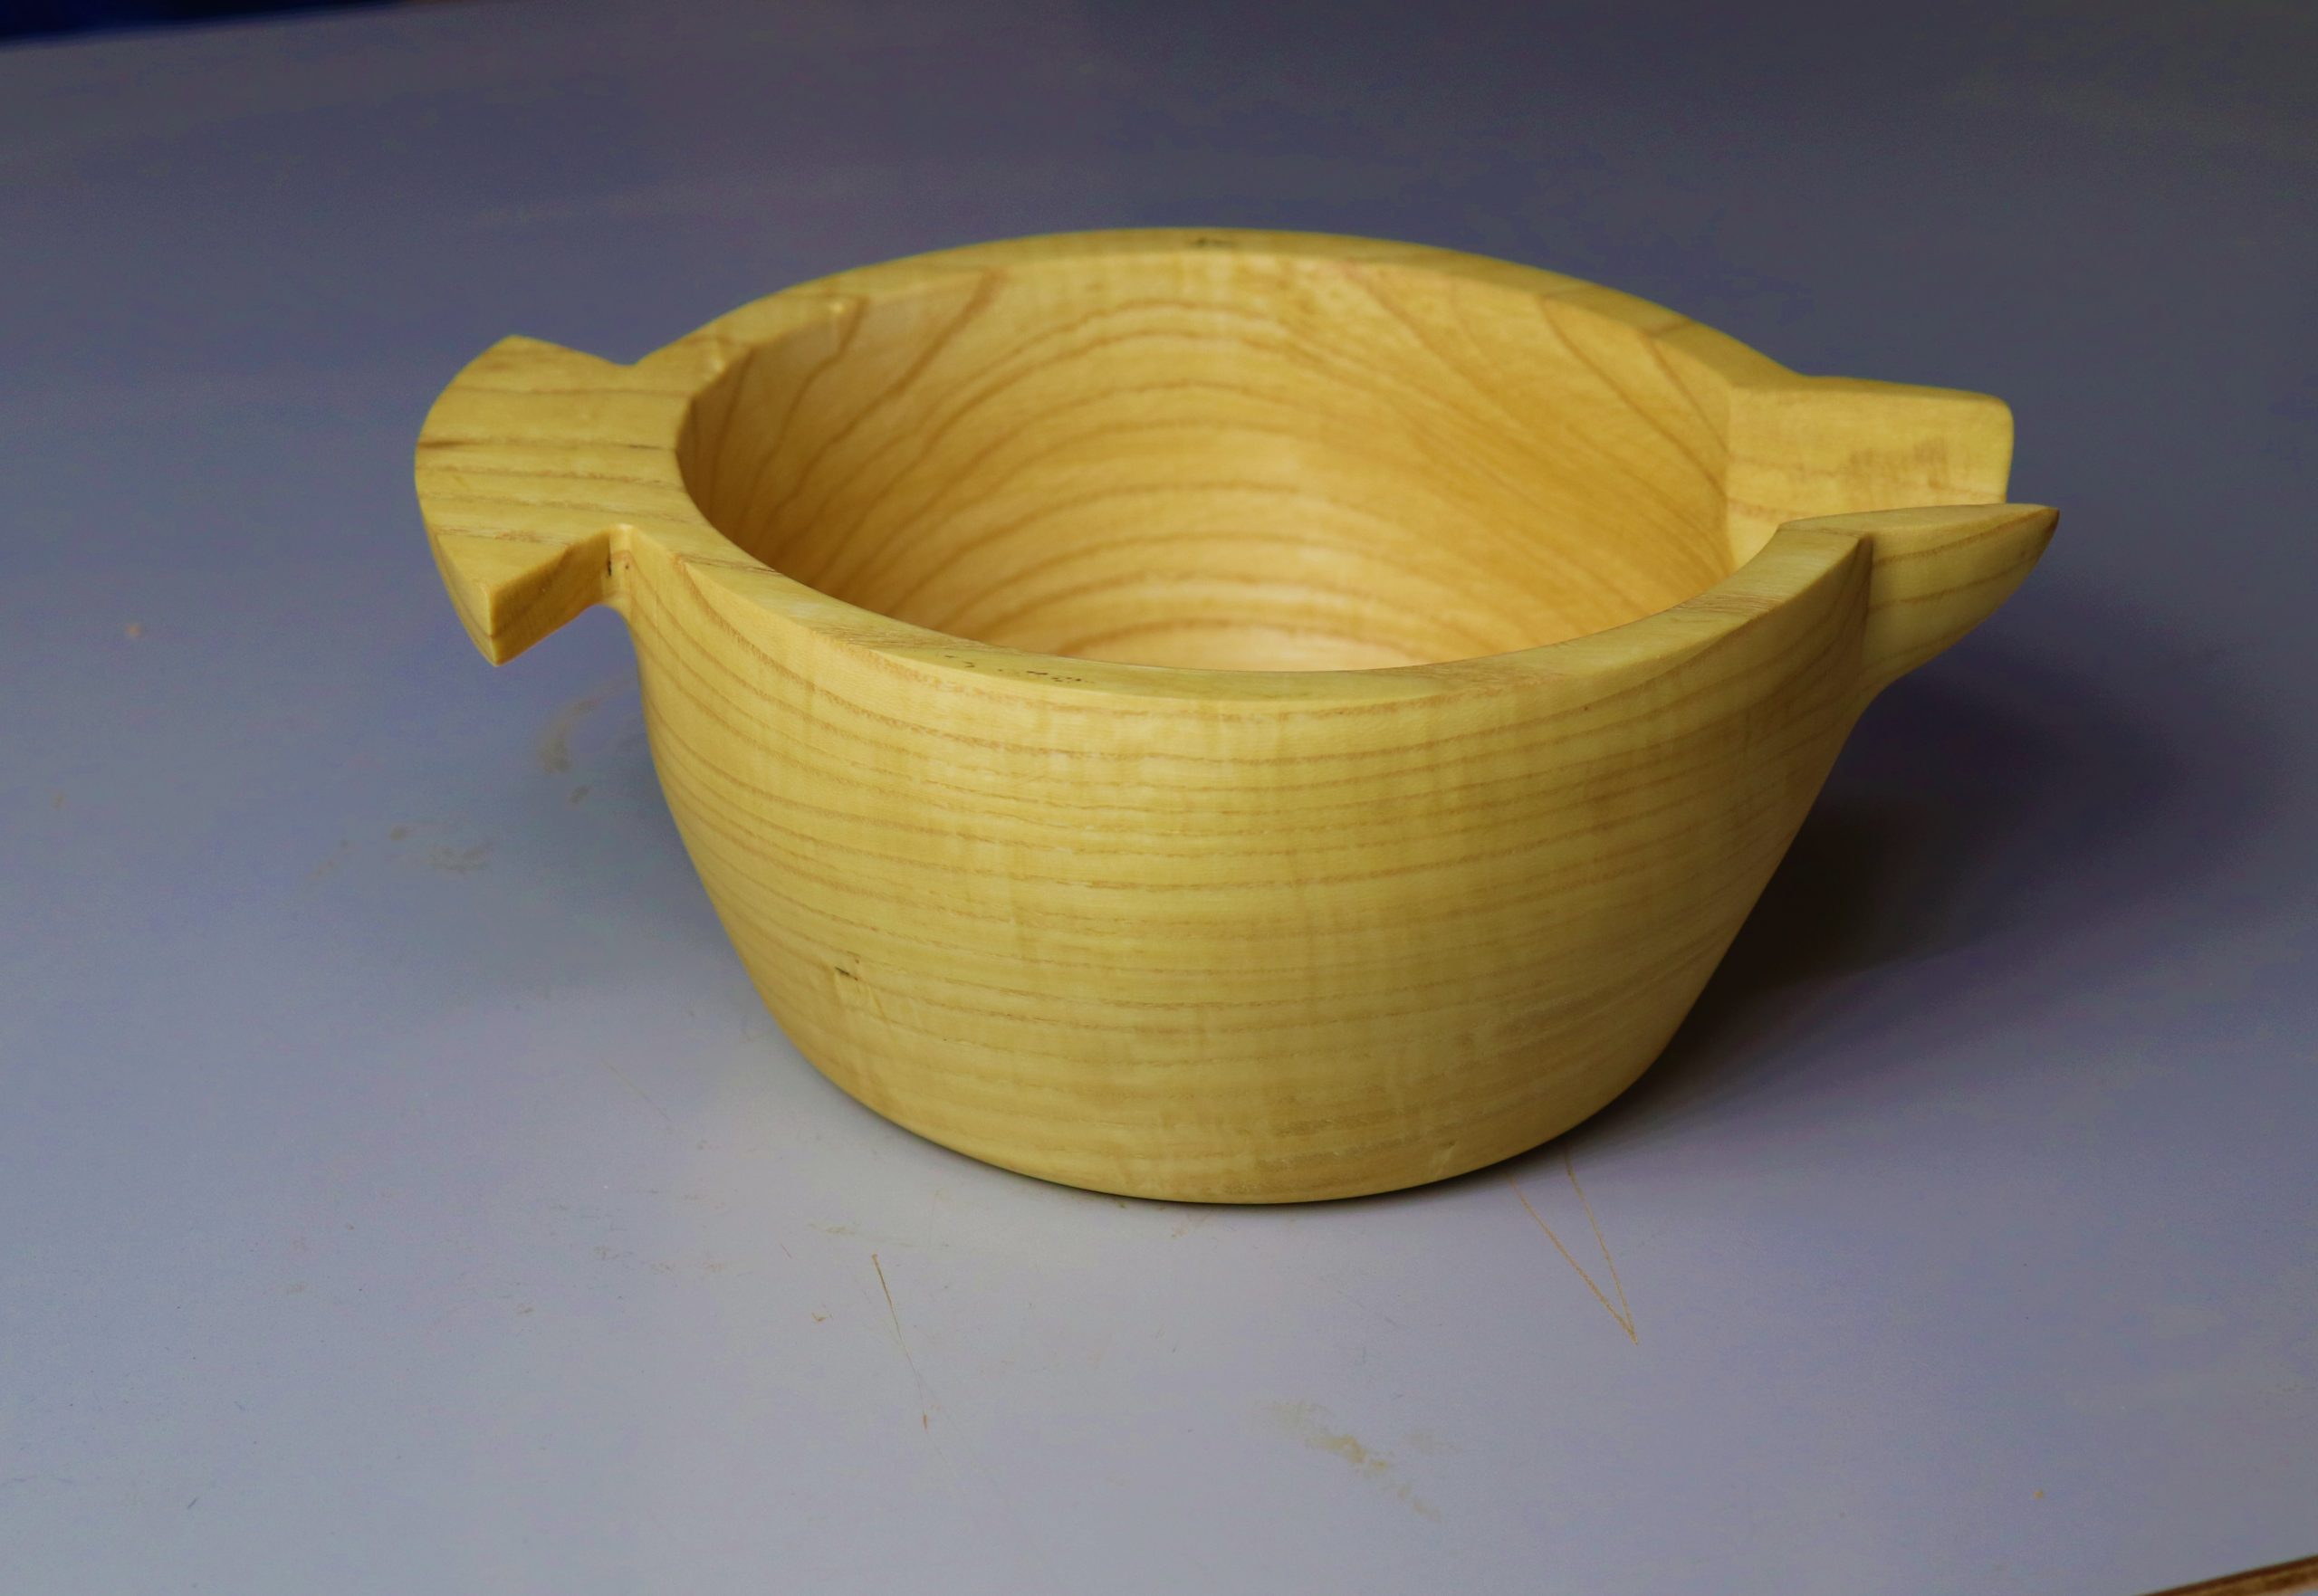
Creating a beautiful bowl with a spout and a handle is easier than you might think, and woodturners will wonder how you could turn a bowl with protruding adornments around the rim. This project requires a small amount of carving, but don’t let that scare you off. Even the most novice carver will find the carving aspects of this project accessible with a little care and patience.
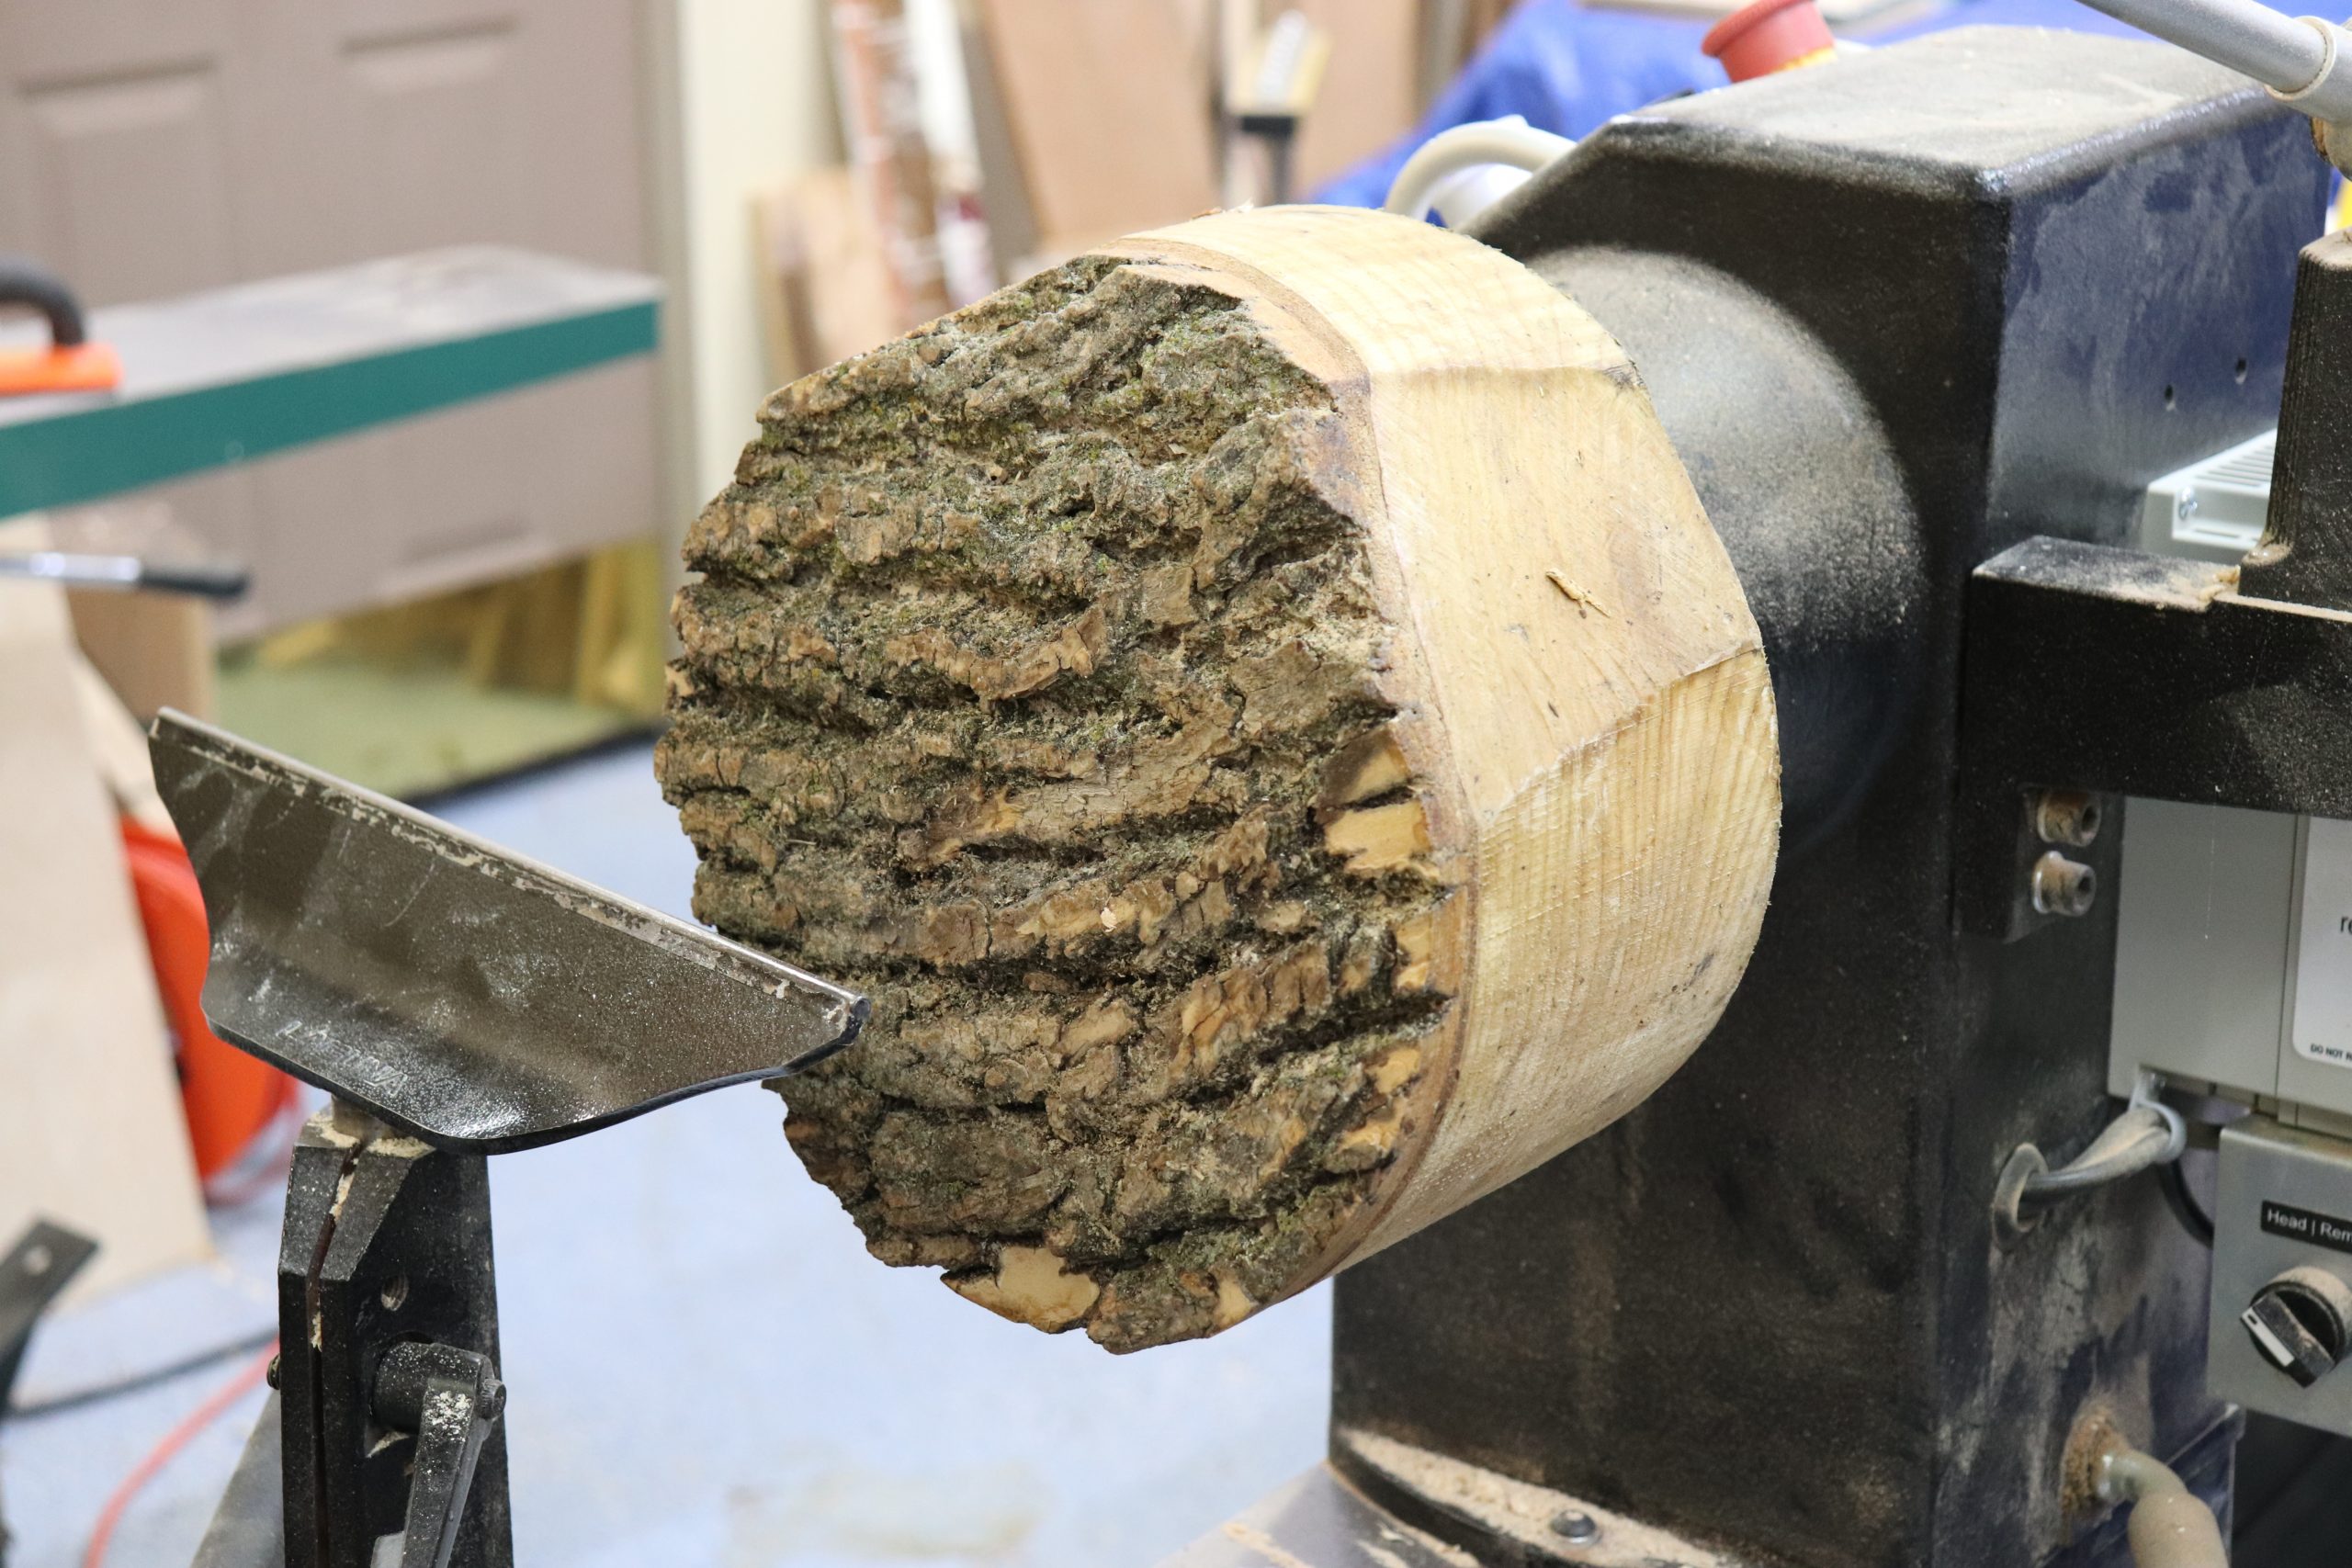
The work starts at the lathe, with a bowl blank of whatever size you choose mounted using a faceplate. This one started as a 10” x 4” chunk of ash, but this article aims to teach a technique that can be used on any size bowl blank rather than to strictly focus on the dimensions of this piece.
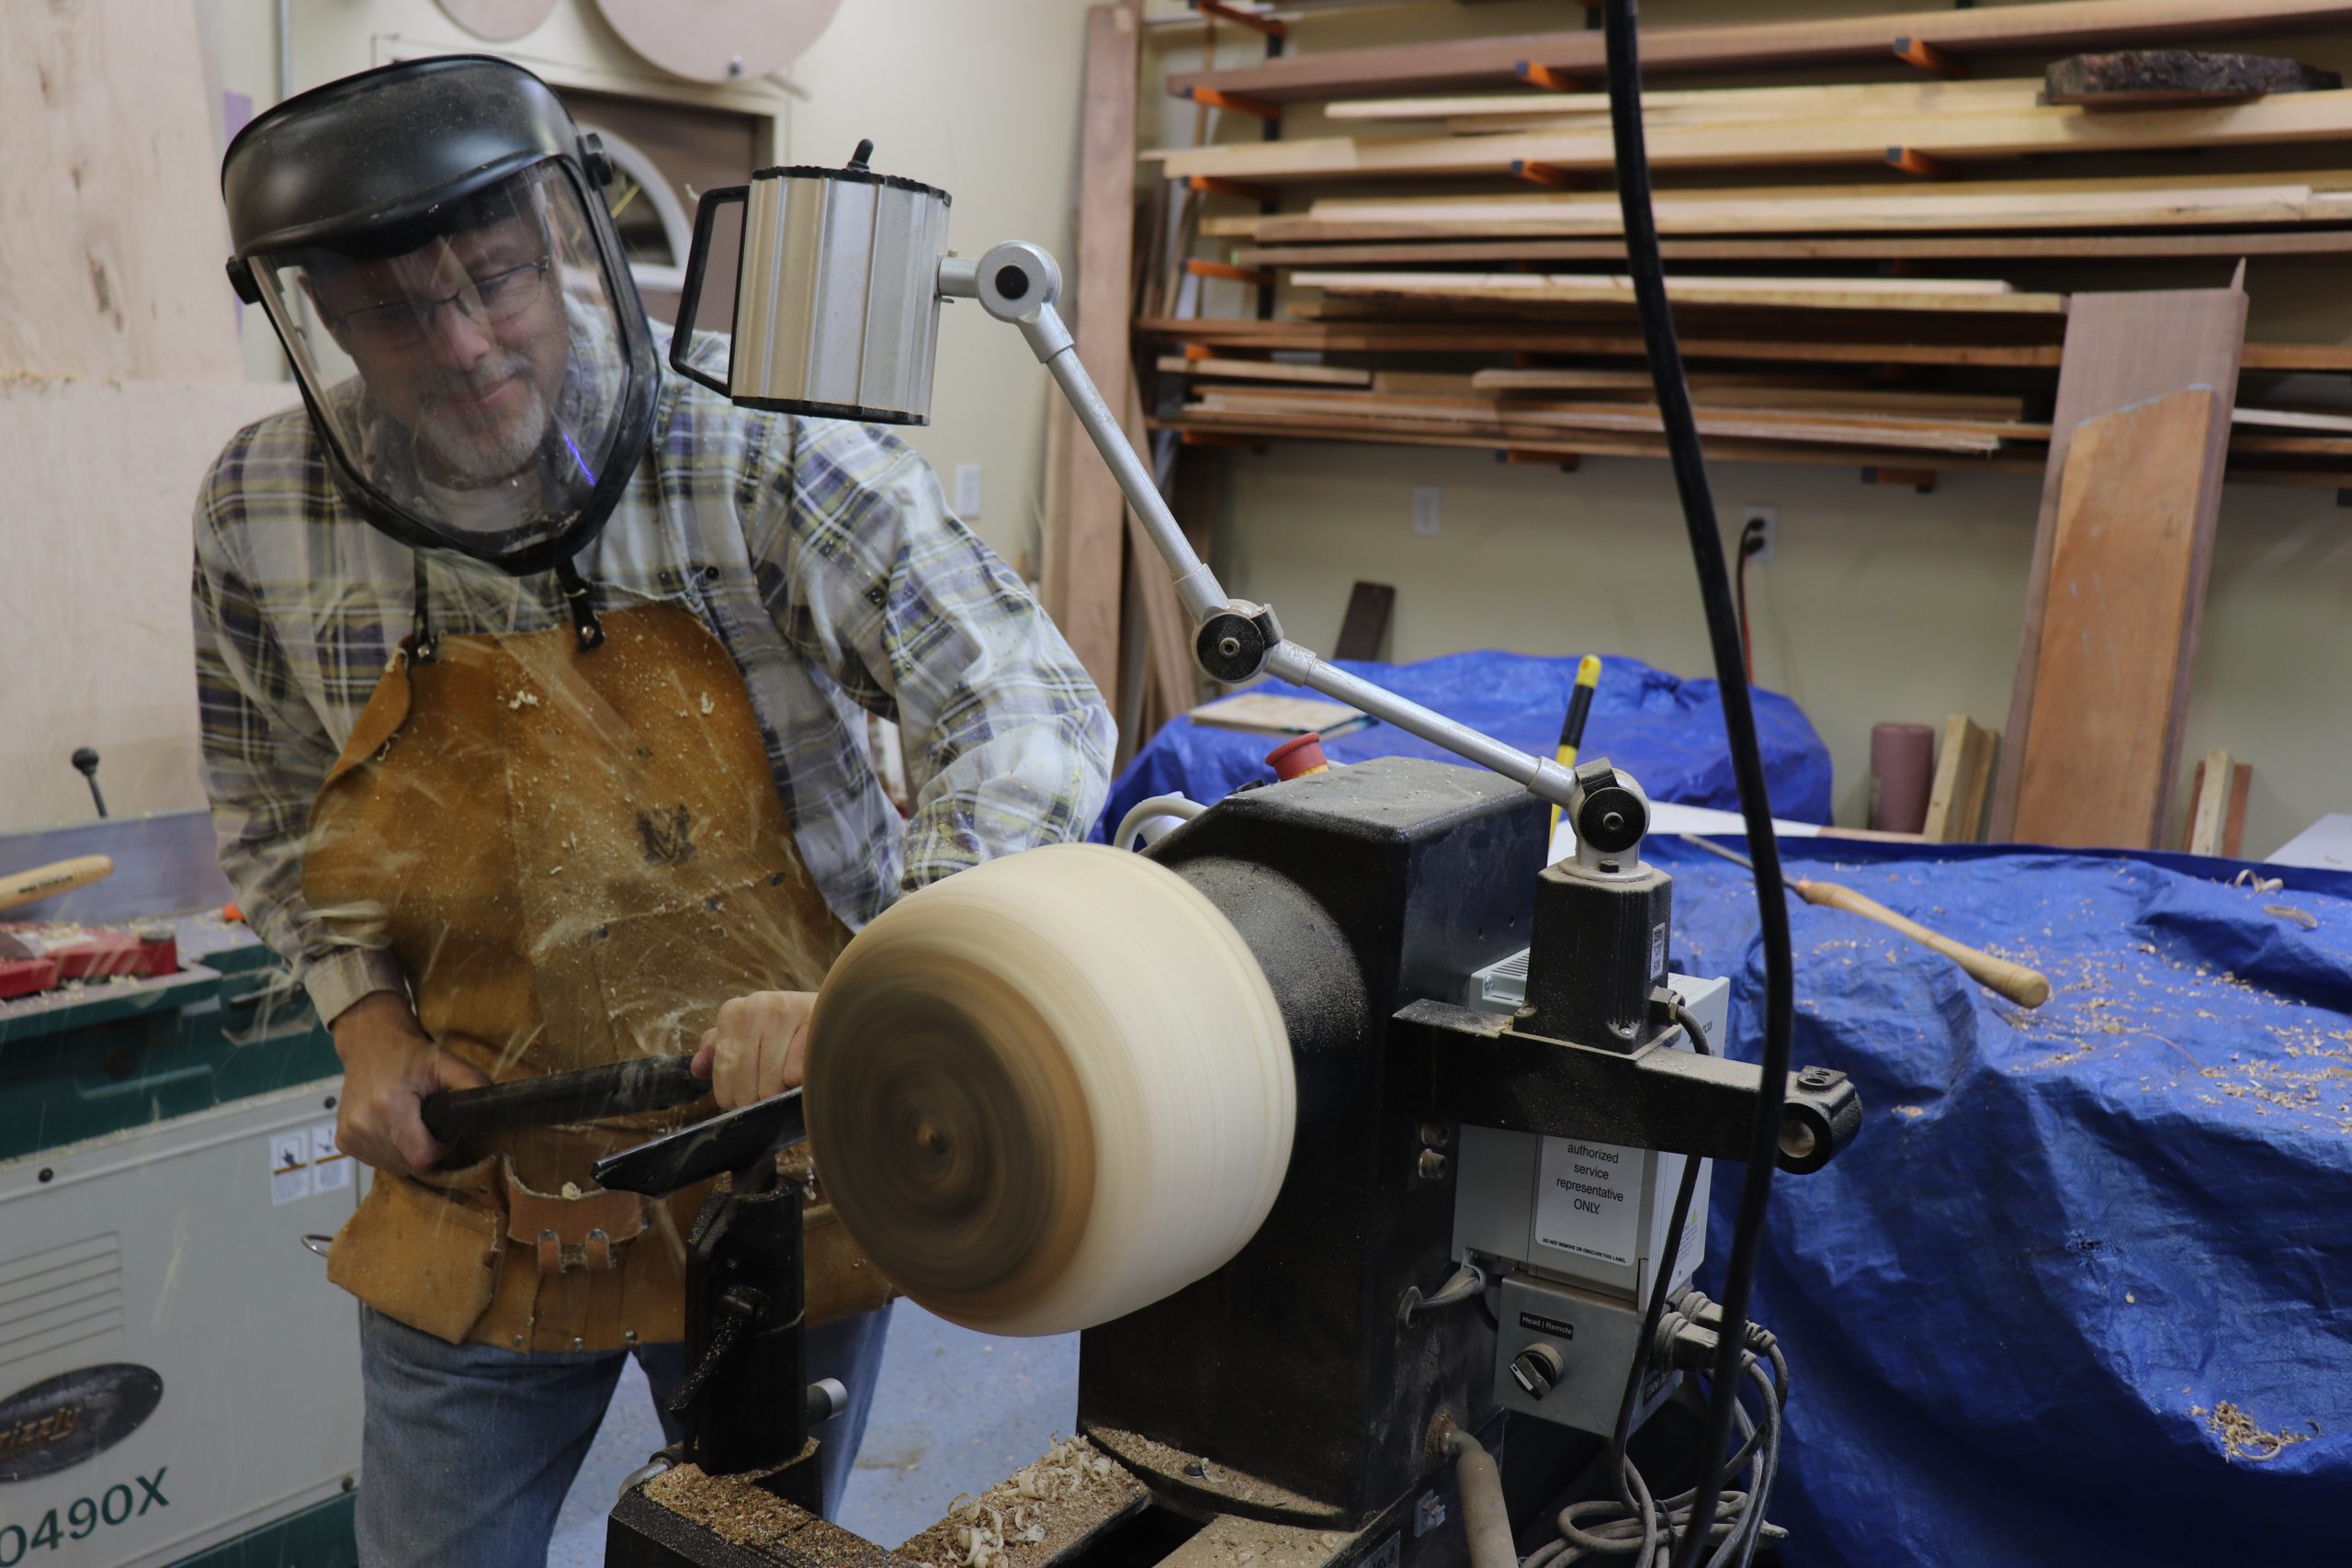
Begin by turning the blank round, as with any bowl turning project.
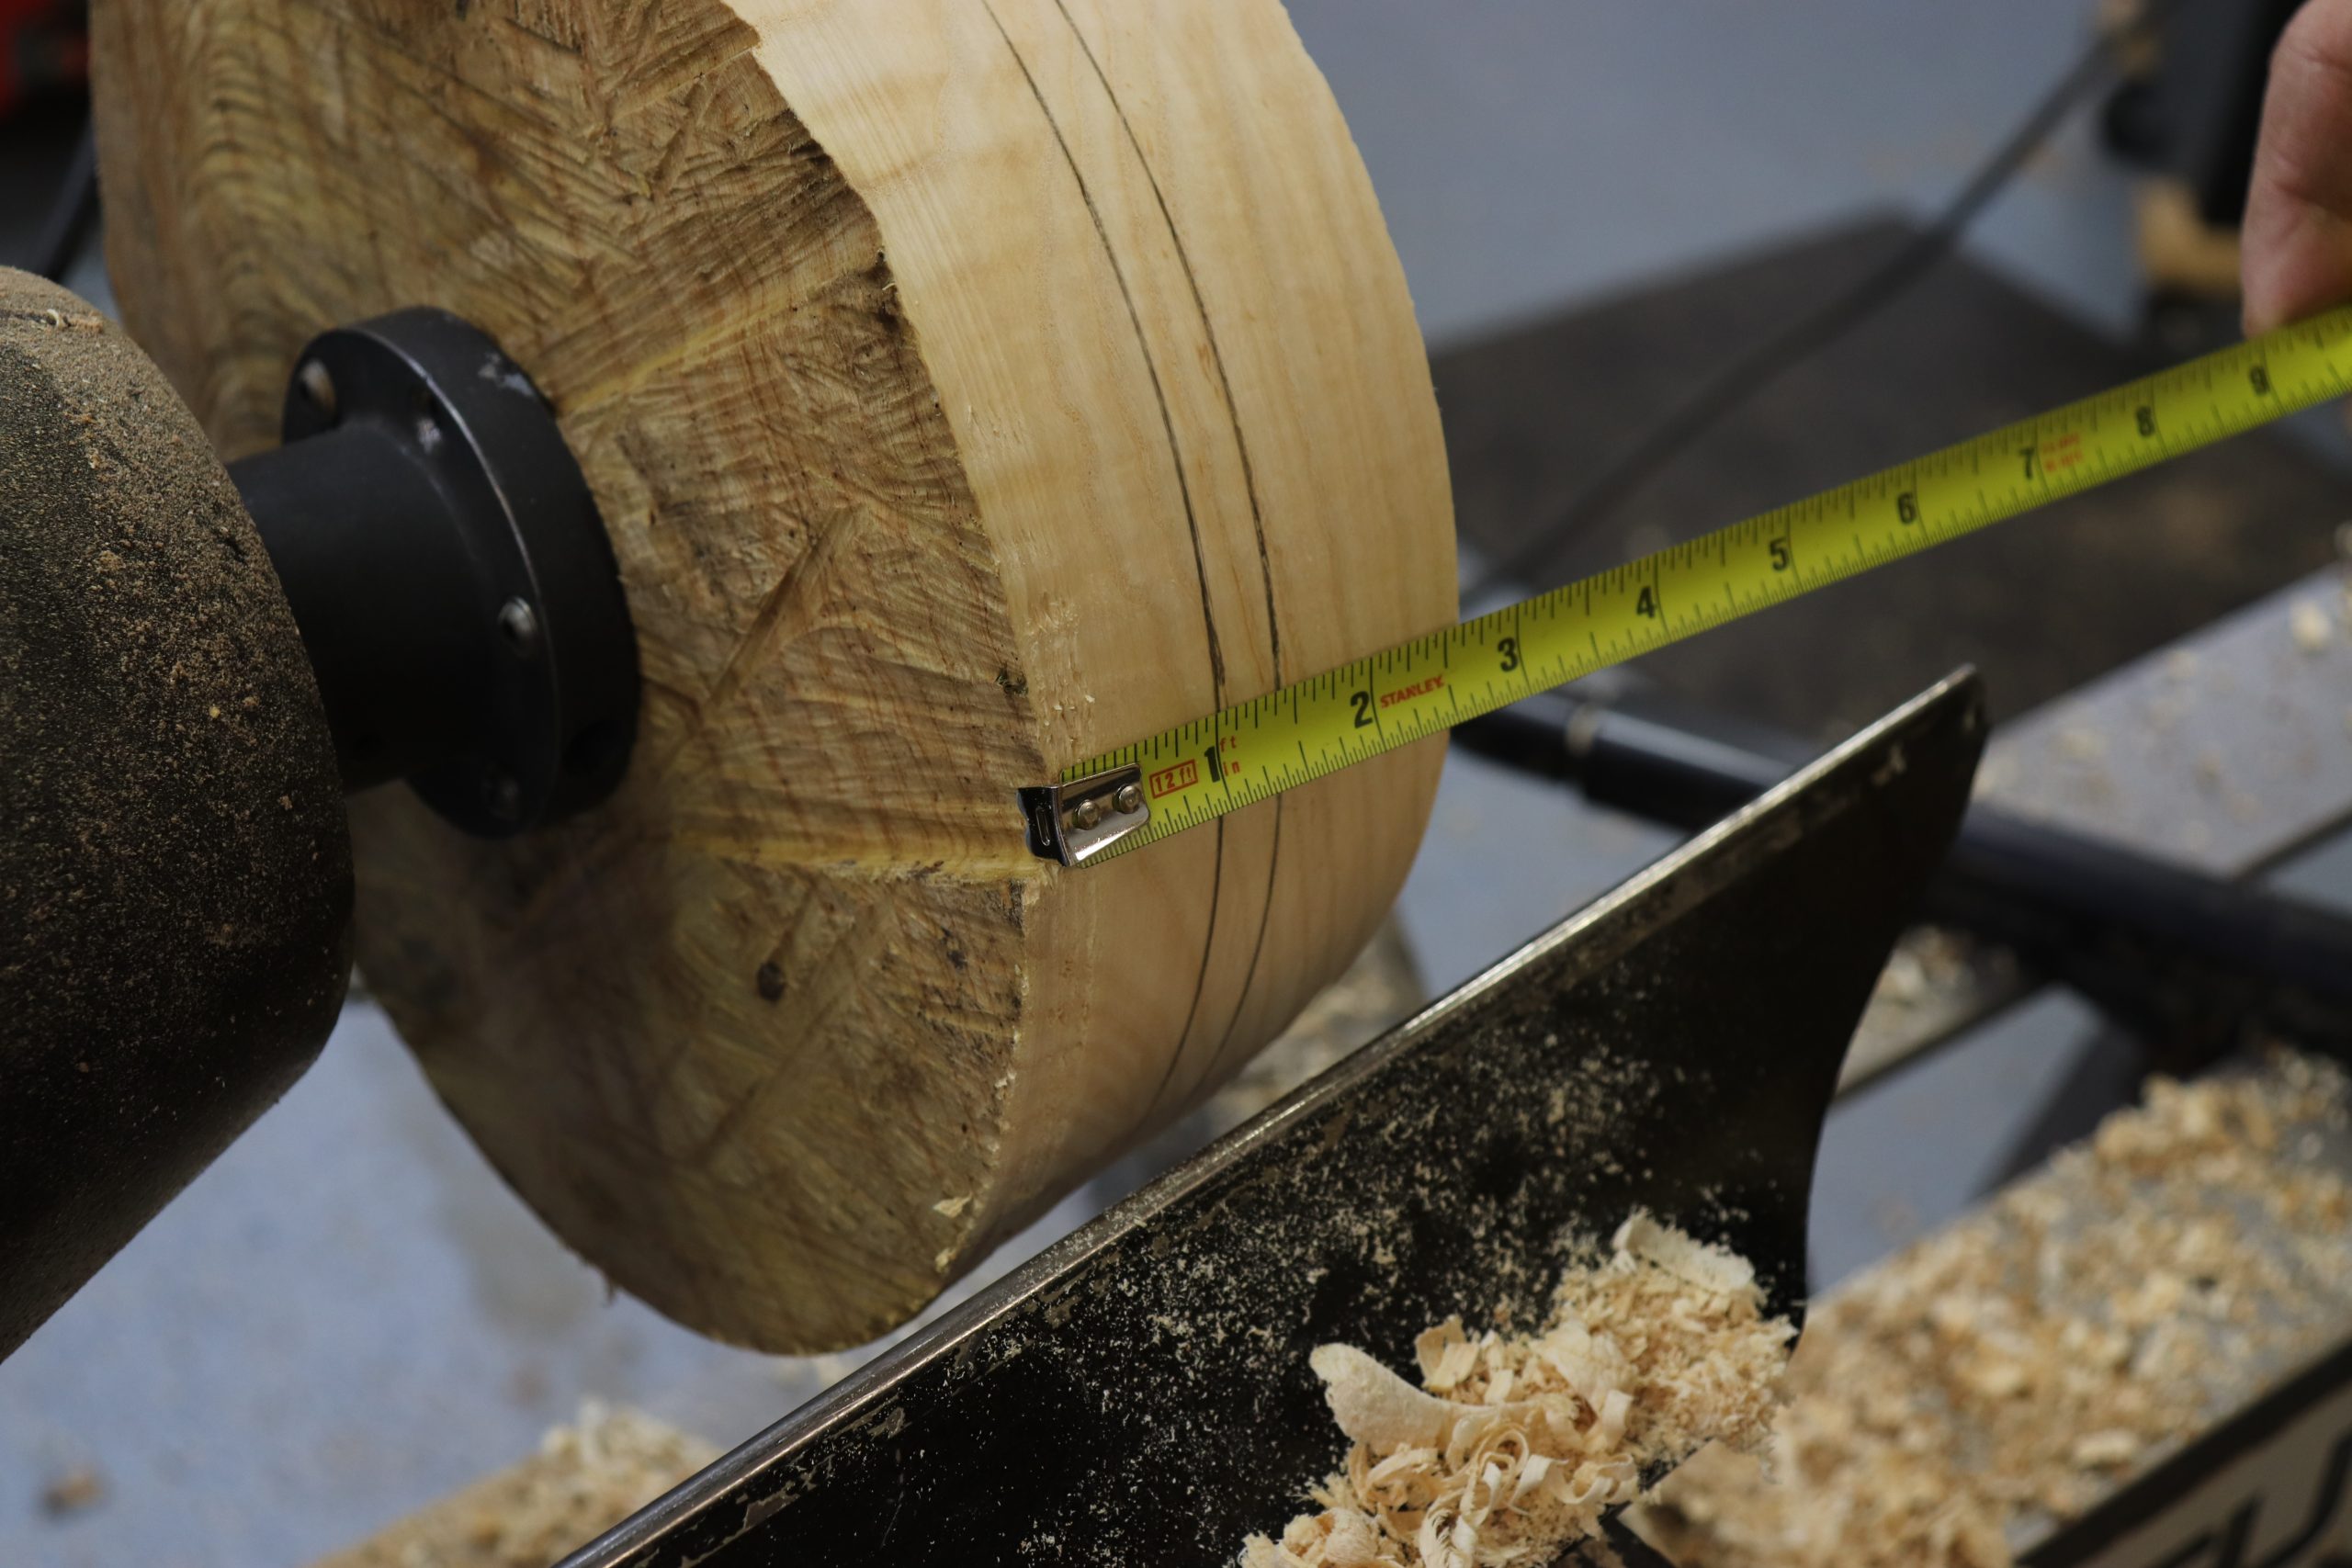
After the blank is round, mark two lines around the perimeter, one at 1” from the lowest point of the bowl’s top, and the next one 3/8” down from the first line.
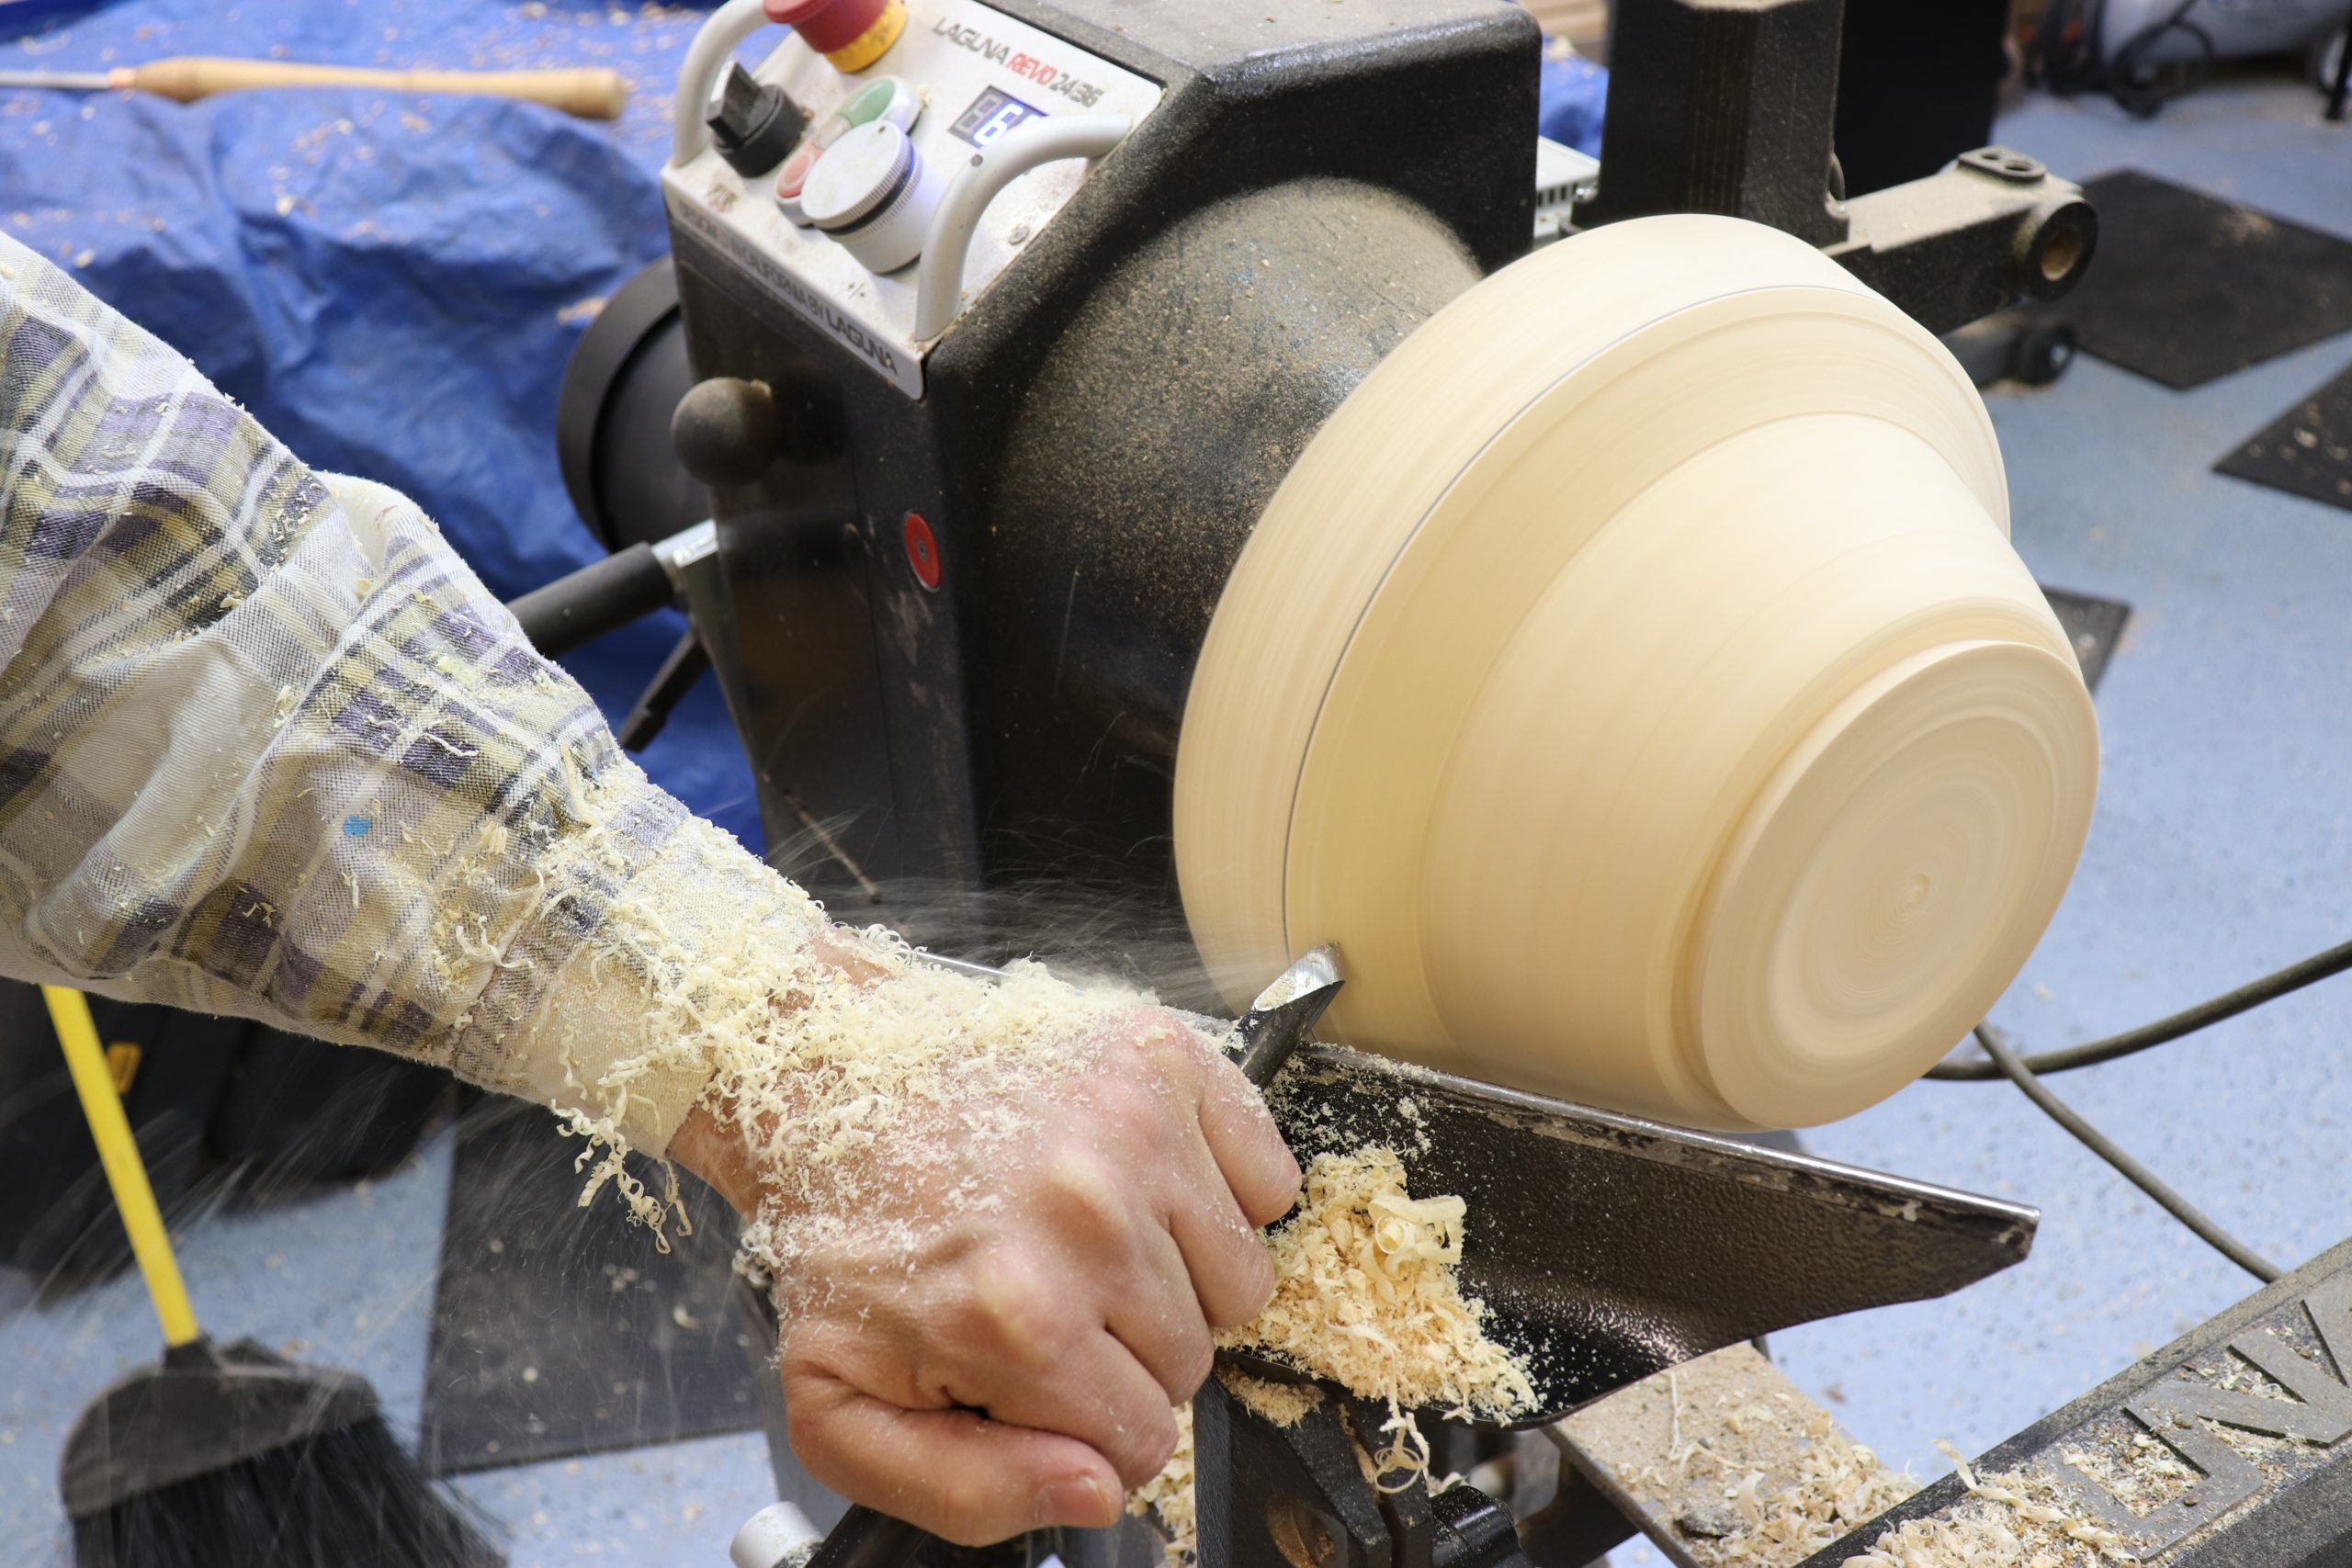
Using a bowl gouge, cut to the lower line, removing a 1” depth of material. Then taper from the upper line to the lower line as pictured. Turn a tenon onto the bottom of the bowl to be mounted in a four-jaw chuck.
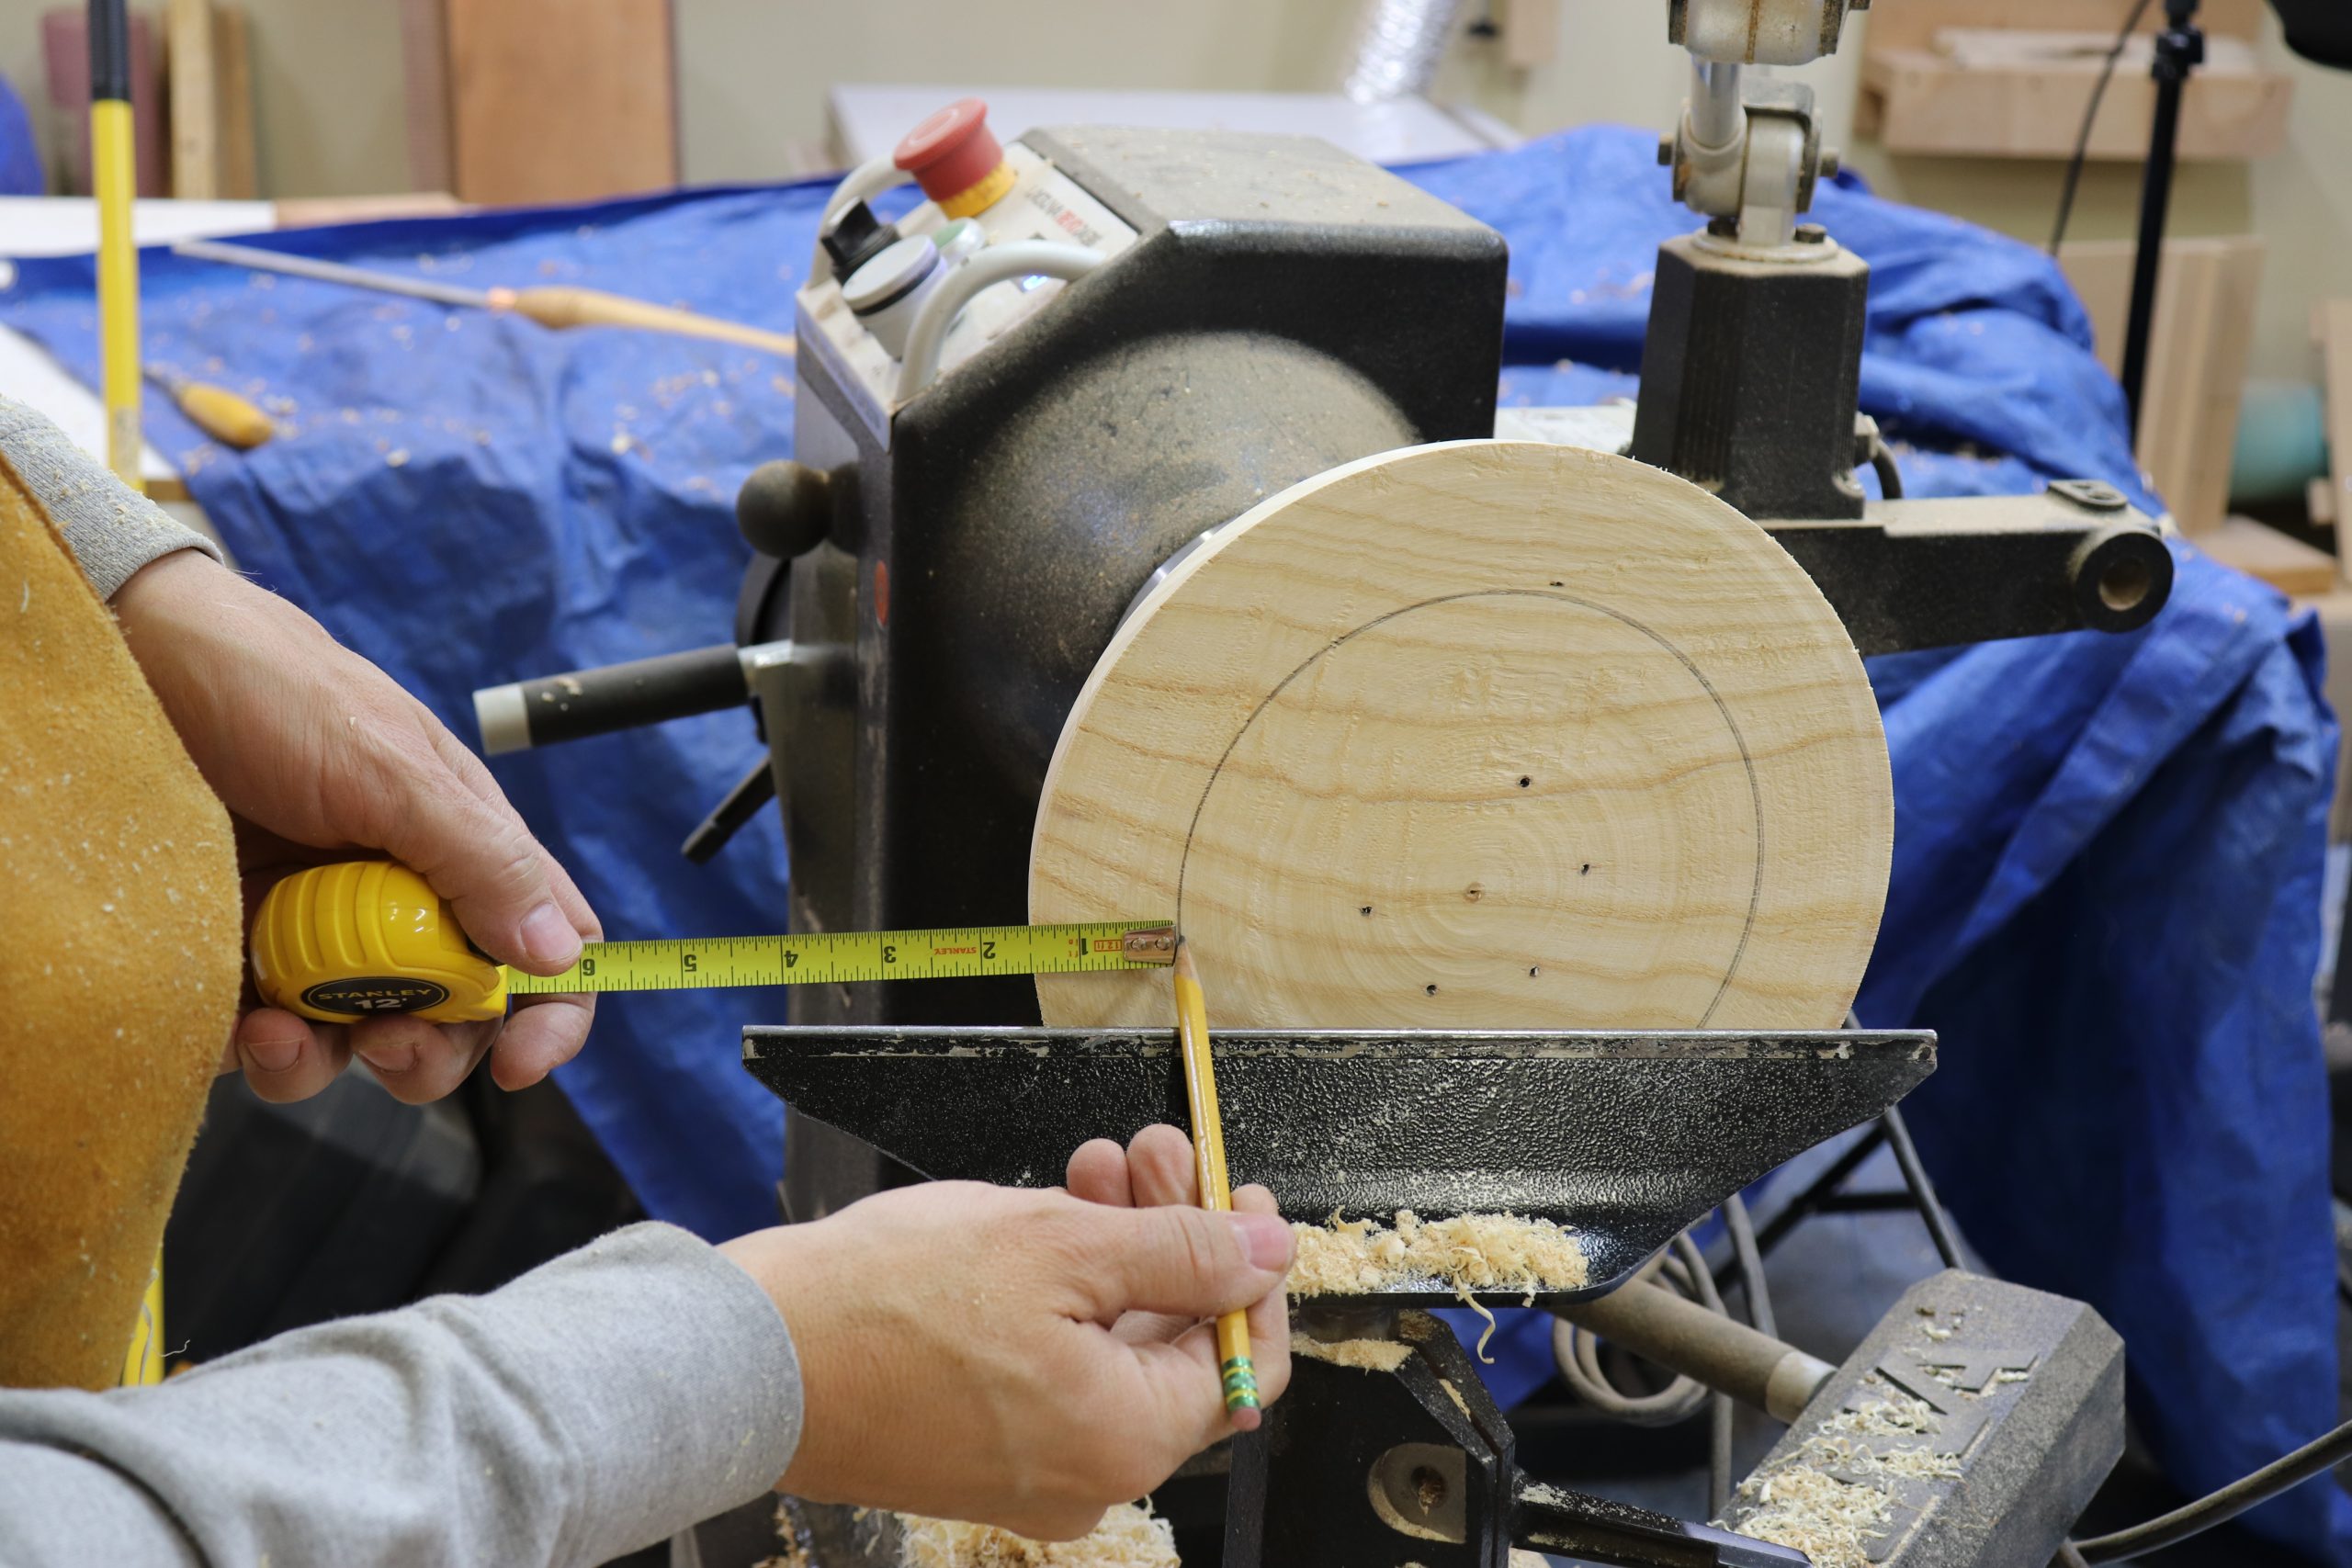
Flip the bowl around and mount the tenon into a four-jaw chuck. Mark a line 1-1/2” from the outer rim. It’s critical that you remember to not base the inner wall line near the outer perimeter at the top of the bowl, because most of this material will be removed later.
For now, it will look like a bowl with a very thick rim. The 1-1/2” rim thickness represents 1” of the perimeter that will be used for the handle and spout and ½” of actual finished wall thickness.
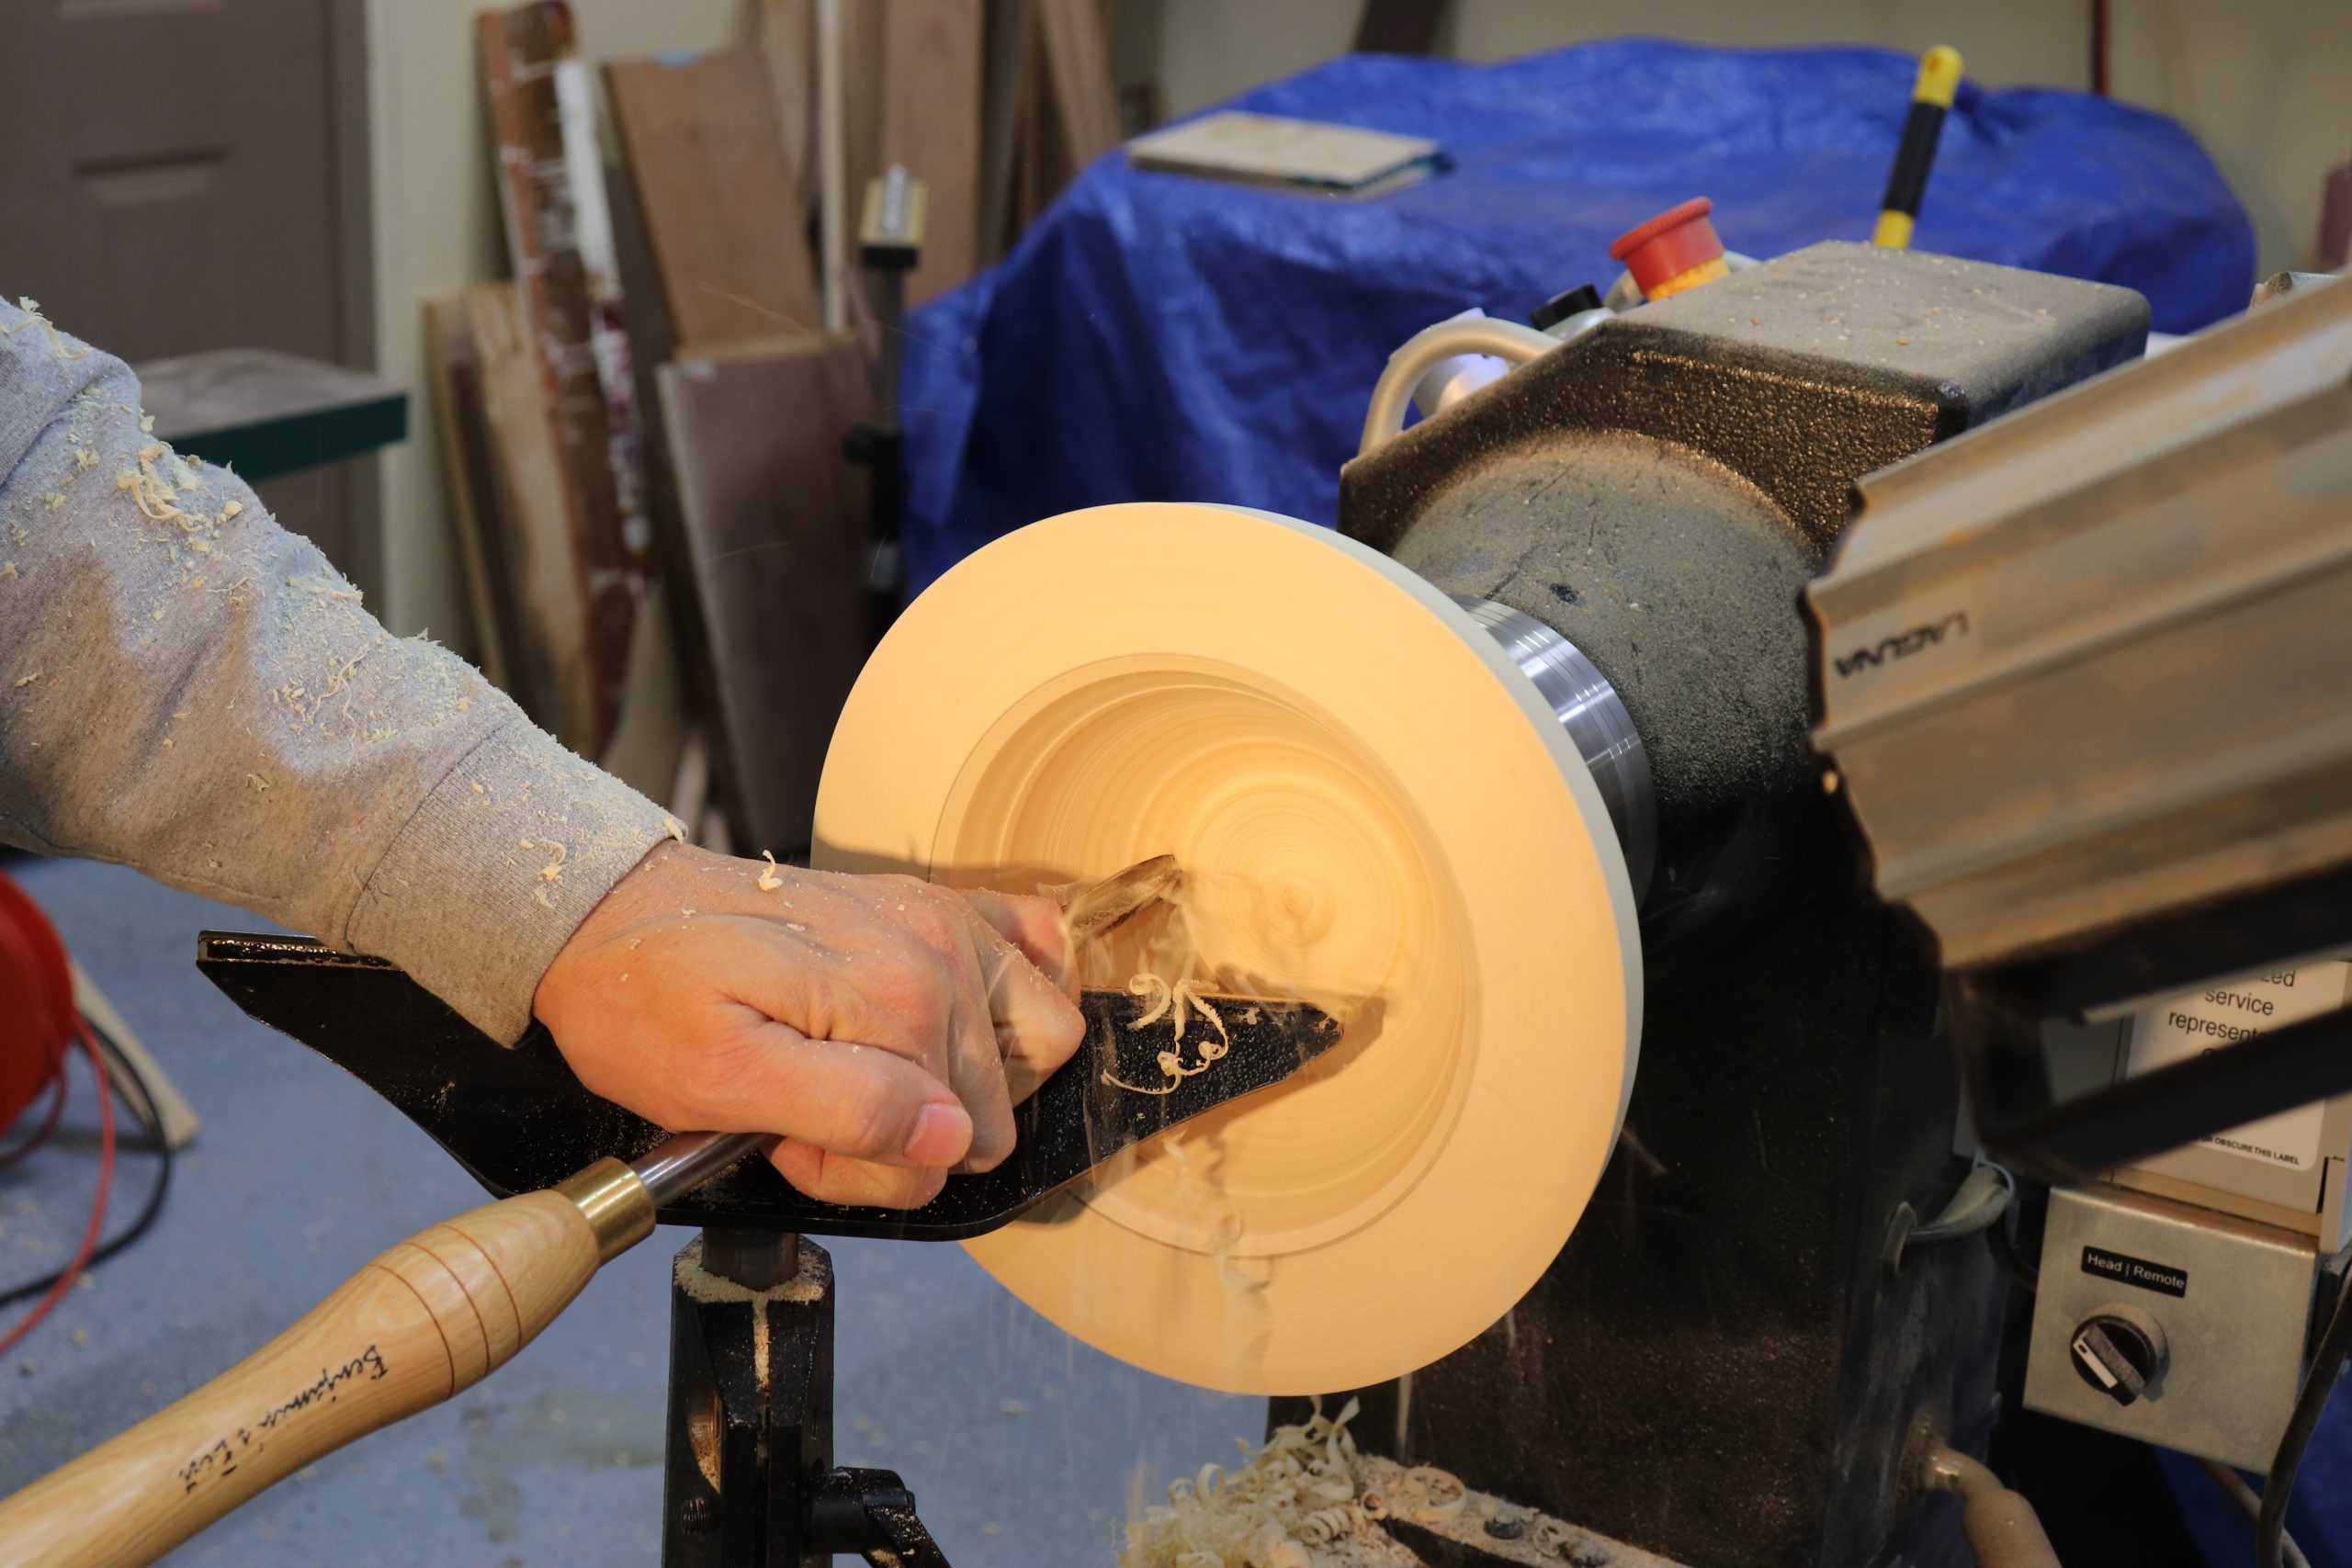
Remove waste from inside of the bowl, checking wall thickness from below the thick portion of the rim.
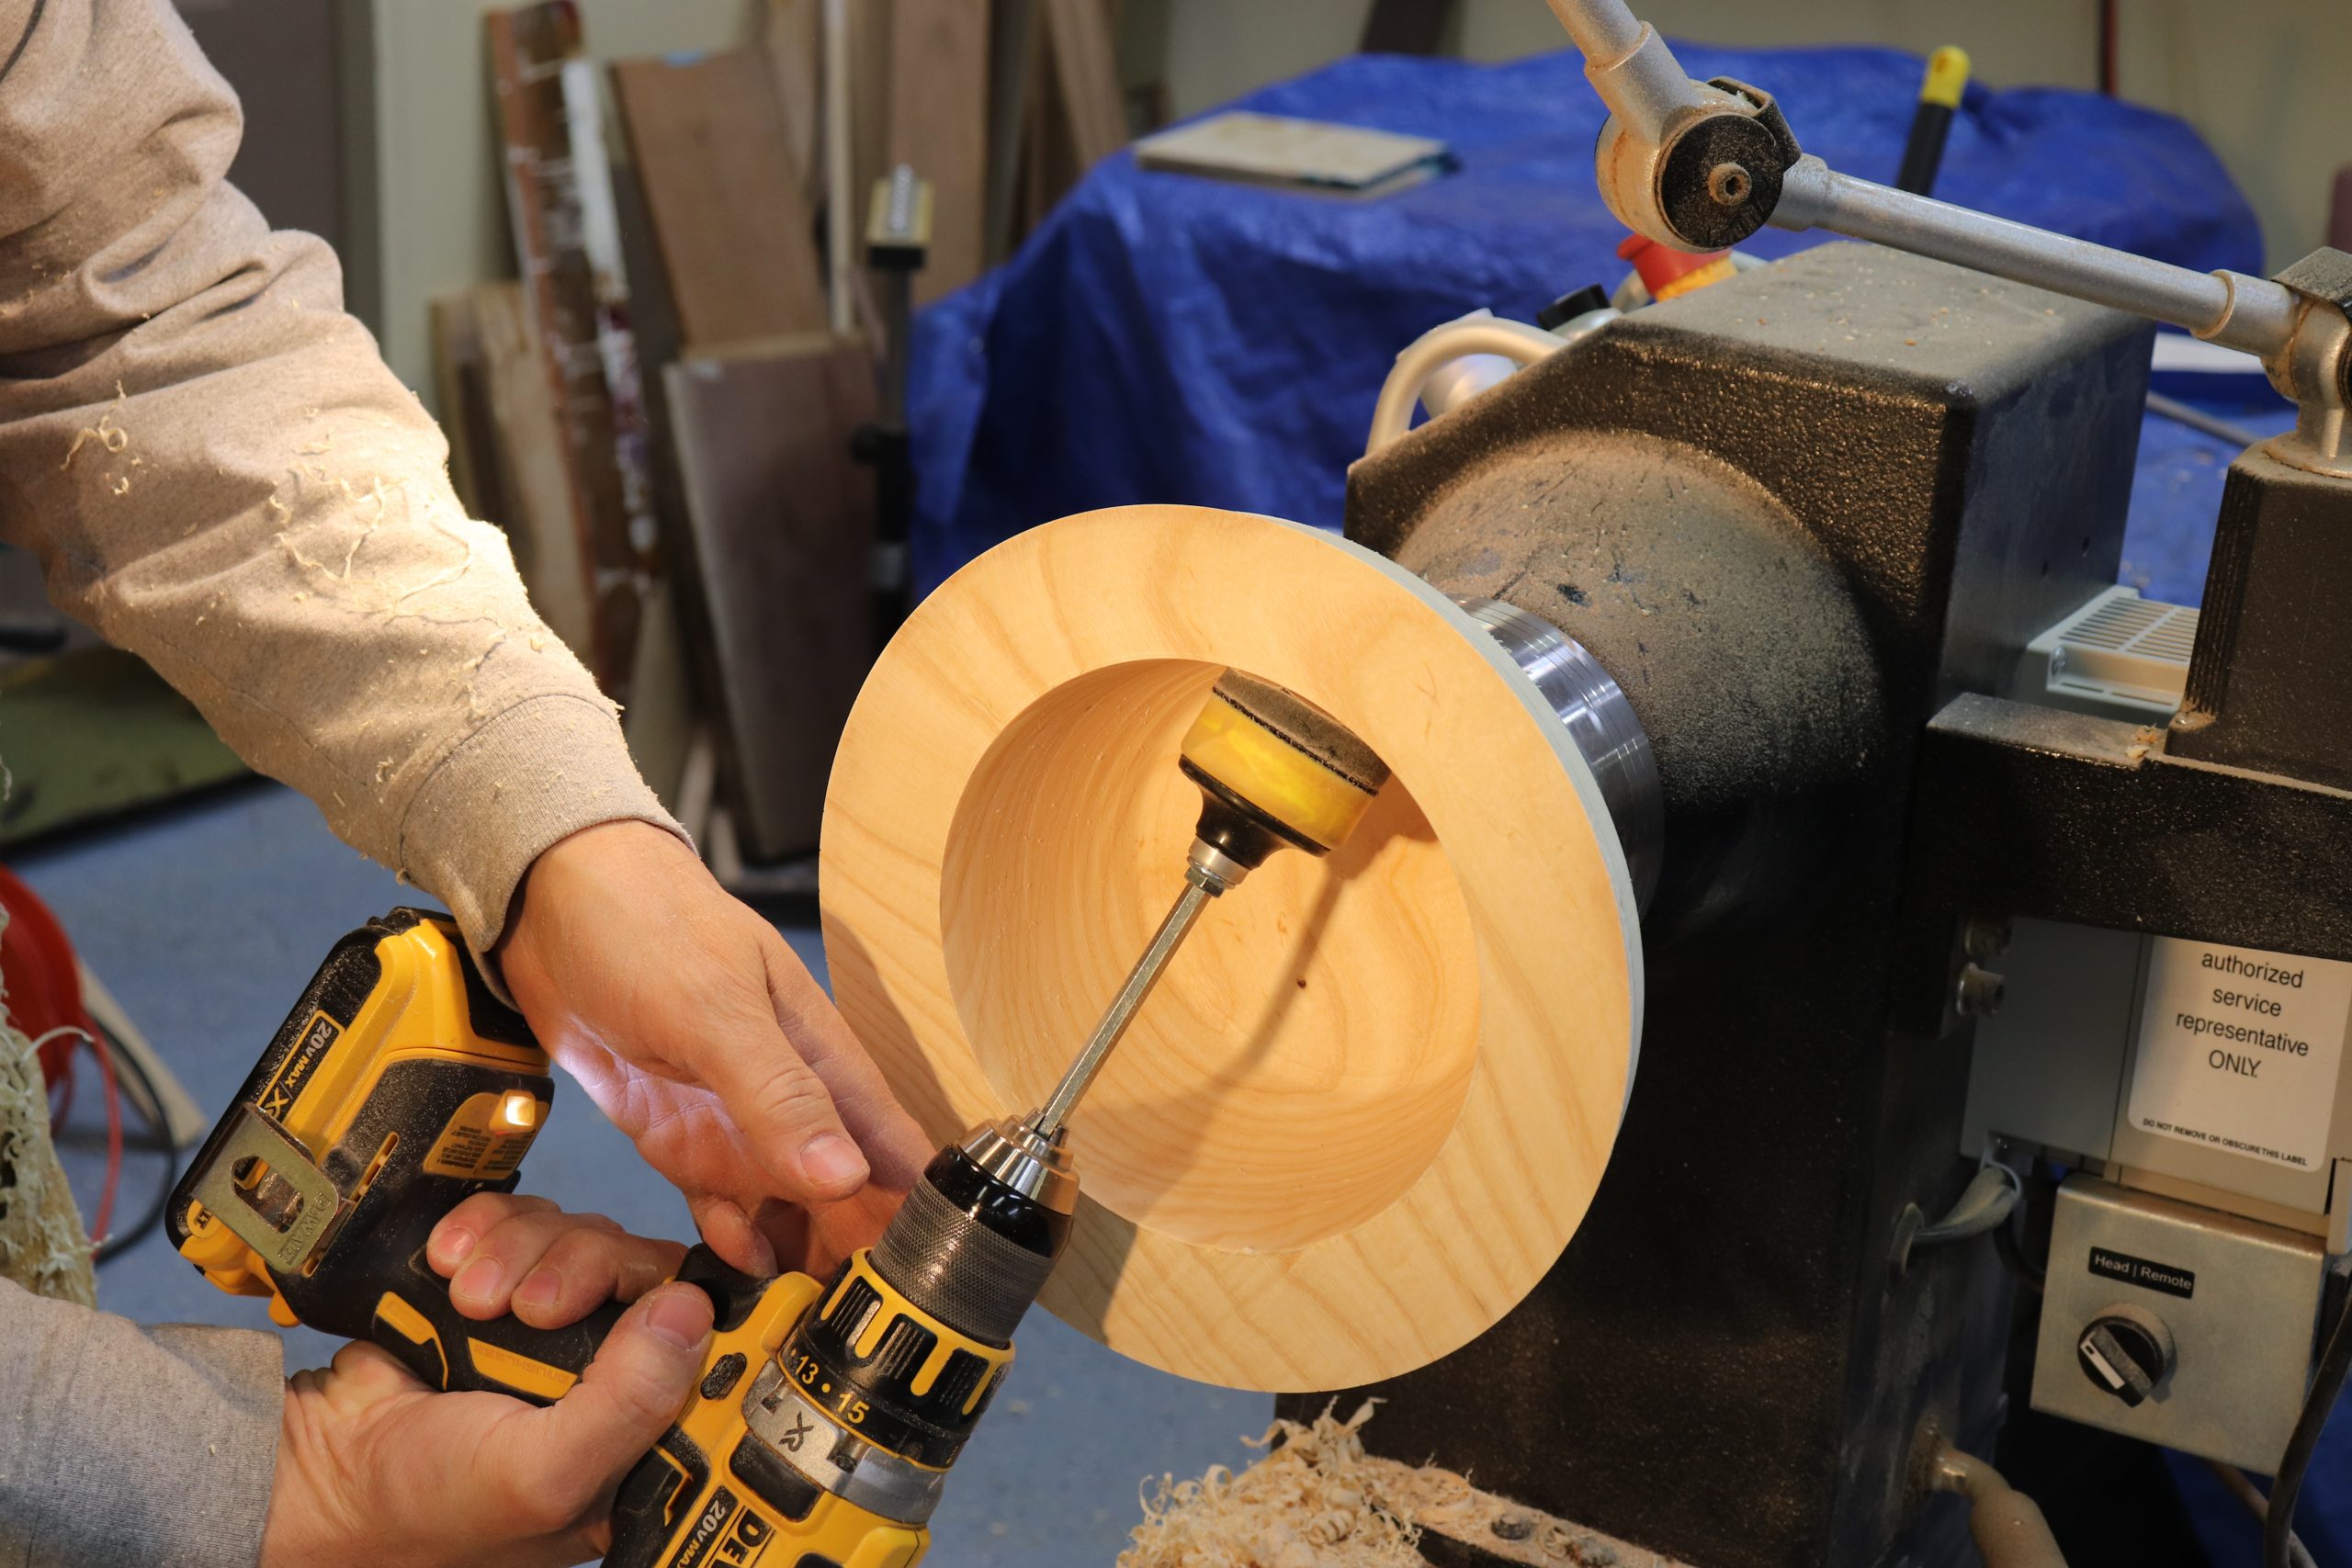
Sand the bowl, inside and out.
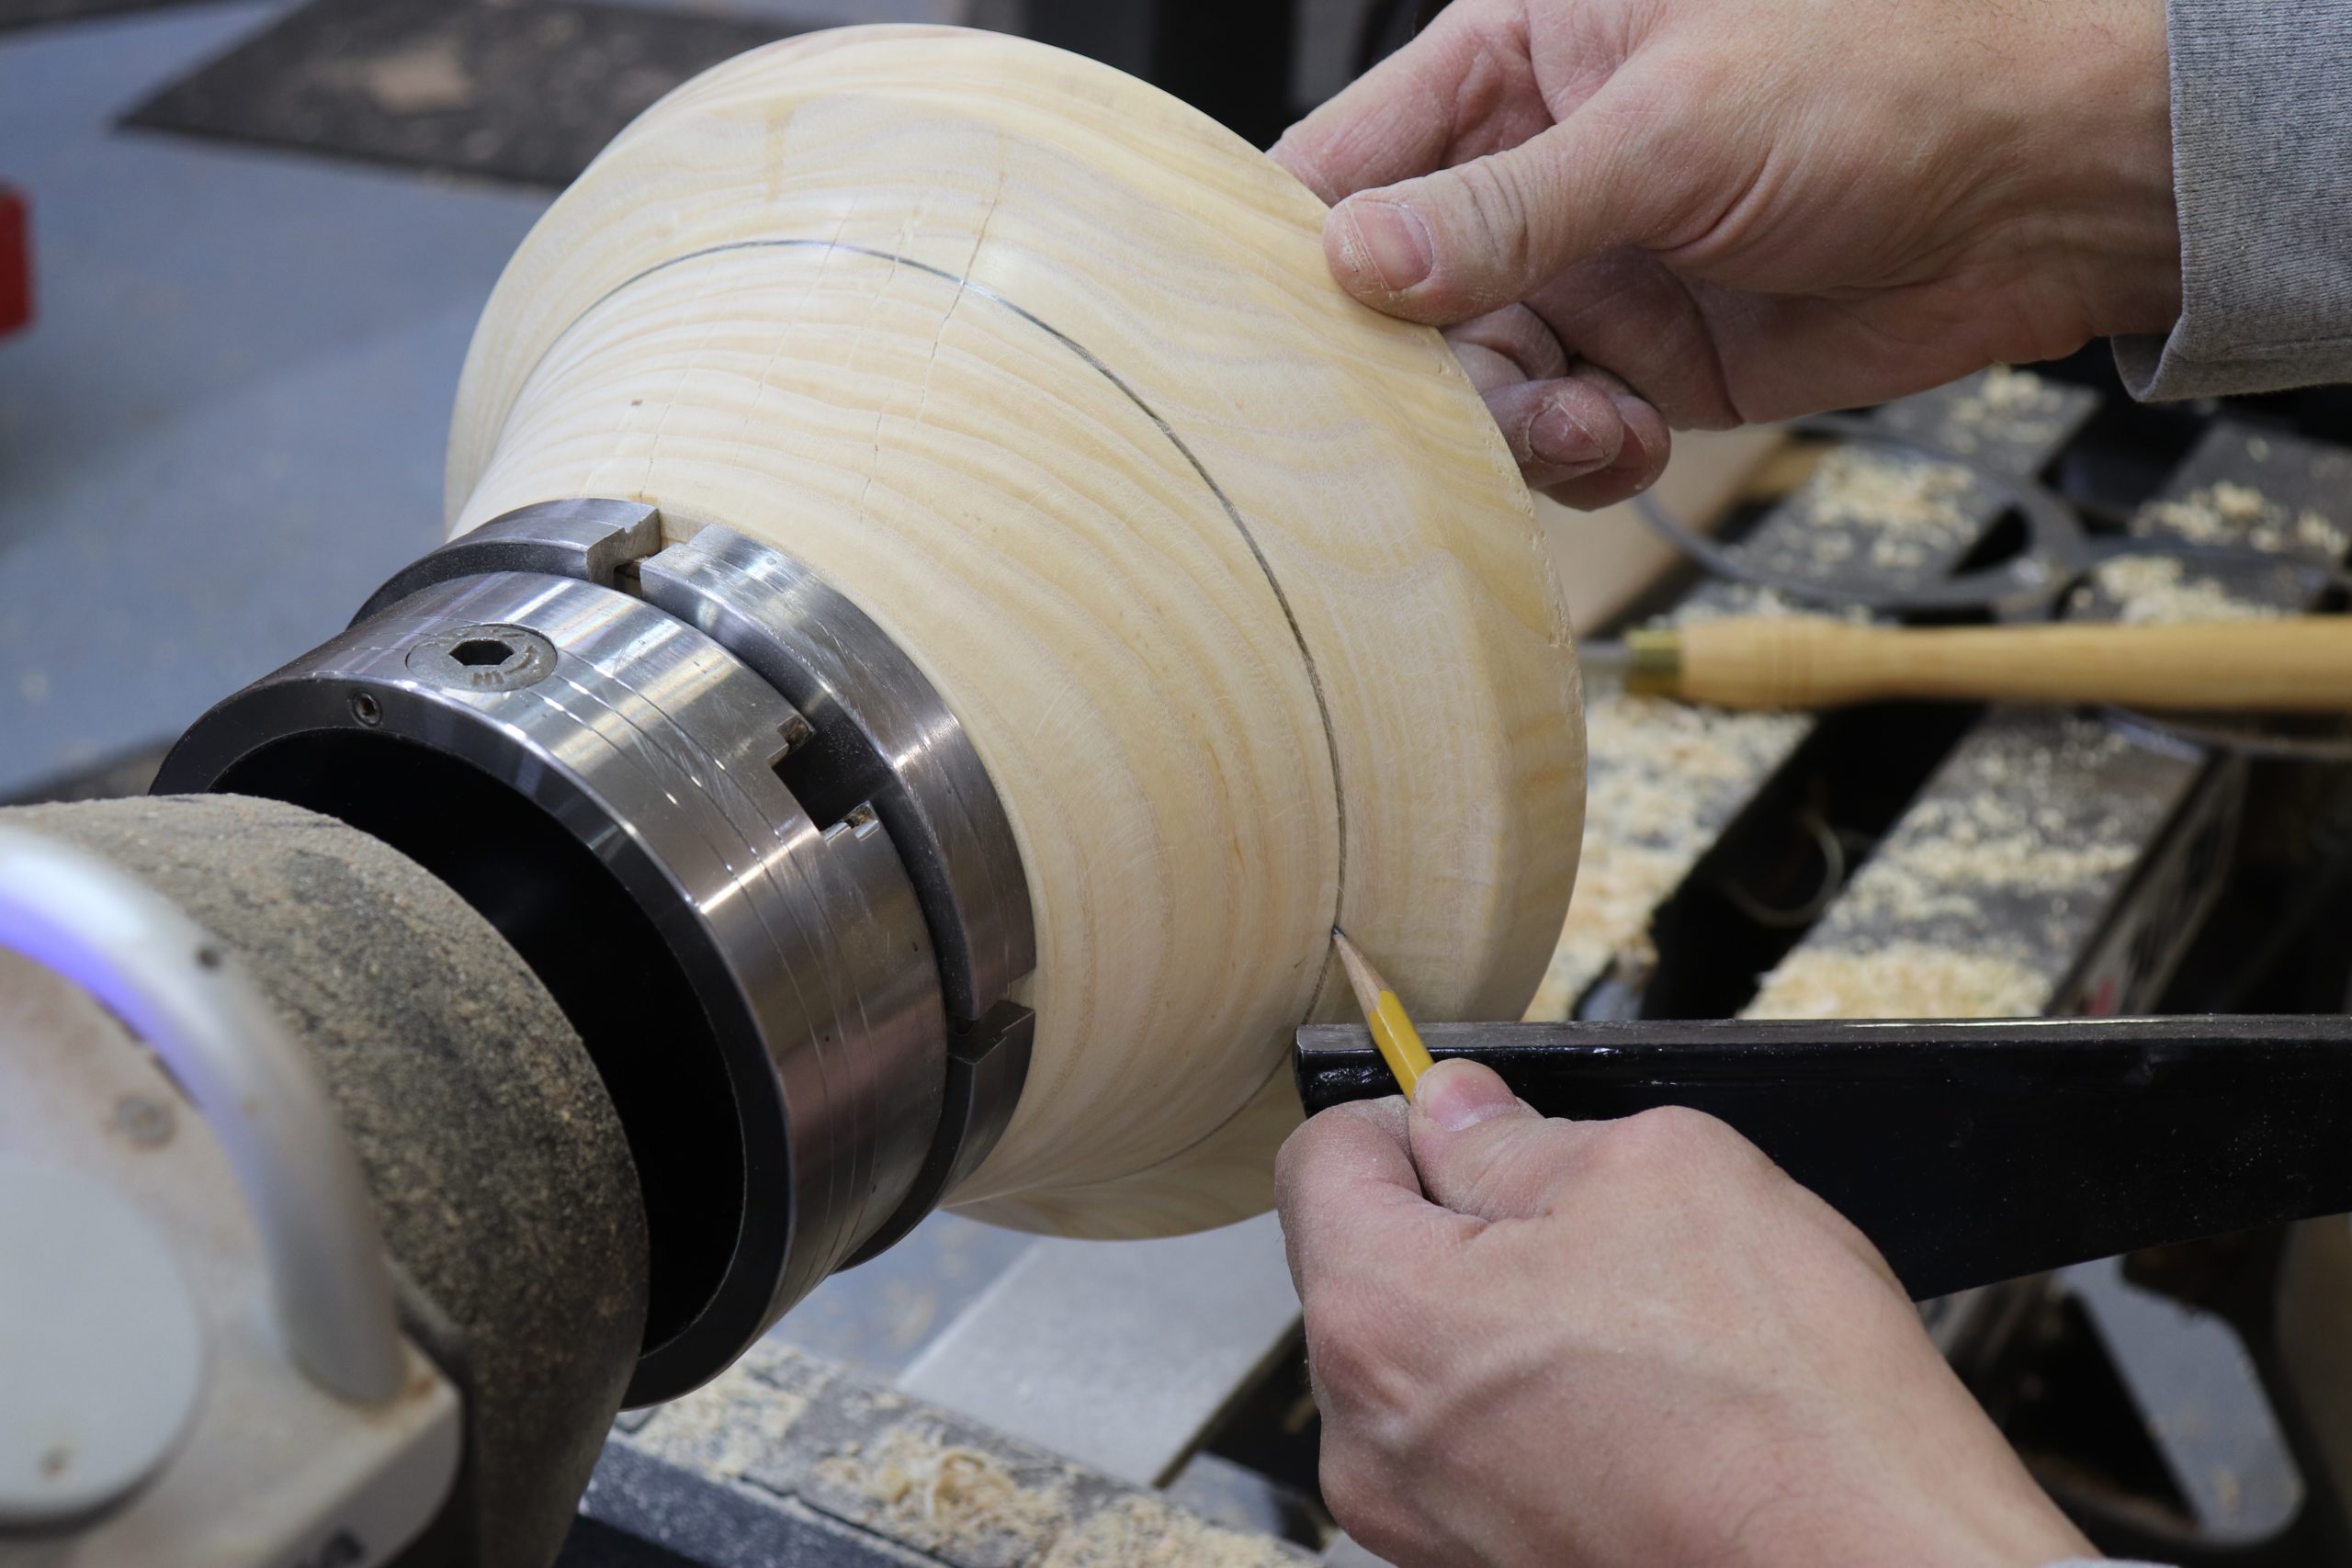
Mark a line around the perimeter of the bowl where the rim begins to flare.
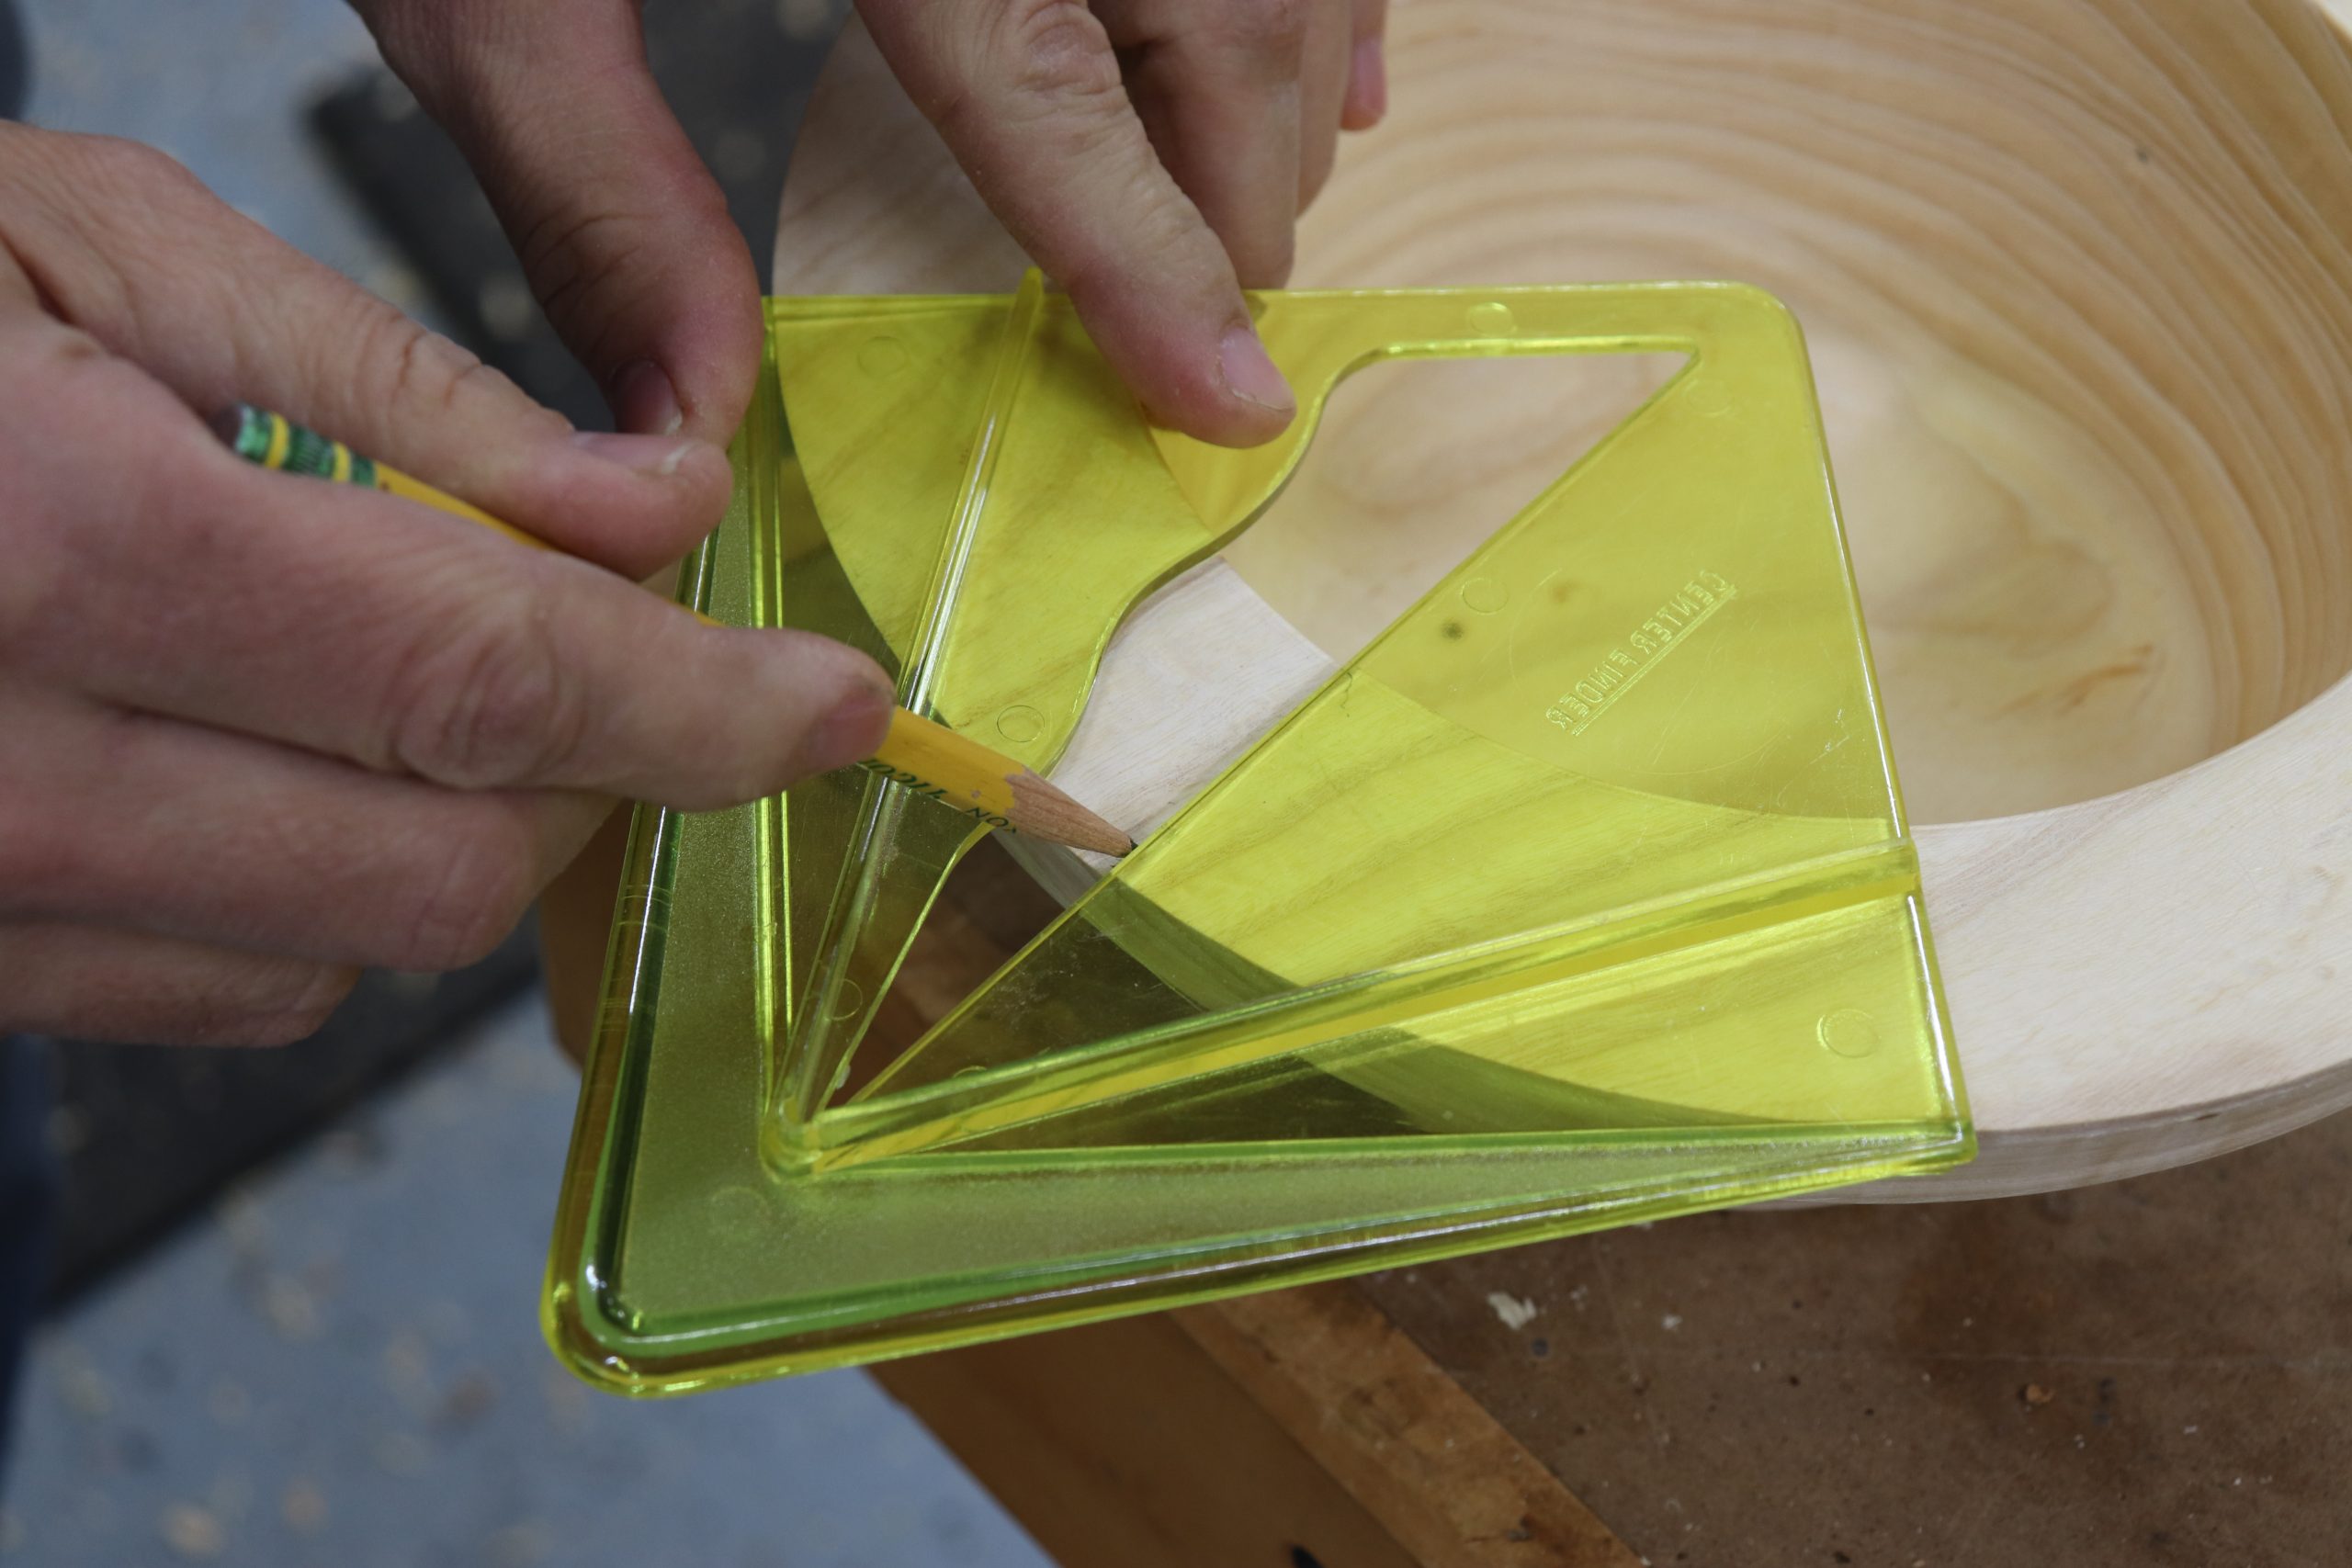
From the top of the bowl, mark a center line on one end using a center finder tool. It is important to mark this line on the end grain side of the bowl as this will provide much greater strength for the spout and handle.
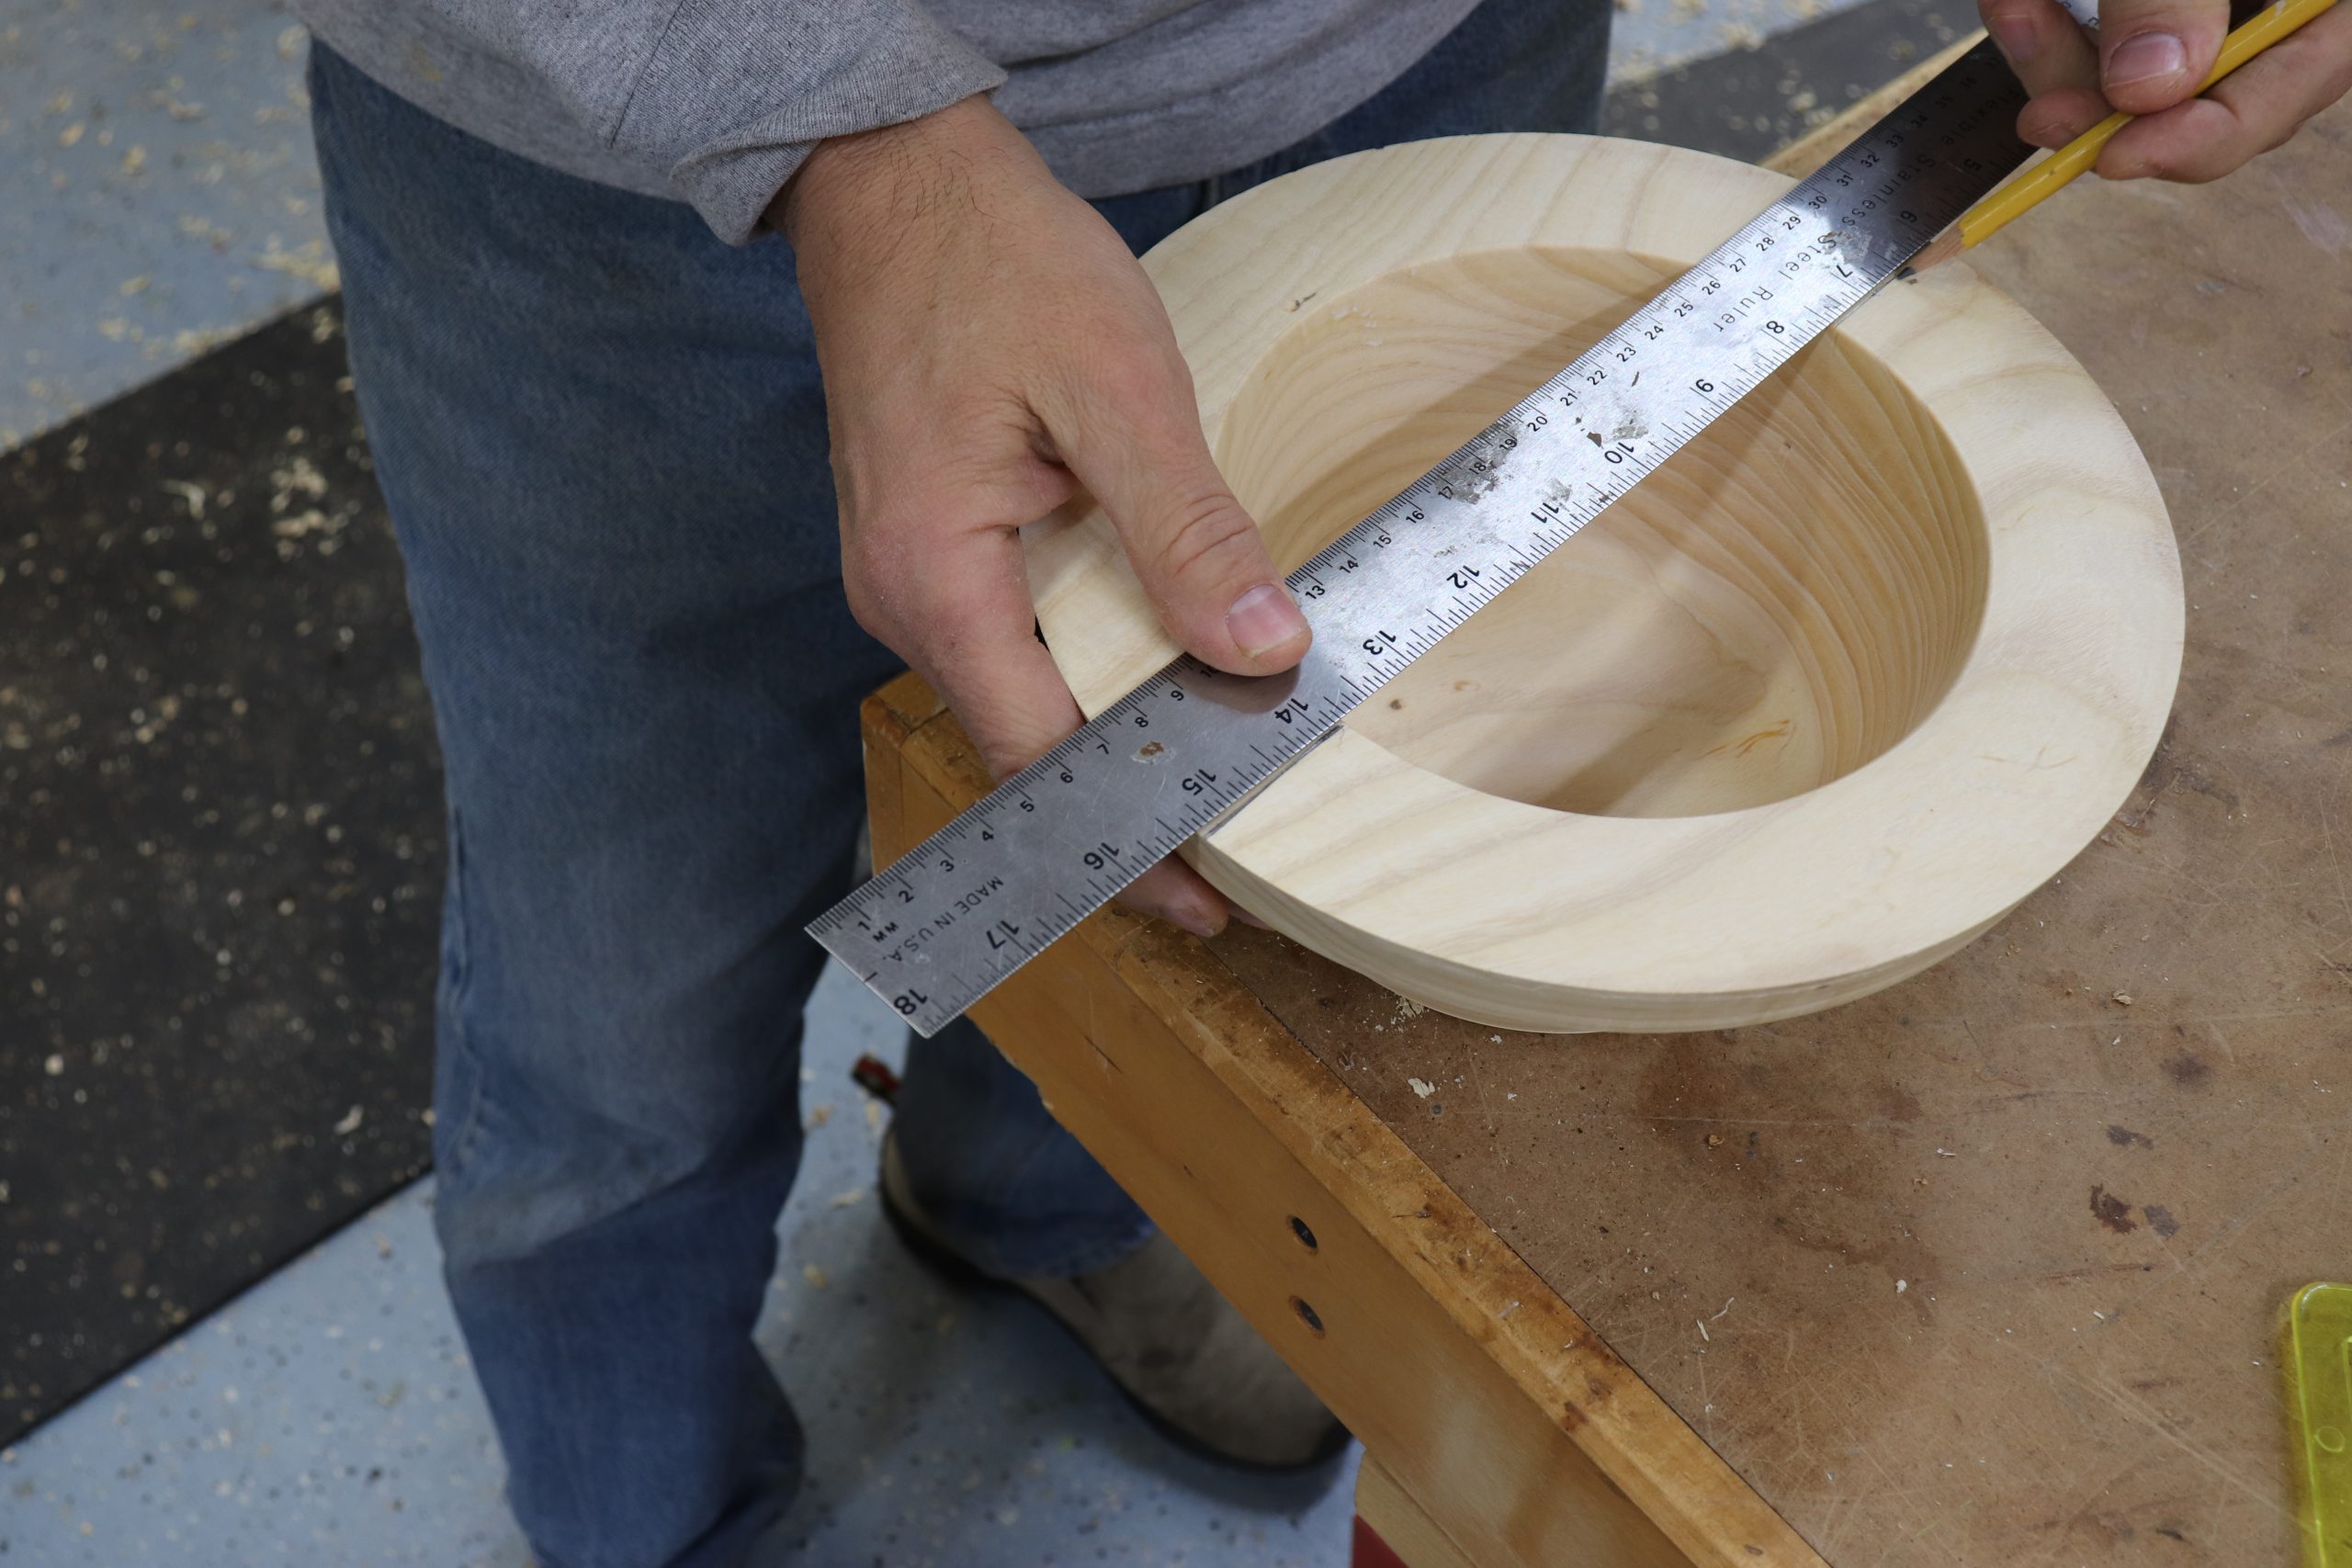
Use a ruler to extend the line across to the other side of the bowl.
Mark cut lines for spout and handle. Start by extending the centerline from the top of the rim back to your line outside the bowl where the rim starts to taper. Here’s where you can apply your creative eye and experiment with shapes for the spout and handle.
Here’s what I did:
For the spout, I started by making a mark 1” from each side of the centerline at the top of the bowl, making the top outside of the spout 2” wide. I drew lines at the bottom of the spout that was 1-1/4” from the centerline.
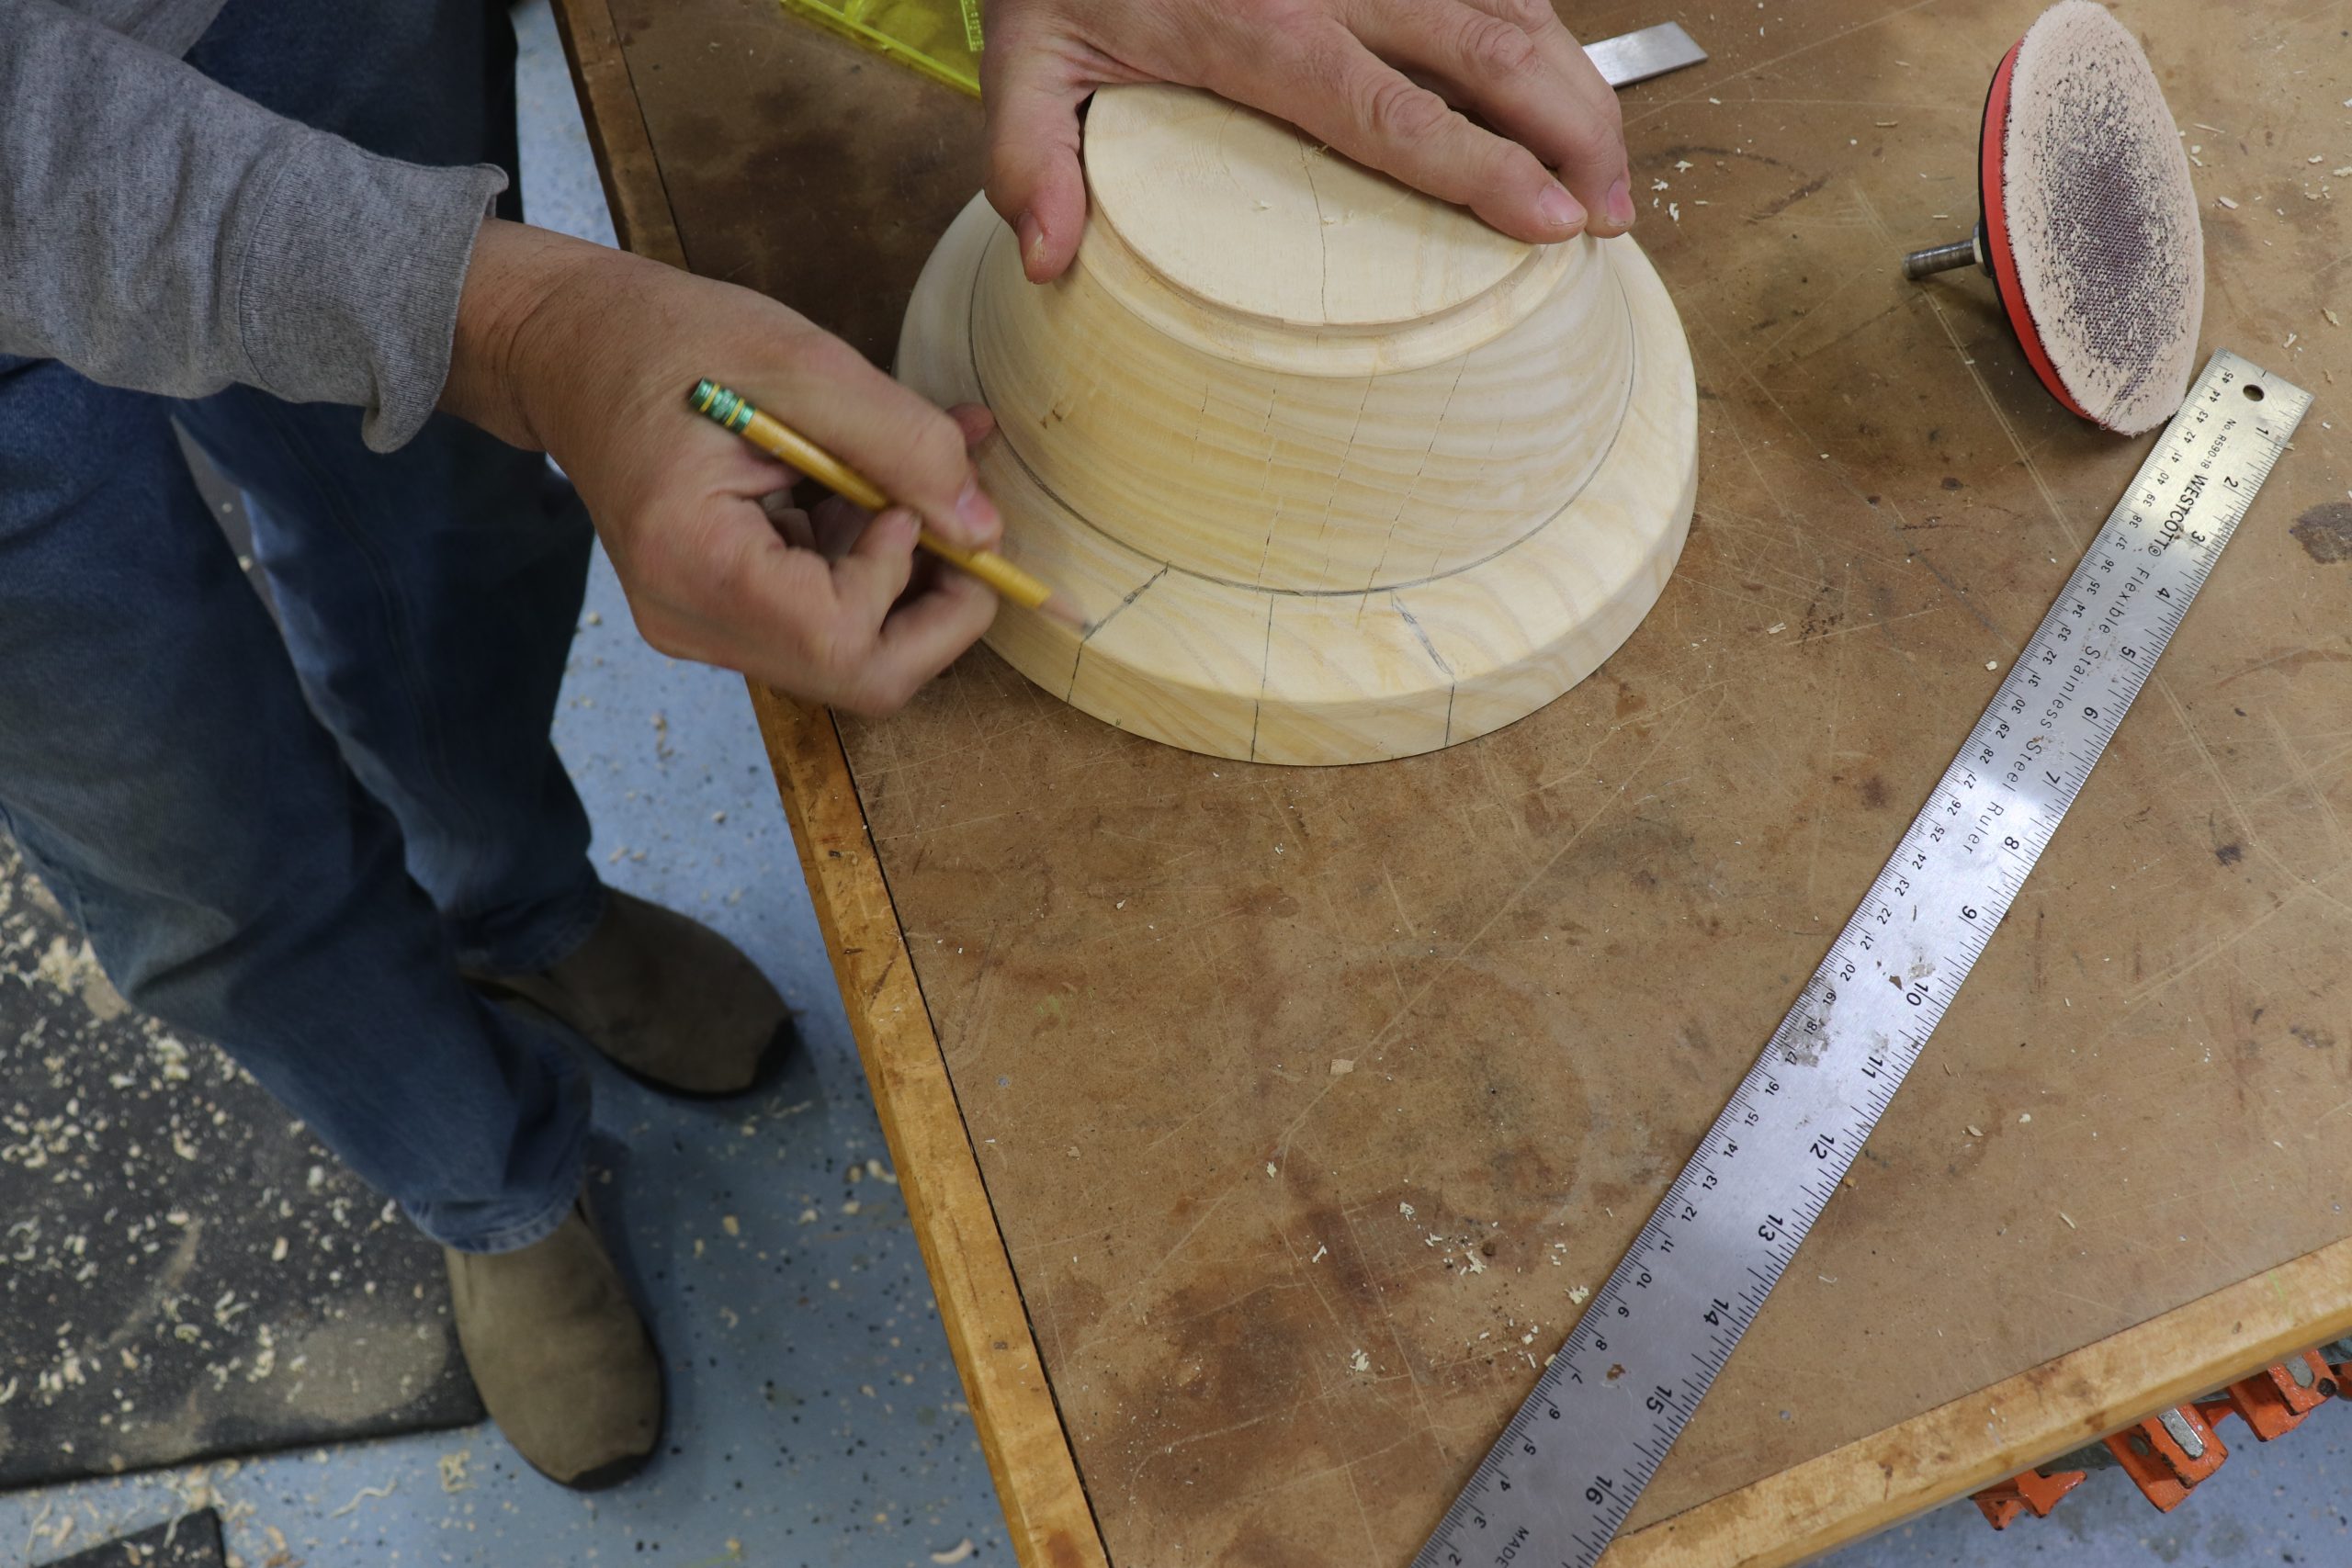
Then I marked a line that connected the two marks that I created, which tapered the spout from 2” at the front to 2-1/2” at the rear.
I marked the handle using a similar process, but on the handle, I started at 4” wide at the rim (2” mark from the center line in each direction), and tapered into 2-1/2” wide on the inner portion of the handle, making it look like a bird’s tail.
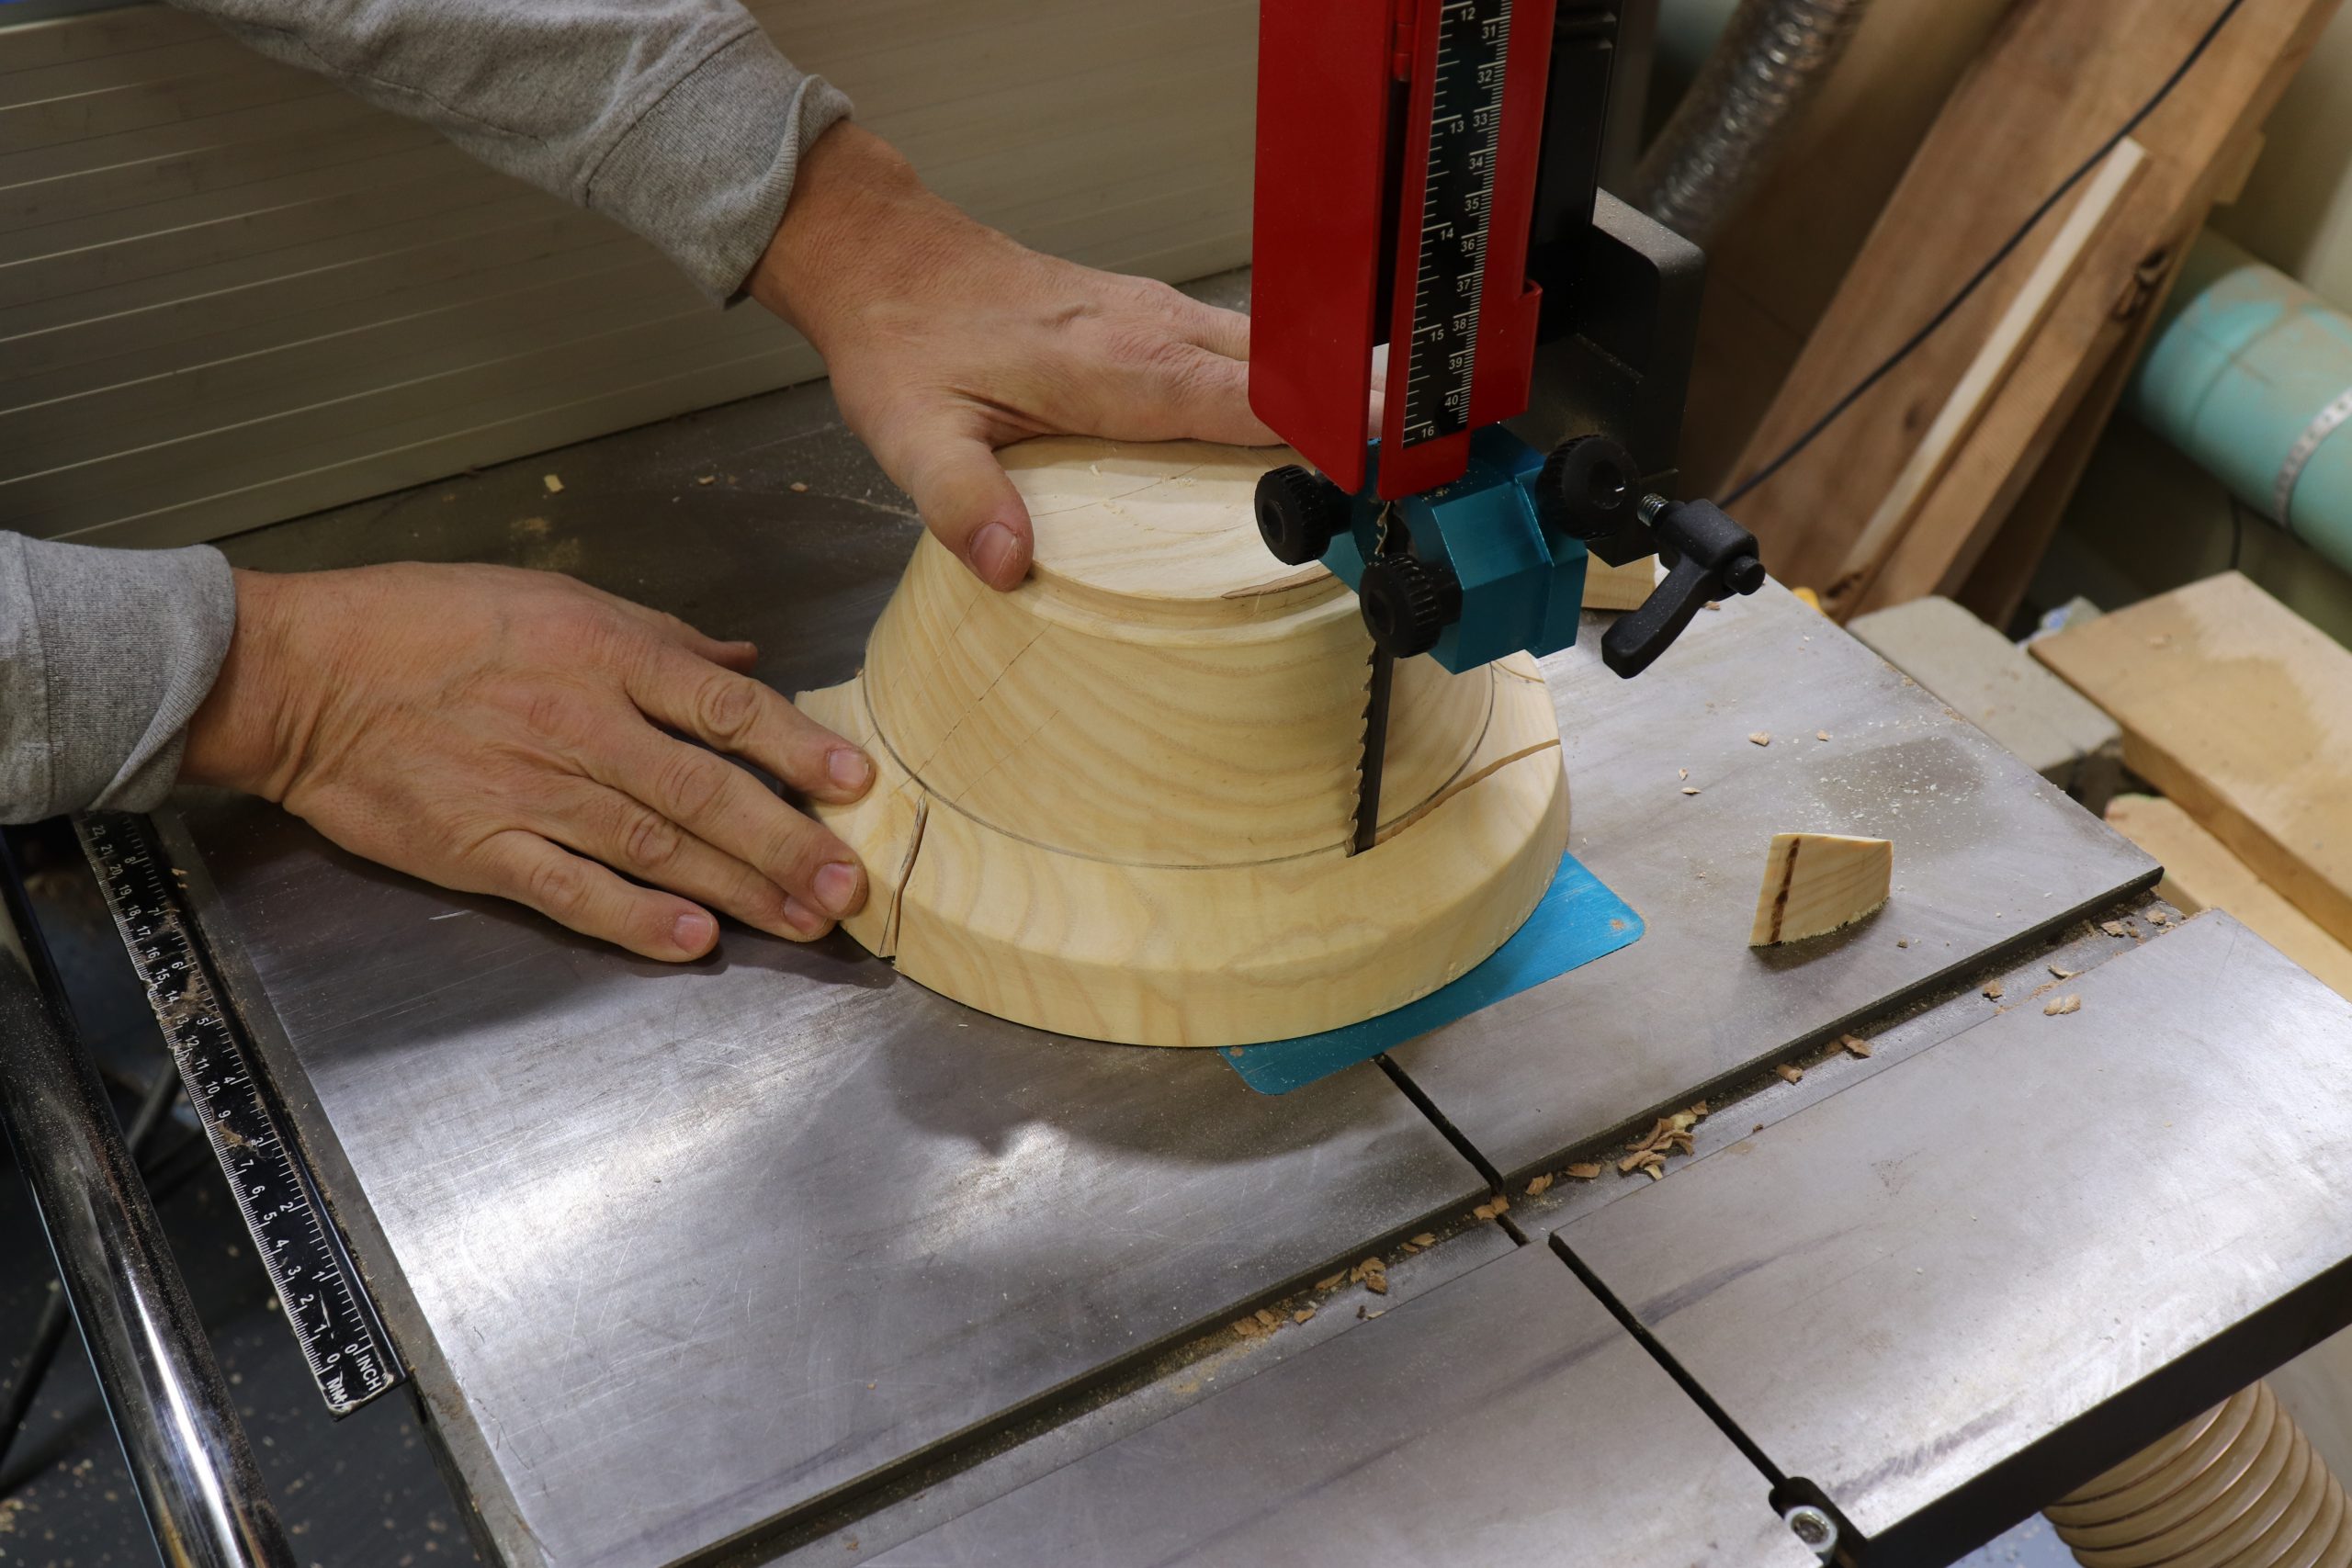
Place the bowl on your bandsaw table upside down, and carefully remove the waste, being careful not to cut into your spout or handle. Taking your time and cutting as close to the line as possible will save cleanup time later. A ½” 3 TPI blade works well for this cut.
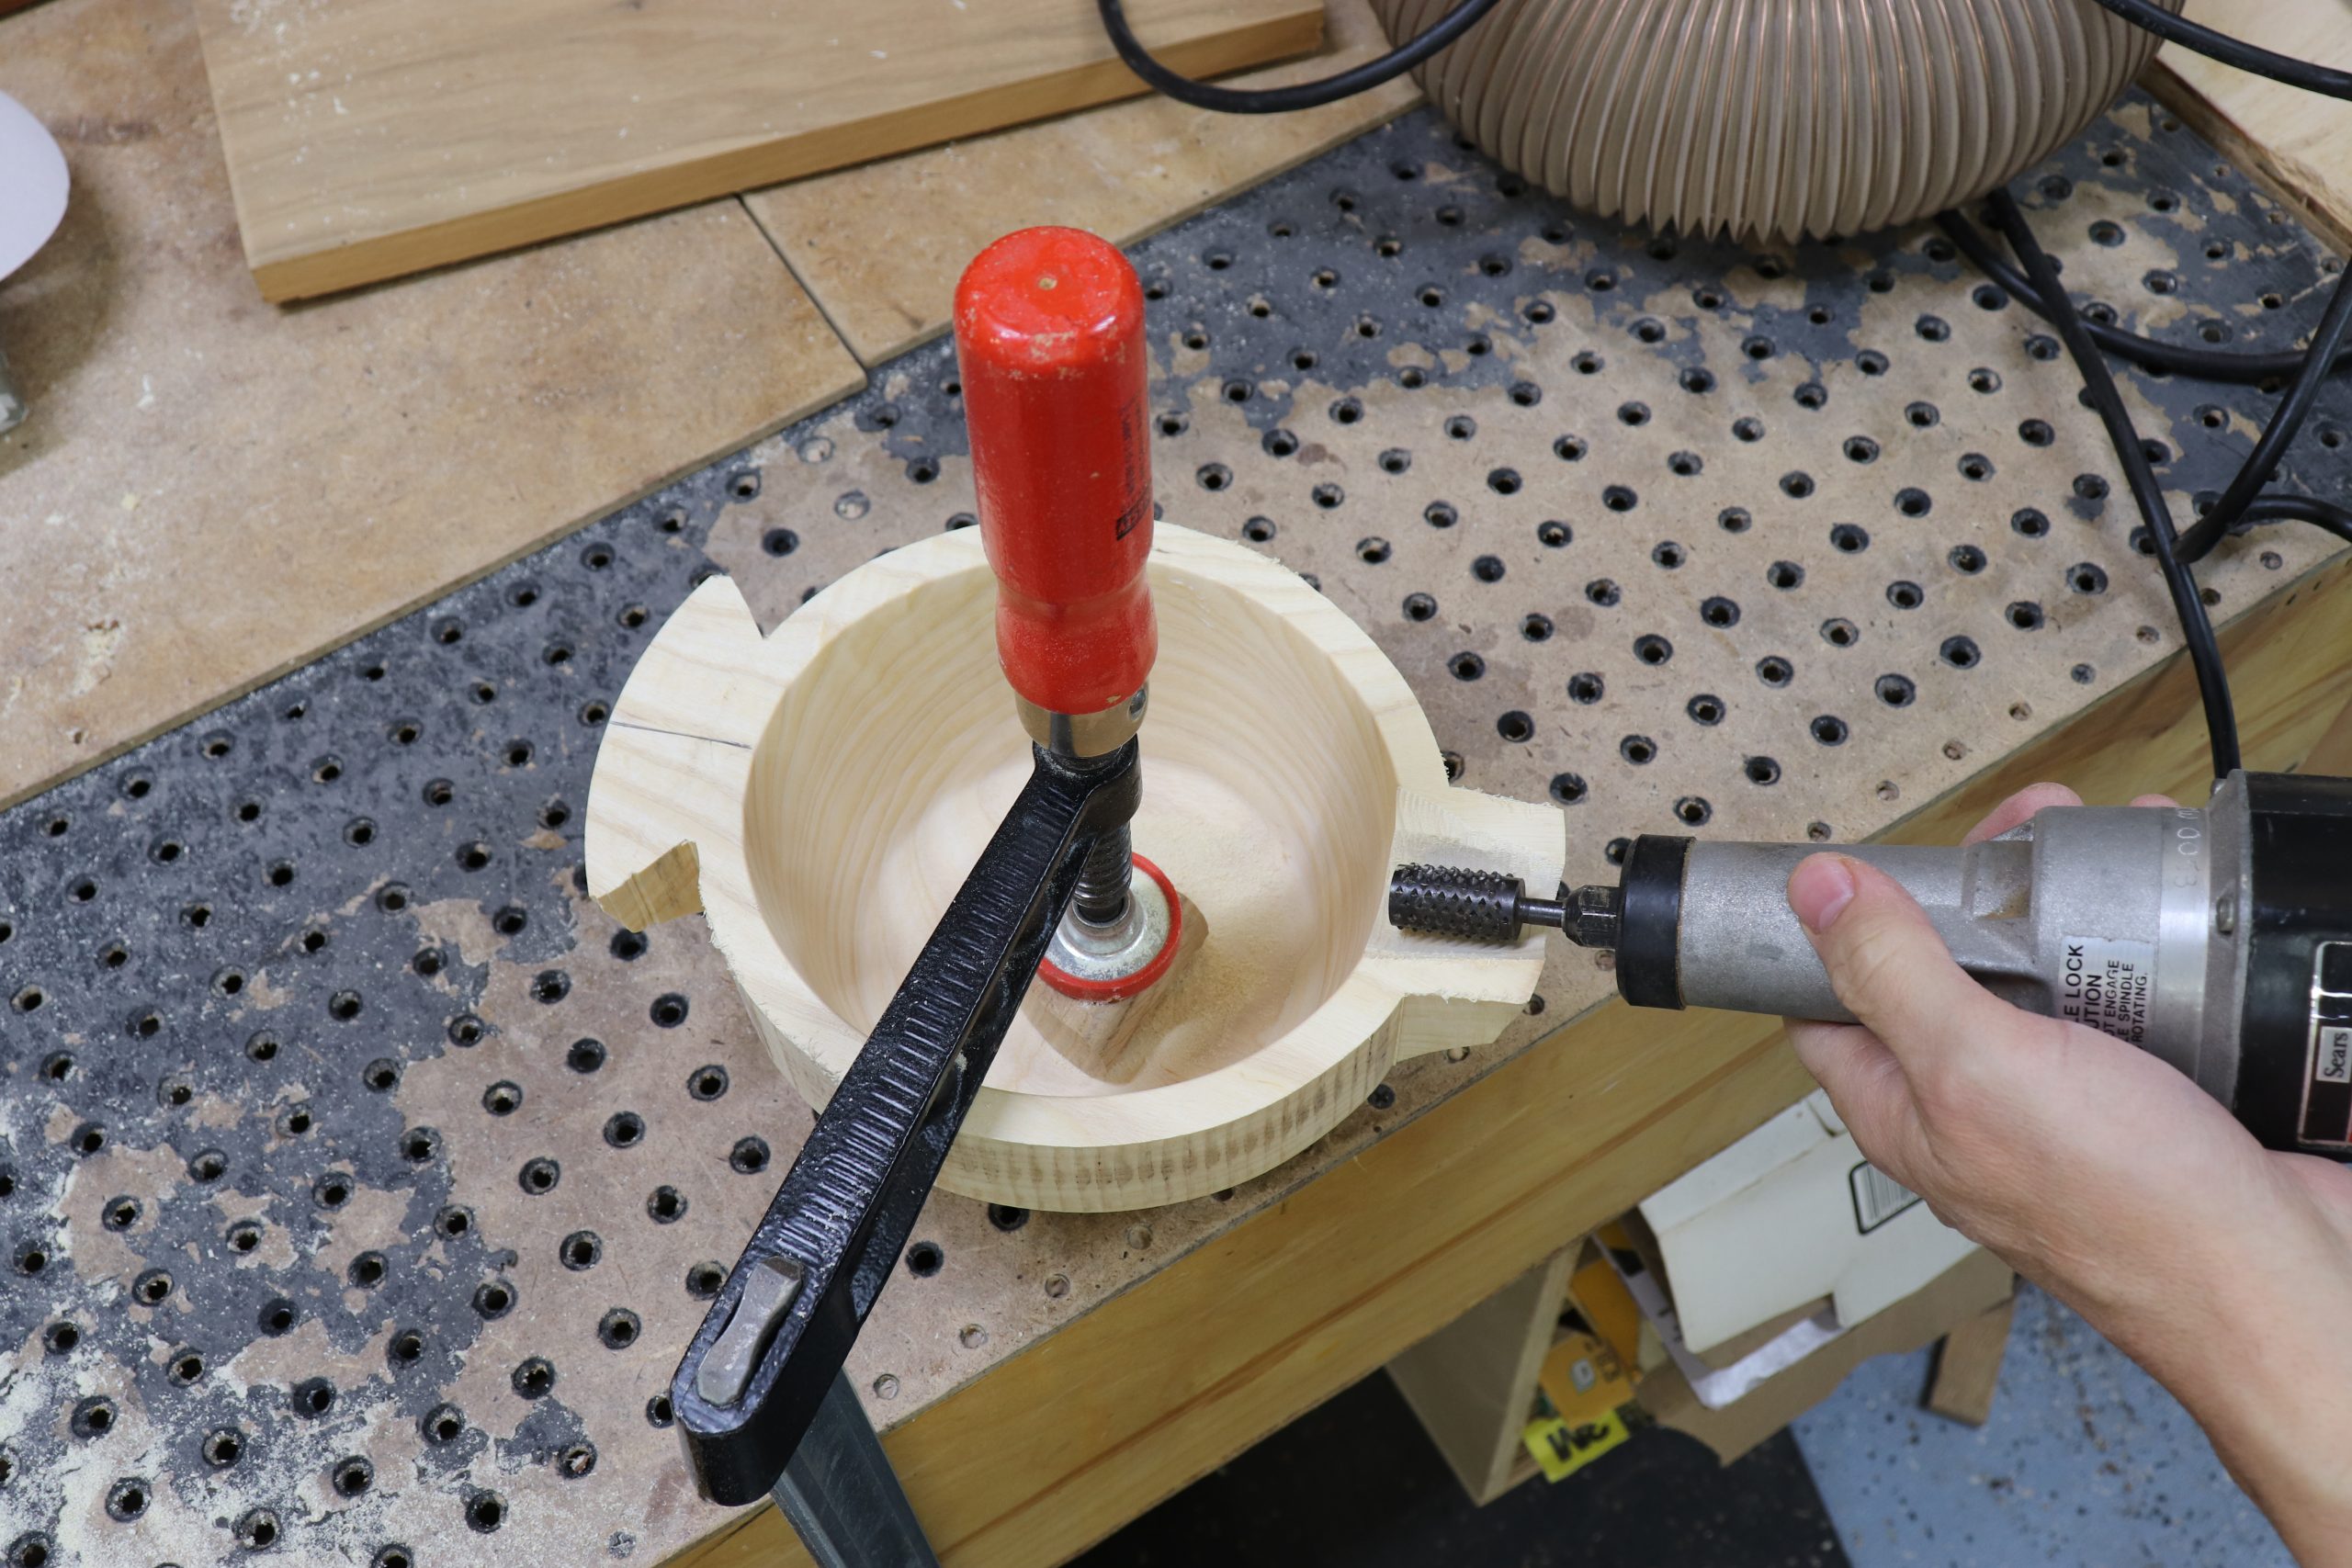
Using a die grinder (or traditional carving tools if you prefer) remove waste from the spout, leaving a final wall thickness of at least 3/8”. Be careful not to carve too thin if you are using a die grinder, as the rough surface will require a lot of cleanup and you don’t want to make the spout too fragile.
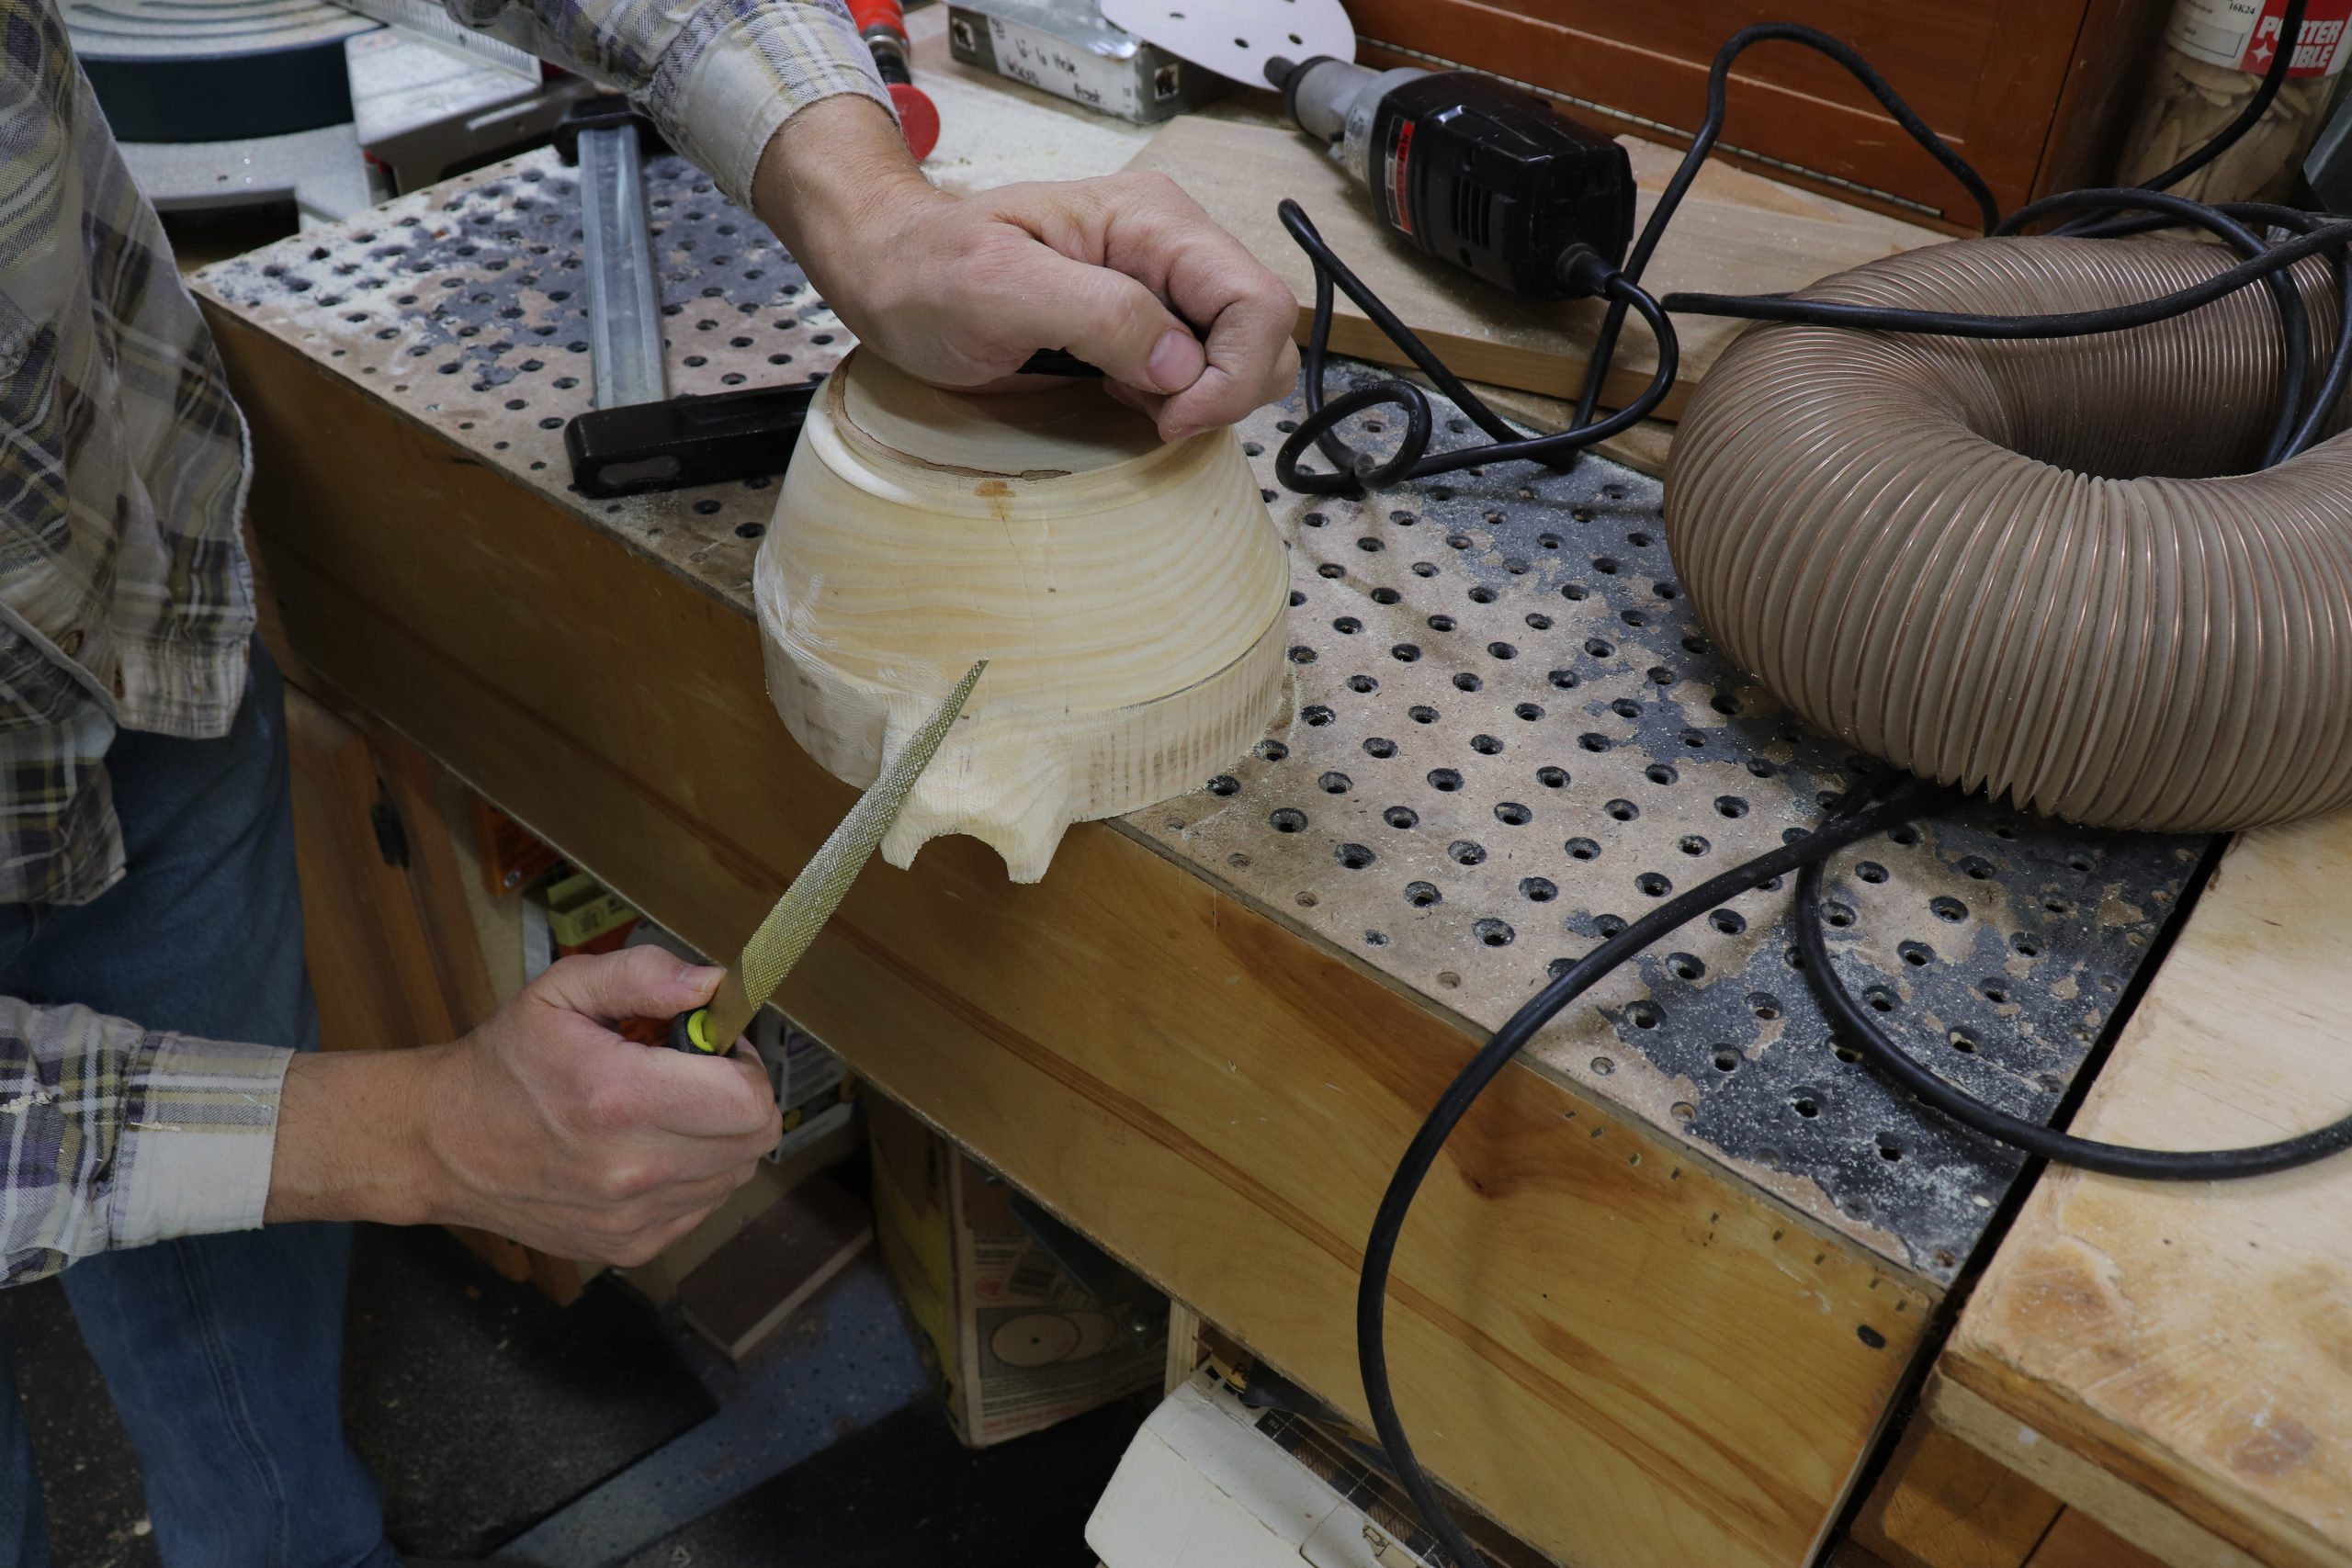
Using rasps, smooth out rough edges and taper to a pleasing shape.
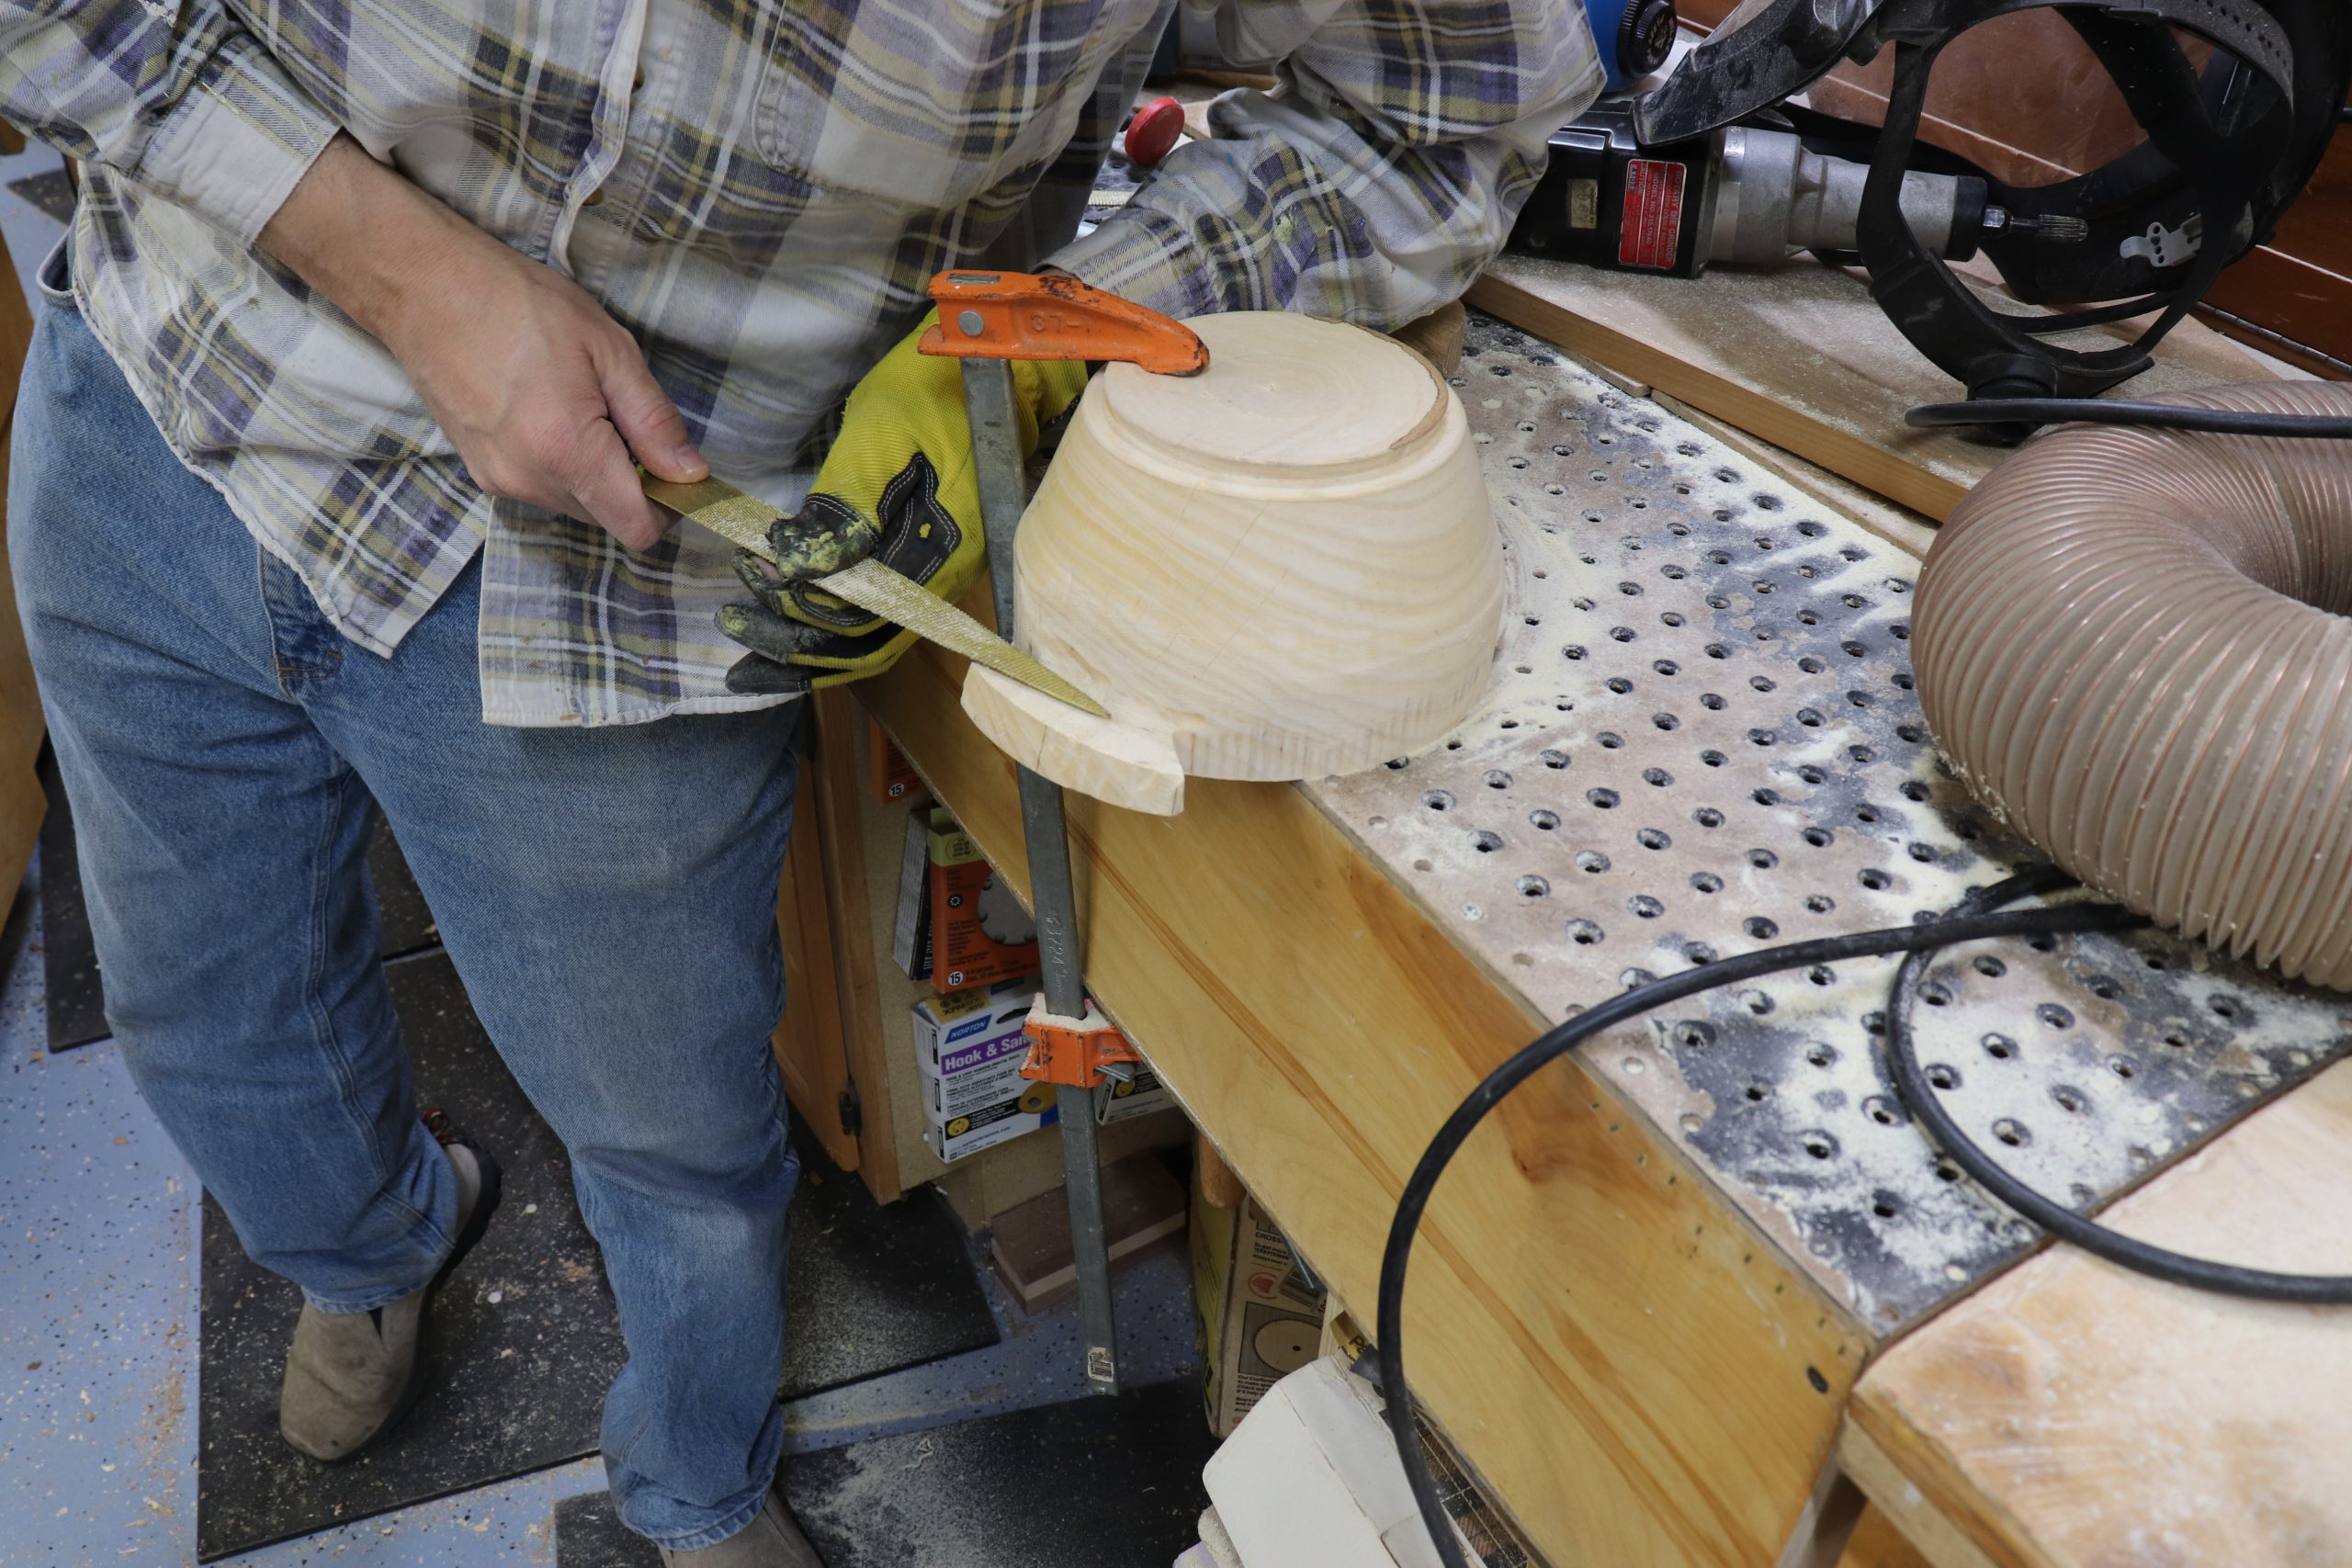
Undercutting the handle makes it easier to hold when using the finished bowl. You can remove a lot of waste with a die grinder to speed things along, and then shape things with a rasp as you get closer to your final dimensions.
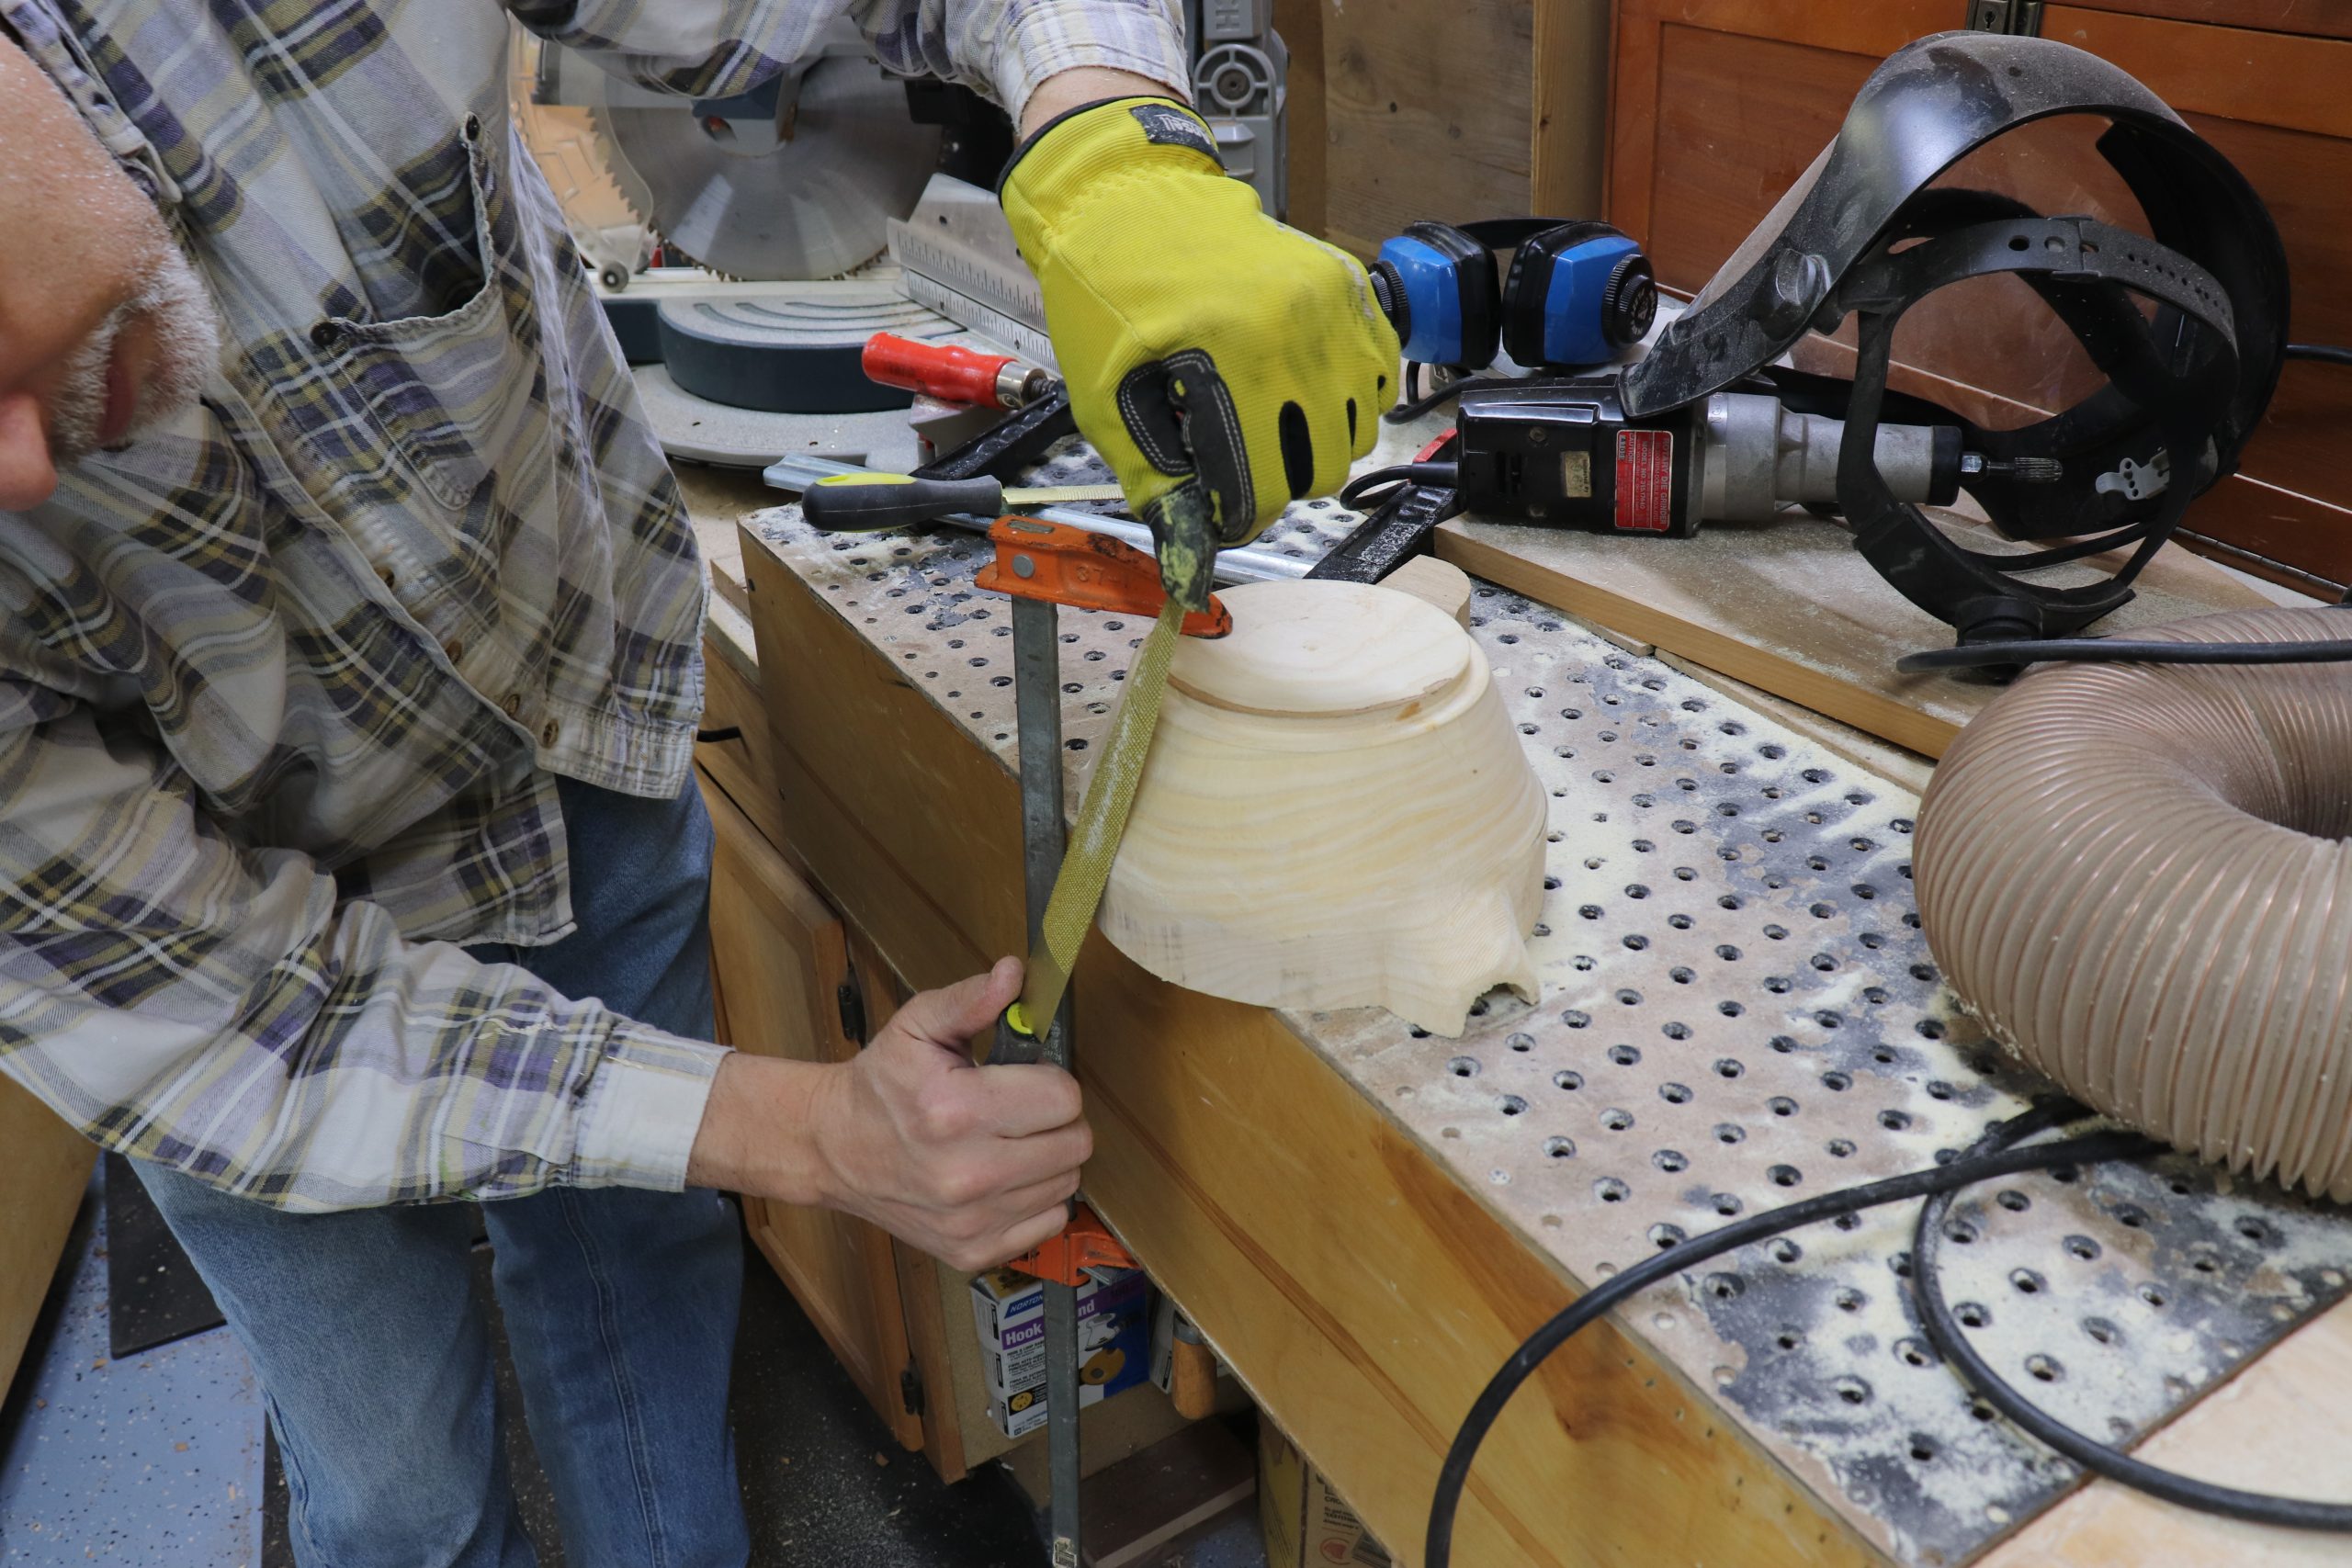
Use a rasp to smooth the transition where the rim was removed at the bandsaw. Use a broad sweeping motion and avoid adding flat spots to the bowl.
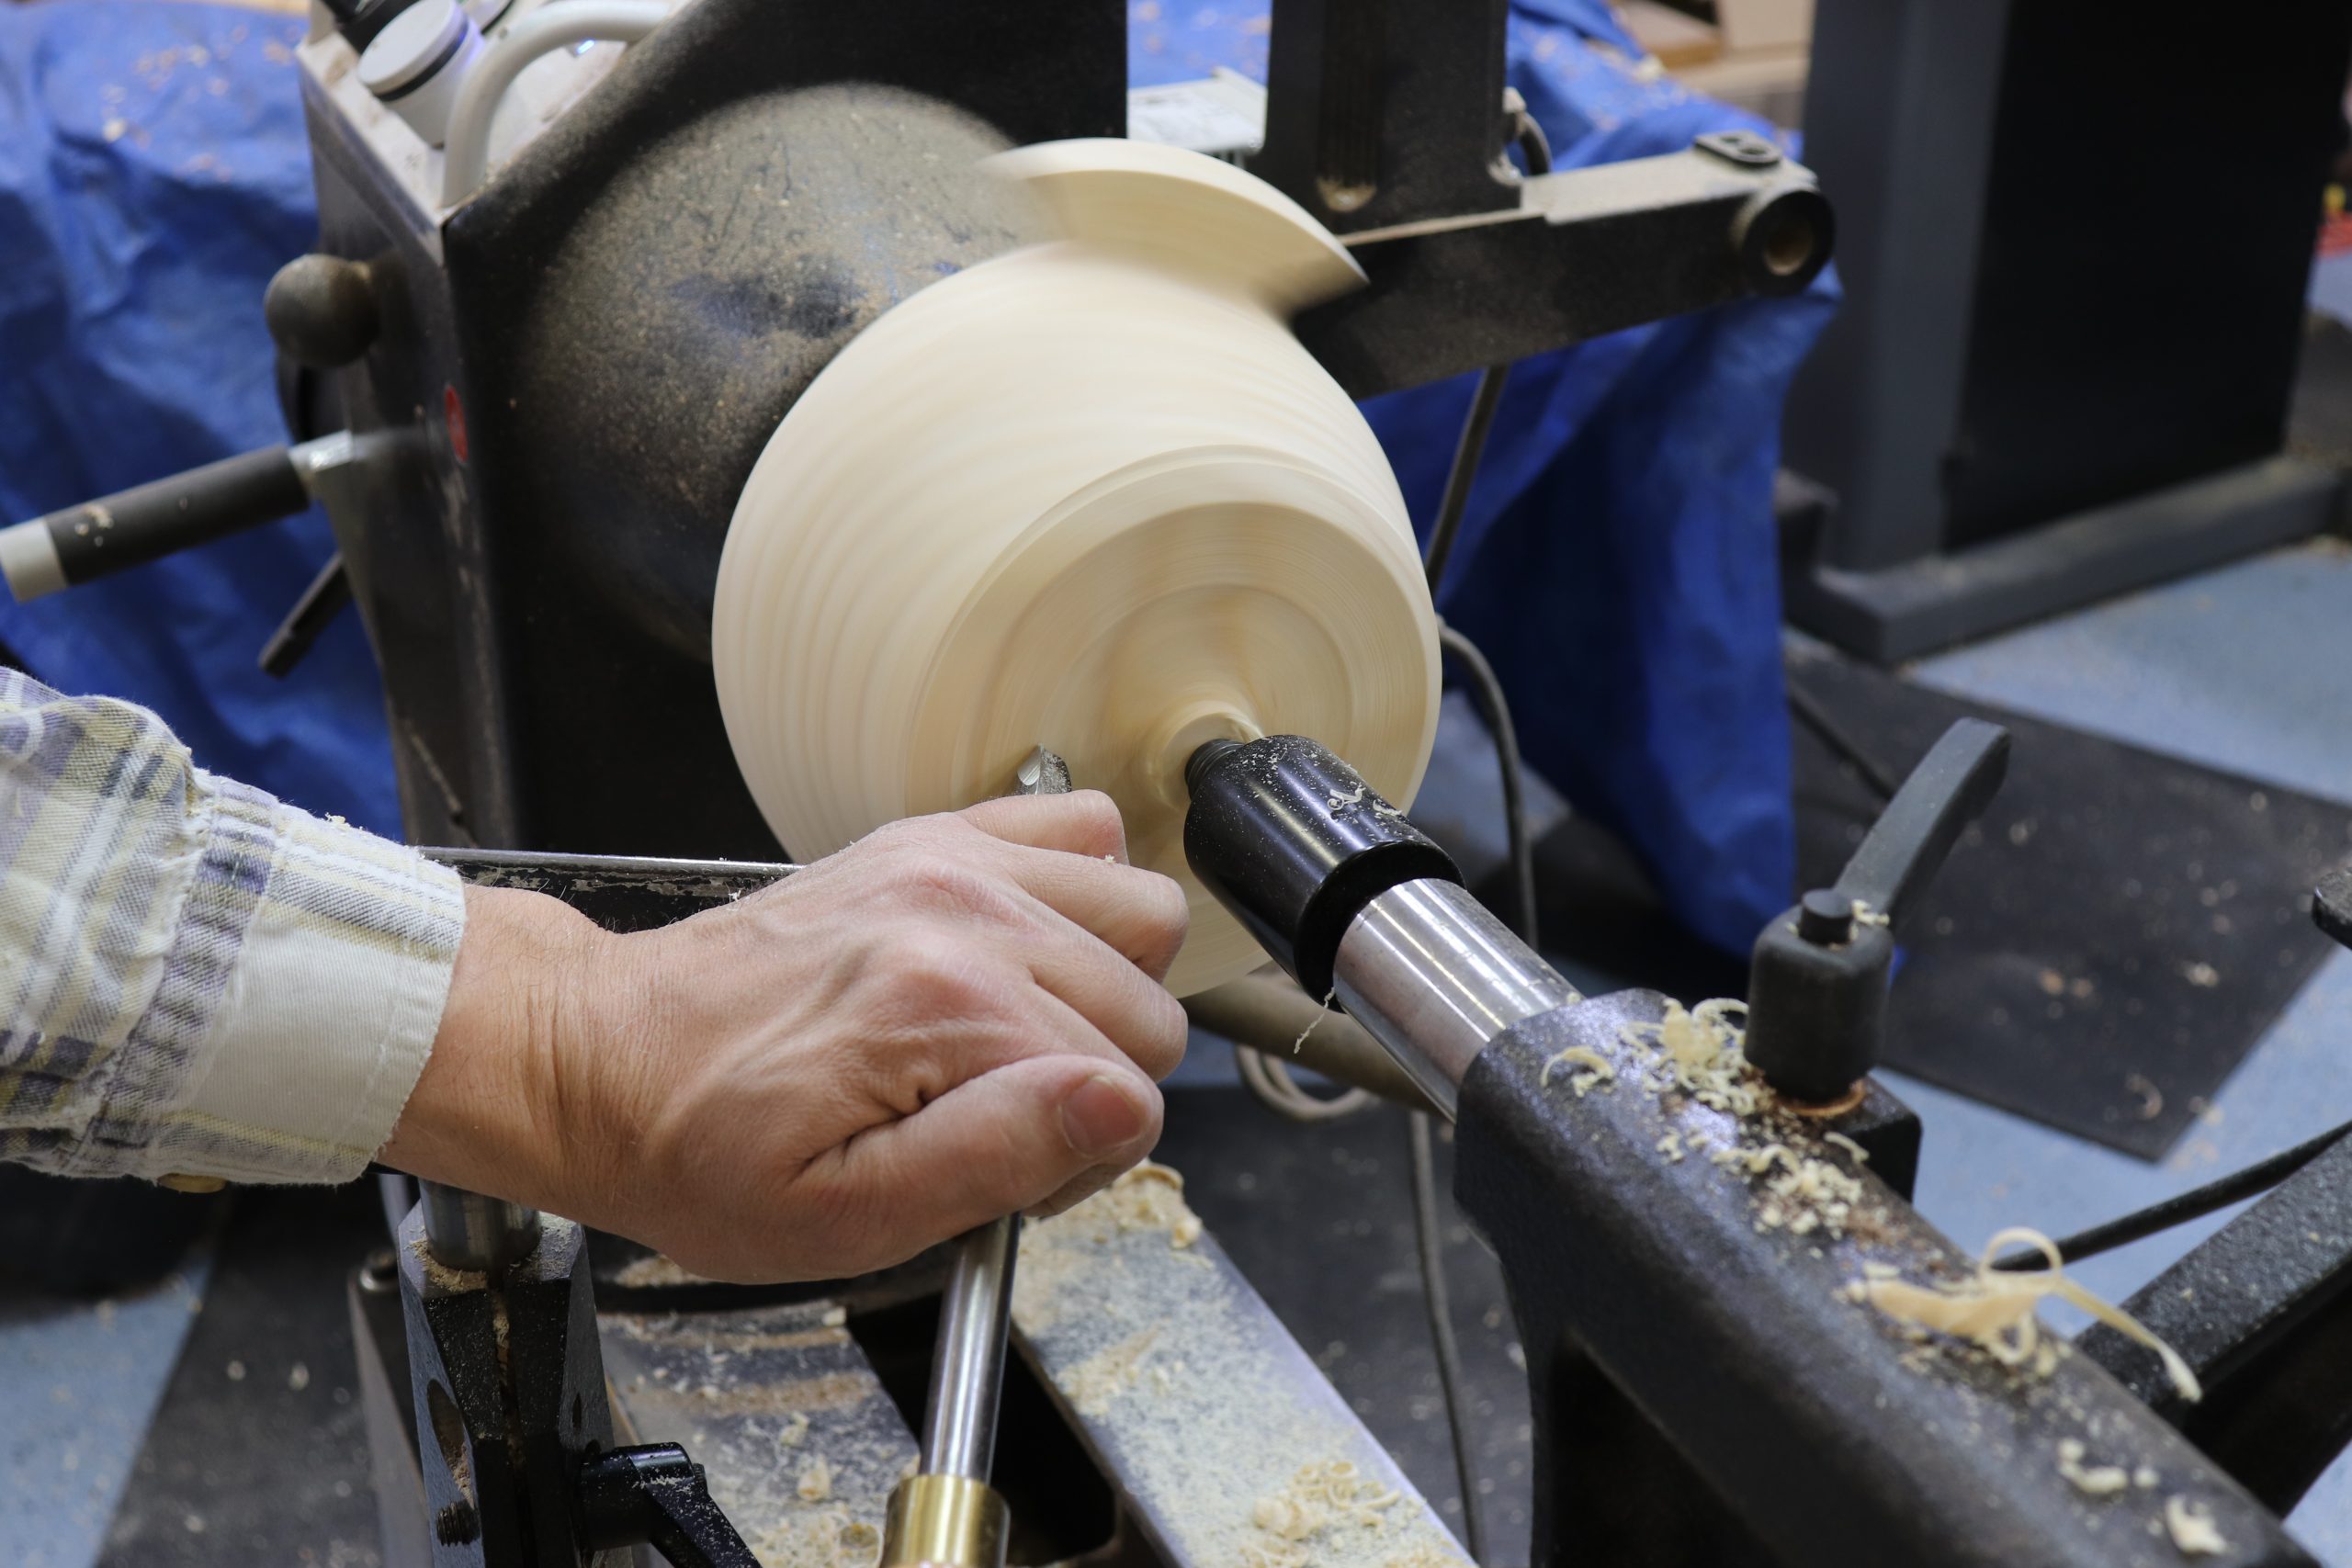
Remount the bowl on the lathe using a jam chuck or vacuum chuck and remove the tenon.
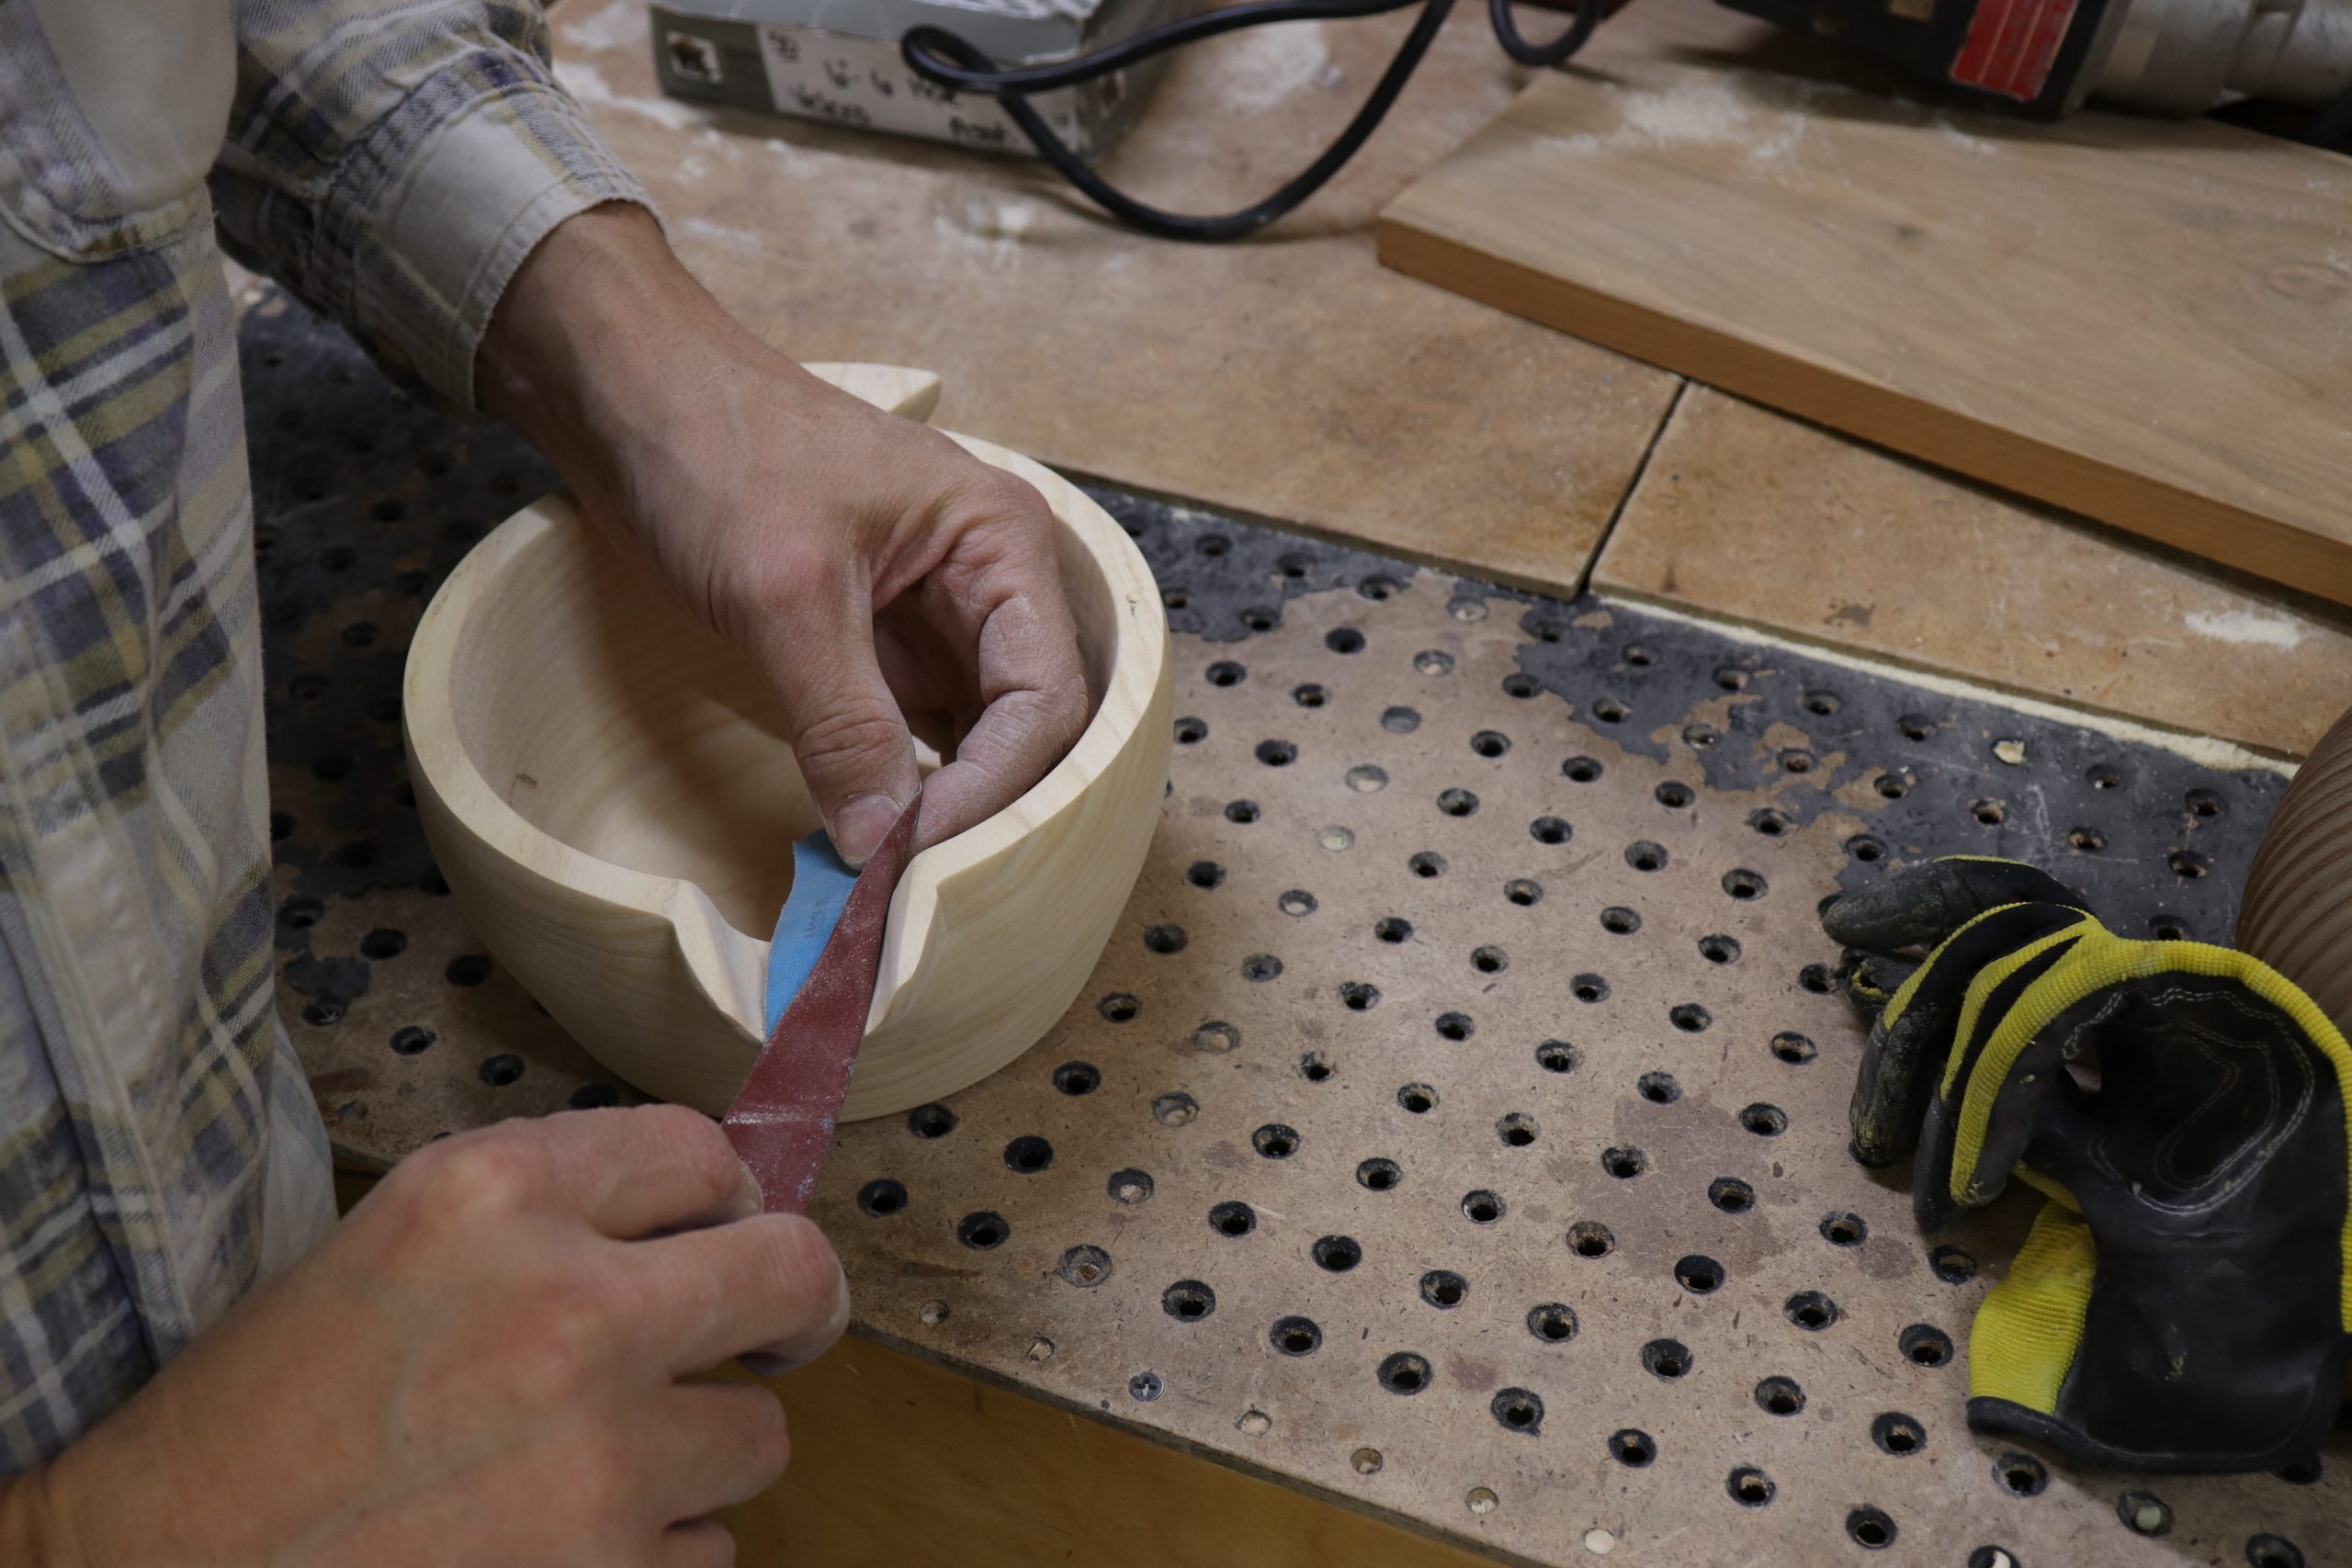
Rasps and die grinders leave many tool marks, so carefully sand everything using a random orbital sander for the body of the bowl, and hand sanding in areas that are hard to reach with power sanders.
If you want to hold the liquid in your spouted bowl, you will want to finish using epoxy. Check with the epoxy manufacturer to determine if their product is food safe. Otherwise, apply your finish of choice.
The post Turn and Carve a Spouted Bowl appeared first on WoodWorkers Guild of America.
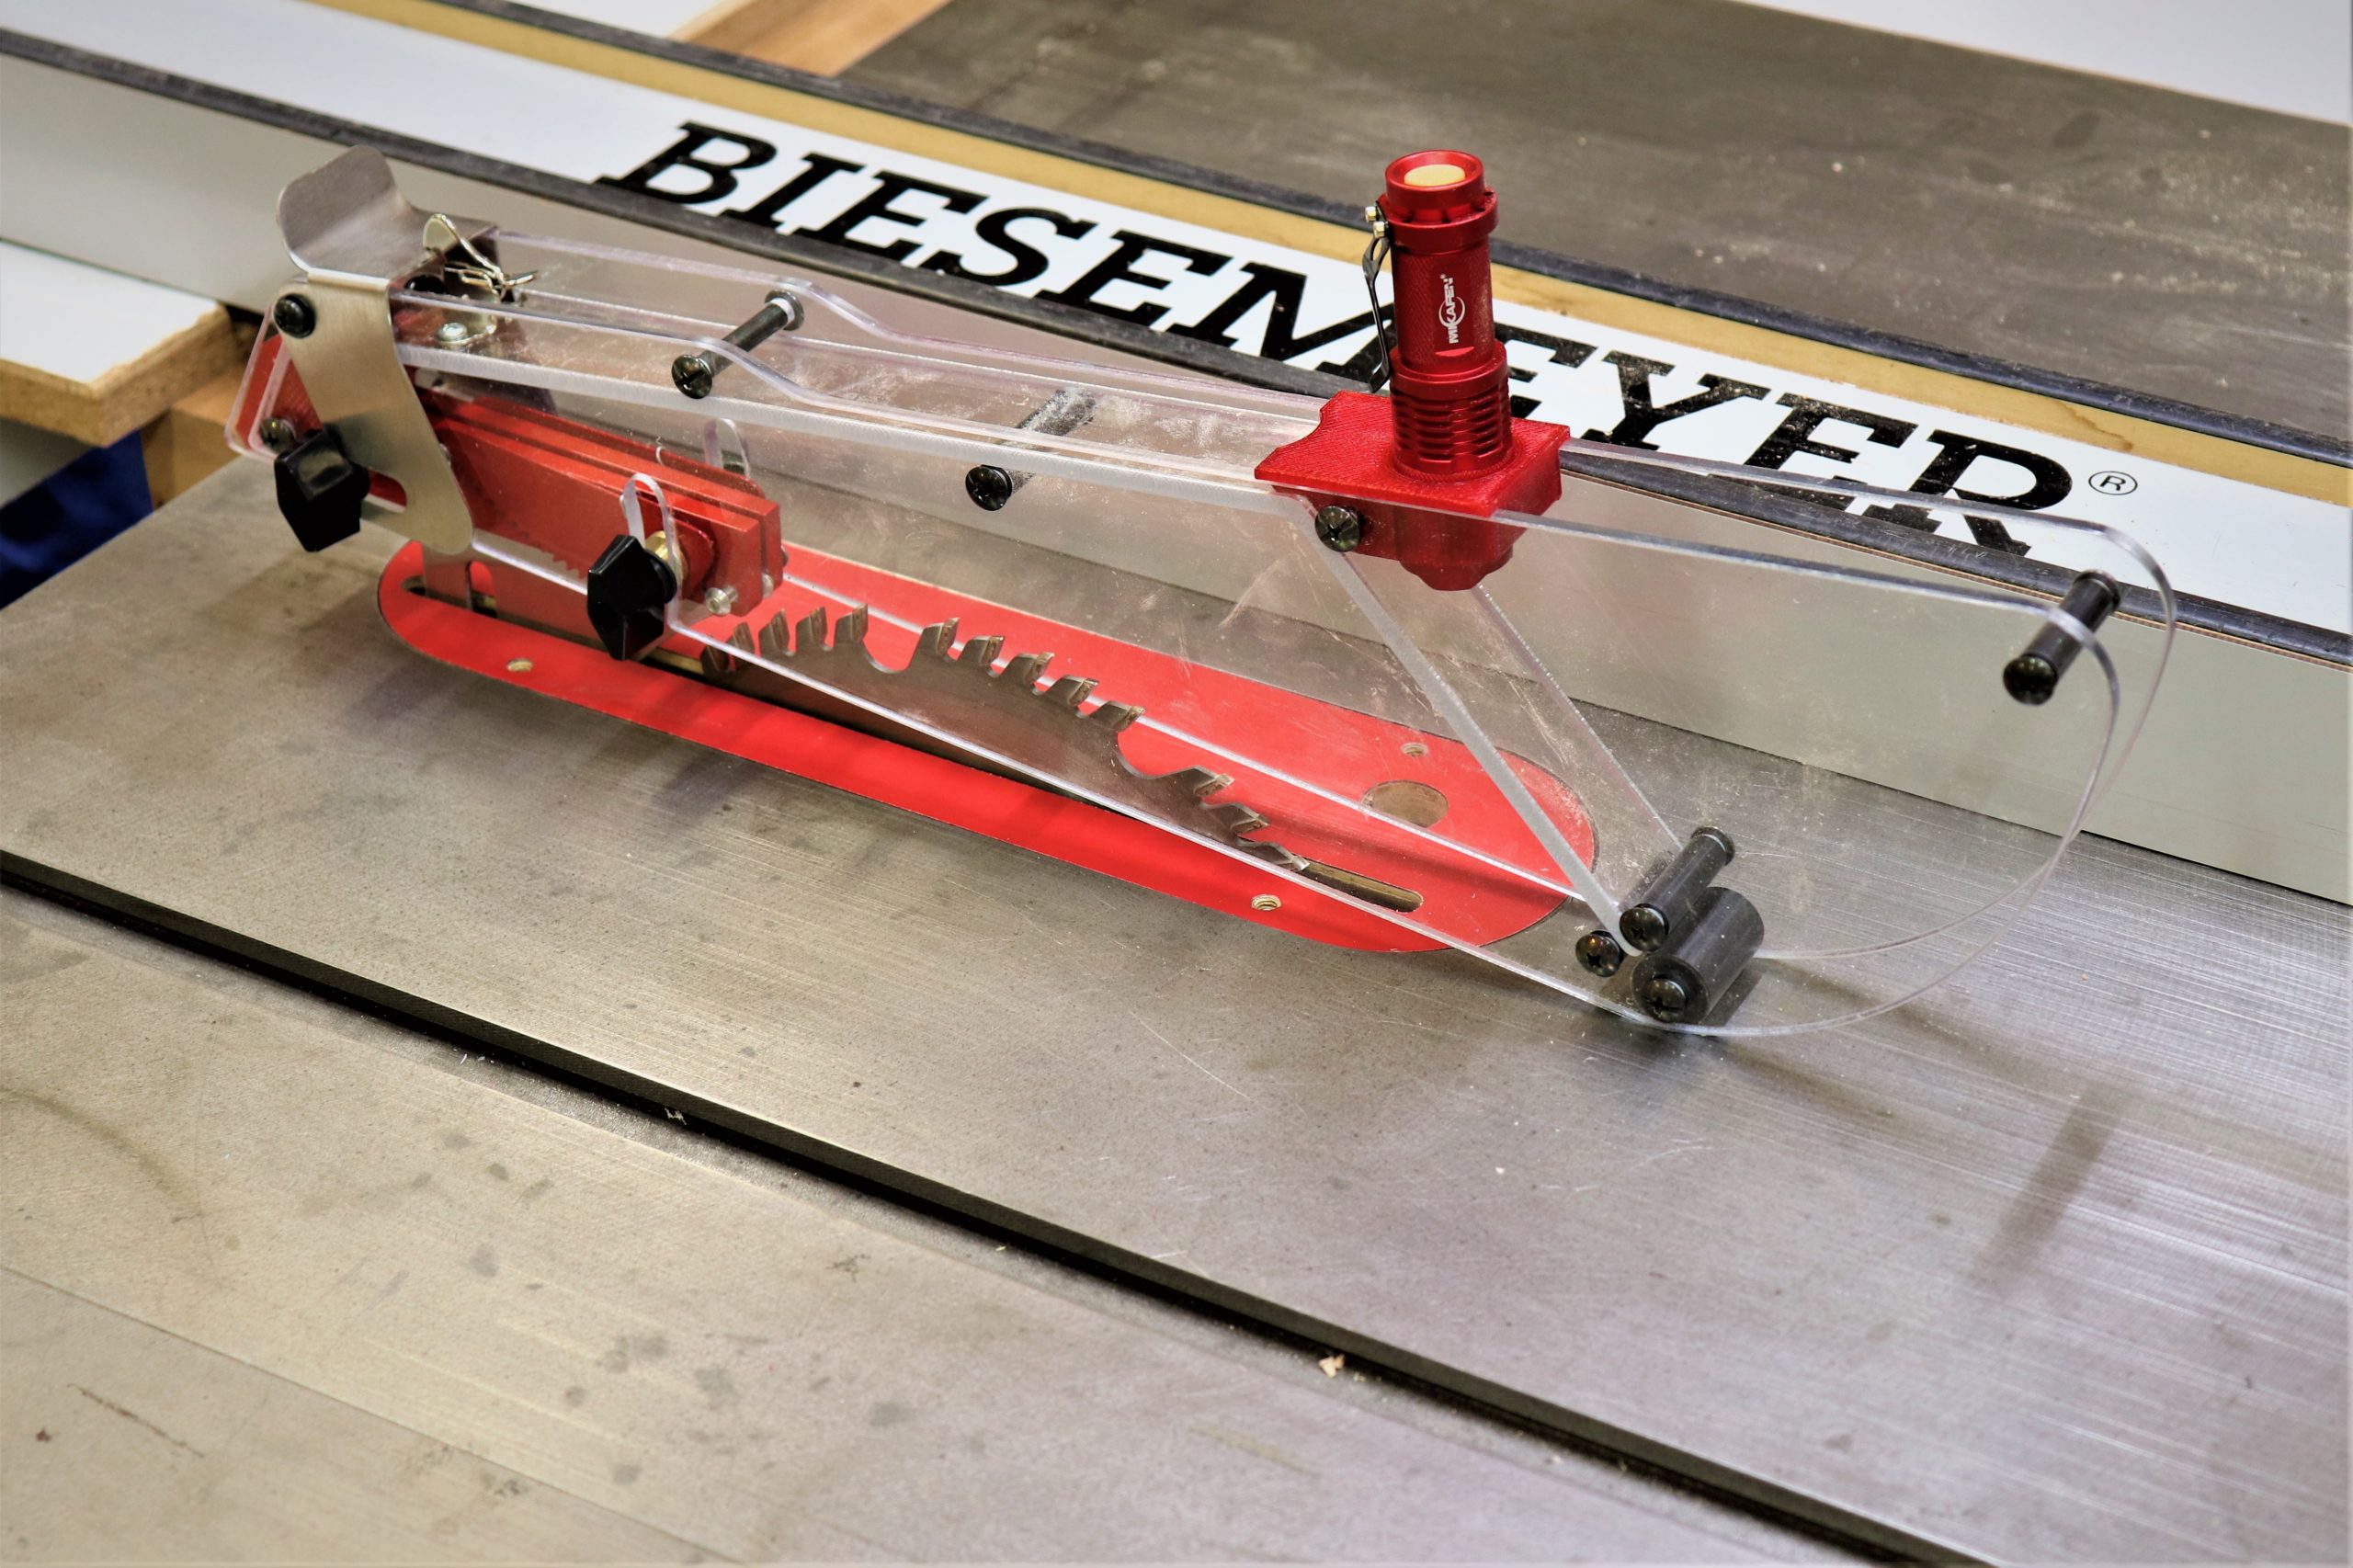
I’m always on the lookout for ways to improve safety and efficiency in my shop. My late 90’s Delta Unisaw came with an adequate stock blade guard for its time, but, like many saws from that era, it was tricky to remove, reinstall, and align with the blade.
The Shark Guard is designed to provide improved protection, along with simplifying the installation/removal process. As a bonus, it offers an optional dust collection shroud that can capture dust that evades the under-table collection on a table saw.
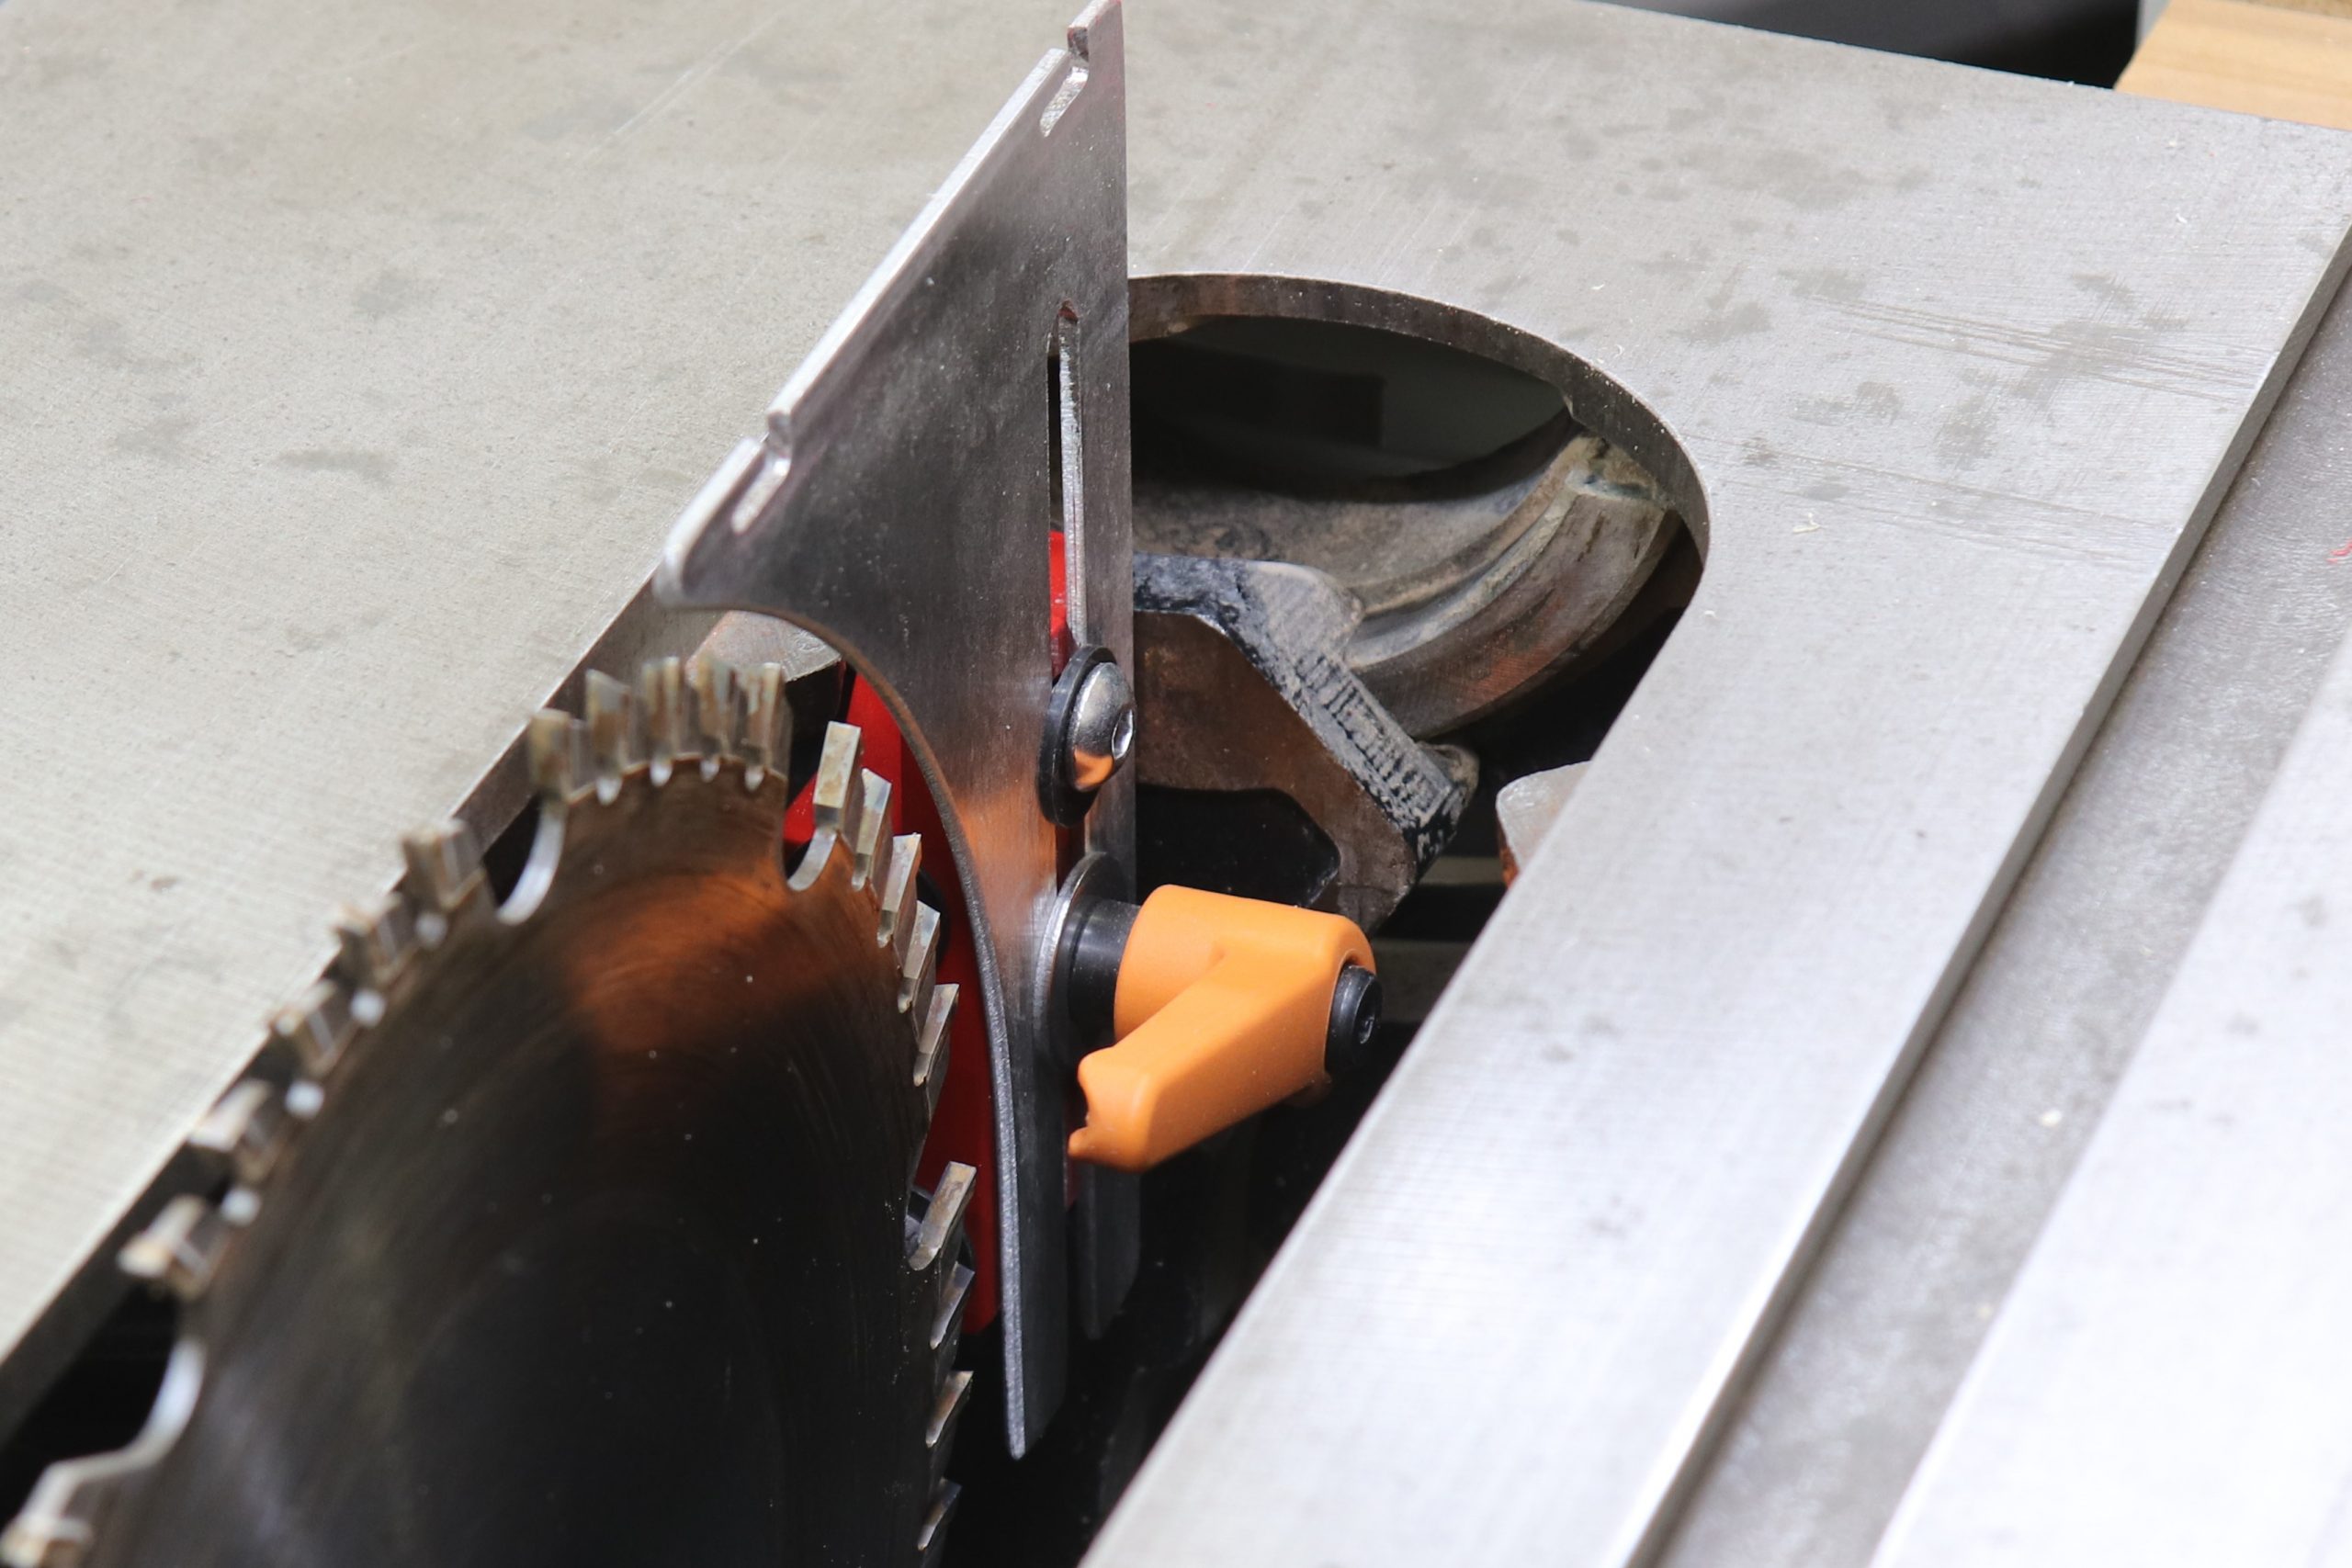
The Shark Guard was simple to install, and within 30 minutes of opening the box, I was up and running. I just removed the mounting blocks for the stock blade guard and installed the single mounting block for the Shark Guard. A single mounting block simplifies the installation and removal, and the convenient hand lever means height adjustments can be made quickly without tools.
The Shark Guard is made using high-quality Lexan, with material that is 70% thicker than the stock guard on my saw. It is built with modularity in mind so that if there is ever damage to a component, it can be easily replaced. The modularity also allows for add-ons such as dust collection or an LED light, whether they are purchased with the unit upfront or added down the road.
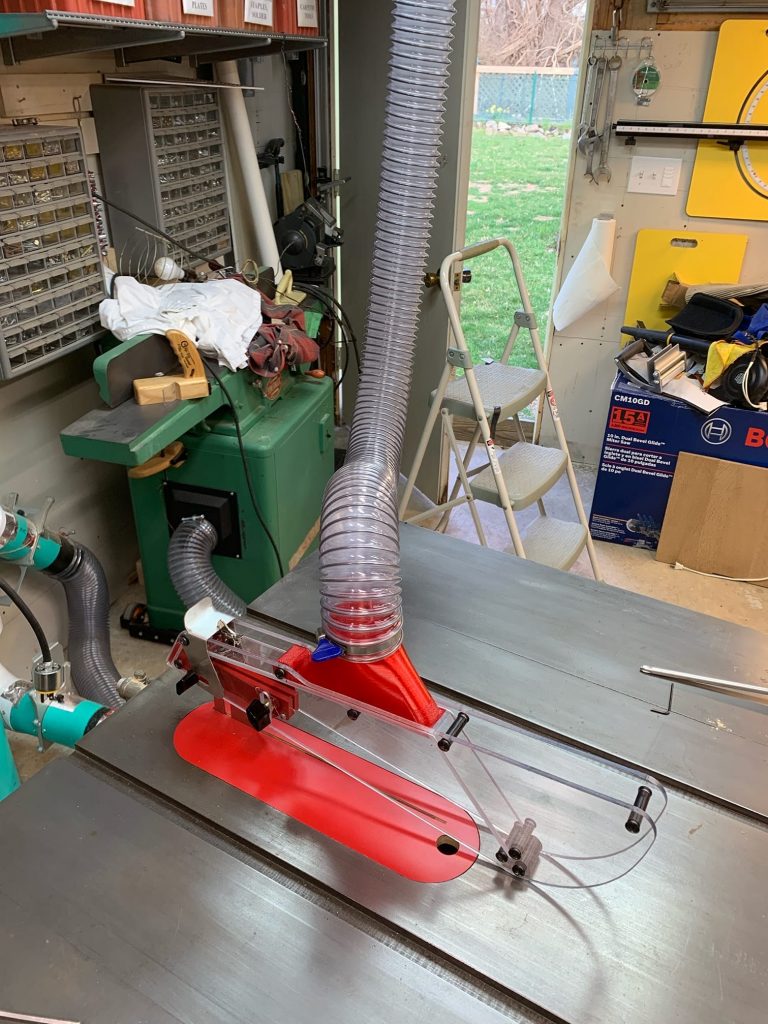
To get the Shark Guard’s full benefit, there are optional dust ports that can be added so that your dust collection system can pull directly from the blade guard housing. There are three standard sizes to choose from; 2-1/2″, 3″ or 4″. A dust port can be added to the Shark Guard in a few minutes by simply removing a few screws.
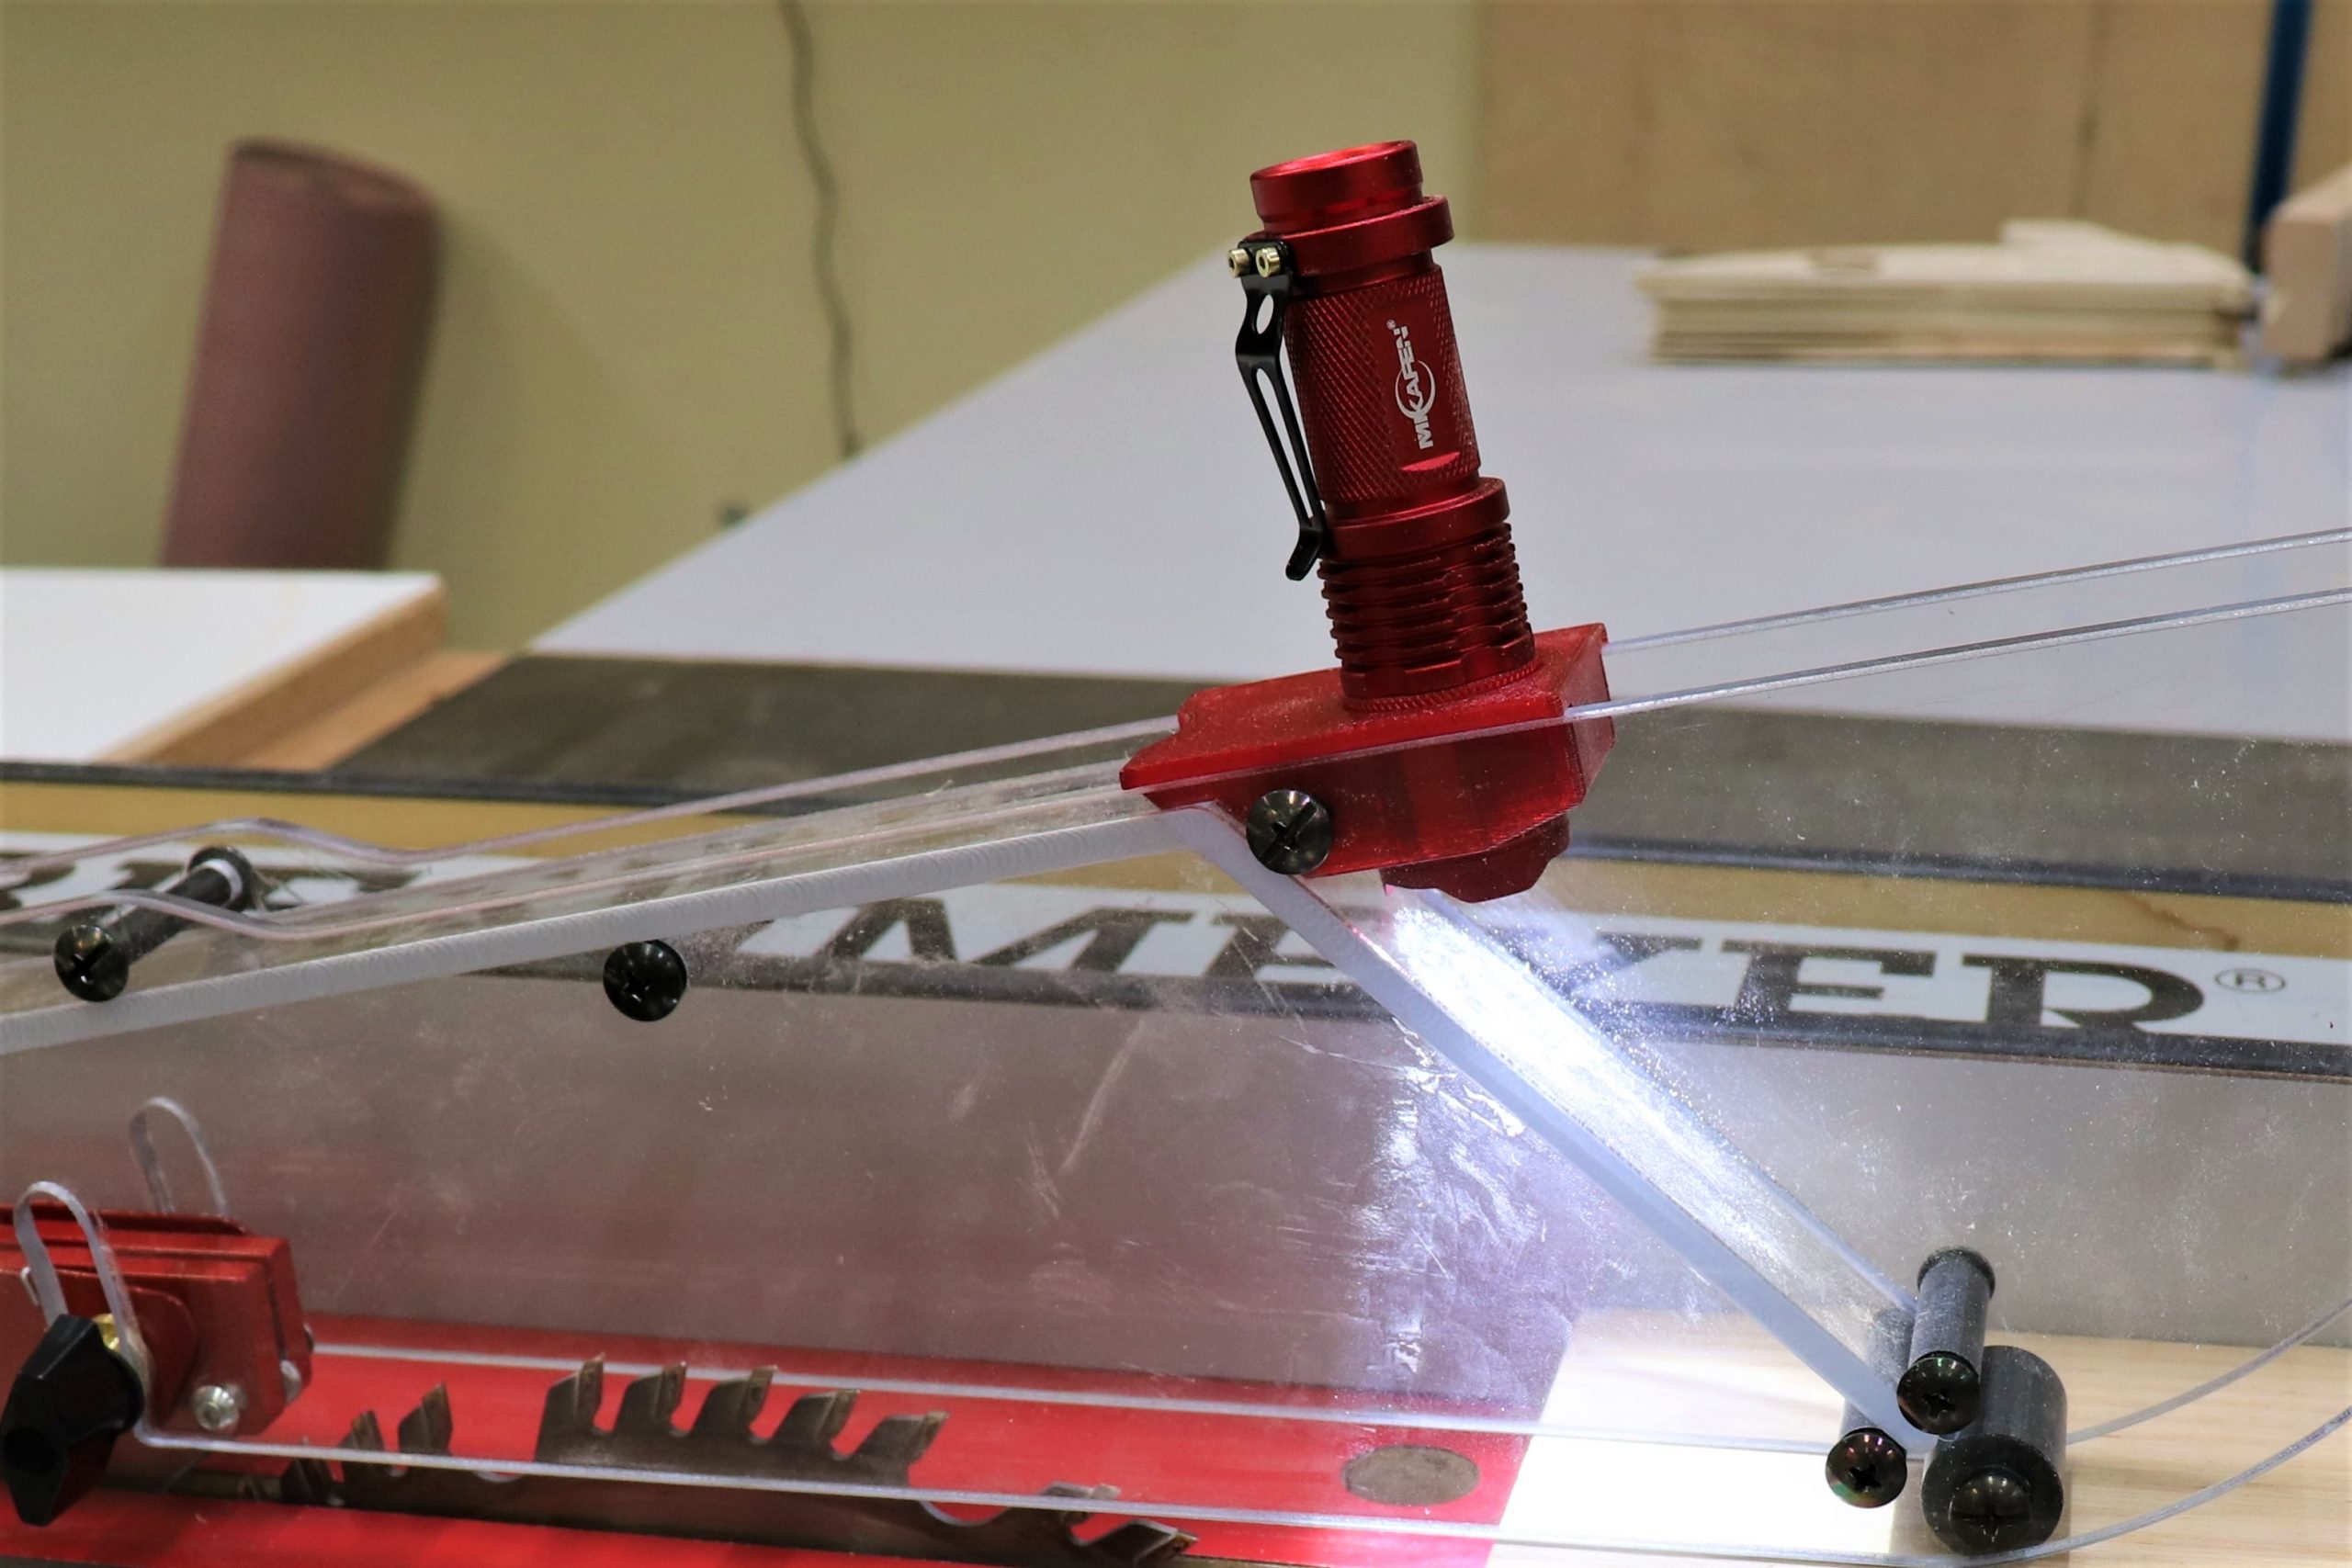
To help you keep an eye on the blade, an optional LED light can be added to the front area of the blade guard. This is a neat feature and really lights up the area in front of the blade.
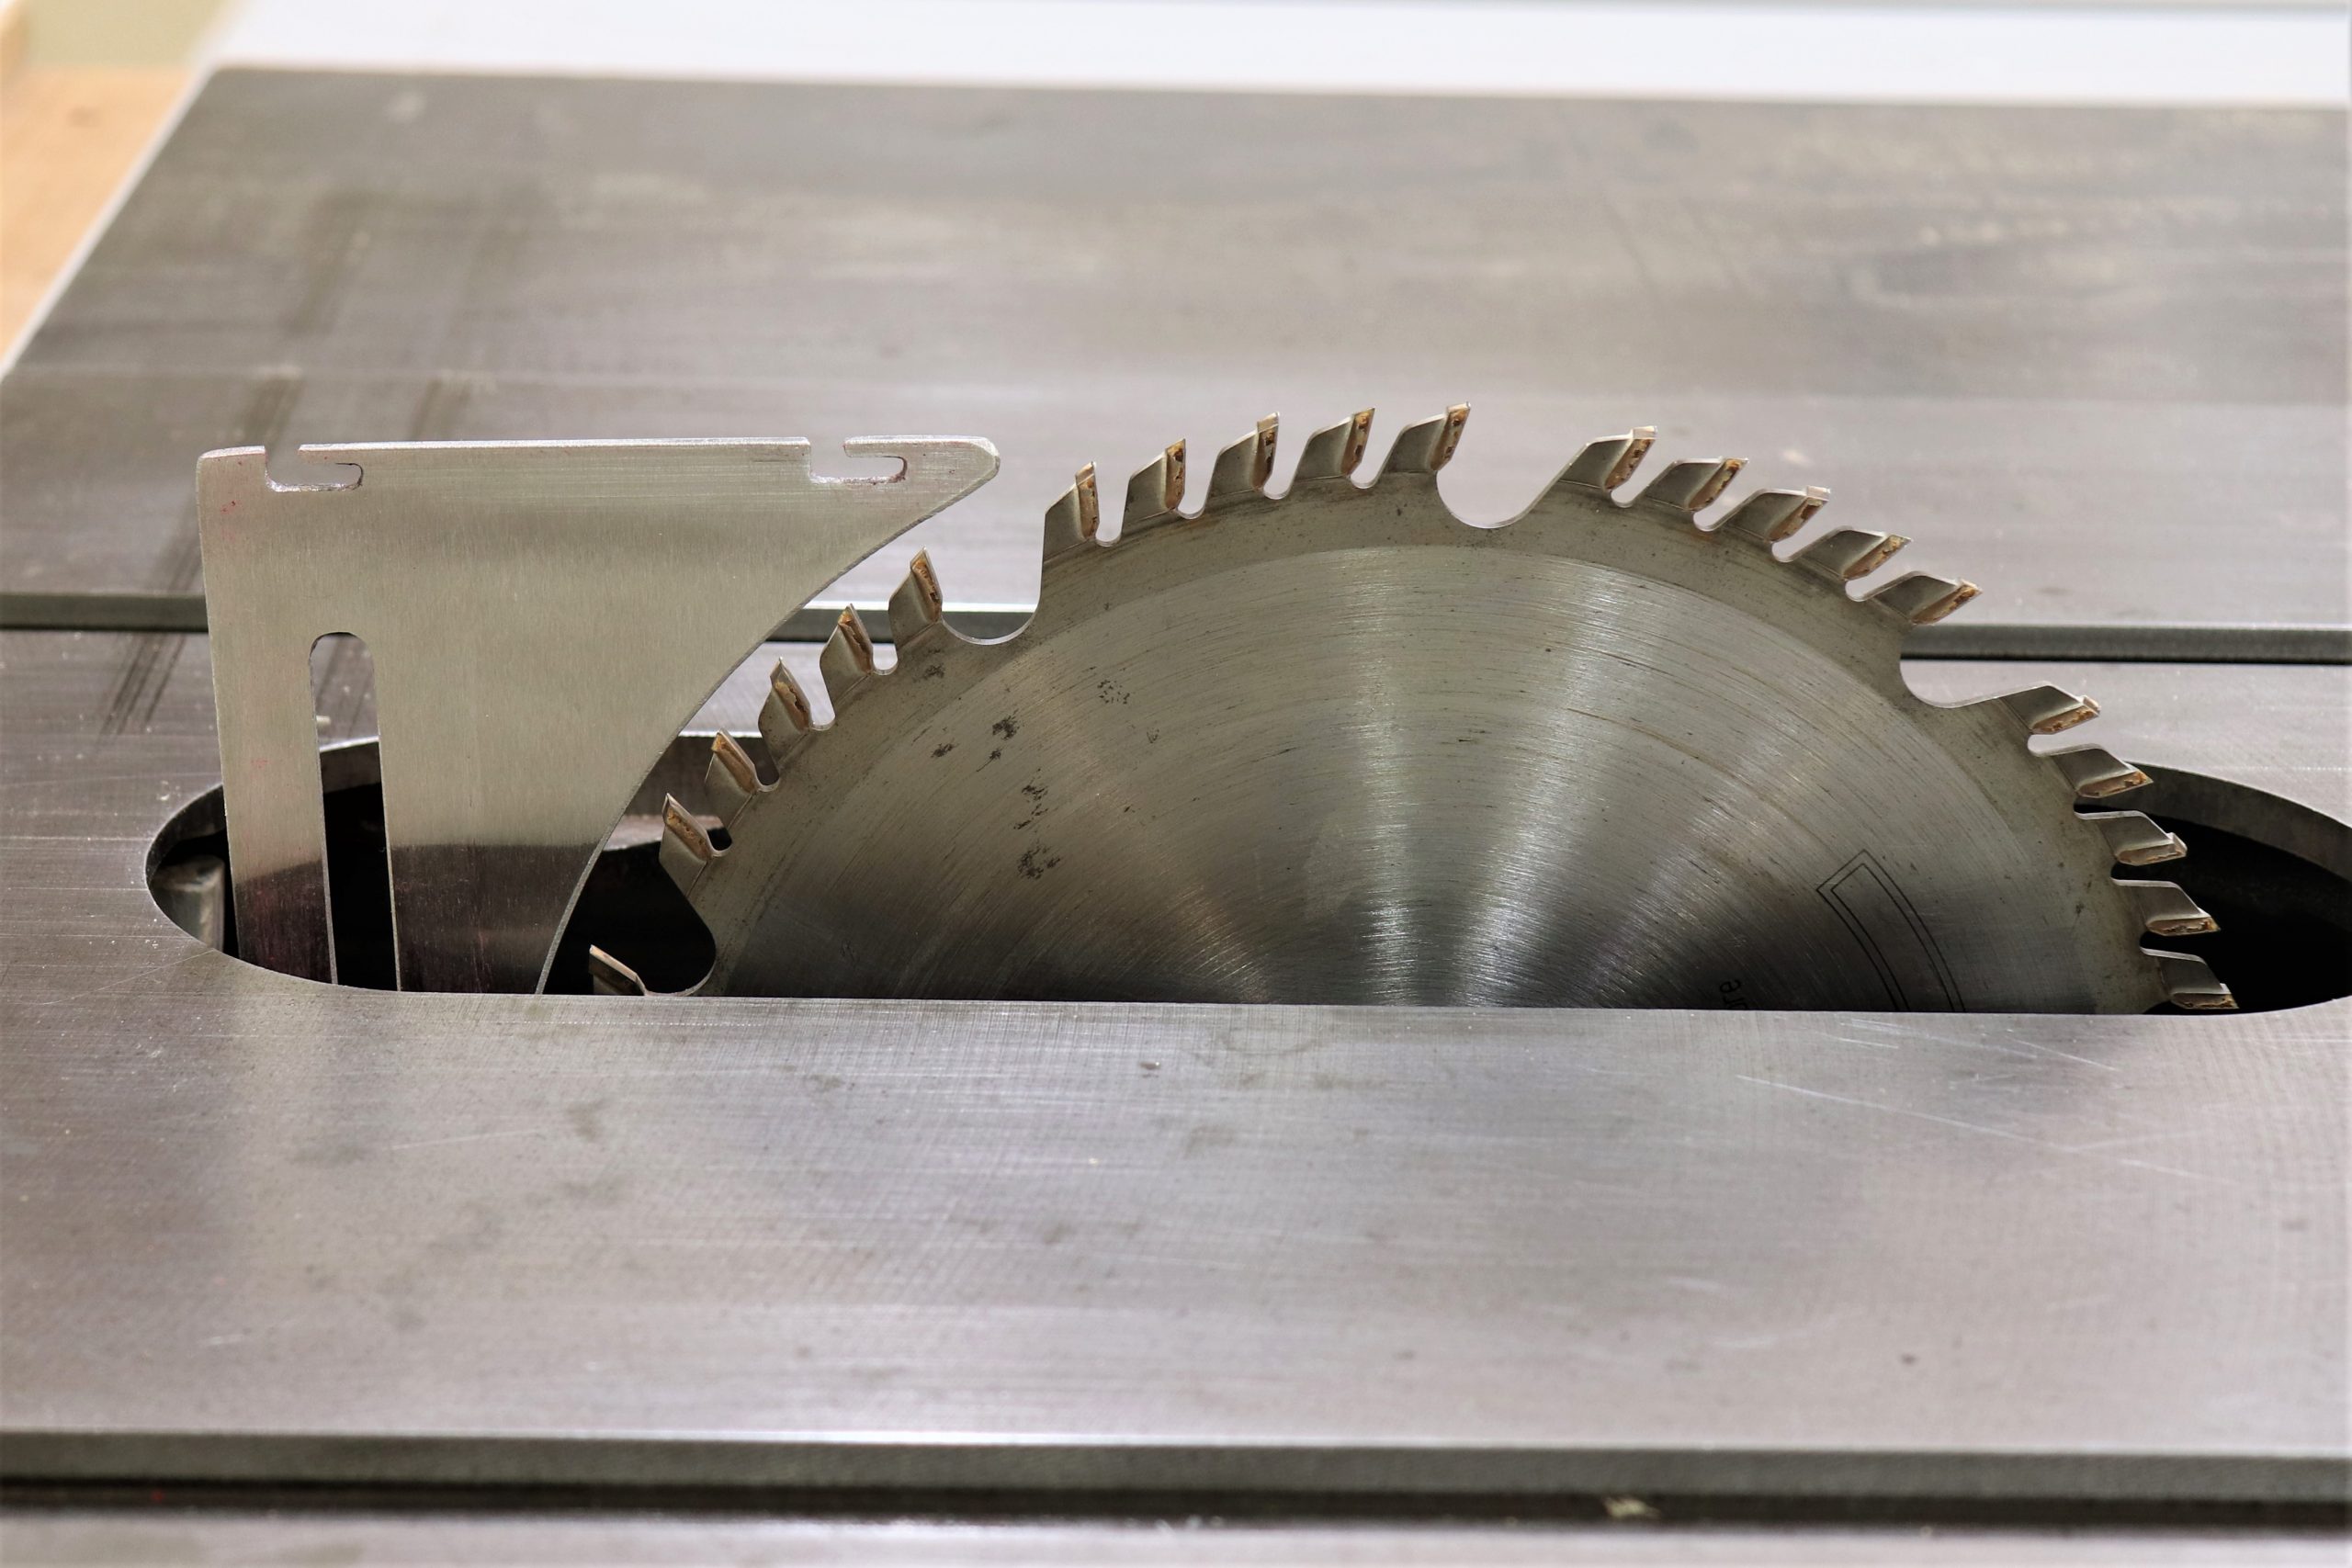
Riving knives are a great safety feature that sits directly behind the saw blade to prevent a workpiece from shifting into the blade and kicking back. A true riving knife maintains a consistent gap between it and the blade, moving with the blade as it raises, lowers, and tilts. Riving knives differ from a splitter, it doesn’t raise and lower with the blade, so when the blade is lowered, the gap between the blade and splitter increases. As the gap increases, so does the risk of kickback. Riving knives have been a required feature on any table saw sold in the US since 2008. Unfortunately, my saw is one of many saws still in service that do not have this feature in place.
While a true riving knife cannot be easily retrofitted, the Shark Guard provides the closest thing that I’ve seen, with what the company refers to as a “manual riving knife.” This feature shares some similarities to a true riving knife, including the ability to adjust the height and proximity to the blade and following the radius of a blade to maintain a consistent gap between the splitter and the blade. That can dramatically reduce the chance of kickback occurring because it supports the workpiece directly after passing the blade. The difference is that the height adjustments have to be made manually, compared to a true riving knife that moves with the blade.
There are different thicknesses of riving knifes available to accommodate various blade kerf sizes.
The Shark Guard has proven to be convenient to use. I can go through the entire process of removing the guard, making a height adjustment, and reinstalling the guard in less than 30 seconds. For the few times that I will have to make this adjustment throughout a typical project, I feel that an additional couple of minutes is well worth the additional safety.
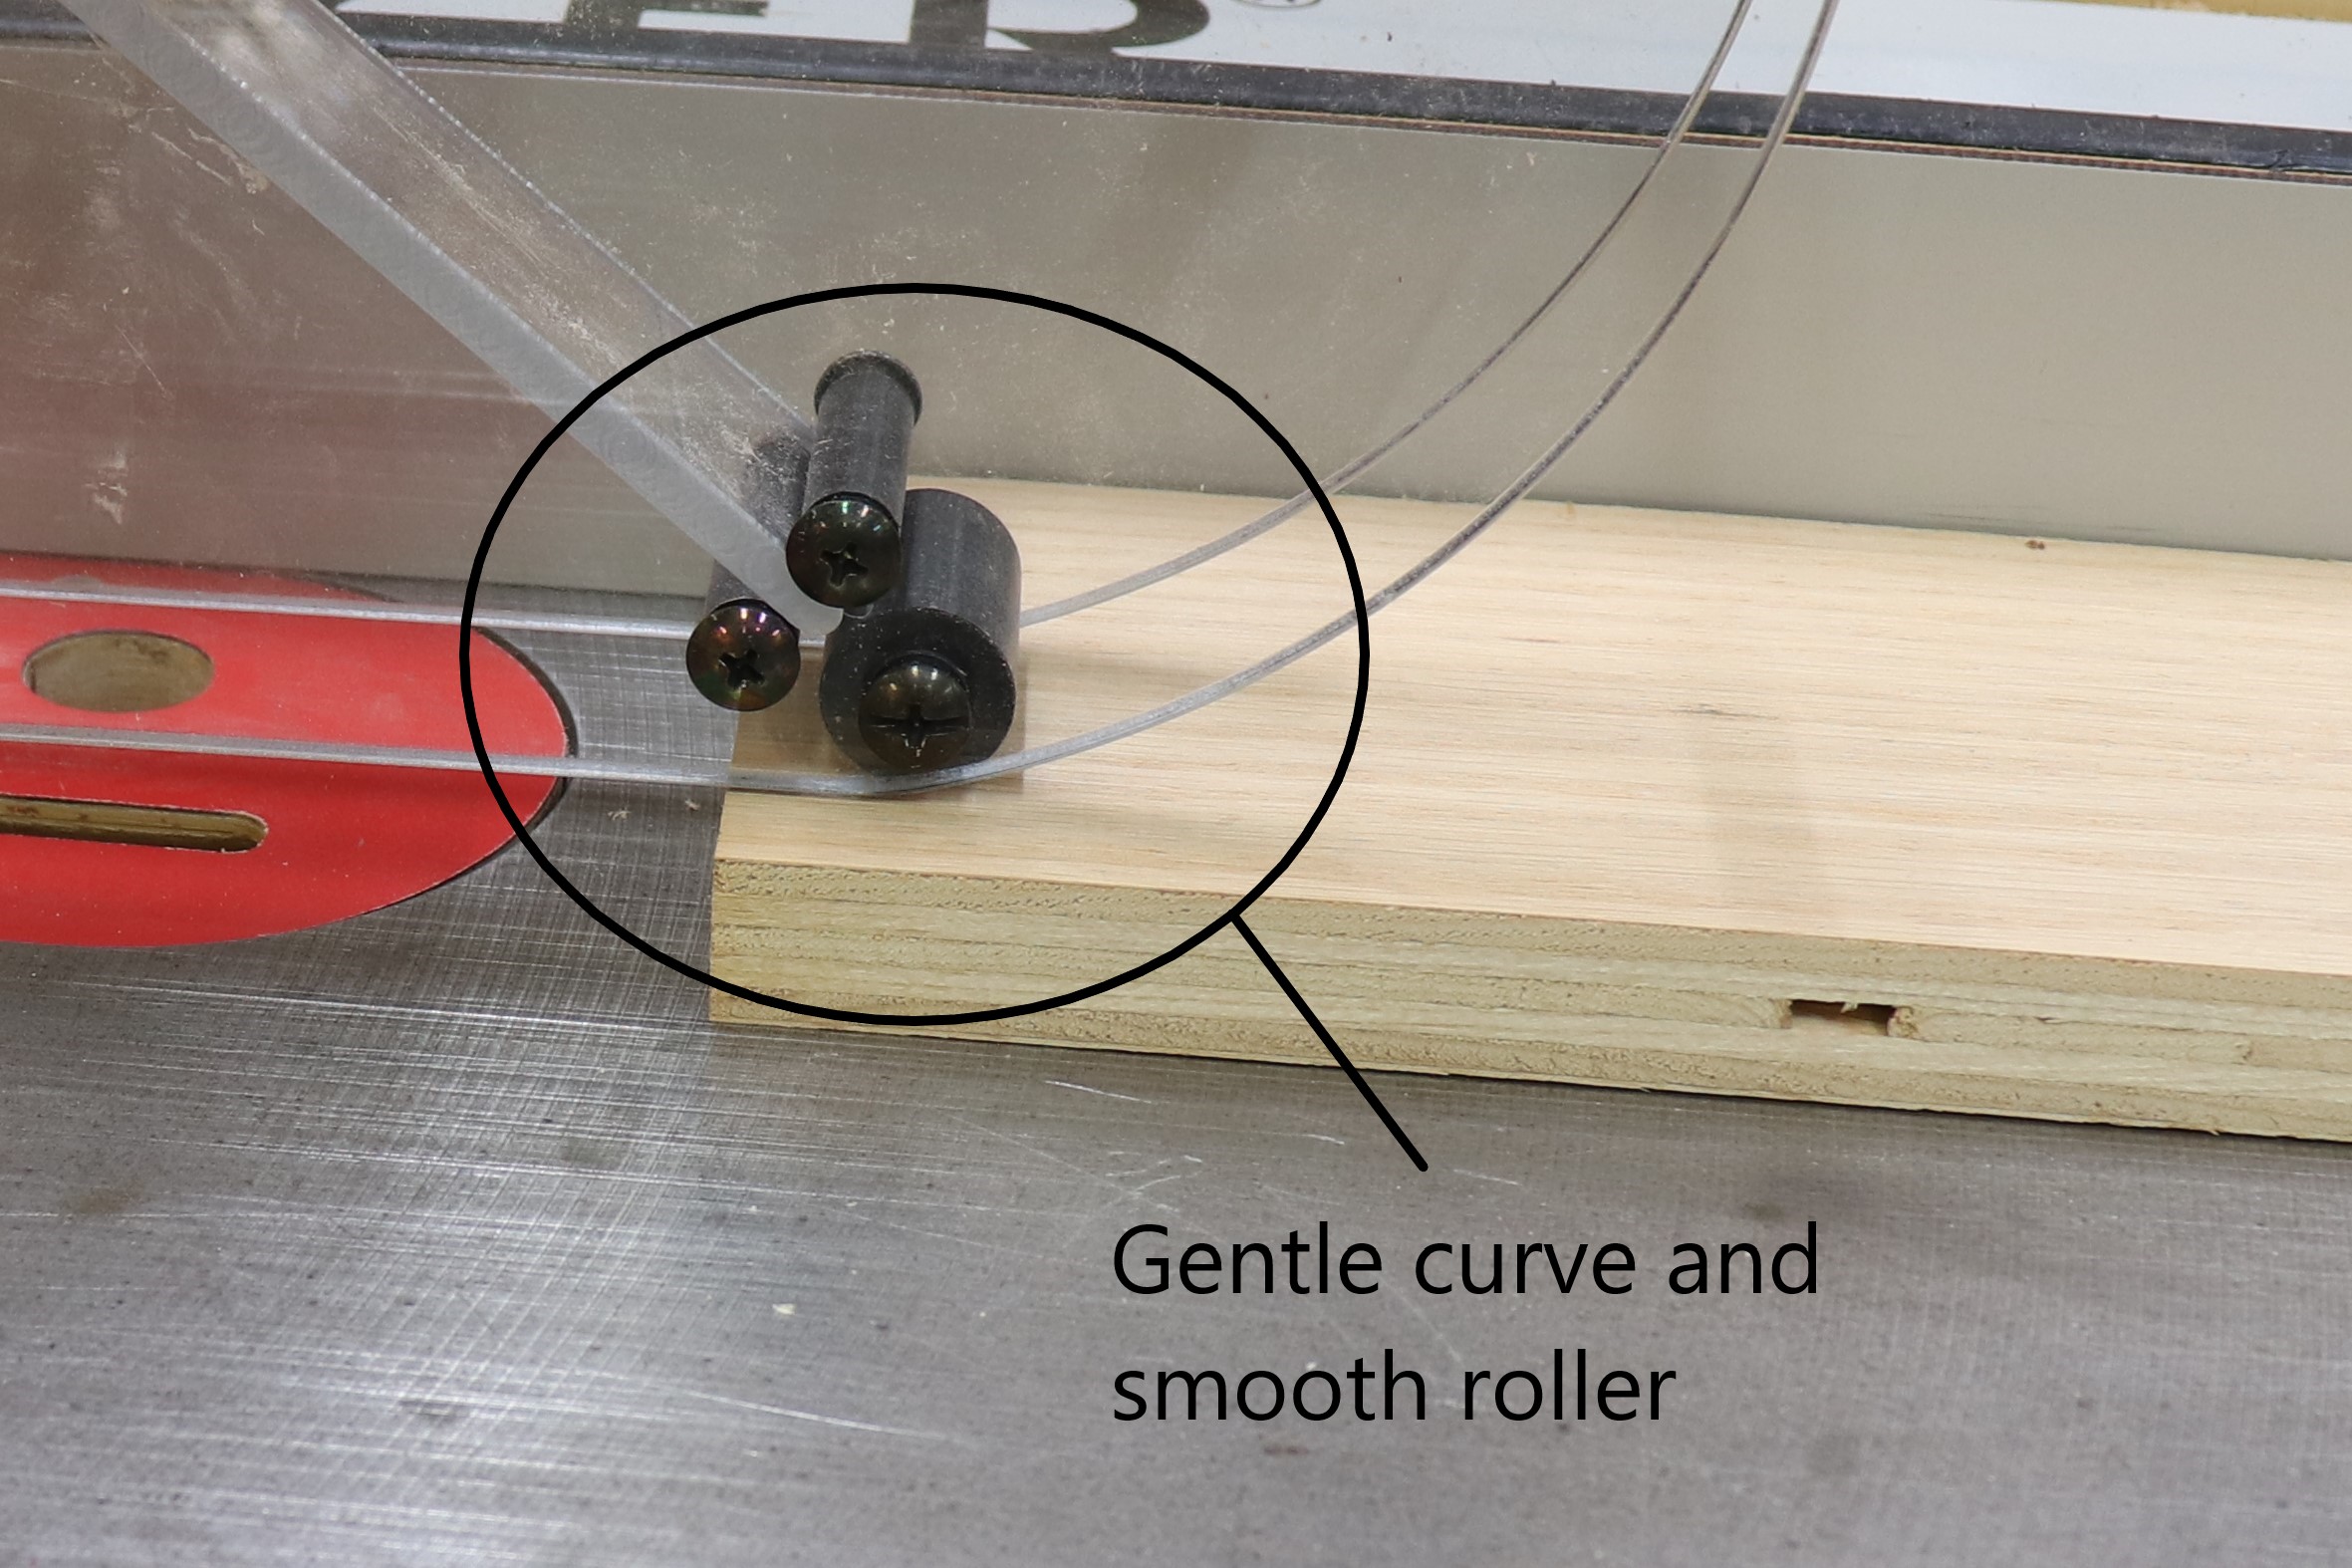
I have felt uncomfortable resistance from some older style stock guards when the workpiece reaches the blade guard, leading to unsafe actions to lift the guard. The Shark Guard has a thoughtful design in this area that I really like, which is the roller positioned near the front, along with the gentle slope of the lower front of the guard. This makes it very smooth and easy to feed stock through the saw, with no disruption as the workpiece ducks under the guard to approach the blade.
The Shark Guard comes in various configurations to fit most saws and dust collection systems and saw blades. If you can’t find your exact configuration on the Shark Guard web site, I would encourage you to pick up your phone and call, as you will find the level of service with the Shark Guard team to be impressive.
Source
Products shown:
Shark Guard Delta ARK package: $240
Light Kit: $40
Throat Plate: $30
Photos by author
The post Upgraded Safety for an Older Table Saw – Introducing Shark Guard appeared first on WoodWorkers Guild of America.
