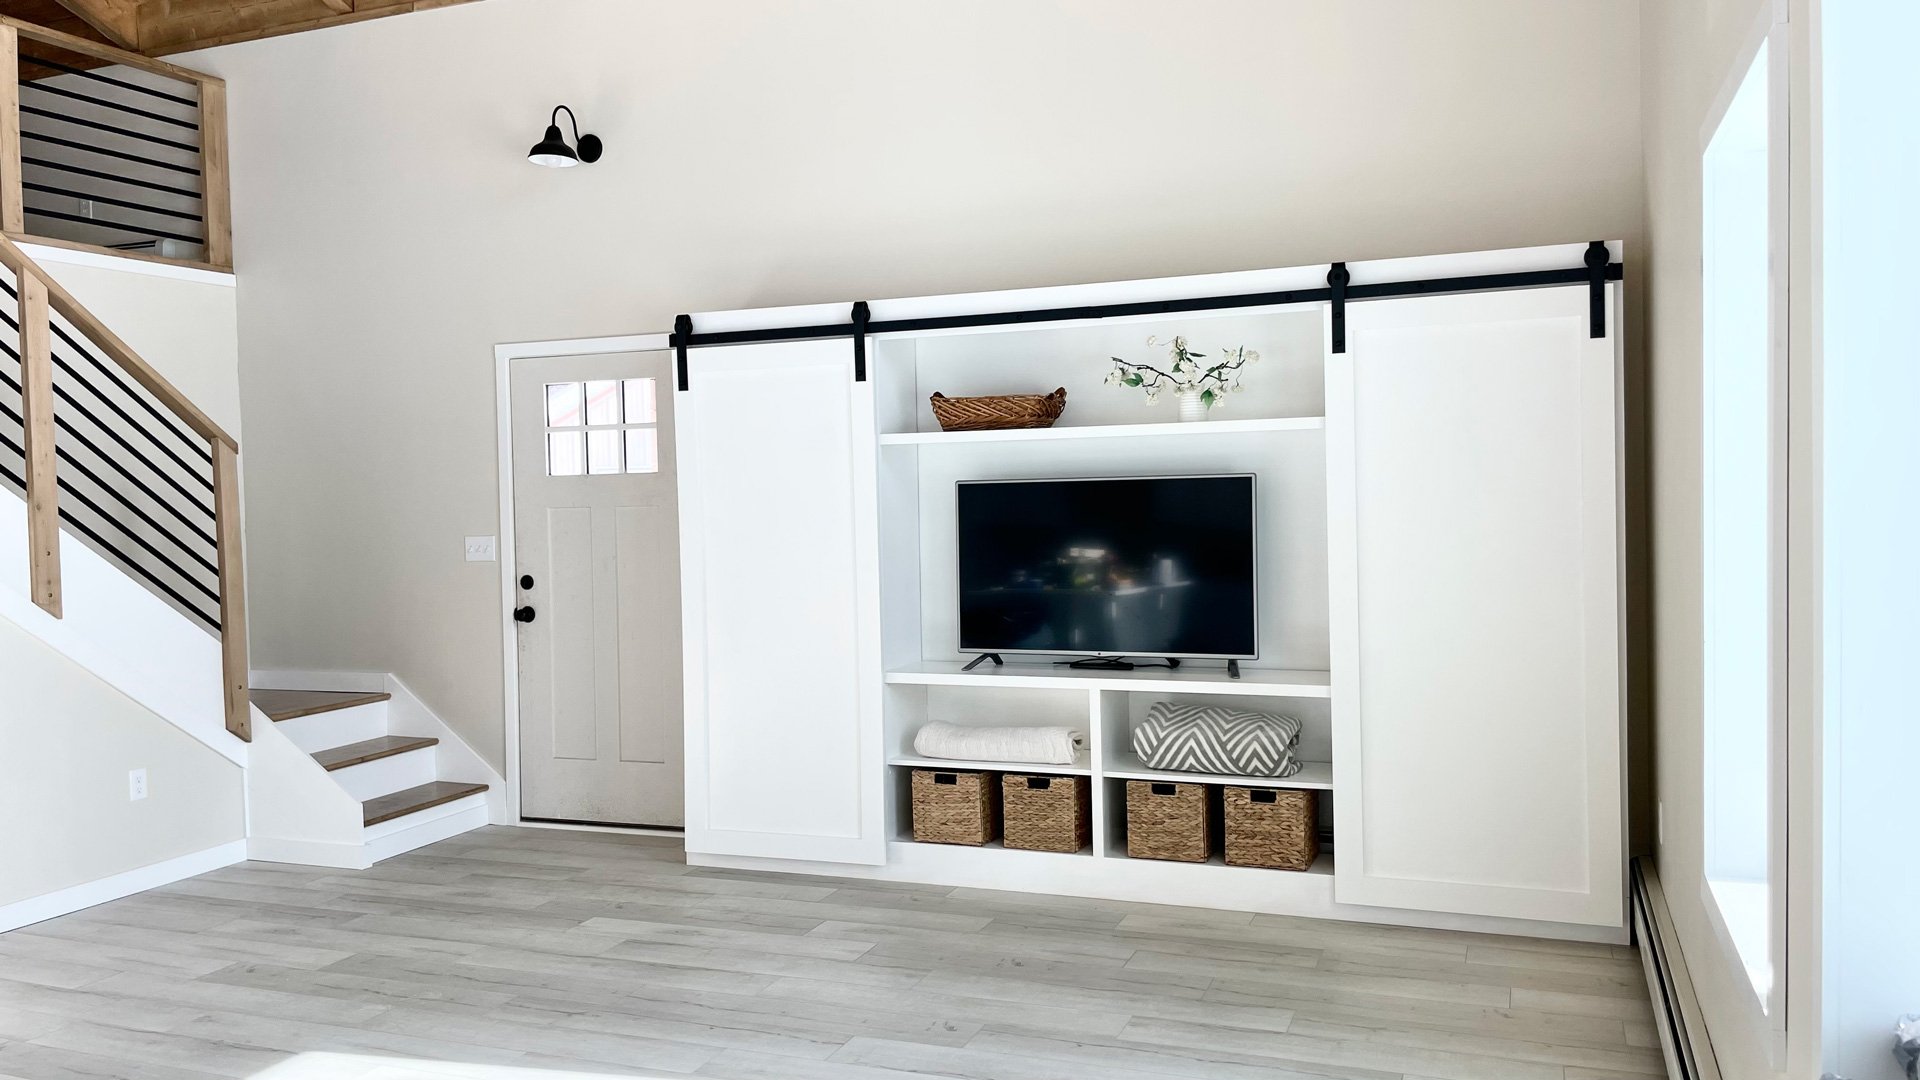
This beautiful barn door entertainment center does it all while looking good too! It is a HUGE project - up there with a kitchen build - but with the simplified step by step plans, not hard to do. It took us two days to build and finish and cost us about $1000.
Barn Door Entertainment Center Features
Fits TV up to 65" WIDE with adjustable heights
TONS of storage hidden and exposed, perfect for hiding and displaying
Top can be used for storage or display too
Sliding barn doors keep everything easily accessible
No door swings, so can fit in a tighter space
Durable 3/4" plywood construction with face frames is how the pros do it - you'll be getting a craftsman quality piece!
Can be easily modified and finished in any color or stain
Watch Us Build It
If you are interested in building this piece, please watch our video, as it will help explain many of the steps.
As a member of both Ana's community and The Handyman Club of America, I get a lot of inspiration for my projects. I happened to find inspiration in the latest issue of Handy Magazine and the raised planter box that they feature. They do list the plans for the planter, however, it requires the use of special tools like a router table, chisels and large pipe clamps. Those may not seems like "special" tools to some of you, but I don't have them so I'm labeling them special. :-) They used pocket hole joinery in their plans, but only in a small part. Why not use them everywhere and make life a bit simpler? I decided to take on the project myself and "re-write" the plans for our community. Reader submitted photo.
The inspiration piece is built out of cedar, if you use a different species of wood and plan to use this outside as intended, make sure you take steps to weather proof your piece of furniture! :-)
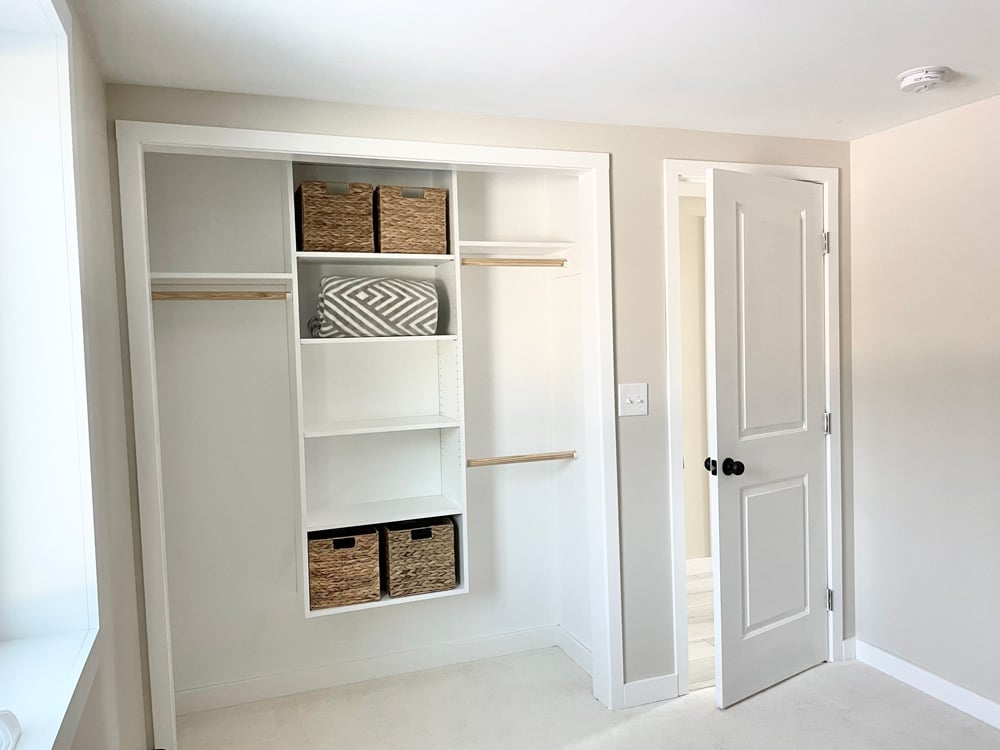
Do you want to upgrade your closet storage systems to something that is durable and custom to your needs? In this tutorial, I'm going to show you how we tackled a small reach-in closet, adding shelving and multiple hanging storage options.
Towers are such a great way to break up closet spaces. The days of one long hanging rod are over - it is so much more functional to break up hanging space to sort items, and to increase folding space.
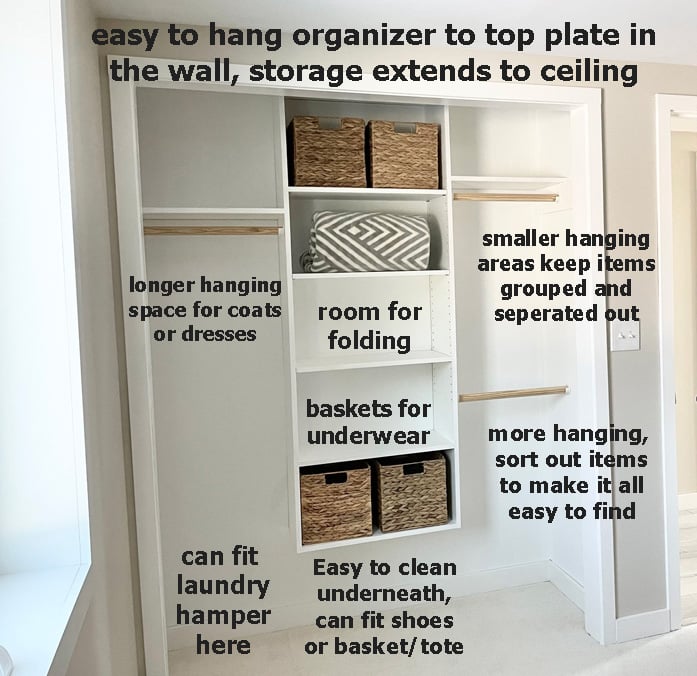
Here's what we love about this closet:
Off the floor, so easy to clean under and space could be used for totes, baskets or shoes
No need to remove baseboards under closet or cut around
Attached to top plate in wall, so easy to hang without drywall anchors or finding studs
Storage all the way to the ceiling
Smaller hanging areas to help sort out different hanging items (for example, short sleeves on one, long sleeves on the other)
Plenty of easy to reach folding space
Can be designed to fit specific baskets
Divided out upper space for lesser used items
High quality construction will last forever (not particle board!)
Can be changed up, reconfigured, added on since it's real wood
Can be repainted or finished since it's a home finish and not a plastic sticker finish
And also created a plan to help further explain the steps. The plans follow (scroll down). Thank you for watching and using our plans, please share photos of your completed projects, we do love seeing your work!
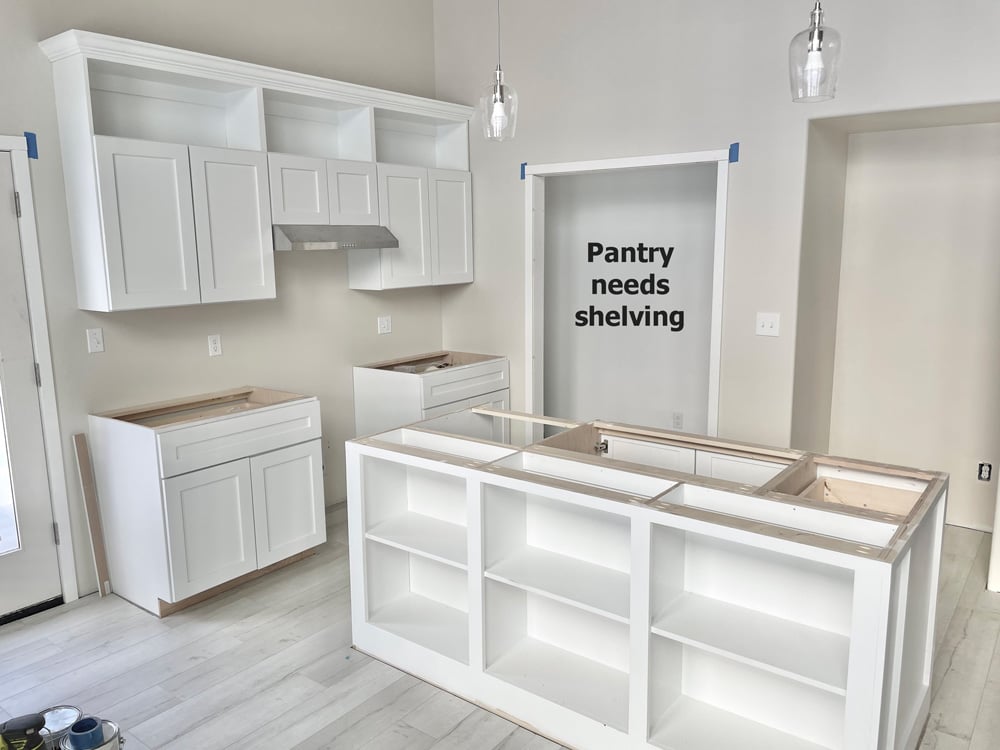
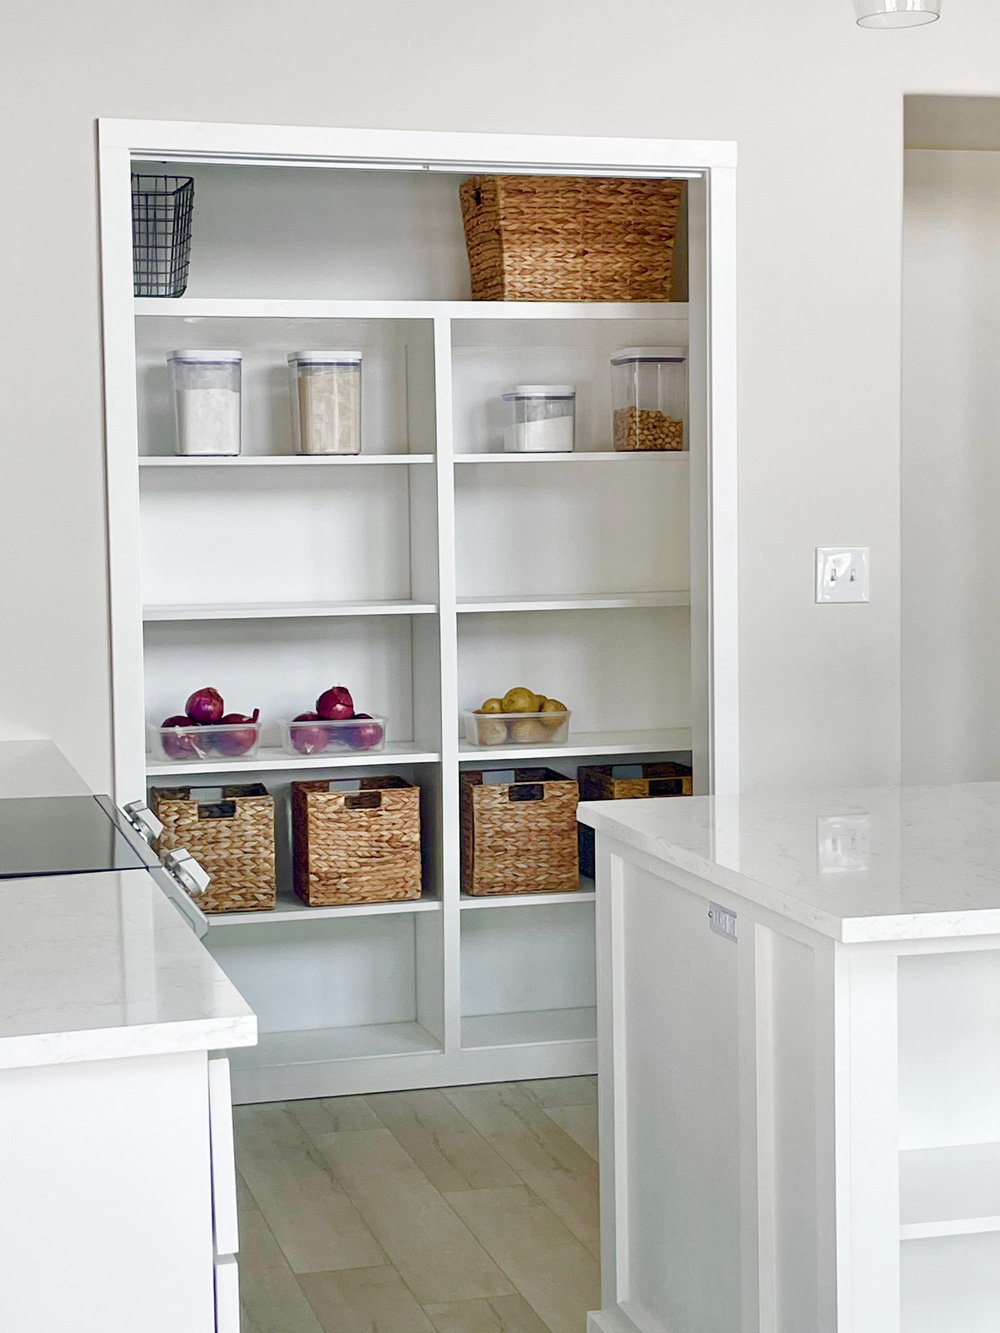
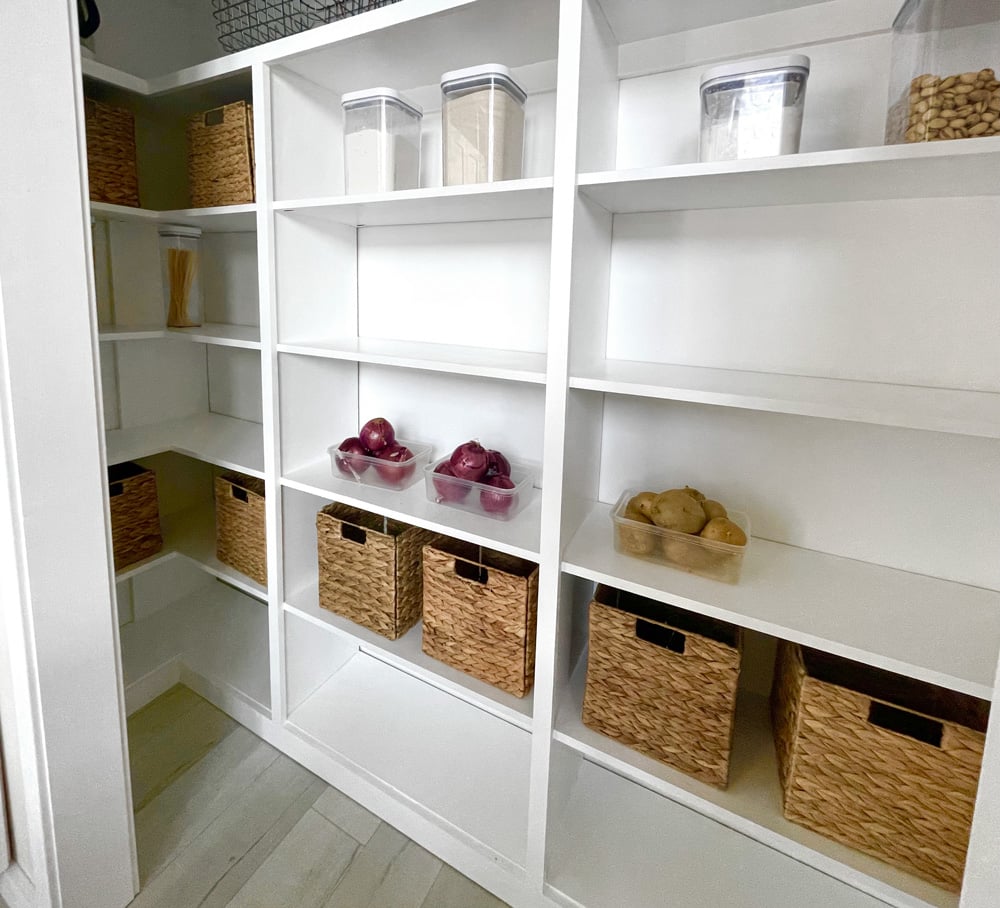
A pantry is a must have on any house I build. I design my kitchens to hold tools (dishes, mixing bowls, pots and pans, cutting boards, etc) and spices and coffee. That's it. Everything else goes in the pantry. Yes, everything. If it regularly rotates out, it needs to be on open shelving in the pantry. That way you don't end up with expired cans in deep drawers or moldy bread at the back of the shelf. Or maybe worse, you can't access and inventory what you have quickly and easily.
Even though this house is small, we made sure to include a pantry right in the middle of the kitchen.
This week, we are tackling the pantry shelving. We want to put the right shelving in that can last a lifetime and won't need to be ripped out or changed later. You might as well do it right the first time, it saves you time and money in the long run.
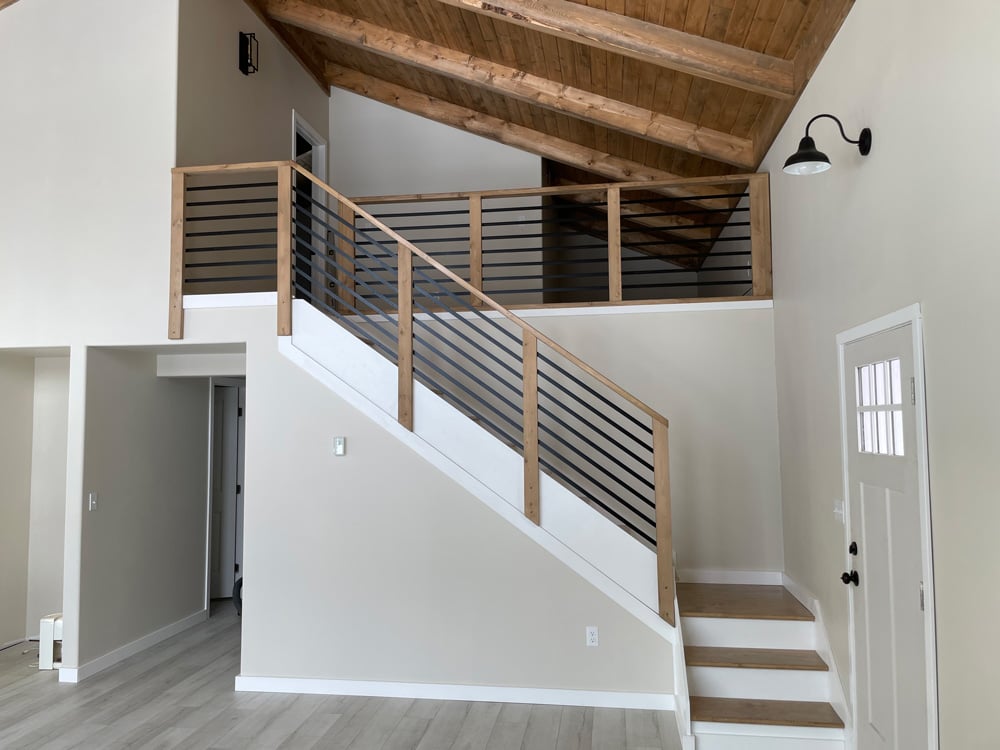
Would you believe me if I told you that of all the stair railings I've done over the years, this one was the simplest, fastest, cheapest and easiest to build? And we do kinda love the modern farmhouse railing look too!
Video Tutorial for this DIY Staircase Handrail:
Photo Steps of How We Built this DIY Staircase Handrail
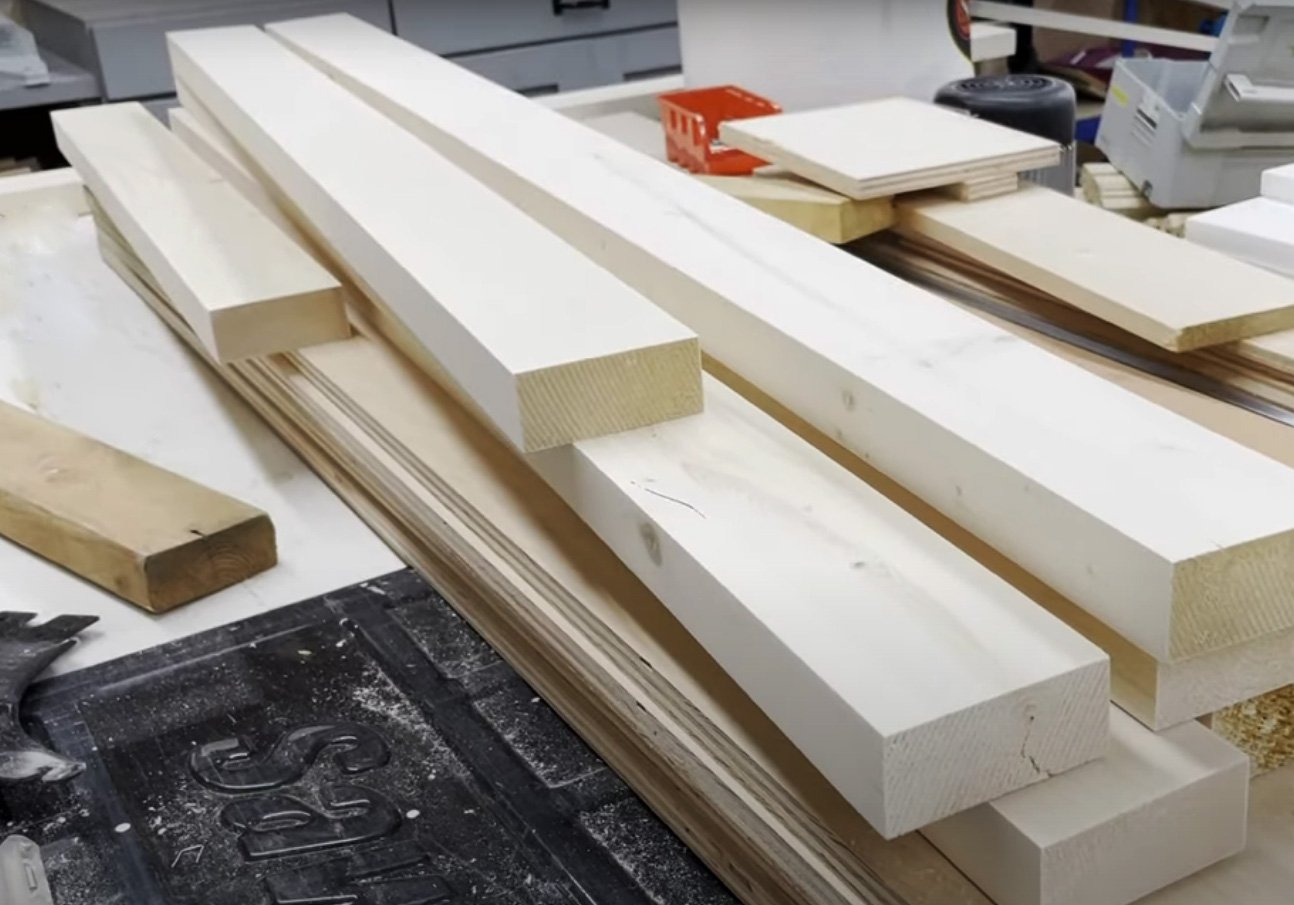
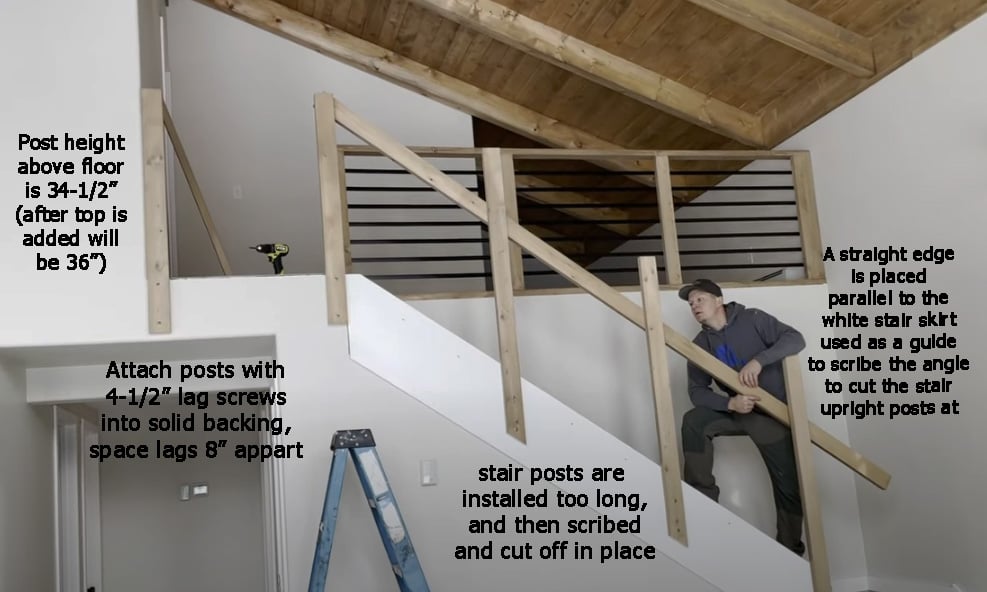
First, we started with some 2x4s.
We sanded and stained and cut into 48" long pieces for the post. We also cut pieces for the top cap, again too long so we can trim in place.
We used 4-1/2" lag screws to attach to solid backing, spacing about 3-4 feet appart. On the stairs, we ran the 2x4s longer, so we could cut them off as needed.
To get the angle to cut the stair posts off right, we held up a straight edge (we used the 2x4 cap to be installed in the next step) so it was parallel with the stair skirt. Then we penciled in the overlap of the straight edge on the posts.
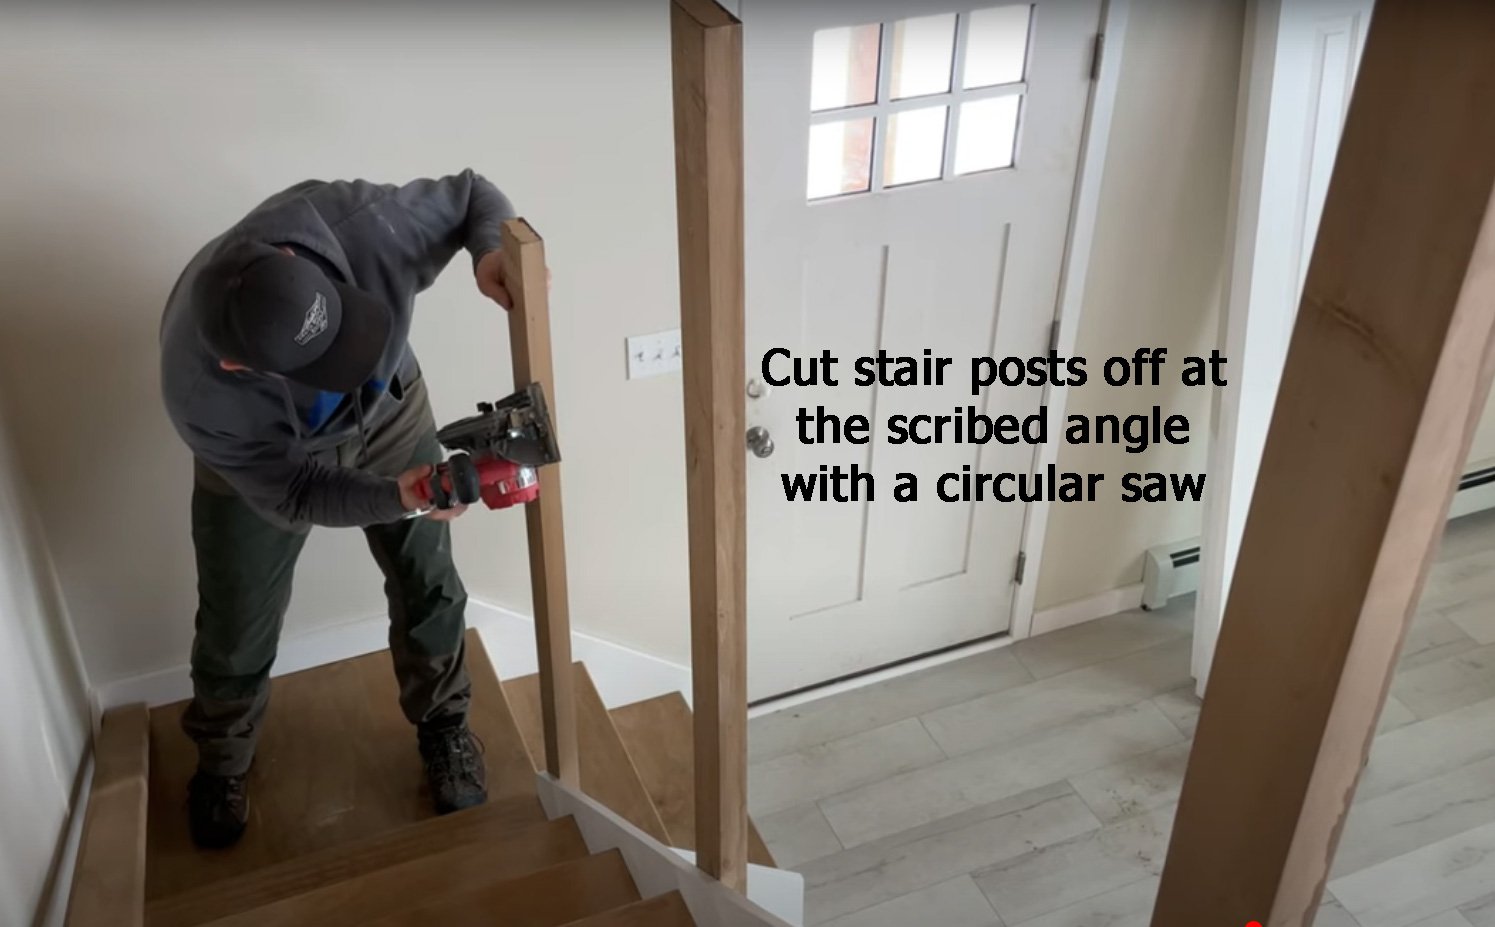
Then we cut the stair posts off at the pencil lines.
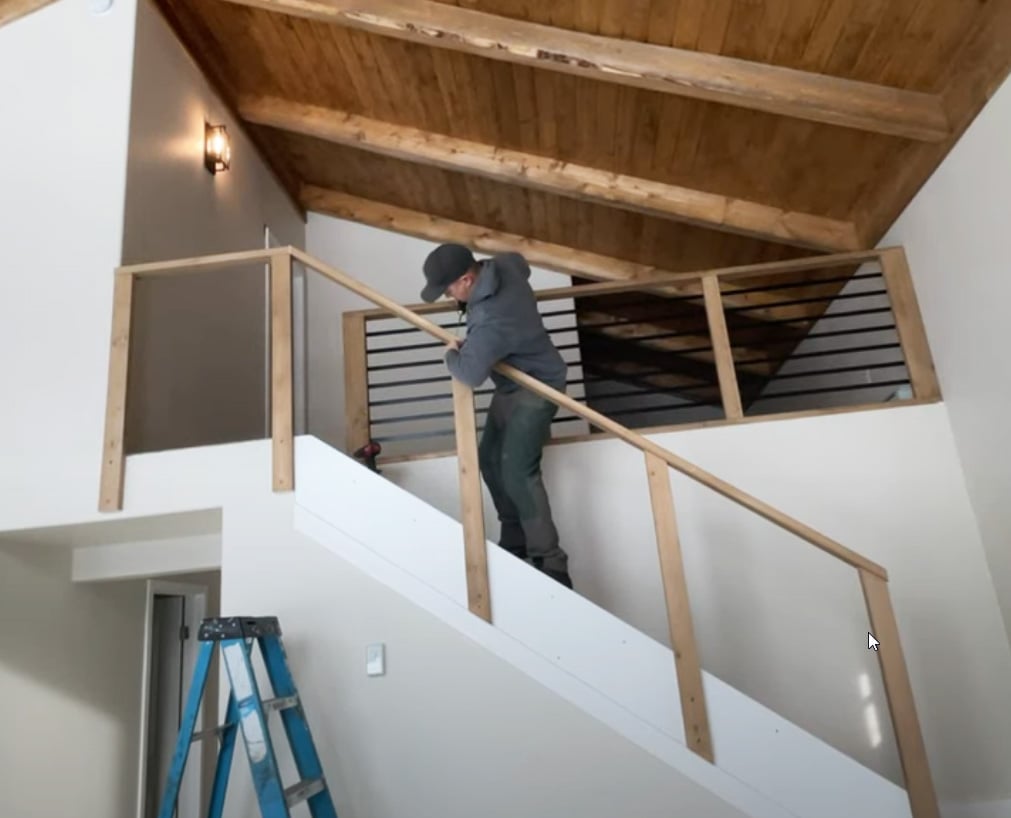
To finish the wood framing for the stair handrail, we attached a cap to the top. To get the cap end angles right, we again held it in place, and traced where it overlapped the other parts of the stair framing. To attach the cap, we used 3" wood construction screws.
Ok, now here's where we cheat.
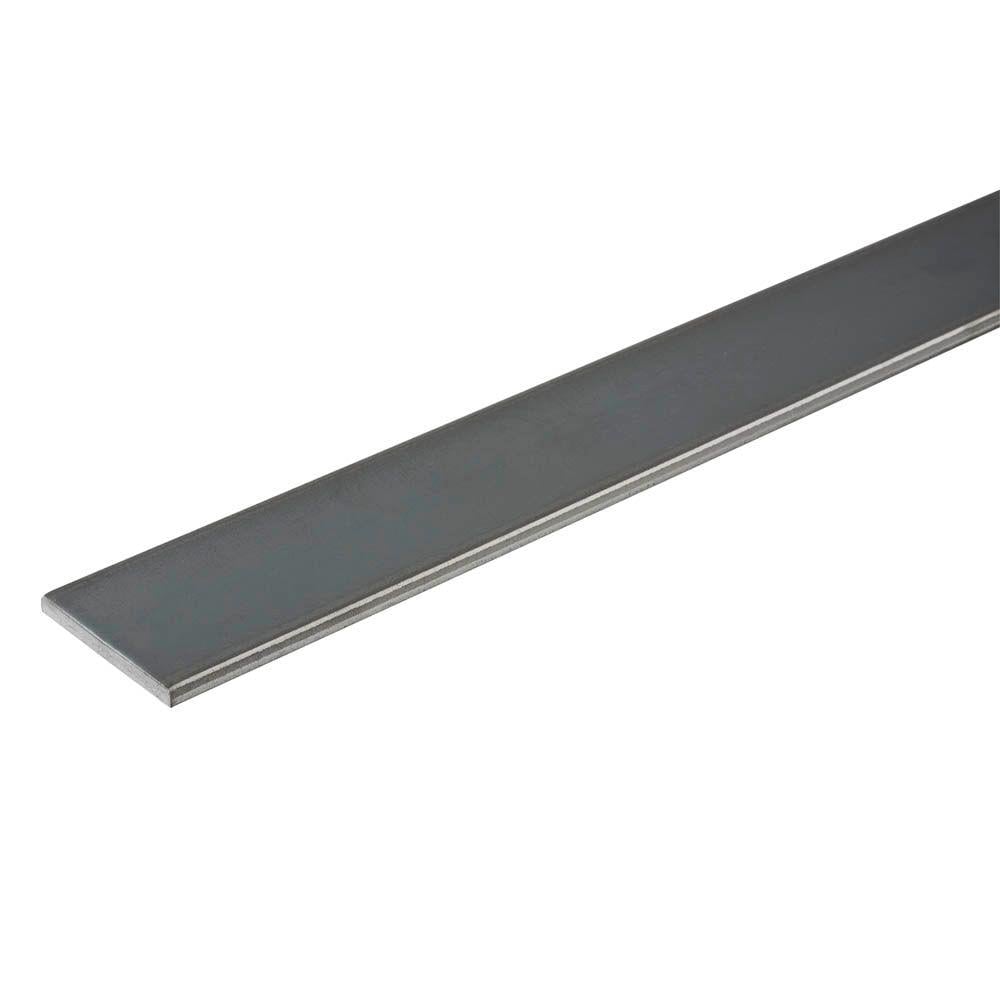
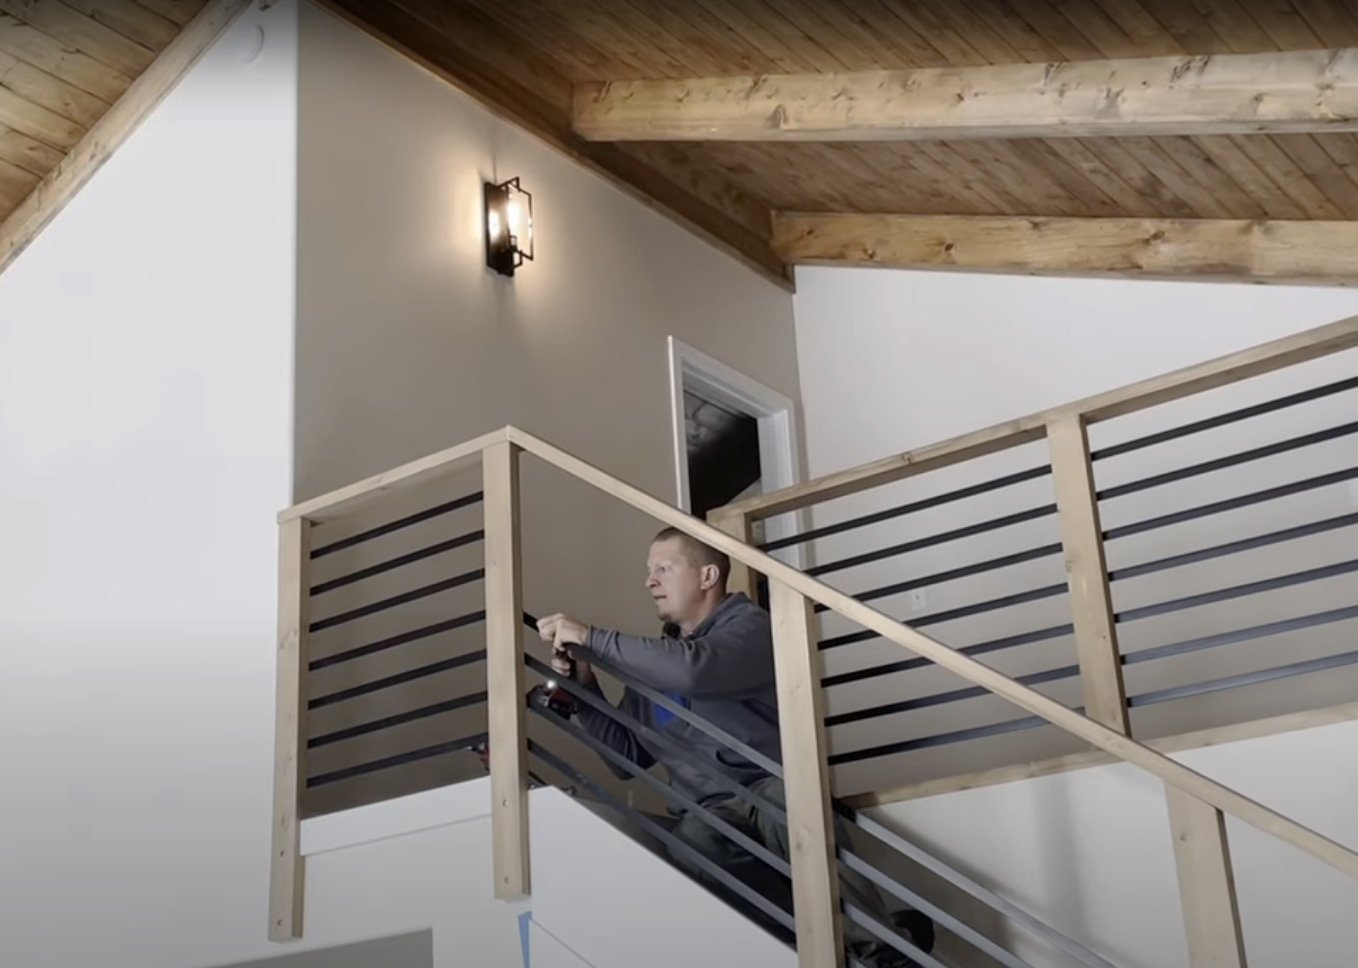
We purchased metal flat bar in 1" width (you can get 20' pieces from a specialty metal store, this entire handrail system was about $170 in metal) and simply cut it with a metal blade and screwed it to the back side of the 2x4 uprights with a 1-1/4" screw.
Standard code requires less than 4" openings in railings. So we did a little math and figured out how many rows we'd need and how far apart and marked the straight section of railing, cut the metal flat bar and screwed it to the inside of the 2x4. We just used one screw per post.
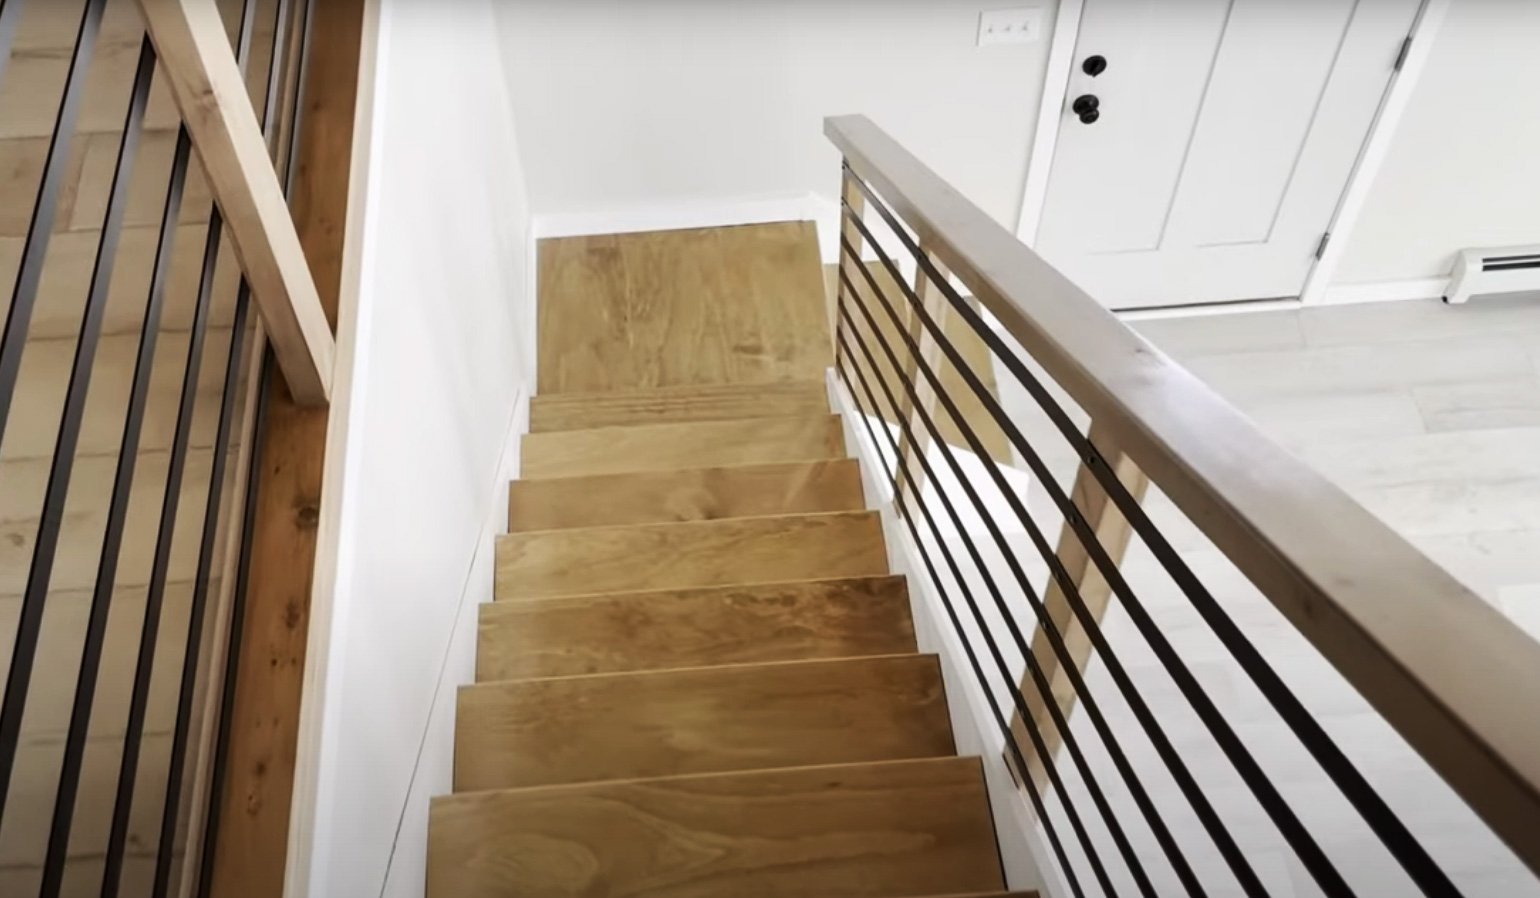
This gave us a starting point for the stair railing runs. And then we just eyeballed to make sure the metal was running parallel to the top cap and the skirt and screwed it to the post.
Here's what it looks like from the back.
You probably noticed the loft railing. This was even easier to build, but we do recommend using the same method as the stair railing with the outside mount posts for increased strength.
Thank you for using our tutorials. We hope you use it, and share a photo! You can add a brag post or tag me on Instagram #anawhite or @anawhitediy