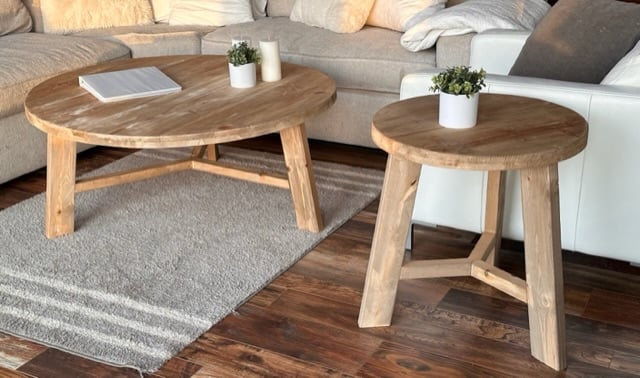
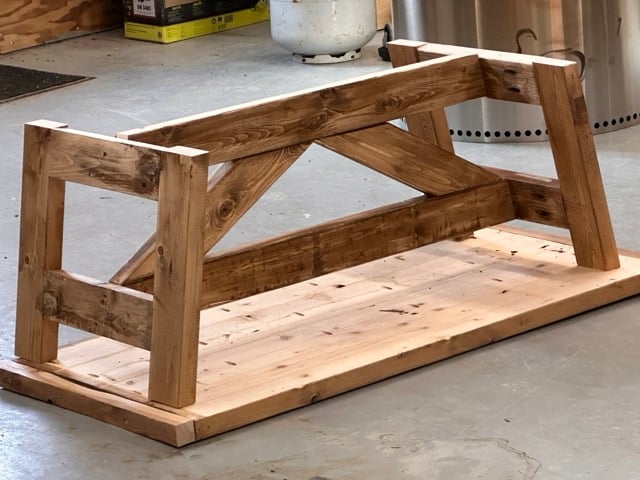
This is such a beautiful coffee table! The wood grains give it such a high end appearance, and it really transforms the room. The angles give it a little more interest and detail.
But I will be honest, those angles really gave me some doubts when I was building it. See how all the top piece don't line up? And if you look close, the cross bracing wasn't perfect. I almost gave up on this project. But I pushed through and it turned out so many times better than I could have expected.
Some details that could make this project even better -
For the top, use 2x2s as breadboard ends to make the top look more interesting and finished
For the ends, use black lag screws to attach the two center stretcher pieces, so there's a hardware element showing
I used 2x4s for my base, I think it would have looked even better with 2x3s
Matching Plans in this Collection
Also check out this Truss End Table plan that was built by my friend Ashley over at Shanty2Chic, this was the inspiration for the coffee table project.
Florals, greenery - it's the magic accessory of a home! EVERY room needs at least one plant or floral.
In this tutorial, we will show you how to take dollar store bud vases and a fence picket or pallet board, and turn it into a beautiful linear floral decor piece - ready for you to pick some buds or greenery!
How to Build this Linear Bud Vase Holder
This project is easy to build -
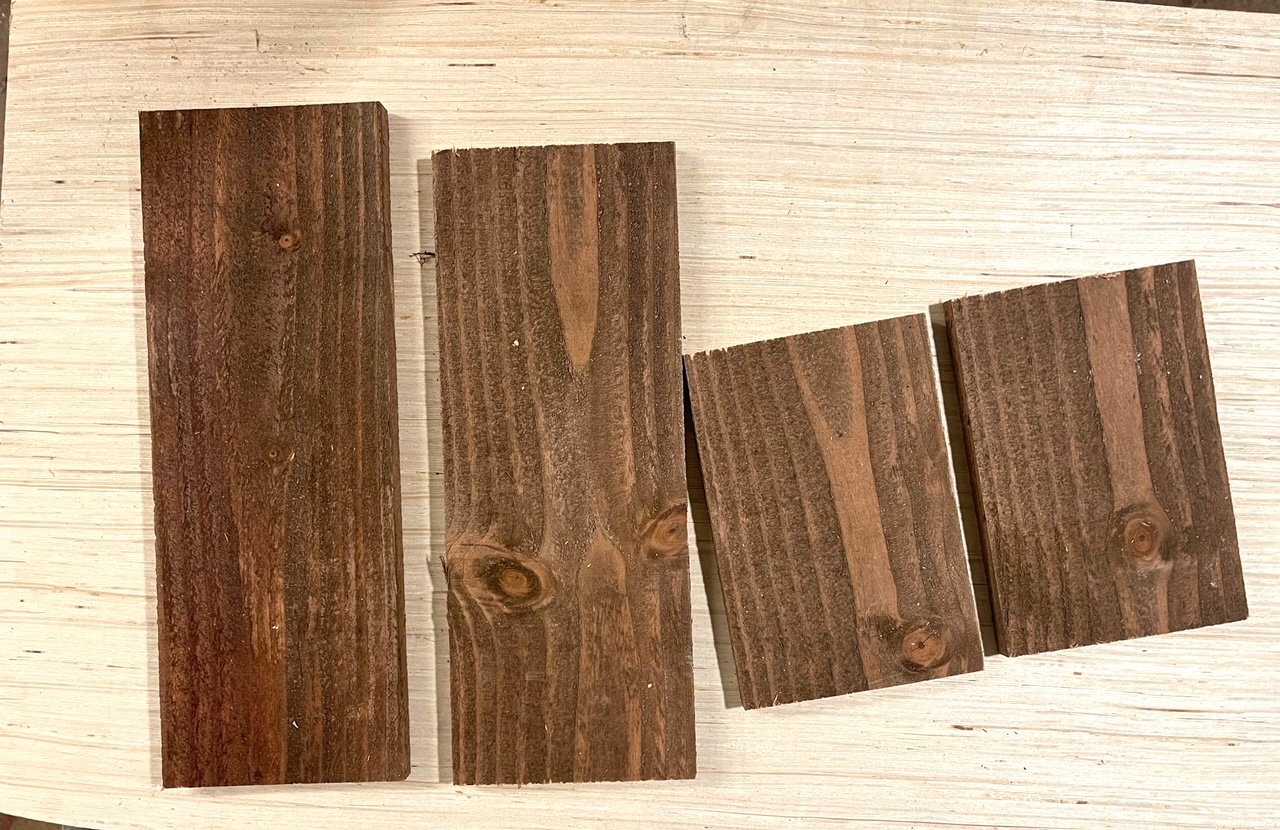
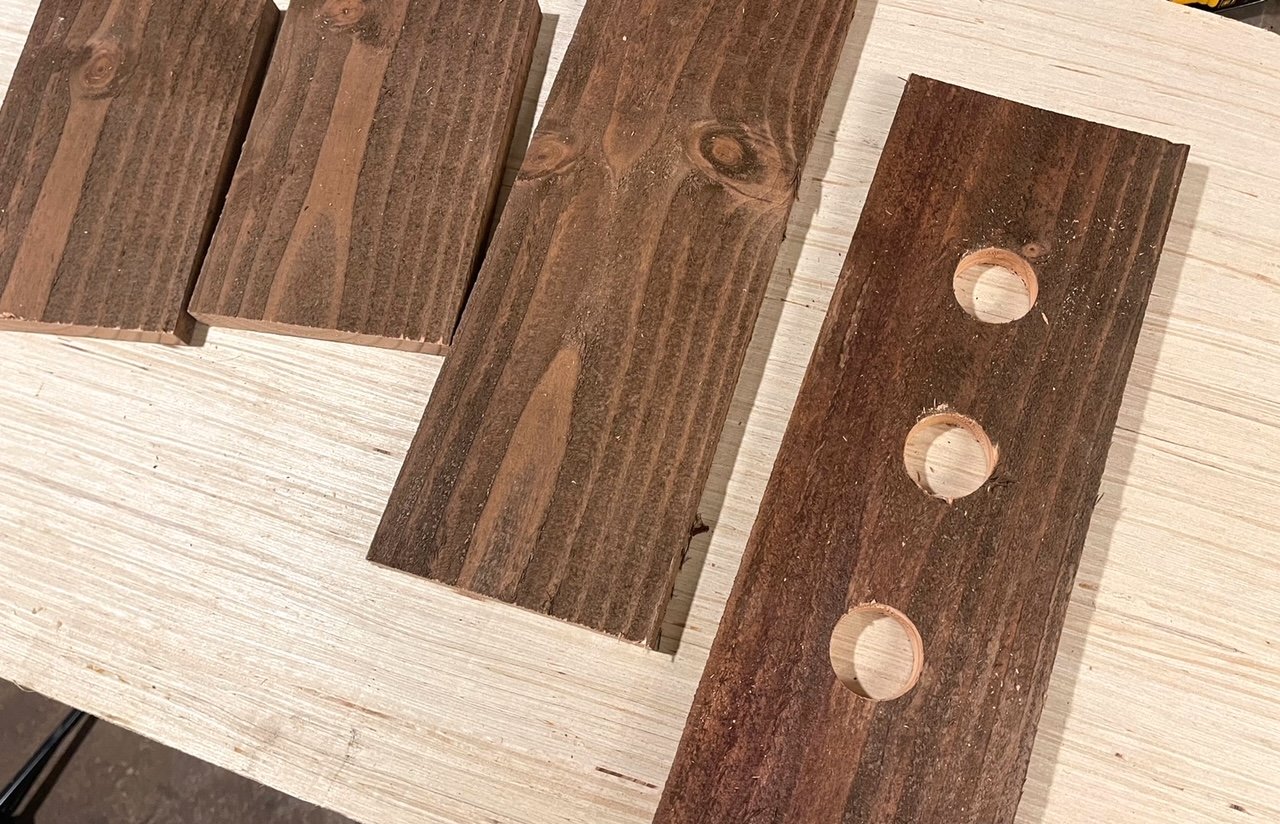
Cut the fence pickets with either a jigsaw, circular saw or a miter saw according to the cut list. You can prestain the boards now, or finish later.
Drill holes using a Forstner Bit for the florals to pass through
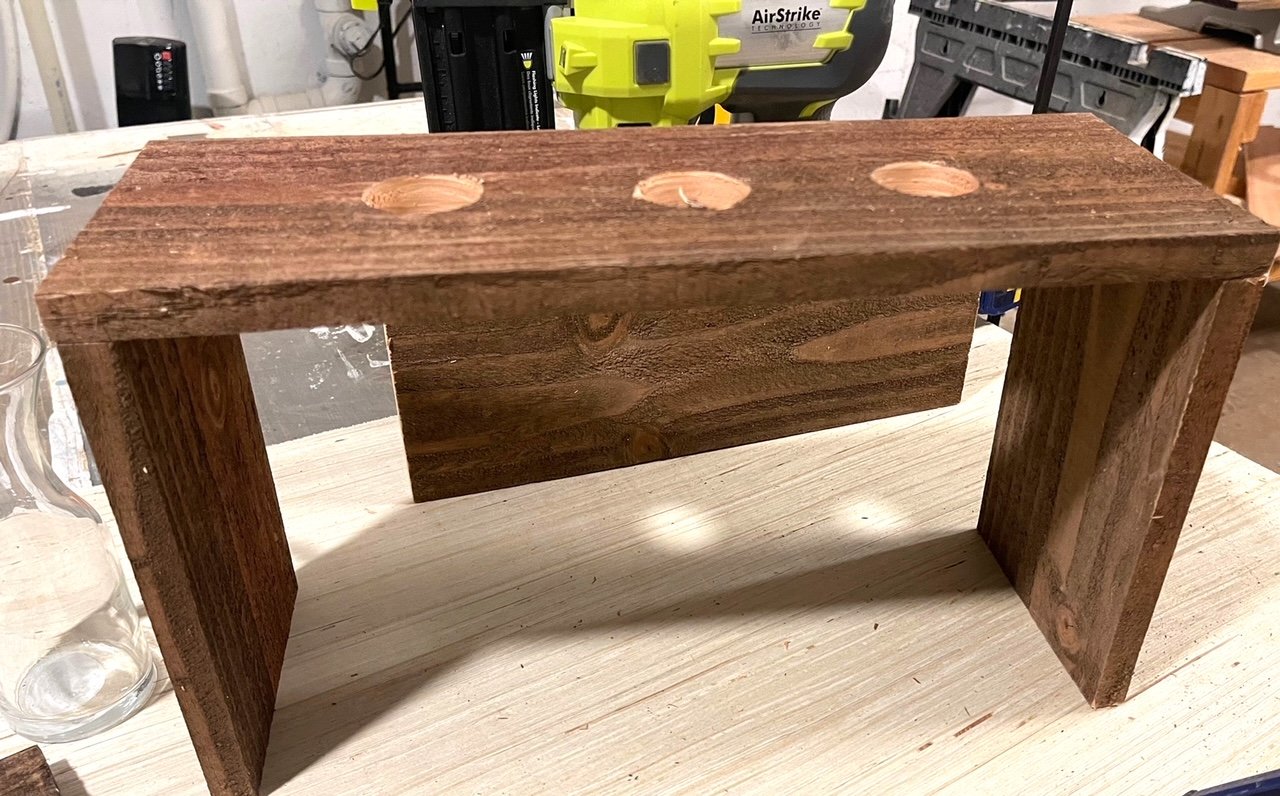
Nail or staple the top to the two sides
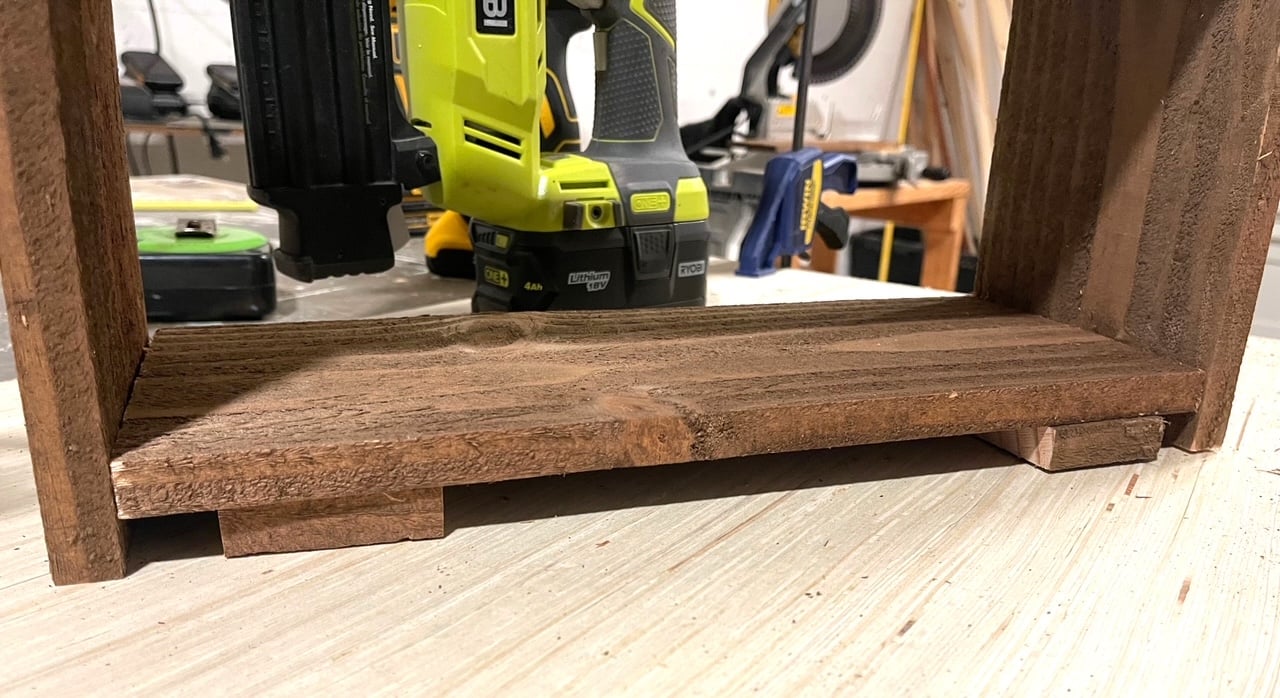
Nail or staple the bottom shelf to the sides.
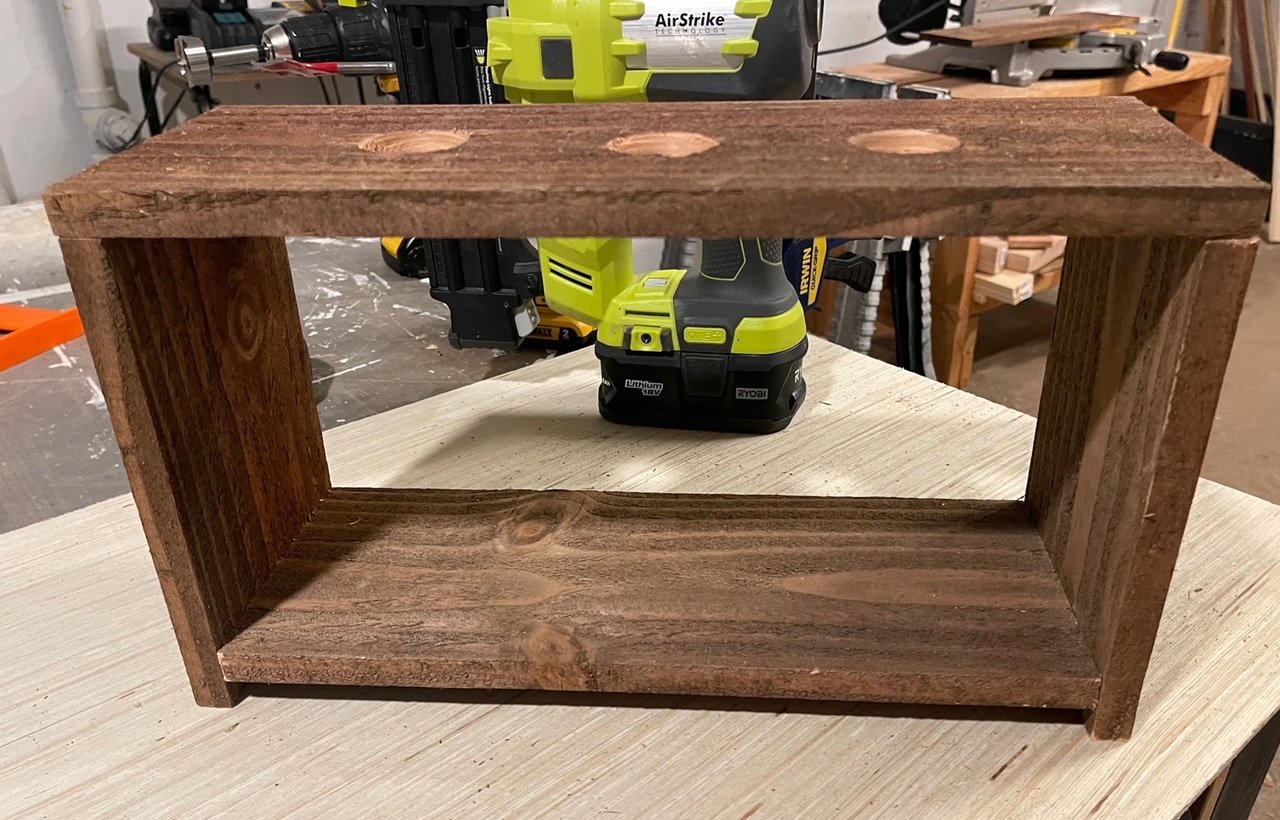
Ready for the bud vases!
Free Plans to Build Your Own Linear Wood Centerpiece for Bud Vases
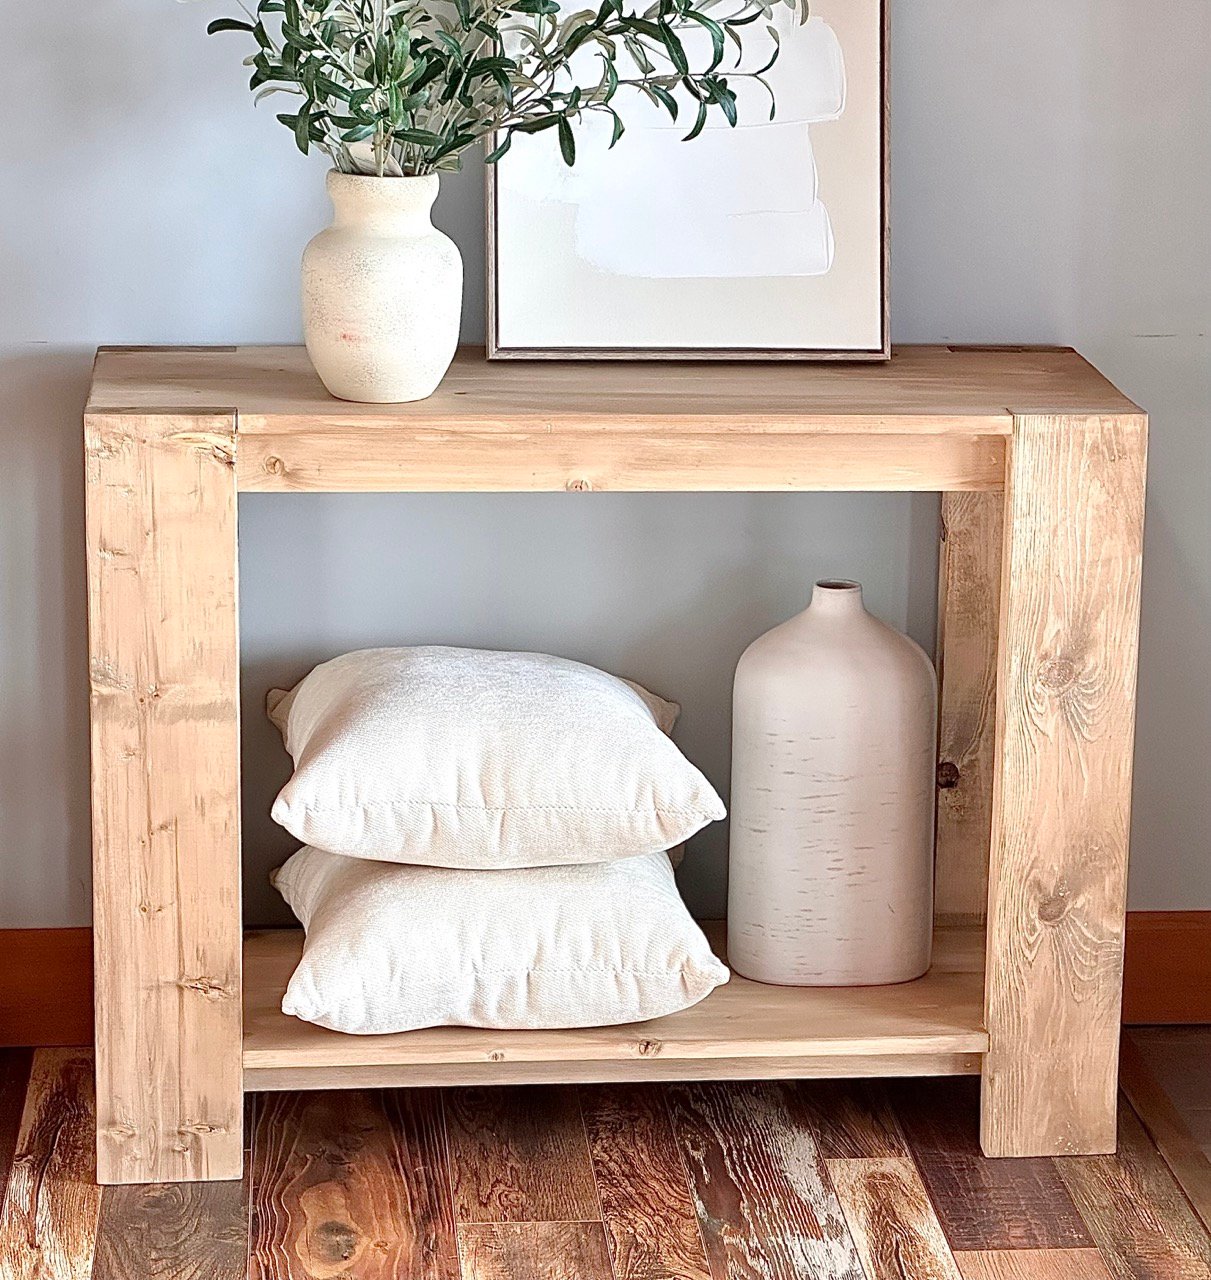
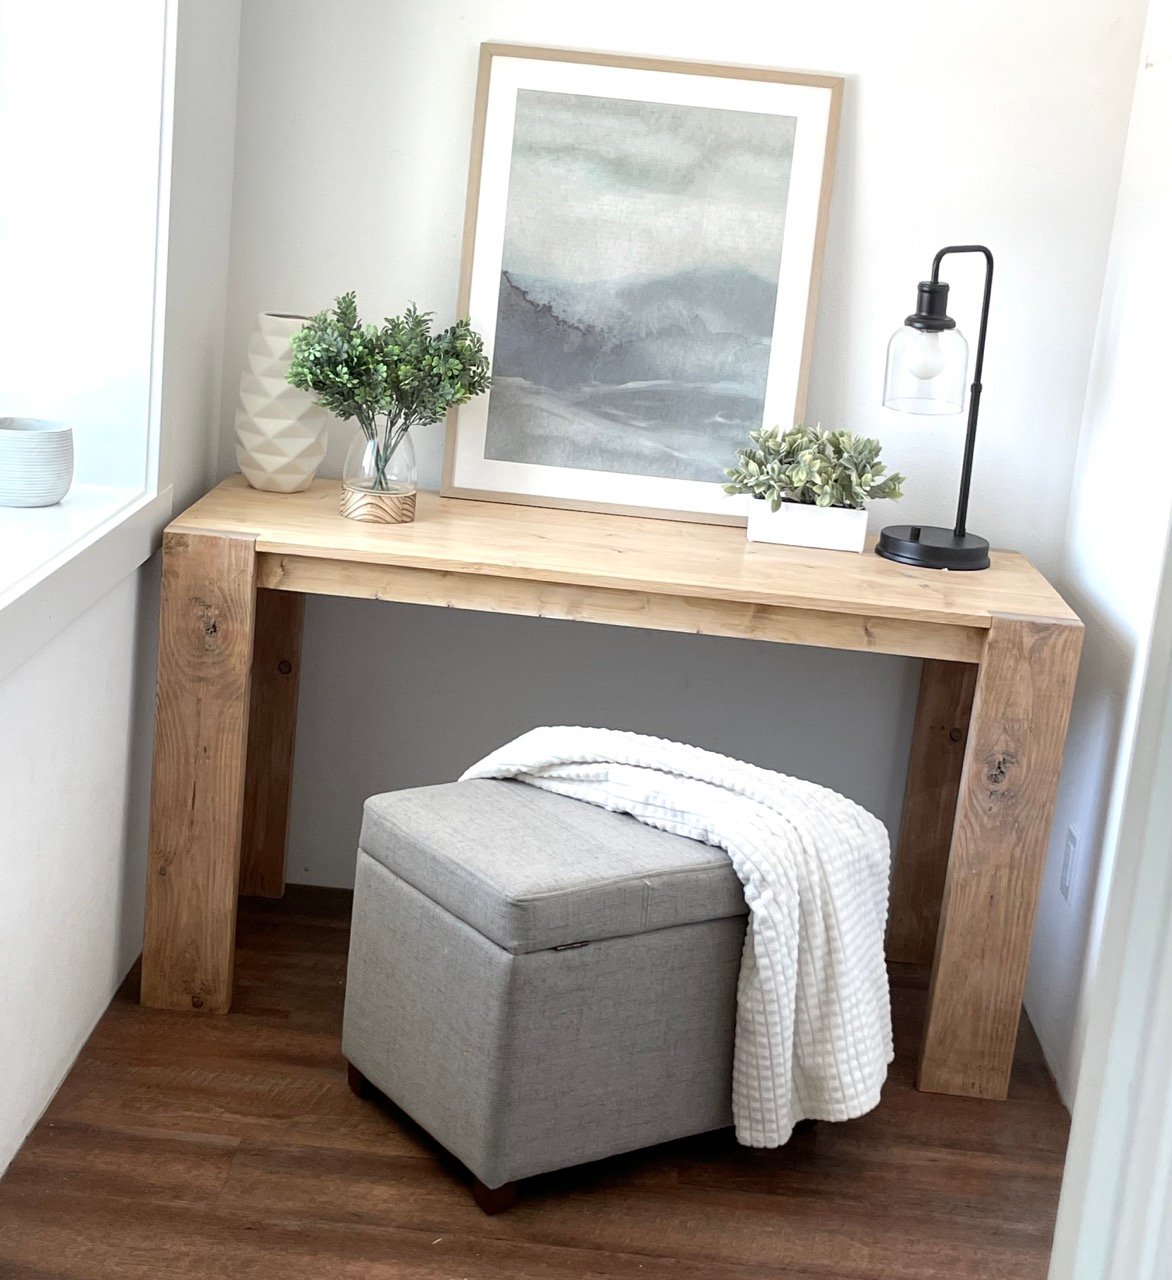
I love console tables. They add function to just about any space, tabletop surface for temporary setting things, and they can transform a space by being the foundation for decor, art and coordinated accessories.
This console I particularly love because the chunky legs create a frame for styling decor and accessories.
More reasons to love? It's solid wood, so you can paint or stain different colors, and has all the texture and warmth of a wood piece.
How I Built This Console Table
Here's the basic steps I took to build this coffee table. Keep in mind you can also build using a brad nailer and glue as I did with this coffee table.
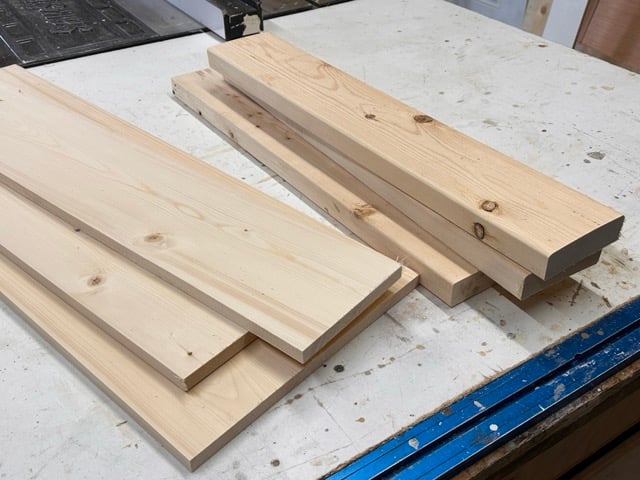
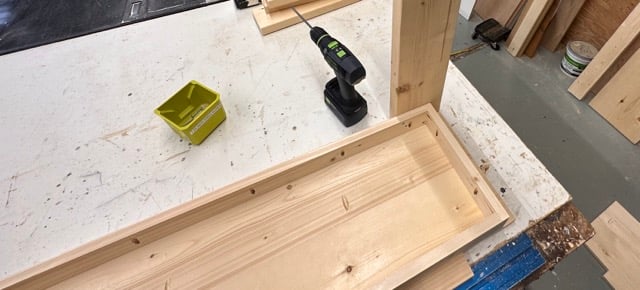
First, I cut the boards according to the cut list using a miter saw for accuracy.
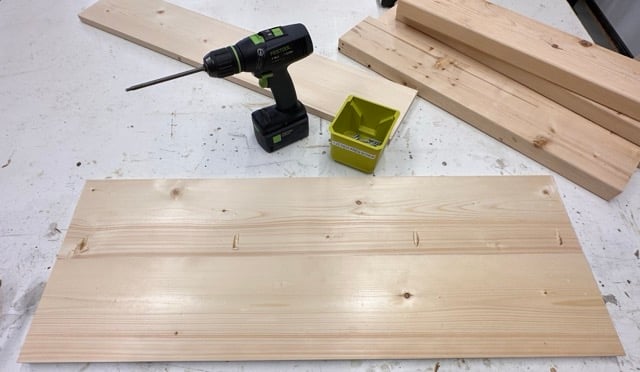
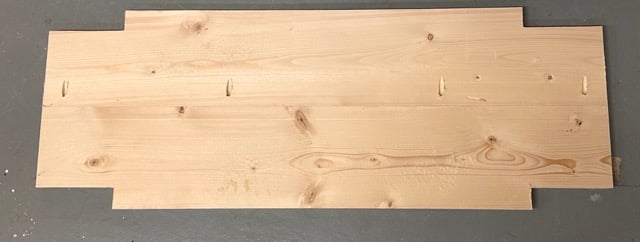
Then I joined the tabletop and shelf 1x8s together as shown, using 3/4" pocket holes and 1-1/4" pocket hole screws.
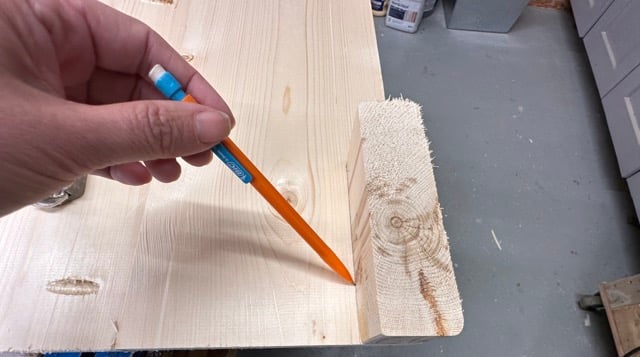
Then I used a scrap wood piece to trace out the end of a 2x6 pieces to cut out for the legs.
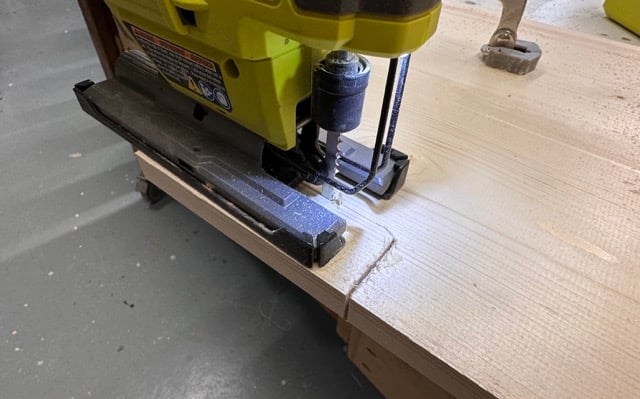
I used a jigsaw to cut out the legs from both the top and the shelf.
I cut out all four legs on both the panels.
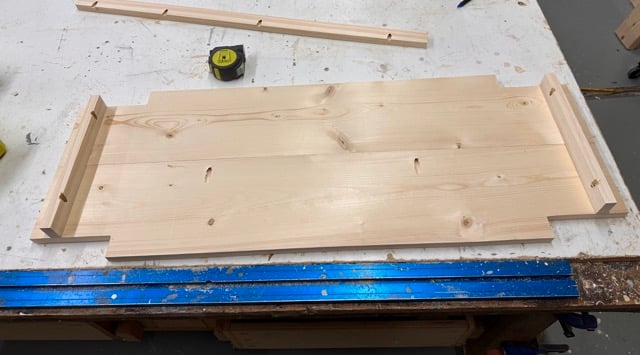
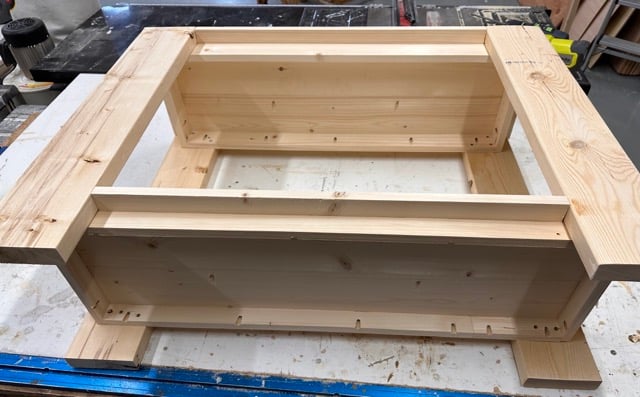
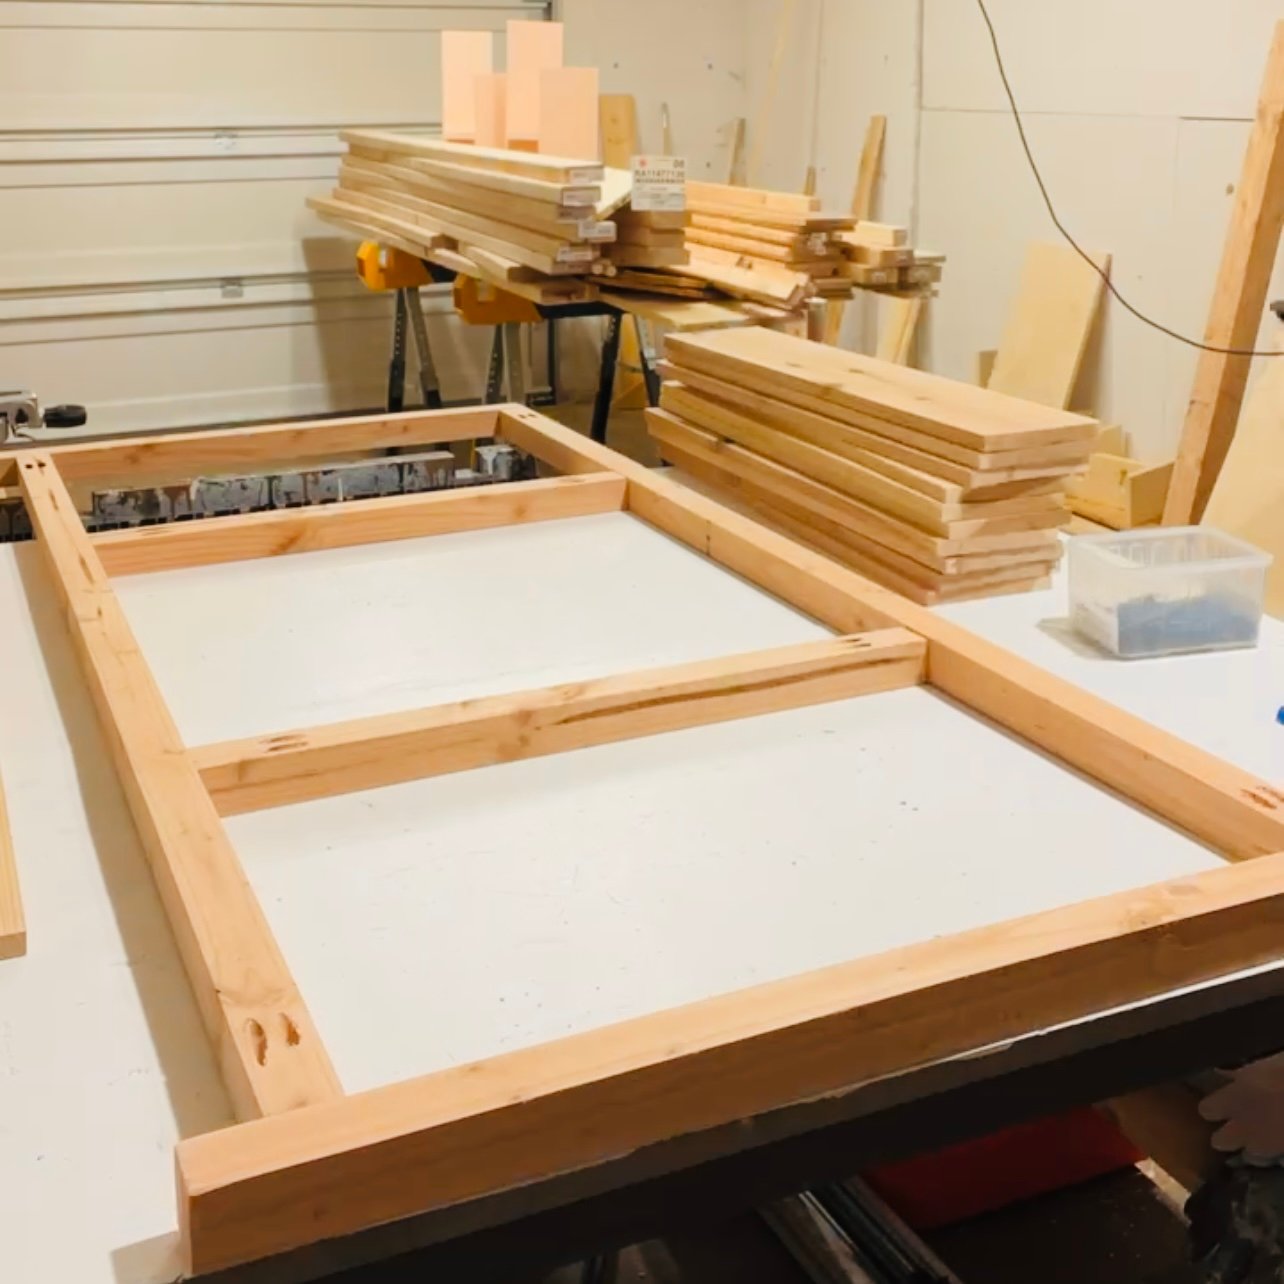
Now I can start adding the "aprons" that support the tabletop and shelves. I measure between the cut outs and cut 1x3 for top and 1x2 for shelf to match the measurement. Then I attached to the underside of the shelf/top with 3/4" pocket holes and 1-1/4" pocket hole screws.
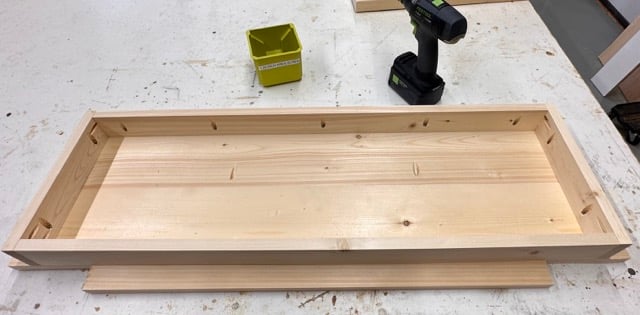
Then I measure in between the shorter aprons to get the measurement for the longer aprons. I cut these, and then attach with pocket holes. The top is supported by a 1x3 aprons. The bottom is supported by a 1x2 apron.
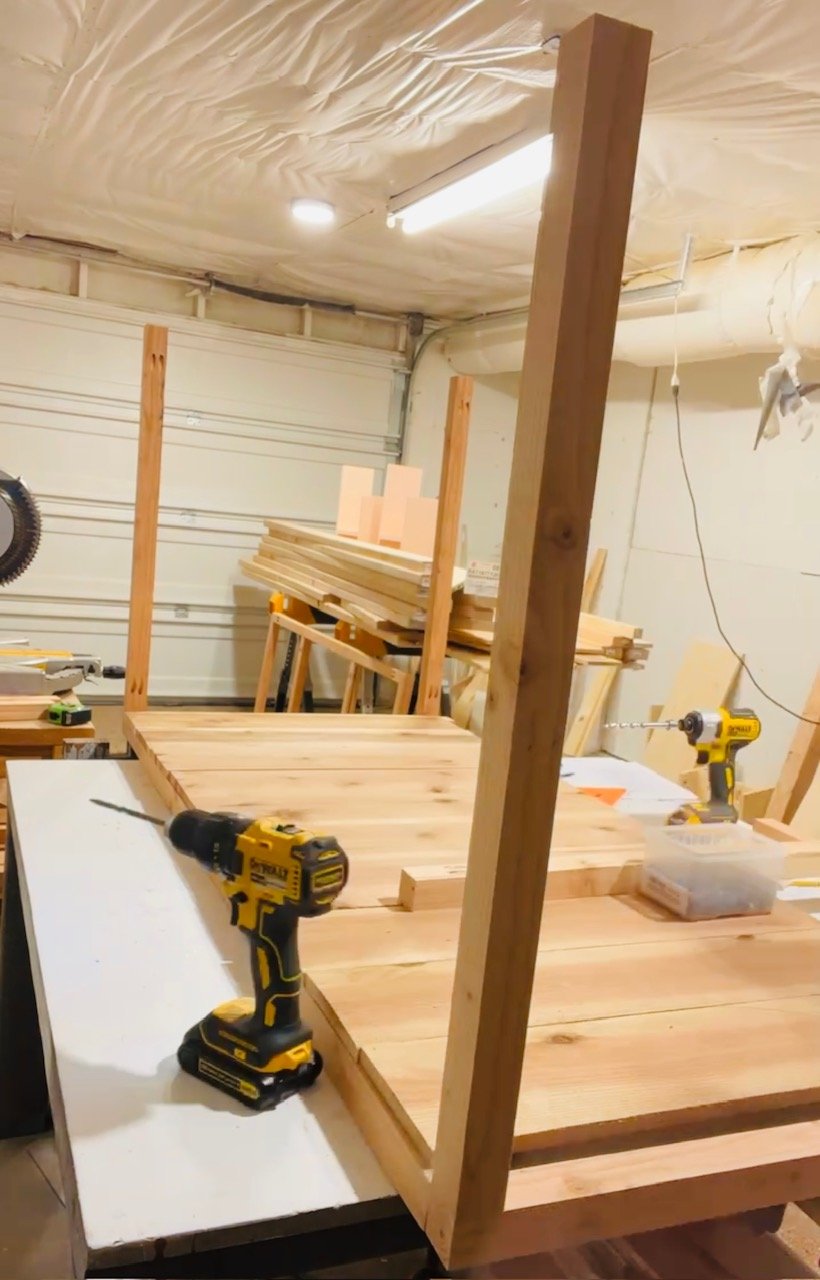
Then I add the legs to the top - making sure the tabletop is level and checking that the legs are attached level.
Last steps are to add the remaining legs and the bottom shelf. I attach to the legs using 1-1/4" screws and glue, three per joint.
Make sure the table sits flat and is level, if you need to make adjustments, do before the glue dries.
Video of Building this Collection
I didn't do a video of this console table, but I did do a video of the matching coffee table. Take a second to watch the quick video to see how this project goes together.
More Plans in this Collection
I love this plan collection! I've been adding more and more plans, it's a good one!
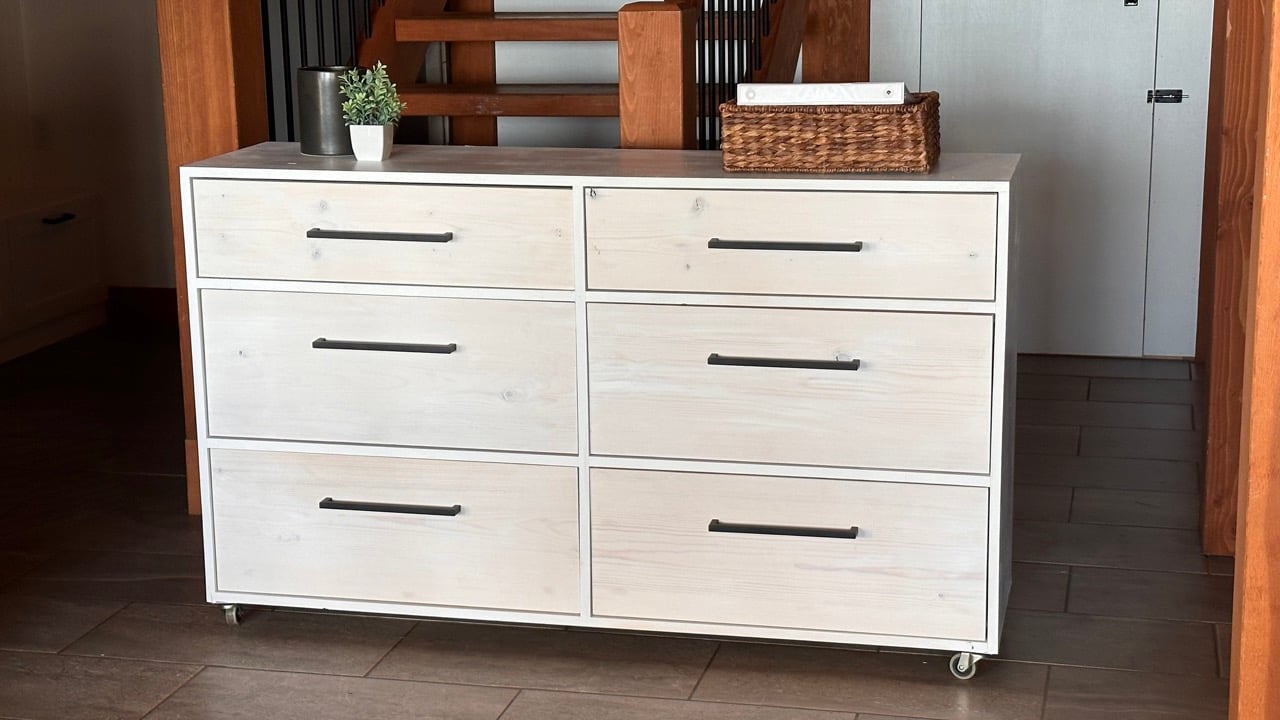
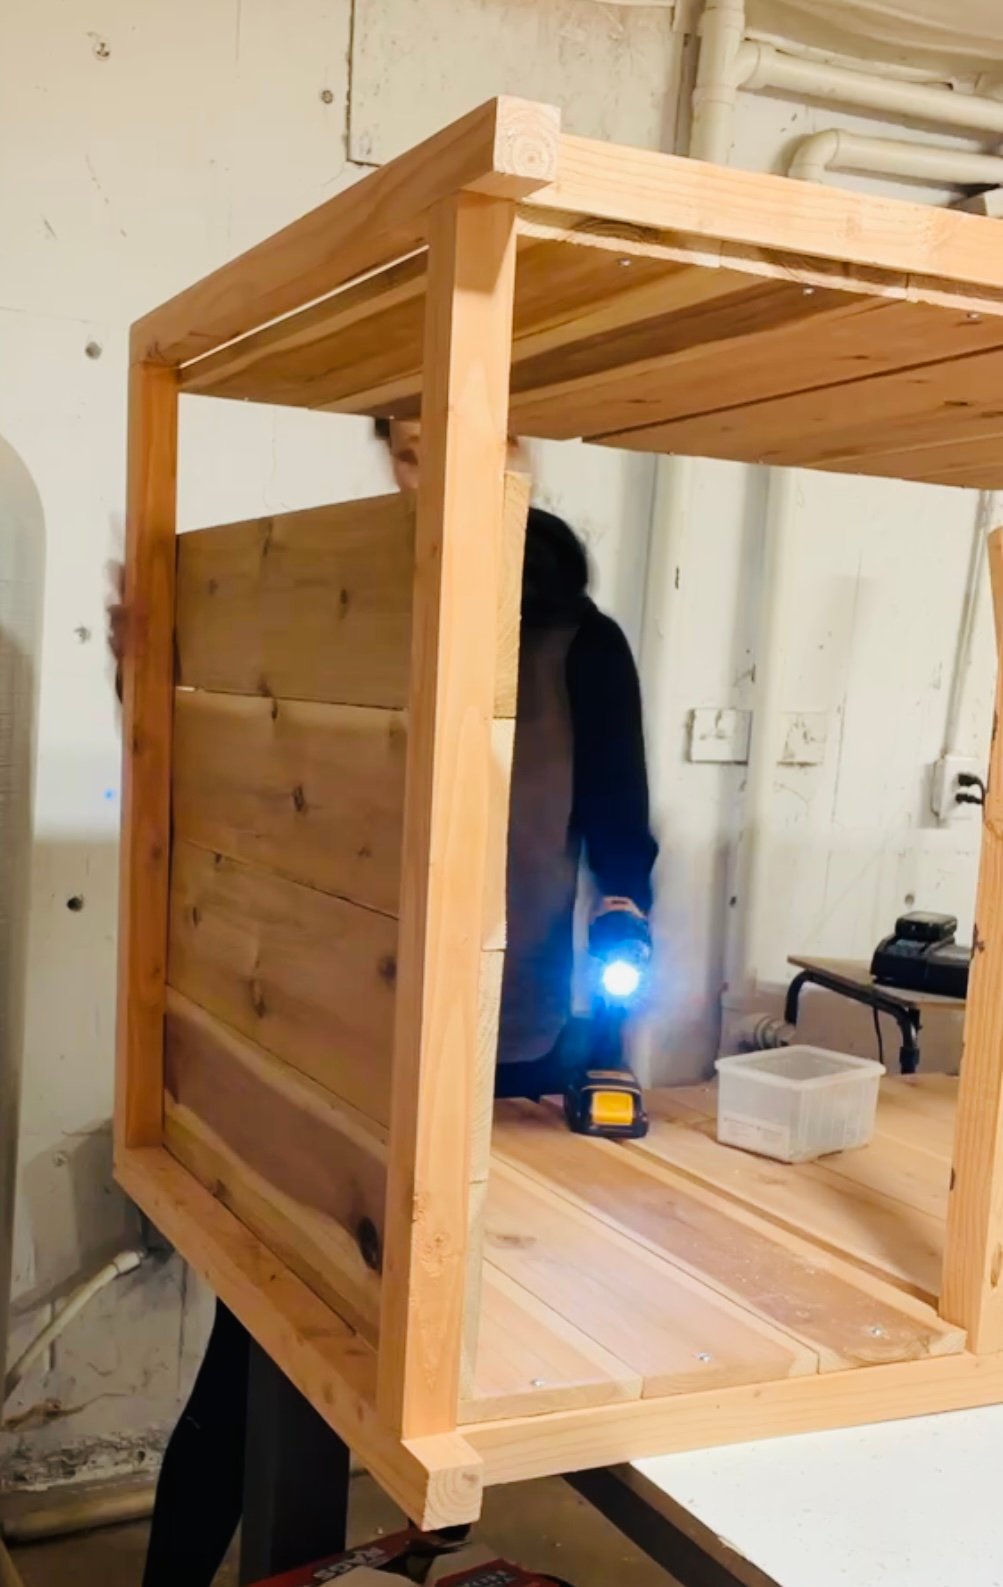
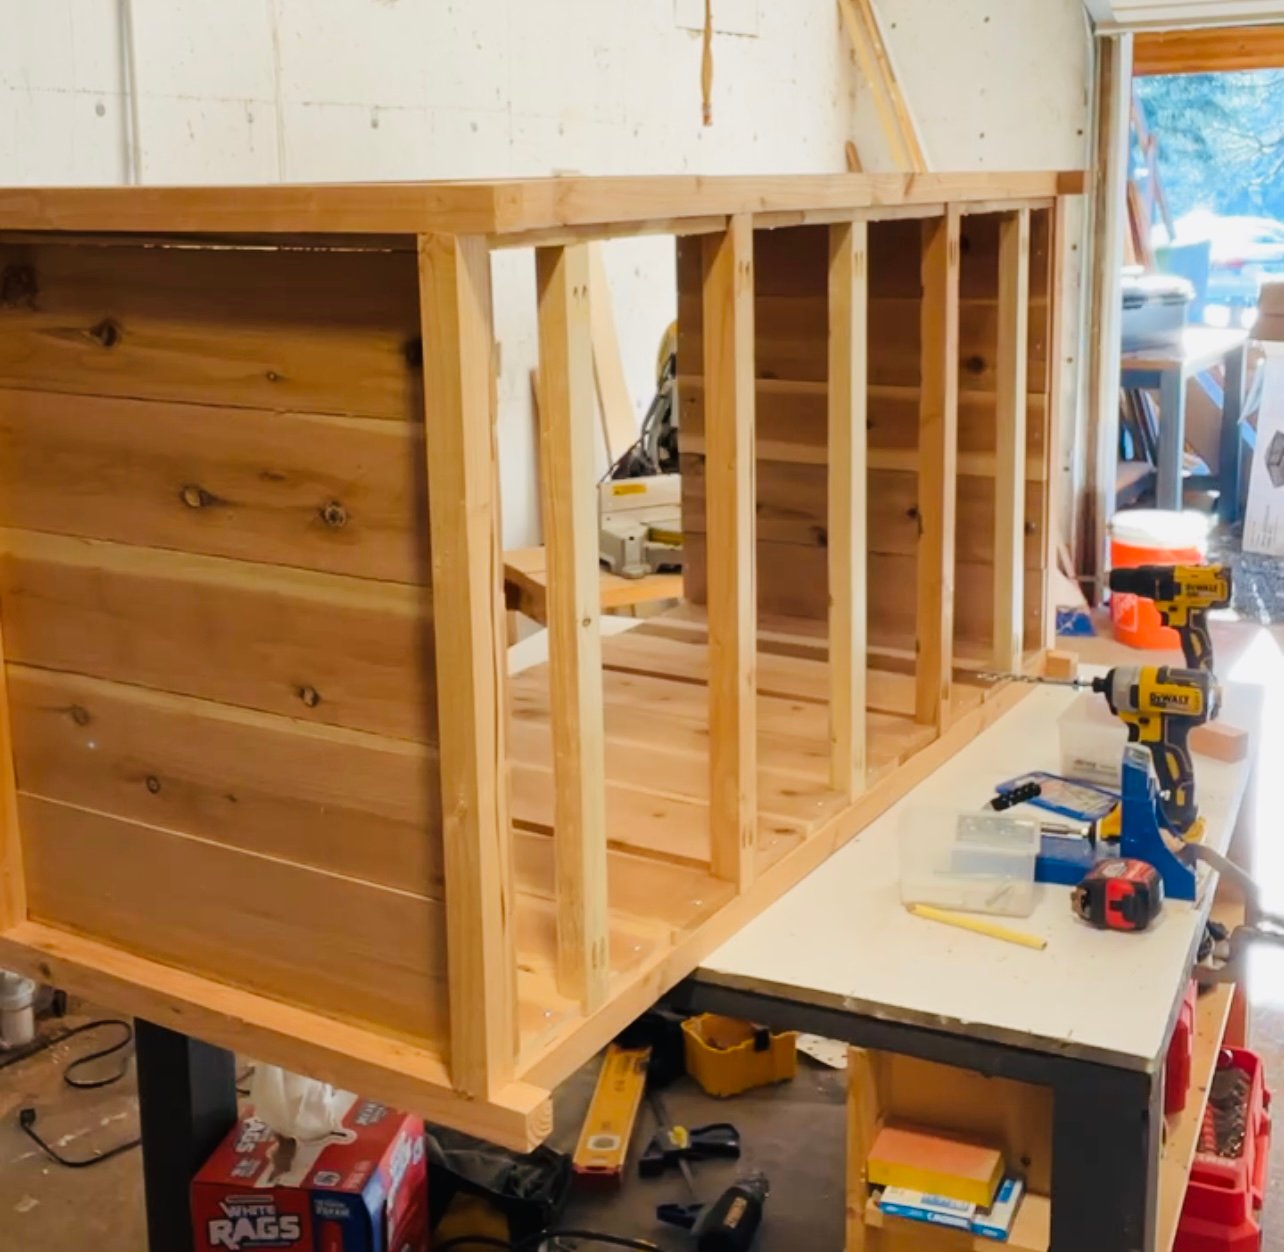
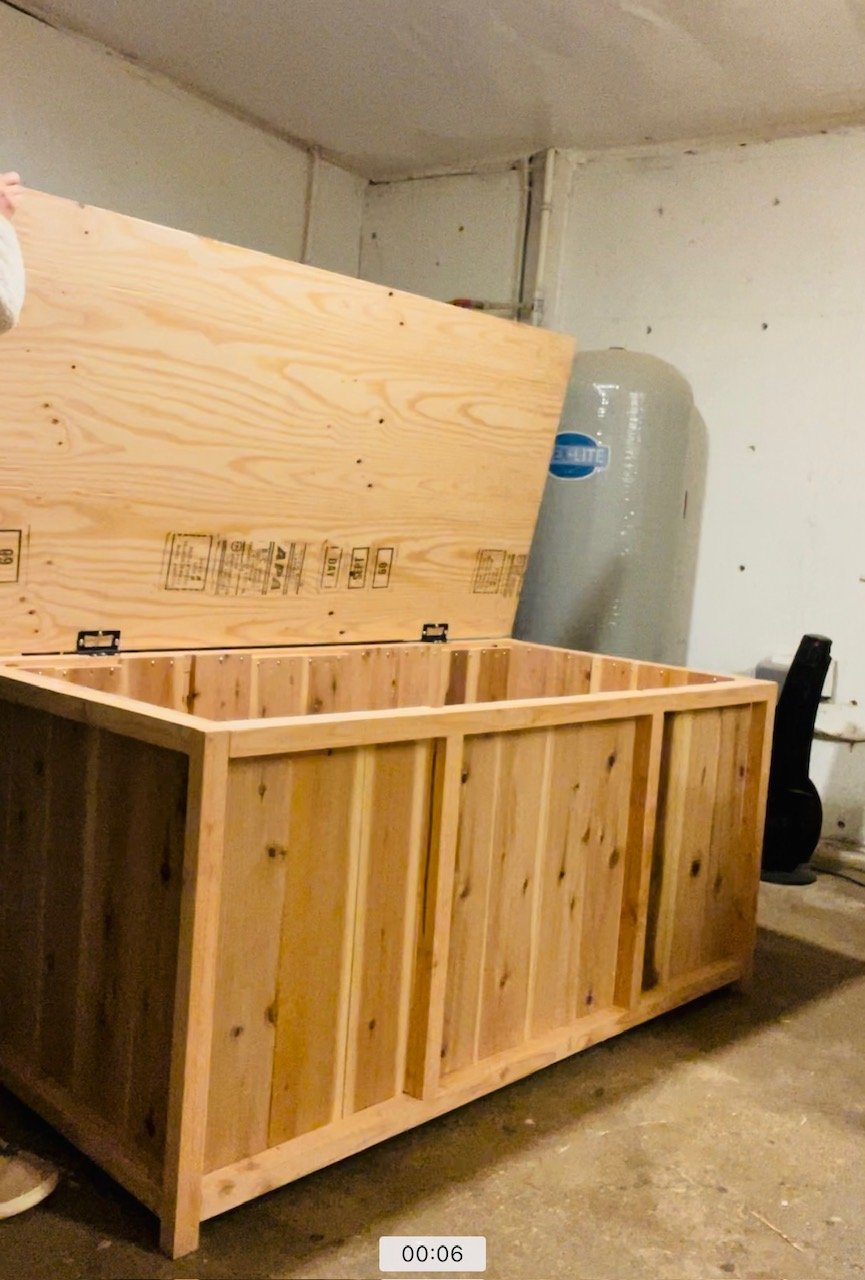
I have a space under out stairs in our basement entryway that I wanted to add storage for extra hats, gloves, scarves, googles, and other outdoor accessories. Because it's under the stairs, I knew I wanted a dresser that is enclosed to minimize dusting and cleaning. And it needed to be on wheels so I can roll it out and clean under it. And finally, it had to be the exact perfect size to fit.
With a tall order like this, it's impossible to get exactly what you need. So I decided to build my own dresser.
With not a ton of space to work with, but an Alaska (lifestyle) sized amount of gear to store, I knew I needed maximum storage for the footprint. No fancy trim, no bulky detailing - just all drawers in the most minimal of framing.
Transform your patio into a modern oasis with our easy DIY Modern Planter tutorial. In this video, I'm thrilled to guide you through crafting a sleek, custom planter that not only elevates your outdoor space but also reflects your unique style. All my woodworking plans https://ift.tt/7hEZpbS Watch the (Chair Video): https://youtu.be/wgHF72zBpEQ Woodworking Plans for the Chair and Planter https://ift.tt/YD1rPO7 Materials List (Affiliate Links) ------------------------------------------------------------------------------------------- - Lumber https://ift.tt/rZ8EjIL - Wood Glue https://amzn.to/3V19ZZ4 - Dowels - https://amzn.to/3IlF2HG Tools Used (Affiliate Links) ------------------------------------------------------------------------------------------- - Miter Saw -- https://amzn.to/3uPZptl - DowelMax Jig - Belt Sander - https://amzn.to/3TlxzyB - Orbital Sander - https://amzn.to/431MSzn - Glue applicator - https://amzn.to/48B3cZo - Stain https://amzn.to/3uA3a61 - Leveling feet (optional) - https://amzn.to/4bGE1ai • Paint or stain brush - https://amzn.to/49i08Ch • Paint foam roller https://amzn.to/3UMxgxW CHAPTERS: 0:08 - Planter Project Introduction 0:48 - Cutting Wood for Planter 1:14 - Drilling Holes for Dowels 2:37 - Dry Fit Assembly of Planter 4:24 - Gluing Planter Parts 6:37 - Sanding the Planter Smooth 7:11 - Staining the Wooden Planter 8:48 - Modern Planter Final Reveal ********** Support my work ********** My Woodworking Plans: https://ift.tt/7hEZpbS Help me make more Video: https://ift.tt/jPeufVz YouTube: Subscribe & "RING the Bell": http://bit.ly/1PtWJEd Instagram: https://ift.tt/xXsU4MF Pinterest: https://ift.tt/SmVDys8 #DiyOutdoorFurniture #DiyOutdoorProject
from DIY Creators https://www.youtube.com/watch?v=xiJzBd0siEU


 Reader submitted photo by