Video tutorial coming soon!
from Recent Project Plans https://ift.tt/yDfaErM
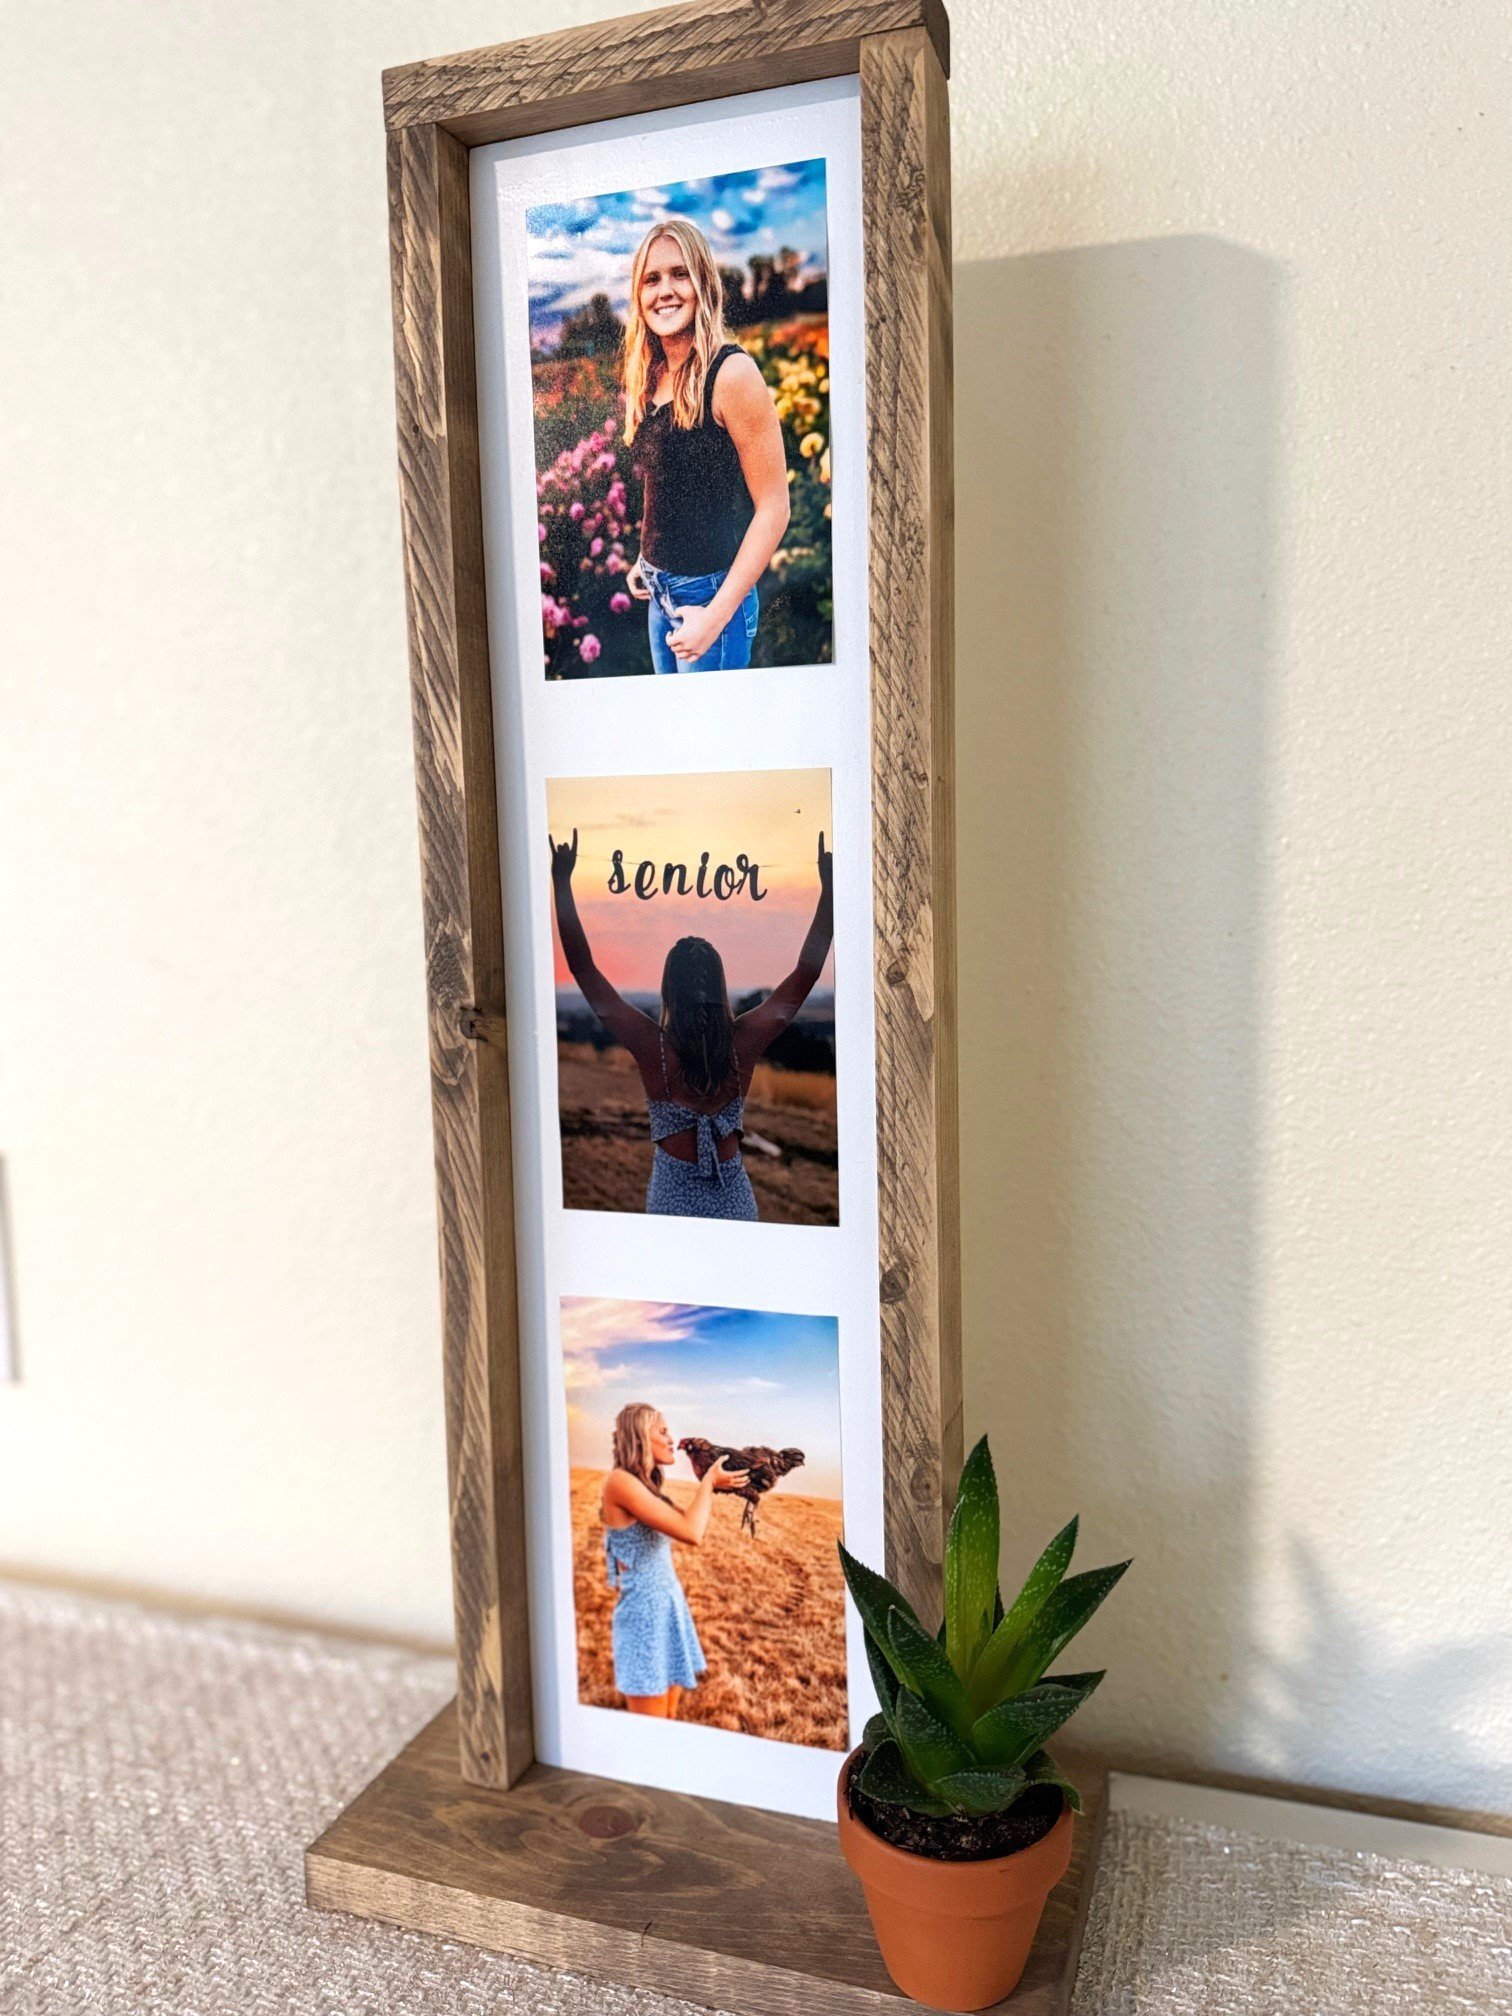
I wanted to create a fun way to display my daughter's senior photos. I love the natural wood look and the added spinning function!

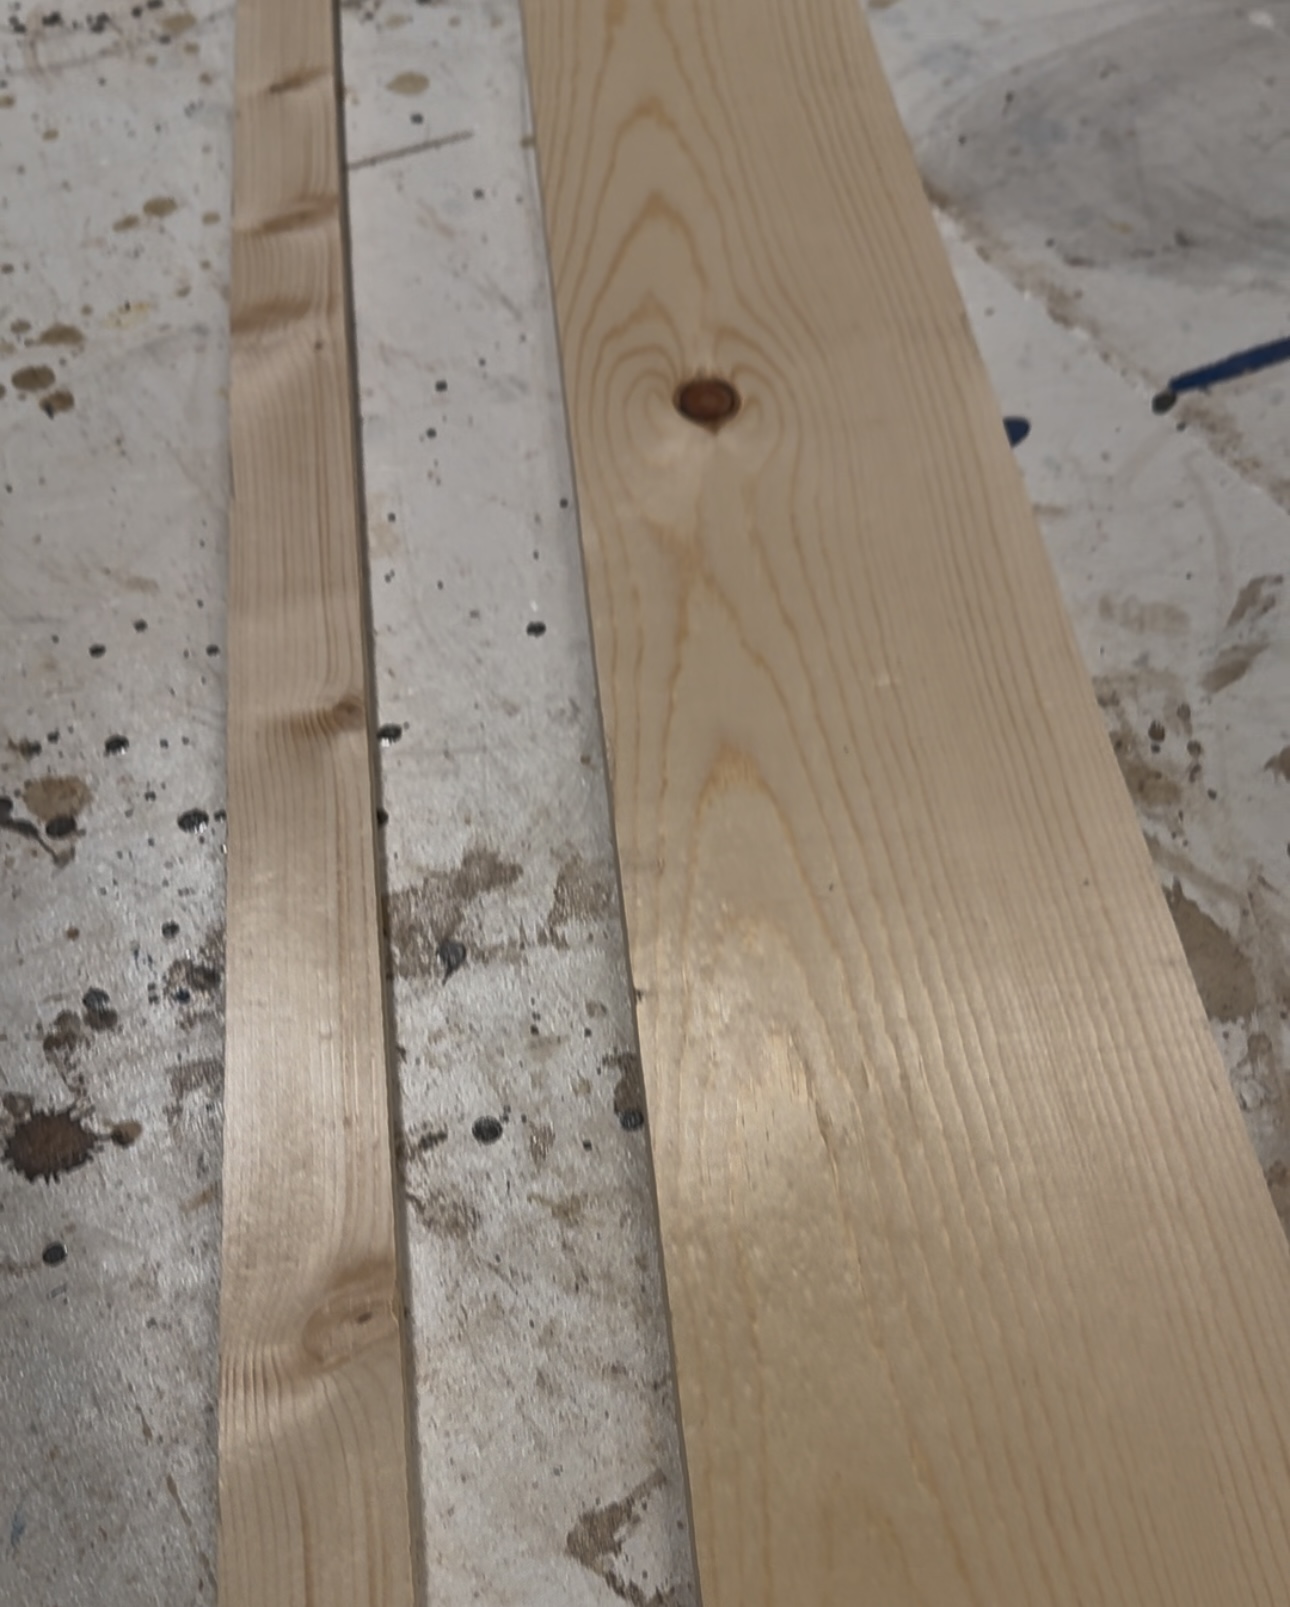
Cut all boards according to the cut list. I lined up the two long boards, found center and clamped it. I shot a couple of nails in to hold it and then I unclamped the boards to shoot more nails in. Take your time and make sure you are shooting the nails in straight!


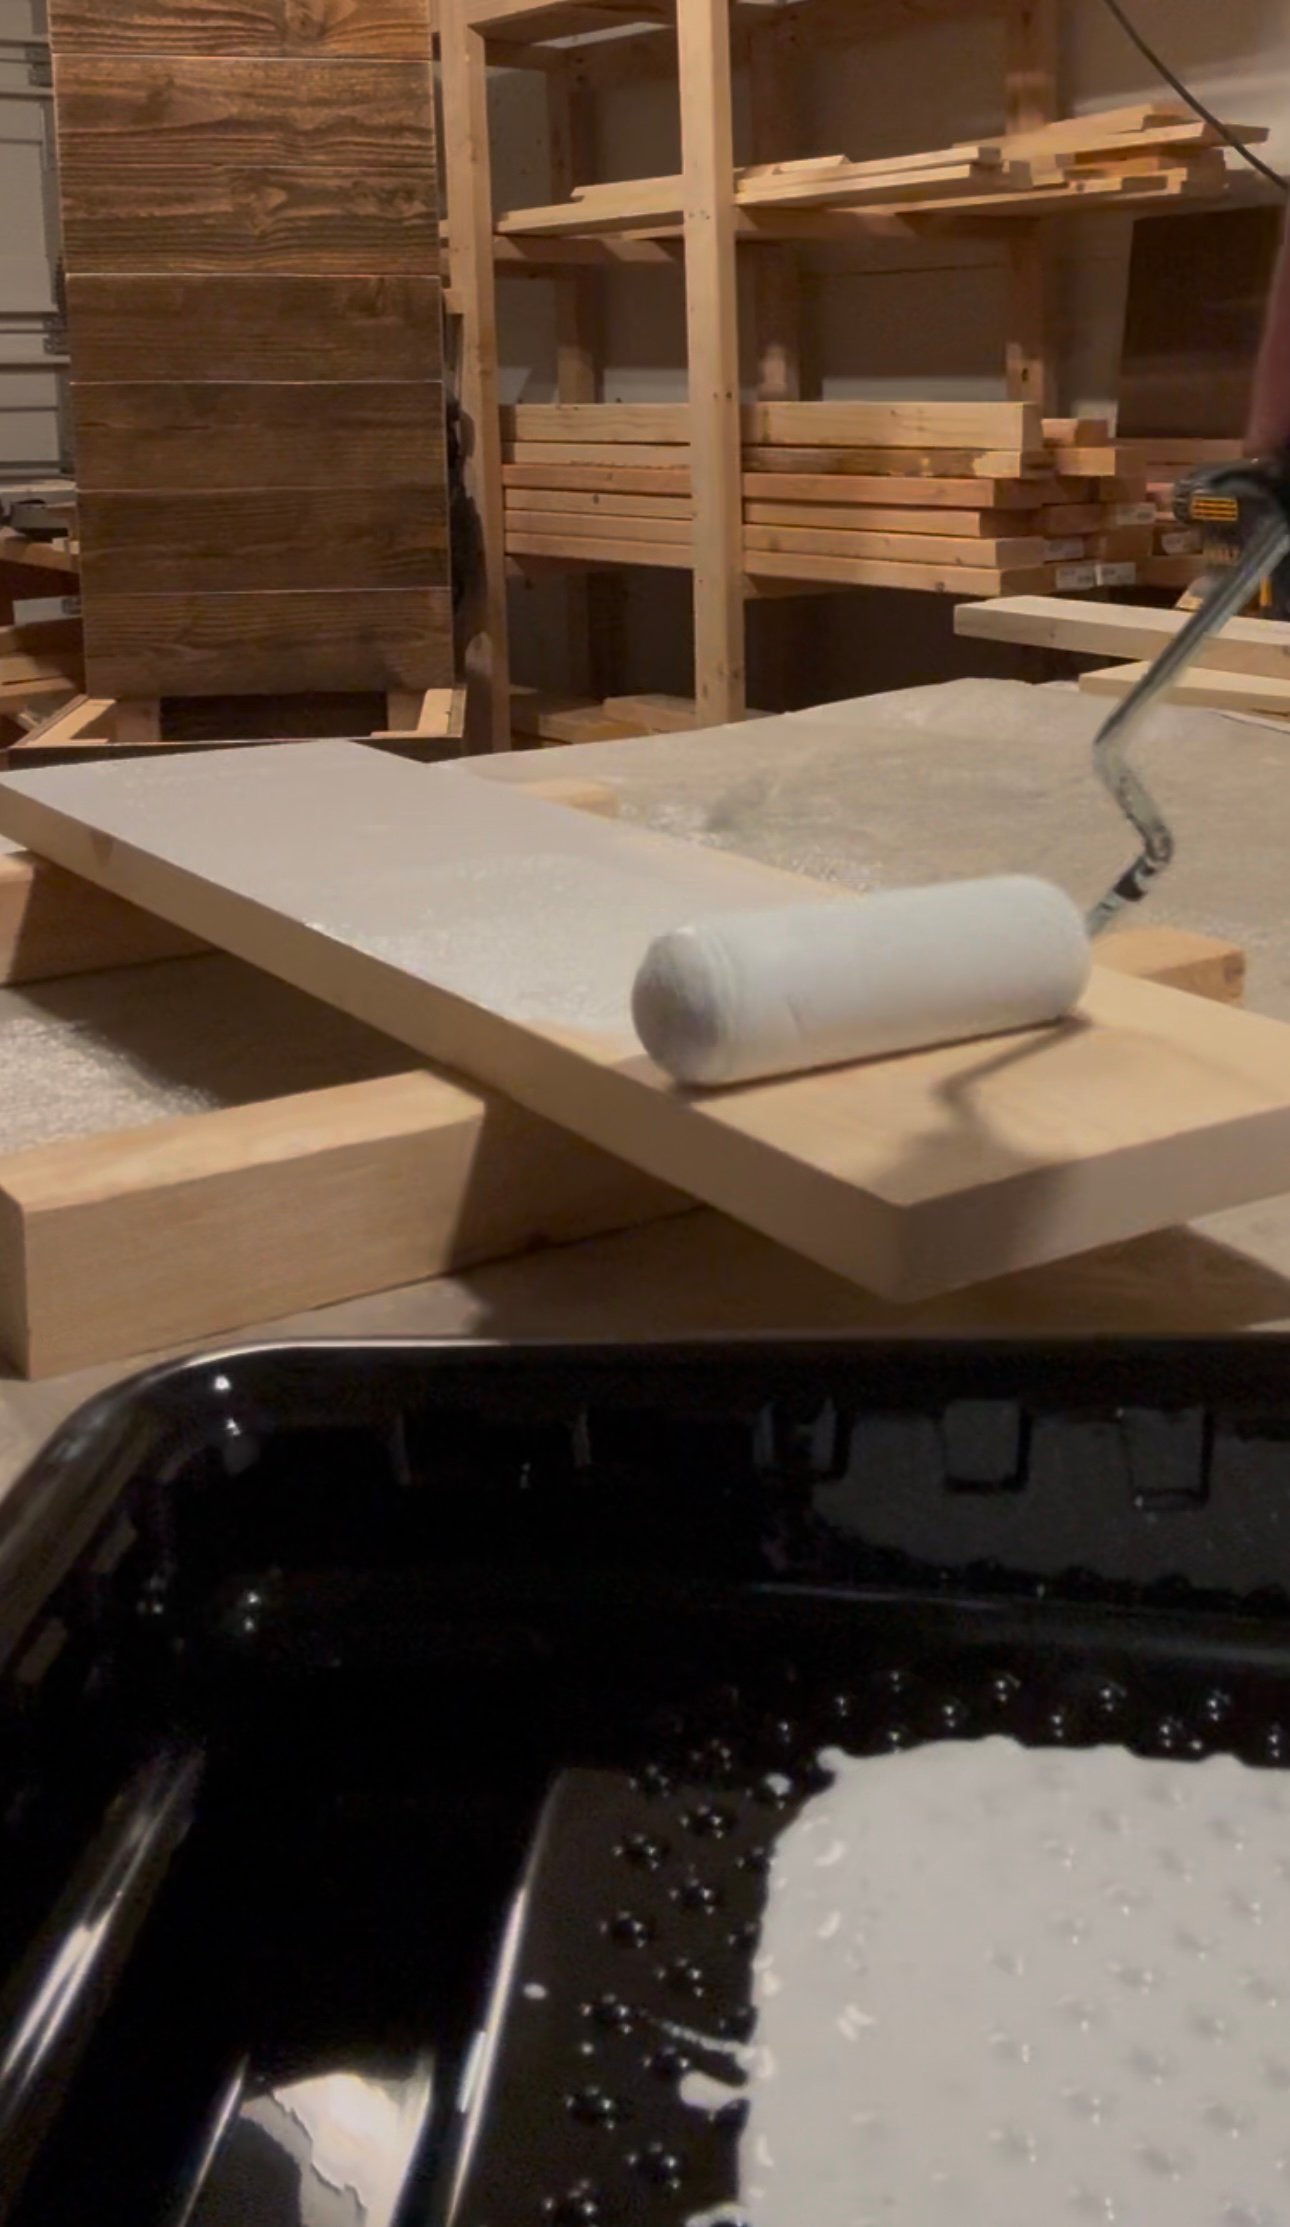
Before attaching the bottom board, I stained the project and added the lazy susan hardware before attaching the very bottom piece.


I used double sided tape for the photos and made some cutouts of her name and graduation year to customize it!


Ready to build this yourself? Here's the free plans, enjoy!
I have a large kitchen island. Whenever I set something on it, it feels out of place. So I decided to try using a wood risers to group items together, and make the items appear grounded, and intentionally placed. This riser will also help with cleaning underneath the grouped items.

Think of it like setting things on a coffee table, instead of on the floor. The riser is a mini coffee table for your surfaces!
It's super easy to make a riser, but I wanted this one to have some character and a vintage feel! So here's how I made it:
I cut a 1x6 board to 15" long.
Then I marked 1-1/2" upward on each end, across the board (to be cut down in later steps)

Then I drew out the vintage shape for the footed ends with a pencil. I only drew half.

I cut out the half, saved the piece and then used the piece to transfer the cut marks to the other side. Another way to do this would be to make a paper pattern (probably more professional too)

Then I cut the second side out with a jigsaw.
I did use a scrolling blade on the jigsaw to make the tight corners.

I didn't want to cut the decorative feet from tiny pieces of wood, as that gets very difficult to clamp down. So now I'll cut the feet off from the main piece with my chop saw.

I positioned the feet on the bottom and added with glue. Then I flipped it over -

And nailed the top to the feet.

To give the wood riser a little more character, I went along the outsides with a jigsaw and cut randomly at the edges.
I also damaged the top surface with a chisel and other distressing tools to give it a worn look.

Then I sanded the edges with a sanding blocks.

I applied stain with a foam brush.

And then wiped the stain off with a shop cloth. I let the shop cloths dry isolated outside before disposing as they can be combustible.
Here's how it turned out!

Video Tutorial Coming Soon
First, let's discuss what is a cheeseboard? I wasn't entirely sure myself, but about ten years ago, I had some scrap wood and decided to make up some "decorative" cutting boards to decorate my kitchen with. But little did I know, I these wood decor pieces ended up being so much more useful!
Whenever I would need a quick spot to rest something - so it's not on the countertop or table - I'd reach for the cheeseboard. Whenever we entertained, I'd start with the cheeseboard. Years later, we are STILL using those original cheeseboards!
A cheeseboard is a piece of wood, cut into a decorate shape with usually a handle, that is designed to serve cheese off of.

In this post, we'll just do simple cheeseboards, but do check out this fancier footed cheeseboard (pieced together with smaller width wood pieces too, so you can use up 1x3 and 1x4 scrap wood!)
The scrap wood cheeseboards are very easy to make! You'll just need some pine or "whitewood" boards, a 1x4 would make a very small, narrow cheeseboard, 1x6 a good size for end tables or longer runners, 1x8 is what I did in the pictures, 1x10 or 1x12 starts getting really good sized, almost charcuterie board sized.
First, you'll cut the board down to size you'd like. Remember the handle should be about 3-4" long, so figure that in when you choose the size board.

Then mark out the handle as desired. The straight lines like this are easier to cut than rounded lines, so I opted for that. It's a more modern look too.

Then with a scrolling blade, fine toothed, I cut the lines with a jigsaw.

Then I drilled out the hole for the handle with a Forsner Bit. This bit drills a very clean hole in the wood. TIP: Drill most of the way through, then flip over and match the center point and drill all the way through.

I used a sanding sponge to clean up the cut marks and sand the entire cheeseboard.

Now for the finish. I choose to use a butcher block oil, but since a cheeseboard isn't usually used as a cutting board, you can use a stain and polyurethane topcoat for more color options.

I didn't get photos or video, but I added with my Cricut the graphics to one side of the cheeseboard. I'd love to add a personalized name or monogram to make an extra special gift too!
Video coming soon
We love to give gifts that inspire adventure, memories and experiences together! I thought a hot cocoa gift set would make a great gift for a family wanting an outdoor adventure, maybe it's sledding or maybe it's skating - all you need is a hot thermos of water! How fun is that?

The gift crate also can be flipped to create an organized serving center, so all the hot cocoa stays in the same area, on it's own little "table".

This project is very easy to build! First, I cut the 1x6 for the bottom and the sides. Then I used glue and brad nails to nail the sides to the bottom.

Next, I cut wood lath strips for the sides.

Then I nailed the lath strips to the sides with glue and brad nails.

I did this on both sides. Maybe don't use as much glue as me.

Then I added a whitewash stain, but you could stain or paint any color.

From there, I just took a scrap piece of wood and spray painted black. I used my Cricut to cut out the lettering and applied it to the label. I just glued that on.
Now the fun part! I filled up the wood crate with hot cocoa supplies! The cups were a find at Micheals, everything else was sourced from the grocery store.
Video coming soon!
Ready to build this yourself? Here's the free plans, enjoy!
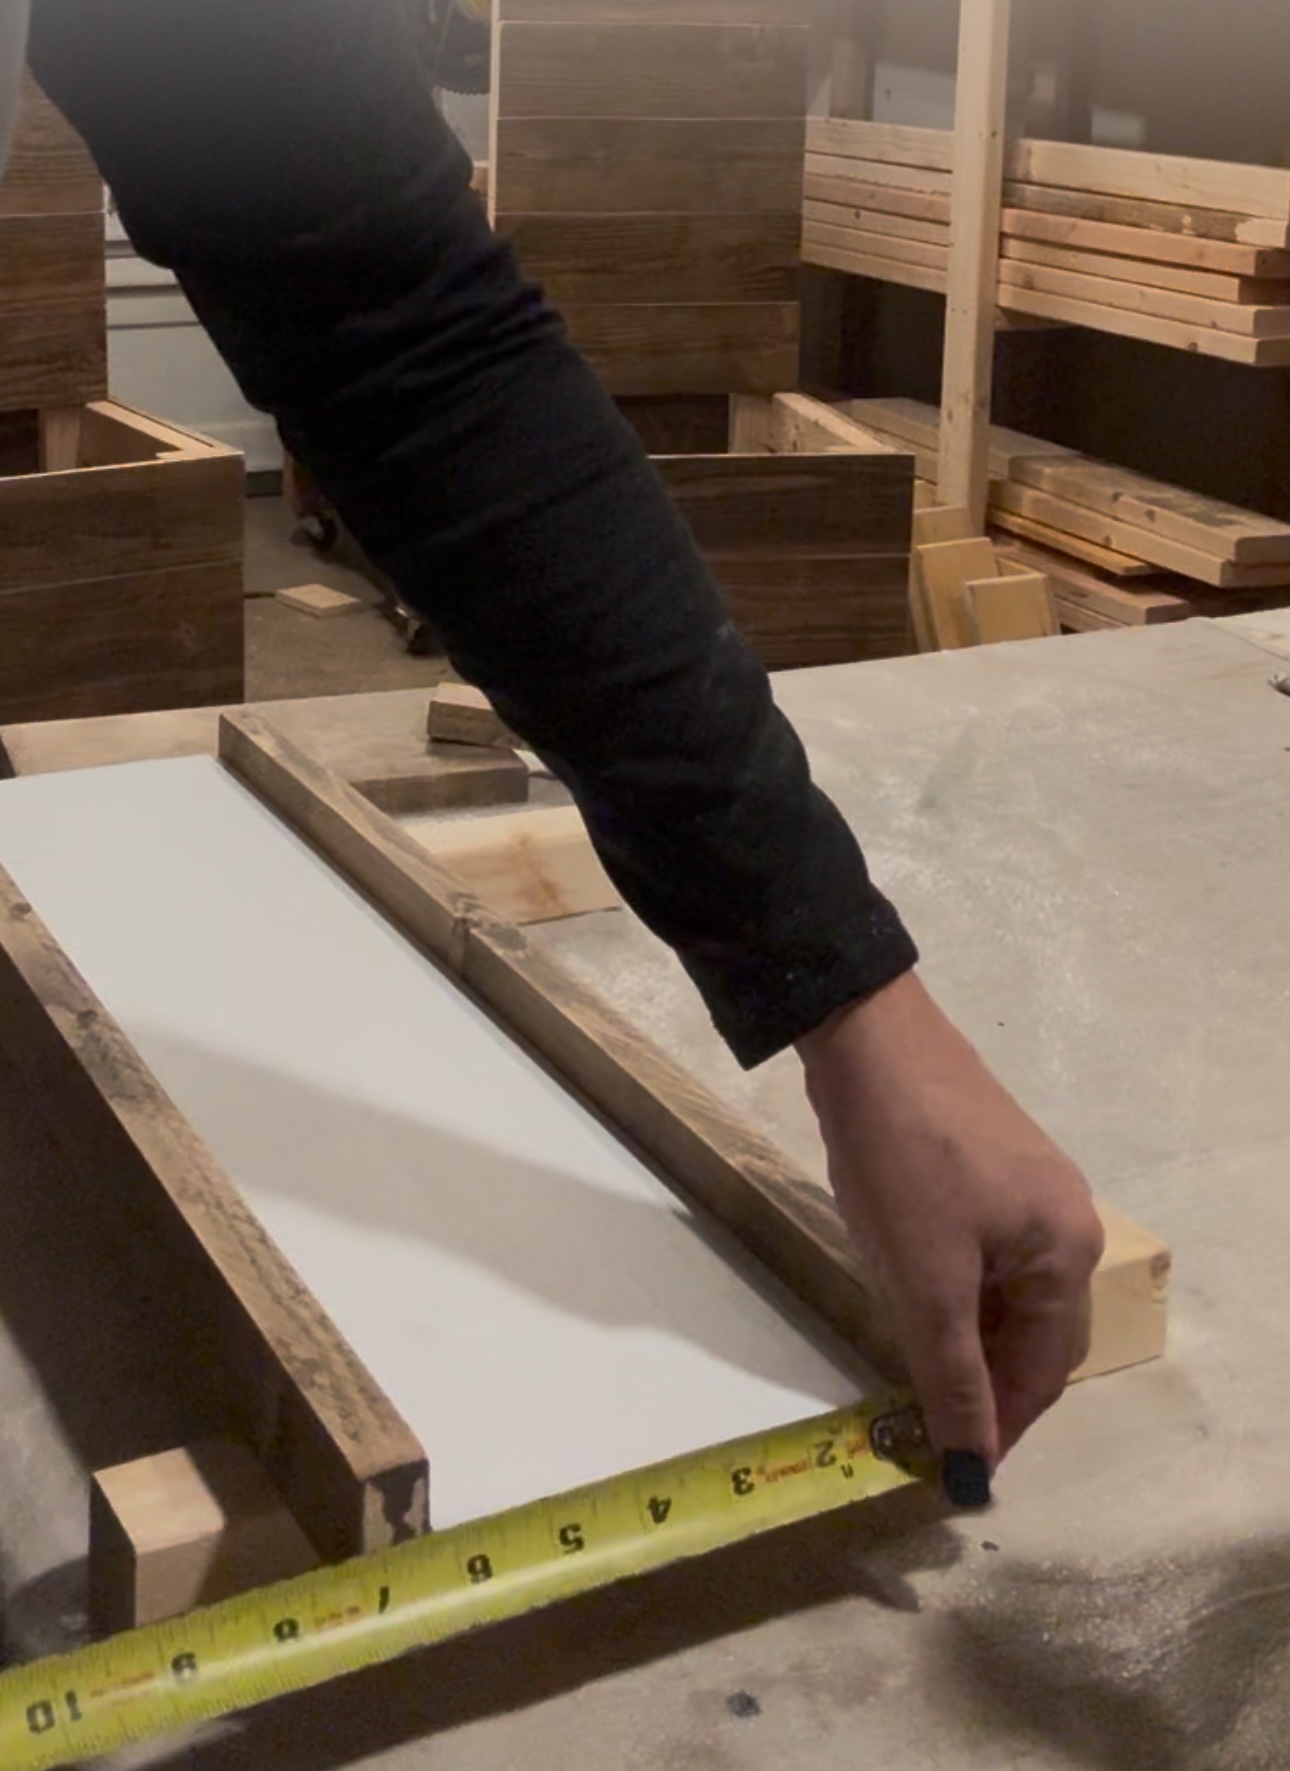
I've been searching for a beautiful way to display my daughter's senior photos and just couldn't find exactly what I wanted, so Ana drew up plans and it's perfect!
Cut the boards according to the cut list.
Finish before assembly.

Attach sides with nails and glue.
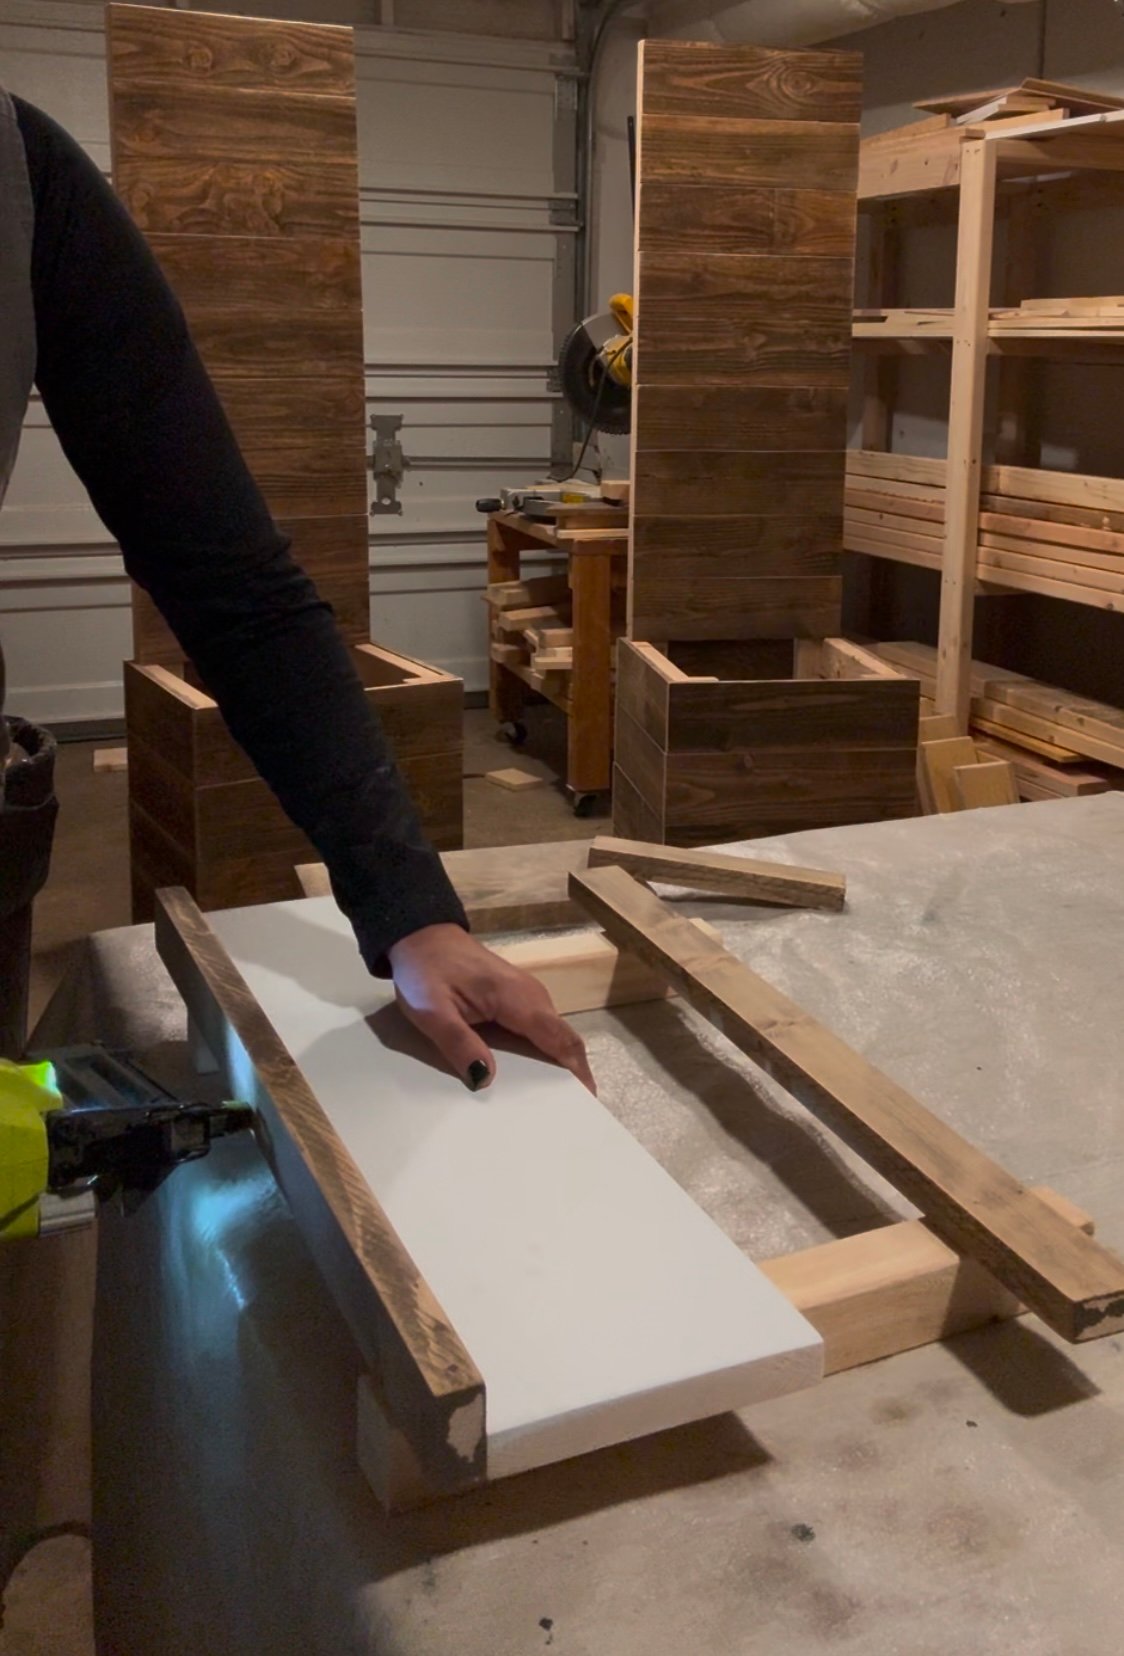

Measure and cut top board to fit.

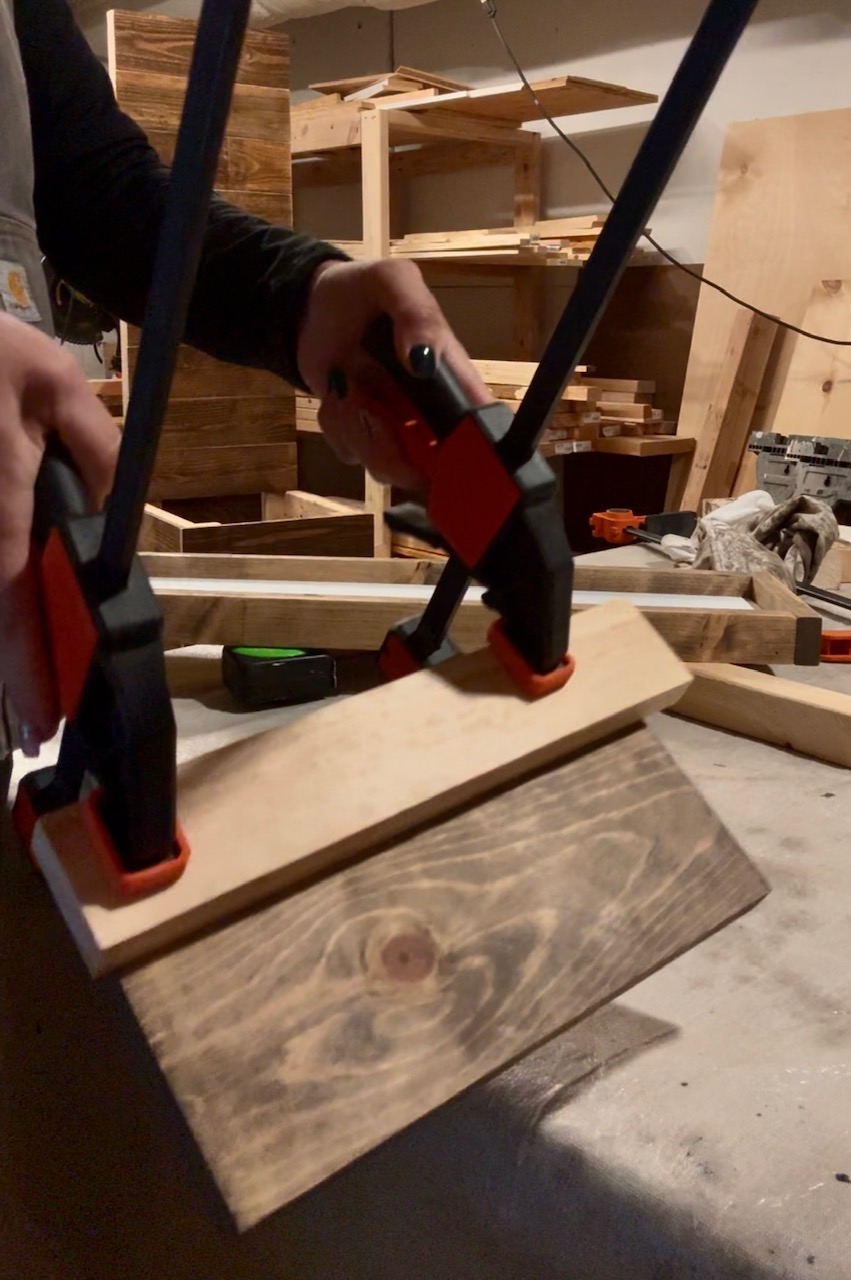
To center the upright on the bottom board I cut a scrap piece for the correct spacing and clamped it. I then turned it over and shot the nails in. Go slow to make sure you don't have nails showing.


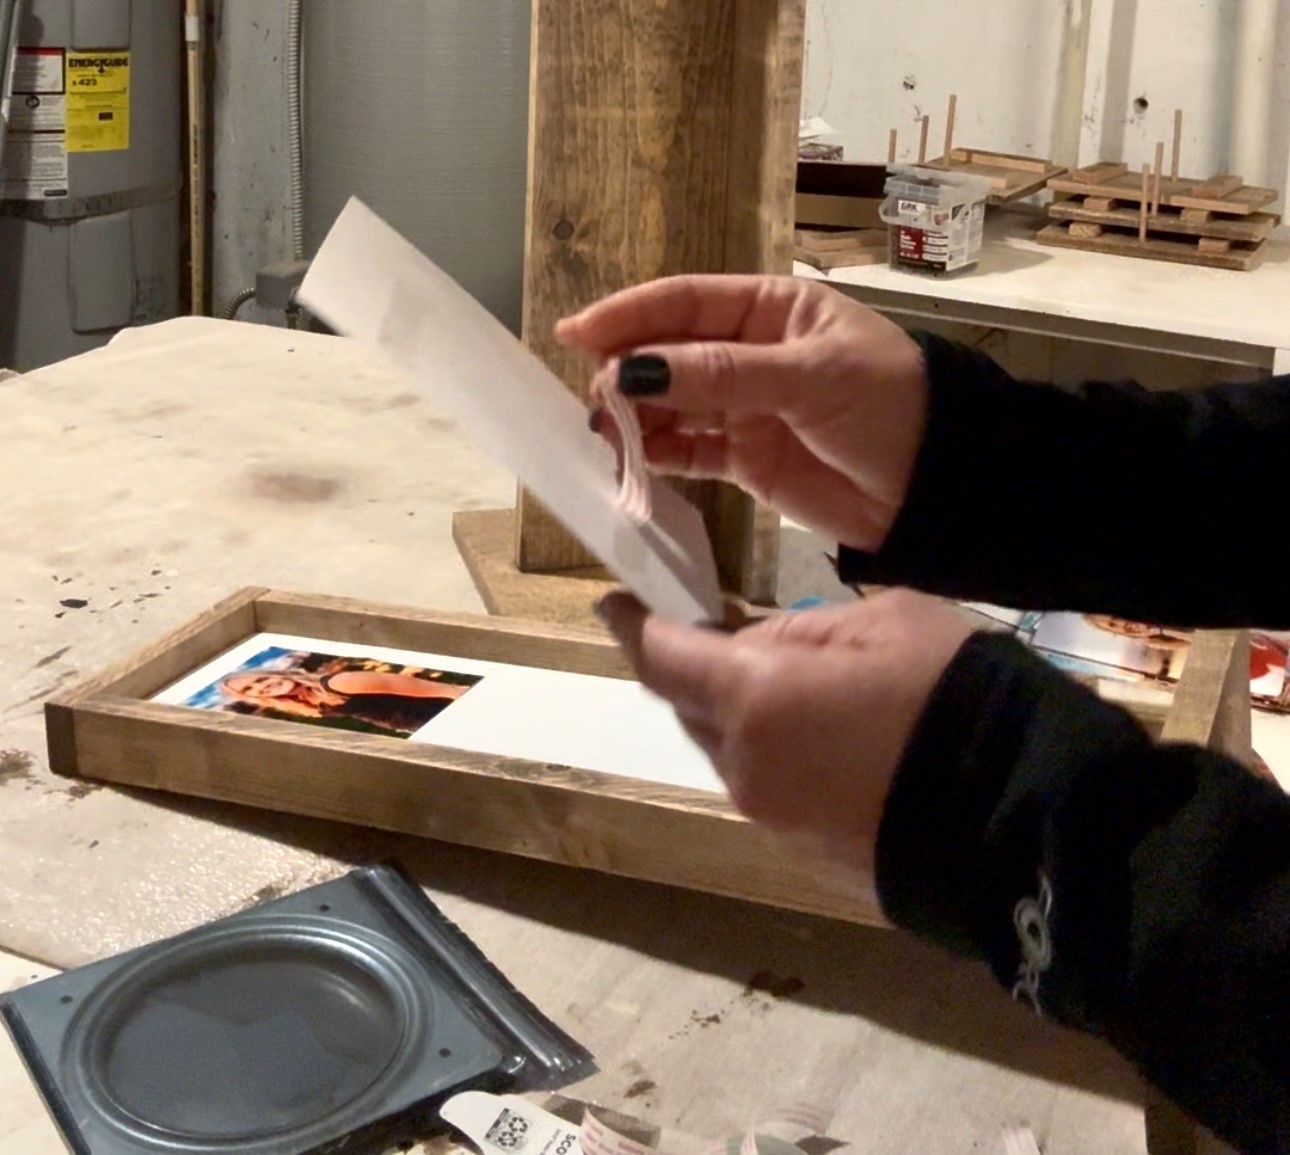
Add 4x6 photos with double sided tape.

Ready to build this yourself? Here's the free plans, enjoy!
I love creating simple projects using a basic cedar fence picket. I wanted to add a rustic element to our Thanksgiving and Christmas table decor, so I came up with this! I love that you can switch out the flowers each season!

Start by measuring and cutting the fence picket depending on the size of vase you use. I am using a 1/2 gallon jar for this project.


After cutting I sanded my boards.

Next you will attach the side to the bottom using glue and nails.


Next you will measure and rip the side pieces using a table saw. No table saw? No problem, just make the height of your crate to match the widths of the existing pickets.


Finally attach the ripped boards to the front and back using glue and nails. I started with the top and bottom boards first and then attached the middle piece, then I just eyeballed the last 2 pieces to get the right spacing.


Finish as desired and fill with your favorite flowers or greenery!

 Watch! Build Video for This Project
if applicable, embed video here
Ready to build this yourself? Here's the free plans, enjoy!