2023年12月13日星期三

Rustic Farmhouse Round Coffee Table

Watch - How I Built this Coffee Table

From cutting the round tabletop to making the angled base, in this video you'll see how this rustic farmhouse coffee table is built.

More Plans in this Collection

I liked this coffee table so much, I went on to build the end table, and hopefully more plans in this collection!

Rustic farmhouse coffee table and end table

Here's the plans I've built so far:

Rustic Farmhouse End Table Plans


Free Plans to Build Your Own Round Rustic Farmhouse Coffee Table


from Recent Project Plans https://ift.tt/oYTZeW7

Rustic Farmhouse Round End Table

Building the Round Top of this Rustic Farmhouse End Table

Here's how I built the round top for this end table.
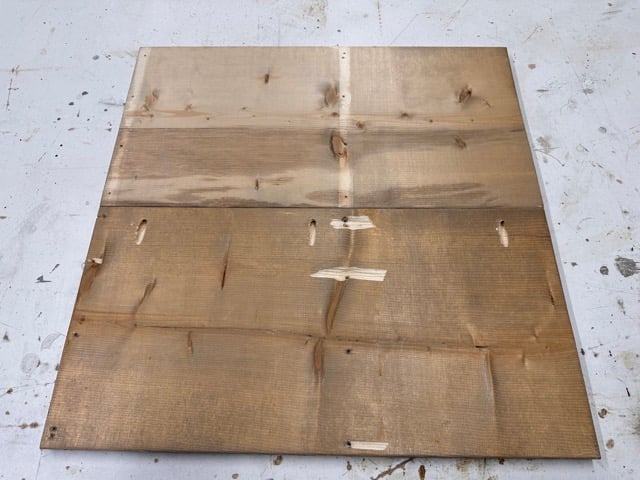
rustic farmhouse end table pottery barn knock off

First, joint two 1x12 boards together using pocket holes to make the tabletop boards.  Avoid screws where the saw will cut into when cutting the circle. NOTE: I am using reclaimed 1x12 boards.
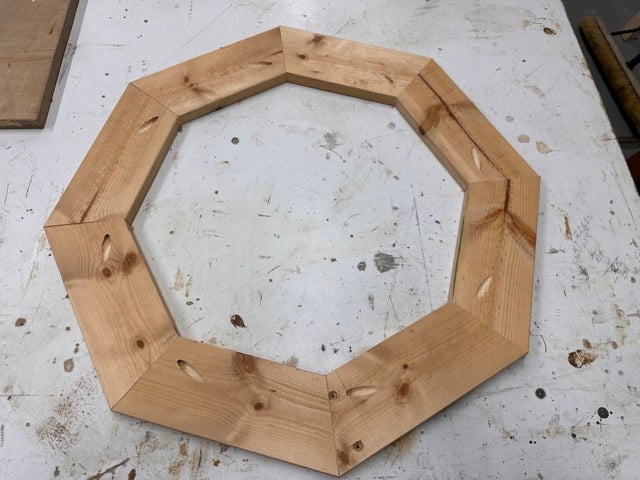
rustic farmhouse end table pottery barn knock off

Then, build the octagon apron for under the tabletop.  Avoid screws where the saw blade will cut into when cutting the circle.
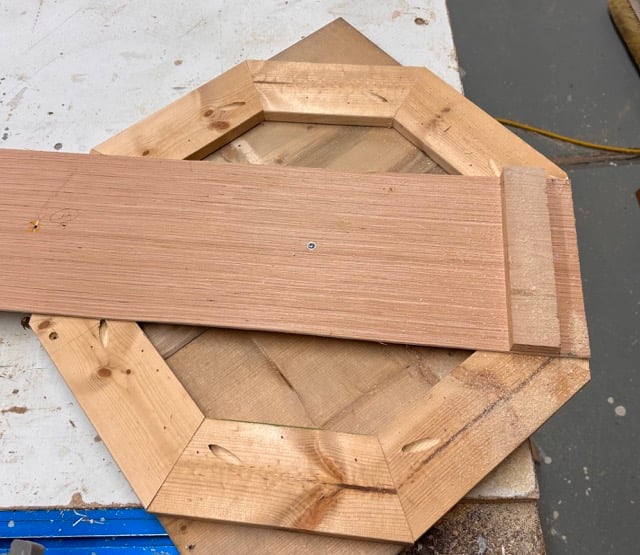
rustic farmhouse end table pottery barn knock off

Attach the octagon apron to the underside of the 1x12s with brad nails and glue - avoid nails where the saw blade will cut into when cutting the circle.

Use the circle jig to cut the tabletop into a circle.
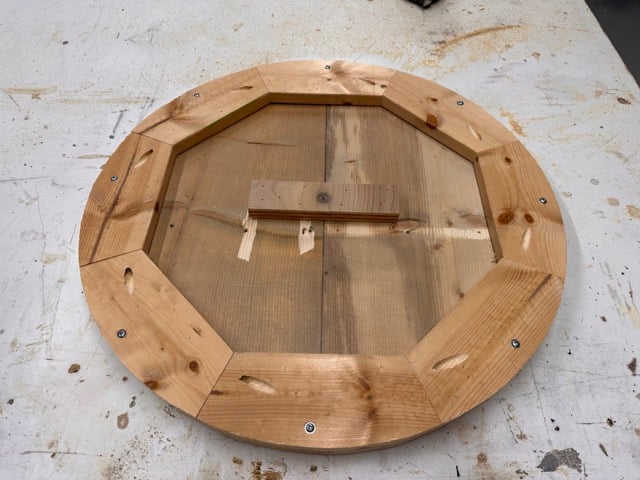
rustic farmhouse end table pottery barn knock off

After cutting the tabletop into a circle, add more screws or nails to the underside of the apron as needed to tighten the apron to the tabletop boards.

Building the Base of this Rustic Farmhouse End Table

Once the top is done, I can now work on the base.
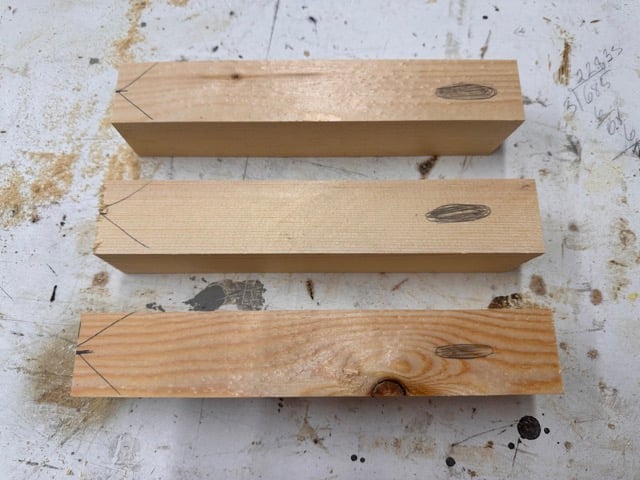
rustic farmhouse end table pottery barn knock off

For the small triangle stretcher pieces, I mark out the pocket hole and the end angles first, then carefully prepared using a miter saw.
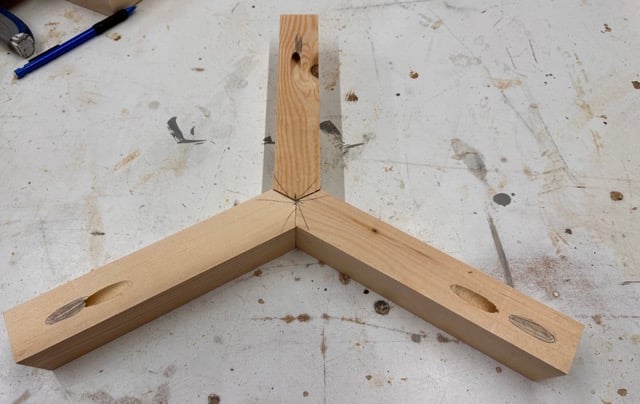
rustic farmhouse end table pottery barn knock off

Then I joined the three boards together to make the center stretcher, using glue and 2" trim screws.
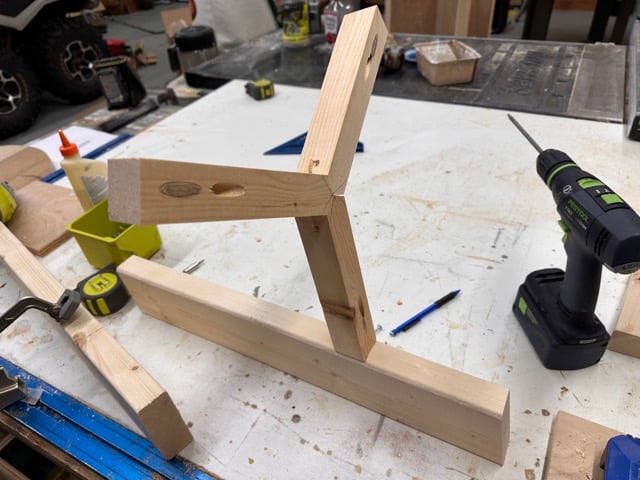
rustic farmhouse end table pottery barn knock off

Then I attached the center stretcher to the legs with the predrilled pocket hole, using glue and 2-1/2" pocket hole screws.
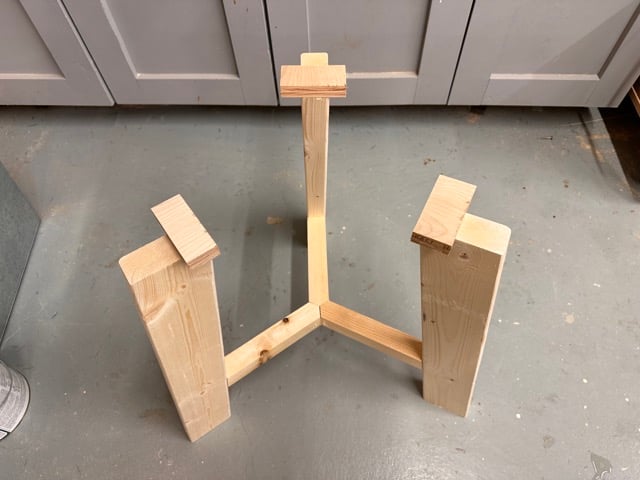
rustic farmhouse end table pottery barn knock off

I set the base on a flat surface to the the glue dry up.  I attached scrap wood pieces to the tops of the legs with 2" trim screws and glue.
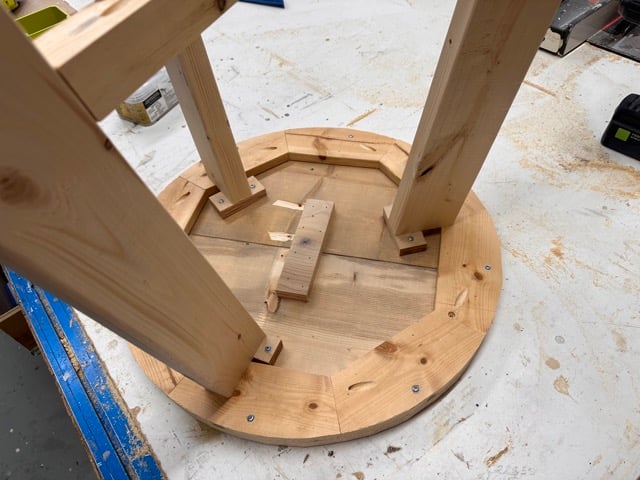
rustic farmhouse end table pottery barn knock off

Finally, I attached the base to the underside of the tabletop using the scrap wood pieces and 1-1/4" pocket hole screws.
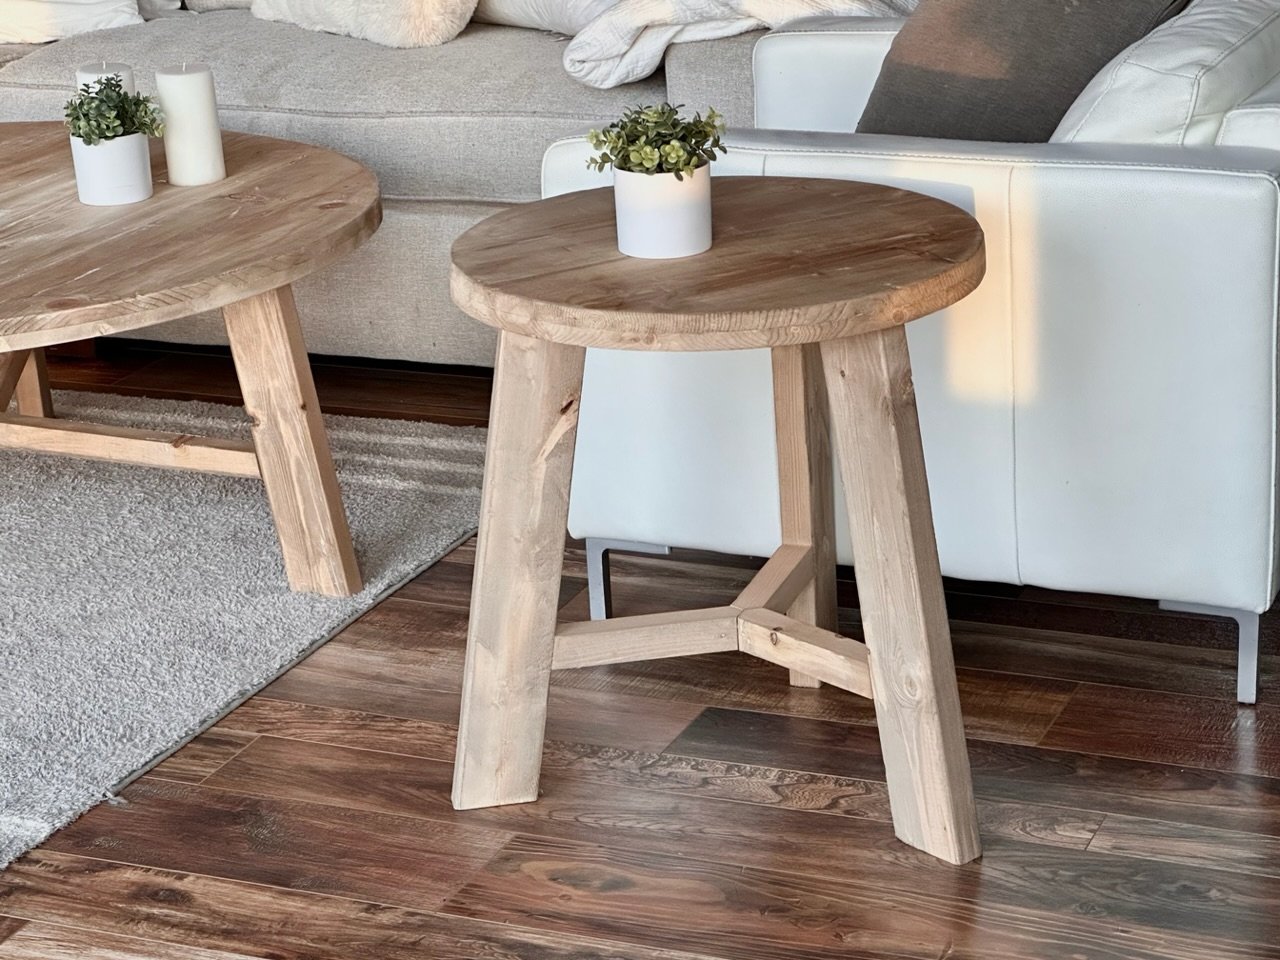
Video Tutorial - How this Project is Built

Here's a quick video tutorial, showing how this project is built.  It is the coffee table, but the steps are essentially the same:

VIDEO COMING SOON


Matching Plans Also Available!

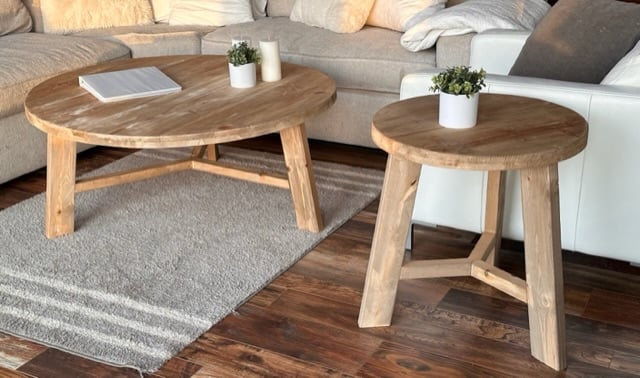
This end table is part of a collection of plans that I built to match.
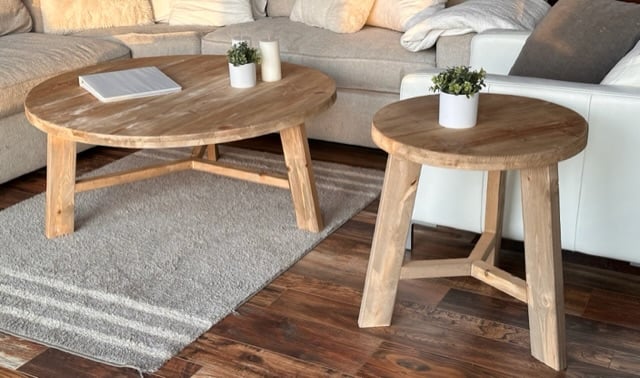
Rustic farmhouse end table diy

Here's the plans I have so far:

44" Round Rustic Farmhouse Coffee Table Plans


Free Plans to Build Your Own Rustic Farmhouse End Table


from Recent Project Plans https://ift.tt/yWbsmB3
2023年11月28日星期二

Monogrammed Snowflake Cutout

Do you like making snowflakes?  Folding the paper up into a triangle shape, then cutting out, and seeing what you get?  

Call me a kid at heart, but it never gets old for me!  It's amazing what a few little snips can do to a piece of paper.

So that's why I'm giddy excited about today's project!  Not only is it a snowflake, but it is cut from wood!!!  And just like the paper snowflakes that you create and no two are alike, you can do the same with this one!!!


Video Tutorial - Making this Wood Snowflake


Free Plans - Build Your Own Oversized Monogrammed Snowflake


from Recent Project Plans https://ift.tt/iUrspLP

2023年11月22日星期三

DIY Desk under $40 | DIY Creators

I am going to transform $40 of lumber into a sleek and stylish desk. Get $40-off Carver Mat frames with code DIYCREATORS or Click https://ift.tt/1STUxPG (expires 11/28; terms & conditions apply) In this video, I'll guide you through the step-by-step process of creating a desk that's not only on a budget but also adds a touch of elegance to any workspace. Subscribe & "RING the Bell": http://bit.ly/1PtWJEd MY WOODWORKING PLANS https://ift.tt/woARsD6 Materials: • Desk Plans: https://ift.tt/SAxNP6D • (1) 2 by12 by 12 southern yellow pine • (4) 2by 4 by 8 Lumber • (1) 3/8 dowel • (1) LED Strip https://amzn.to/40MoNeZ • Wood Glue - https://amzn.to/3GhfiuF • Black paint gloss • Gel stain – Red Elm https://amzn.to/40We41K • Pocket hole screw https://amzn.to/3Ra3FLt Tools used: • Circular saw https://amzn.to/49JYeey • Clamps https://amzn.to/40WeJjK • Tool Hose https://amzn.to/3RatoEw • Pocket hole jig https://amzn.to/47Ha07r • Drill https://amzn.to/47txDRl • Hot Glue - https://amzn.to/3R7LkQf • Scraper - https://amzn.to/3SZ6MrM • Flush cut saw https://amzn.to/47KxhW2 • Belt sander https://amzn.to/49PZ2yn • Sander orbital Disclaimer: This video description contains affiliate links. If you click on one of the product links and make a purchase, I may receive a commission. This commission comes at no additional cost to you and helps me make videos like this. I appreciate your support! ********** Support my work ********** My Woodworking Plans: https://ift.tt/woARsD6 Help me make more Video: https://ift.tt/CaJUotg YouTube: Subscribe & "RING the Bell": http://bit.ly/1PtWJEd Instagram: https://ift.tt/xlzuL2E Pinterest: https://ift.tt/t1DAEi4 #woodworking #DIY #desk

from DIY Creators https://www.youtube.com/watch?v=zjfcVC20Tdc

2023年11月16日星期四

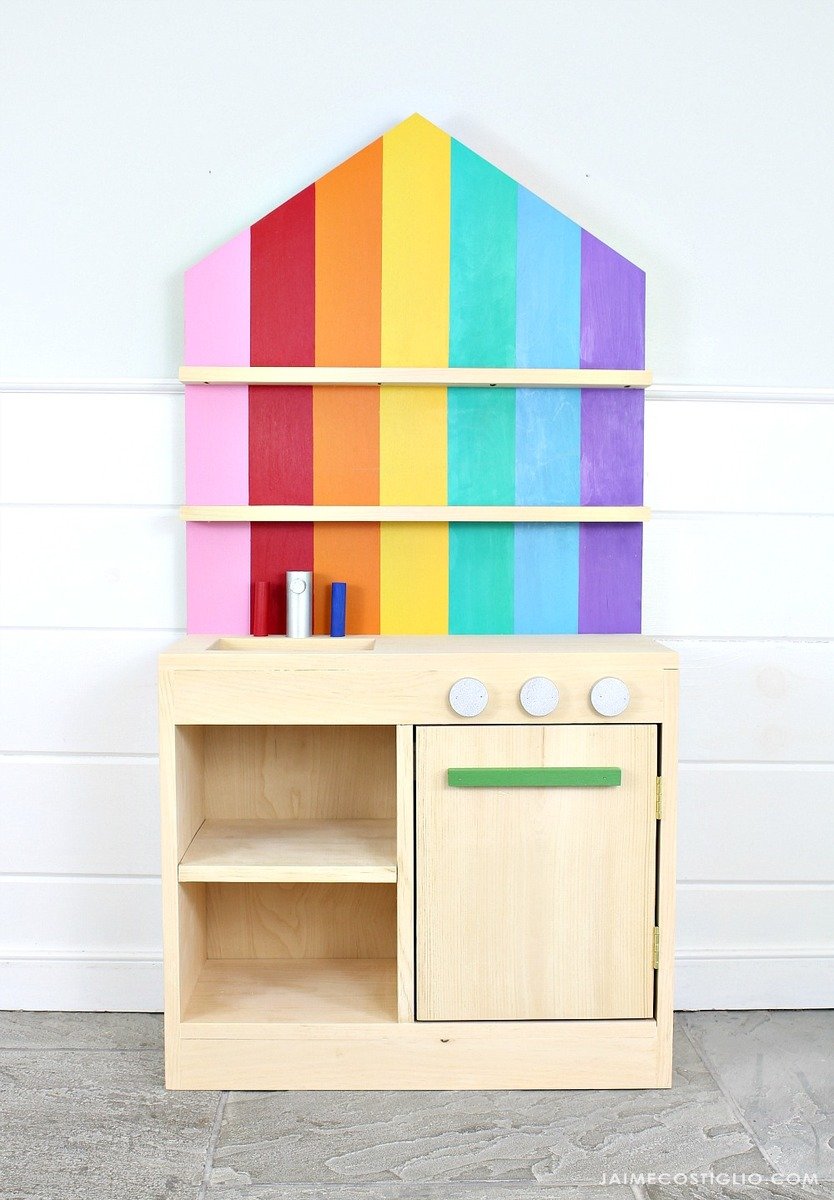
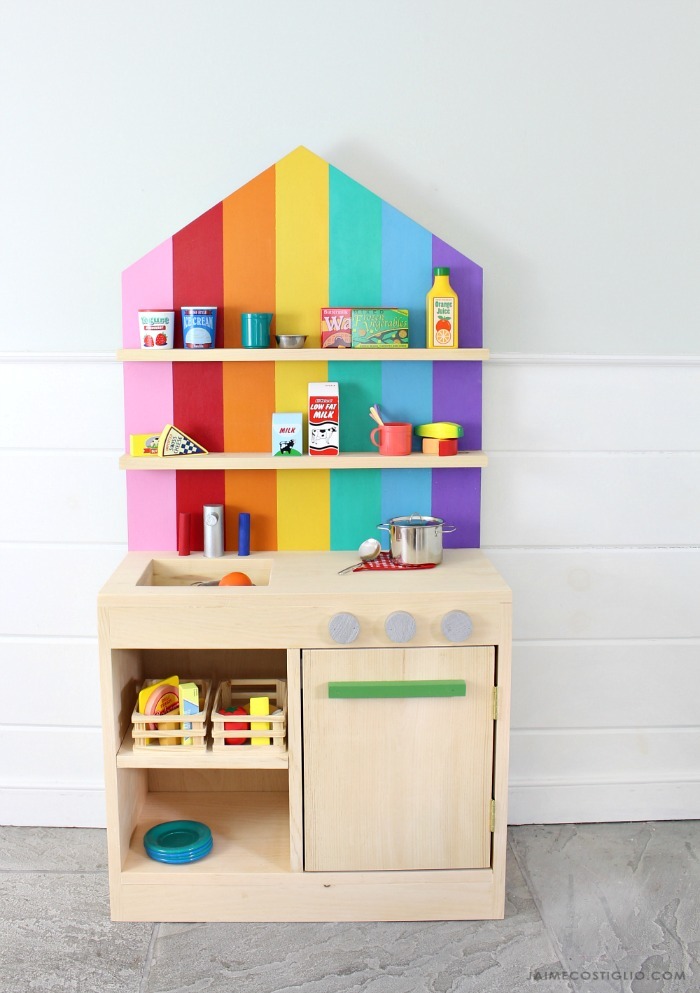
DIY Play Kitchen with Back Wall


A new, easy to build play kitchen!  The kitchen is just 1x12 boards (the door too) and the back is an off the shelf 24" x 48" plywood panel, so no difficult cuts needed.

The shelving above is perfect for little play food items.  This one is sized for toddlers or small children.


More Photos and Build Post

For lots more adorable photos, take a second to visit Jaime Costiglio and thank her for her hard work on getting these free plans out to you.

CLICK HERE FOR MORE PHOTOS BY JAIME COSTIGLIO


from Recent Project Plans https://ift.tt/8Cko3R2

2023年10月30日星期一

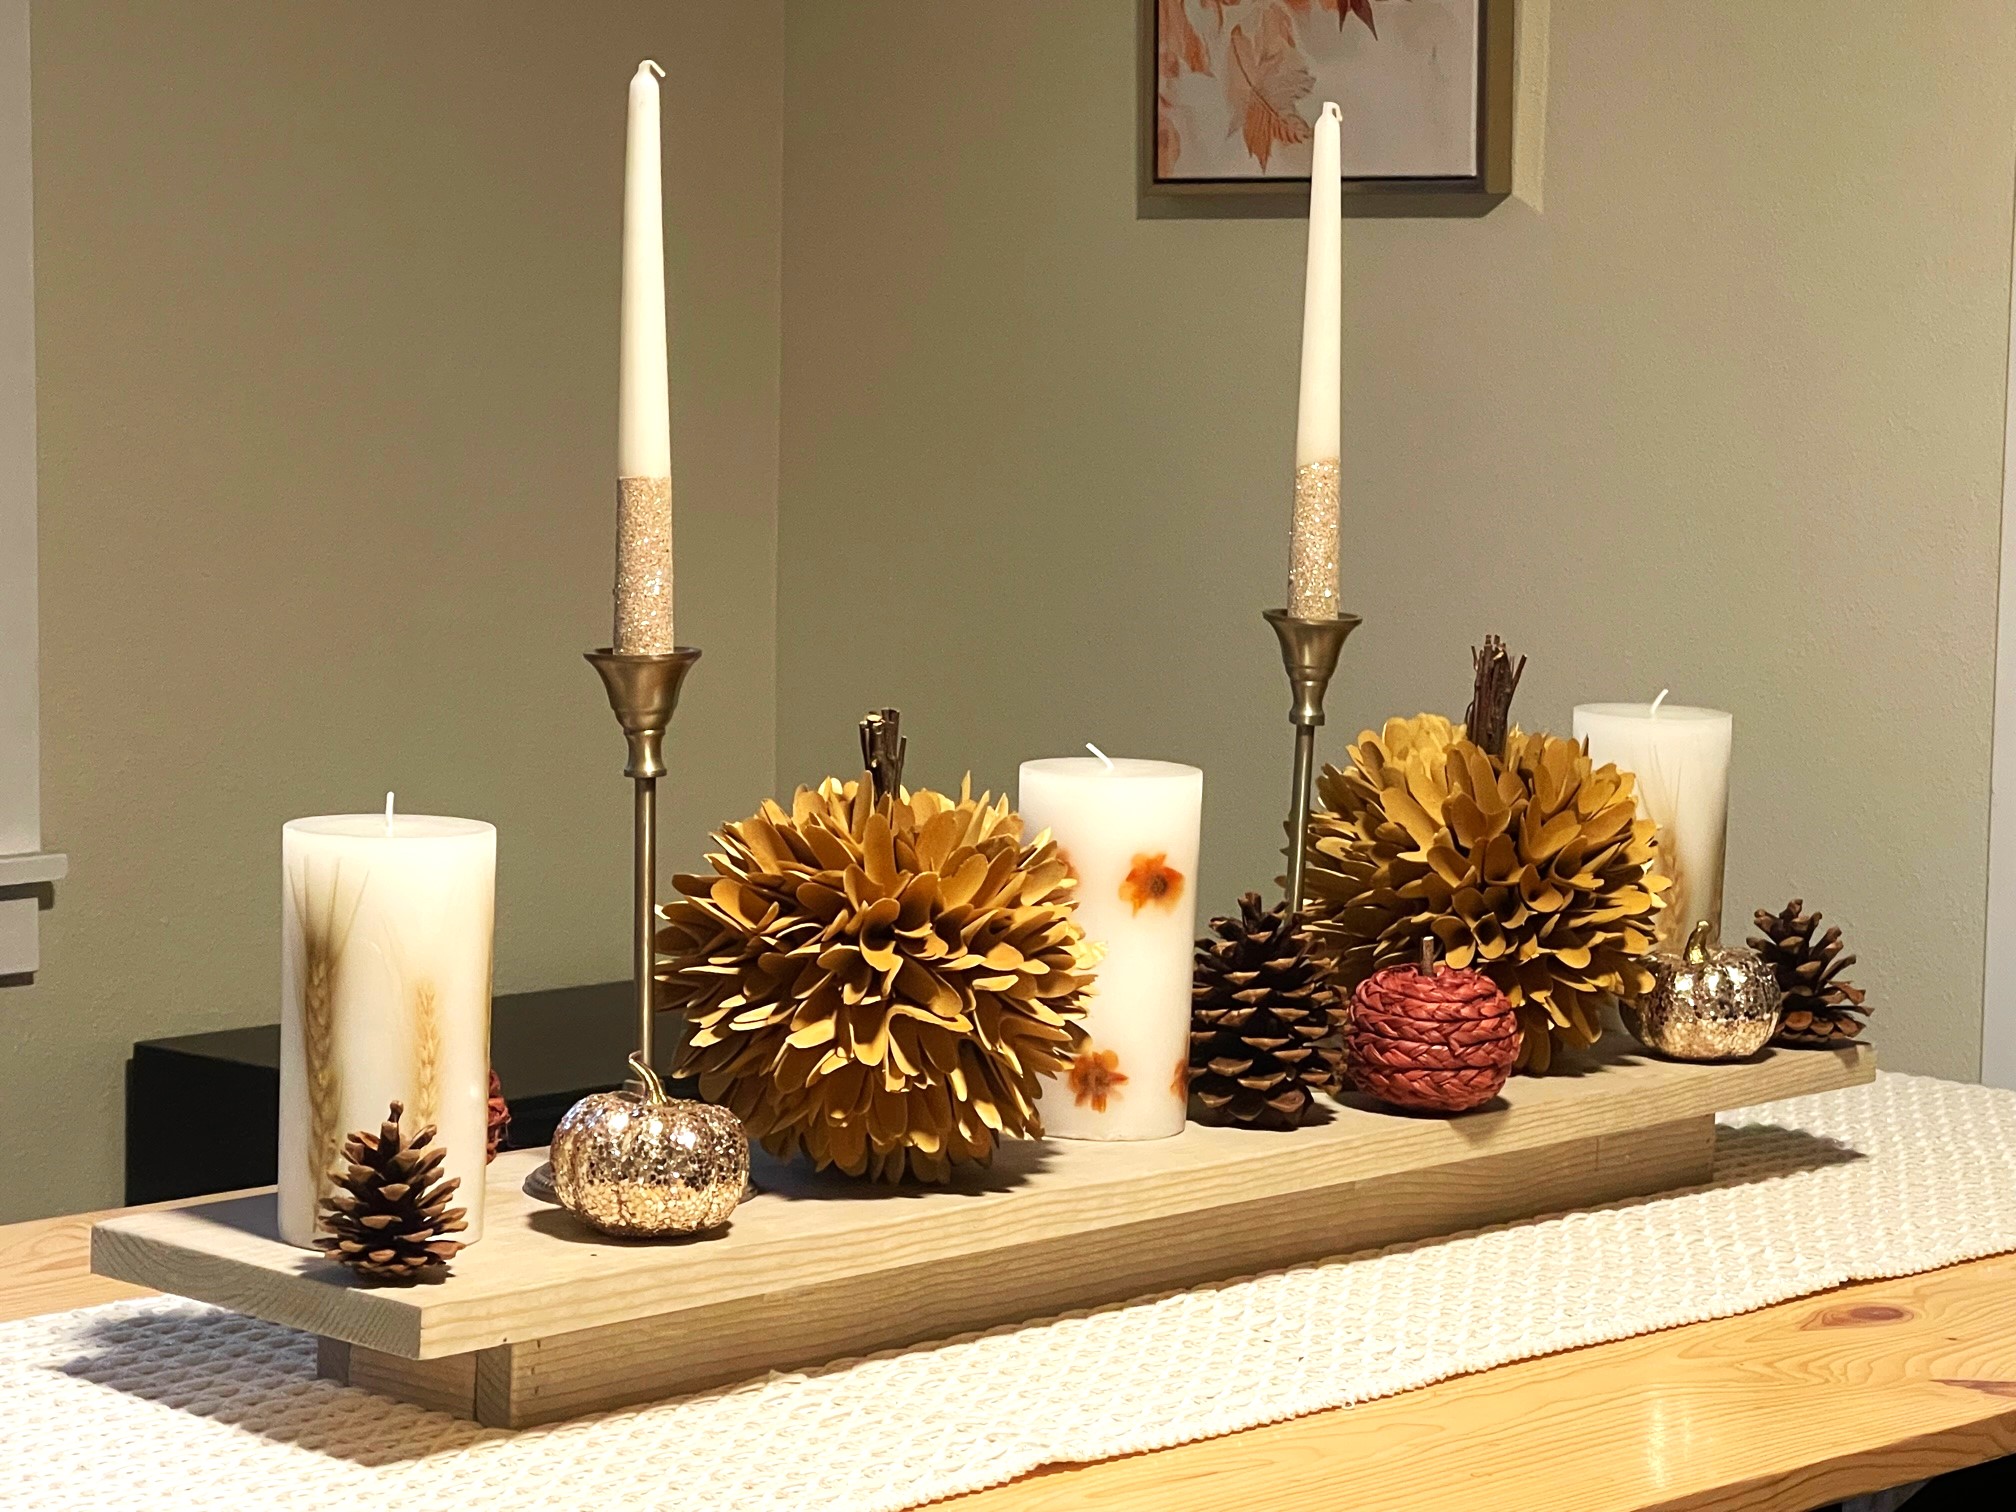
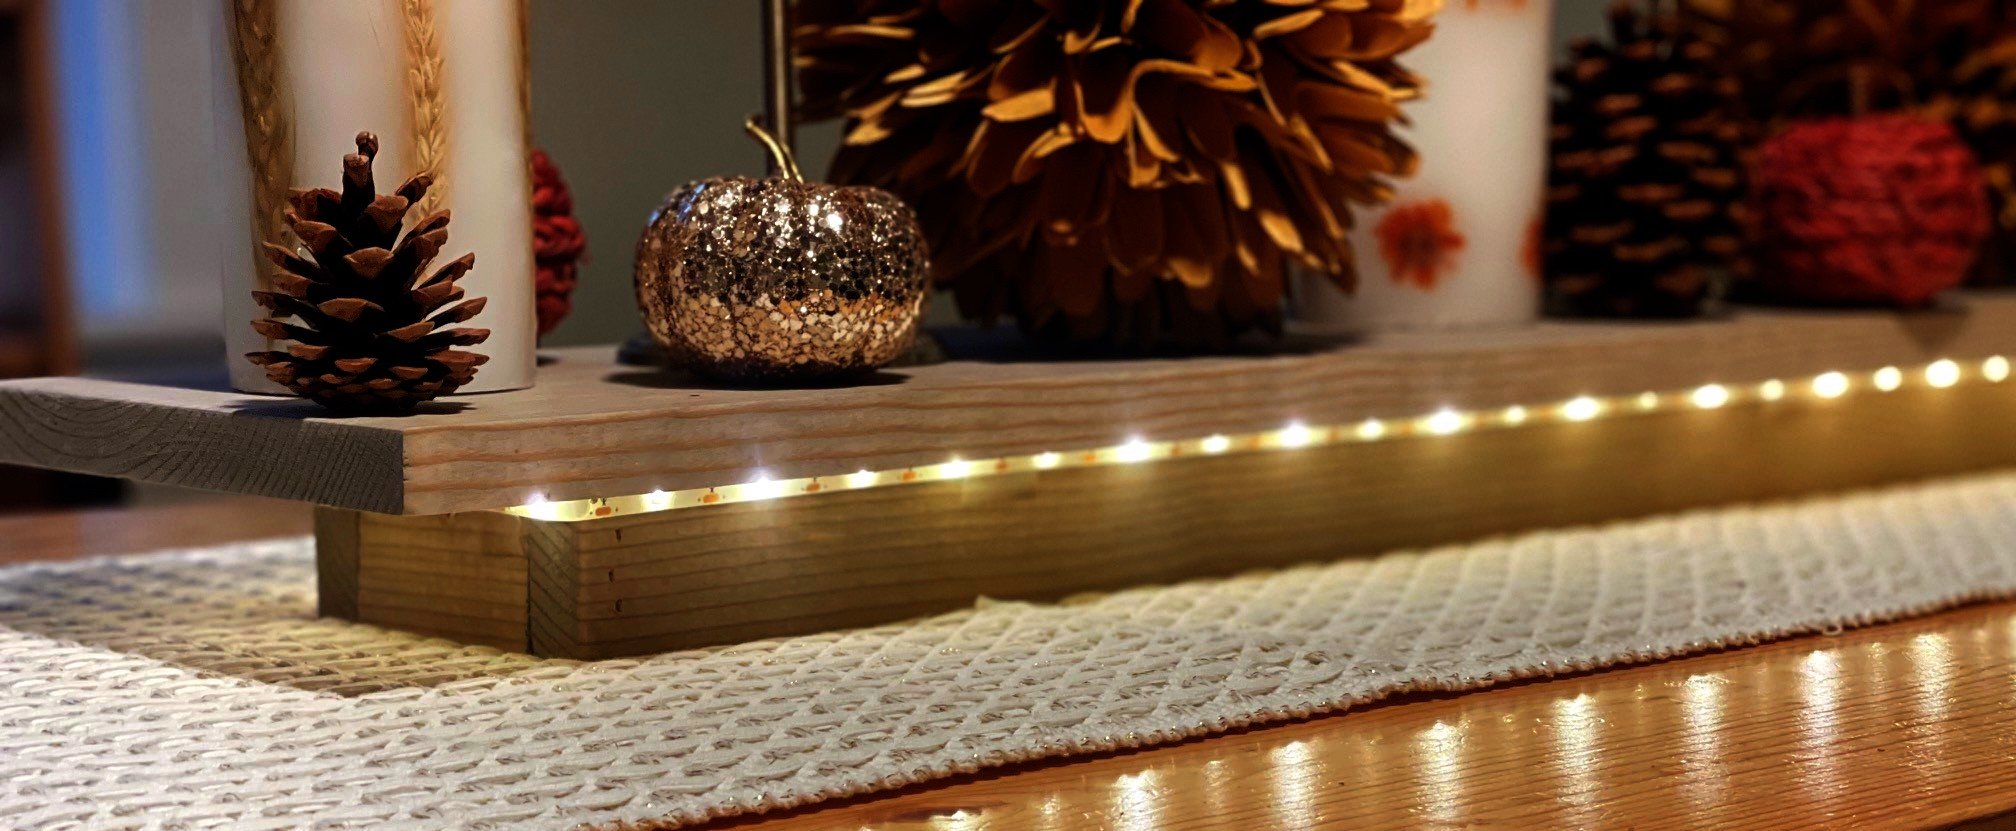
Lighted Floating Table Runner Riser

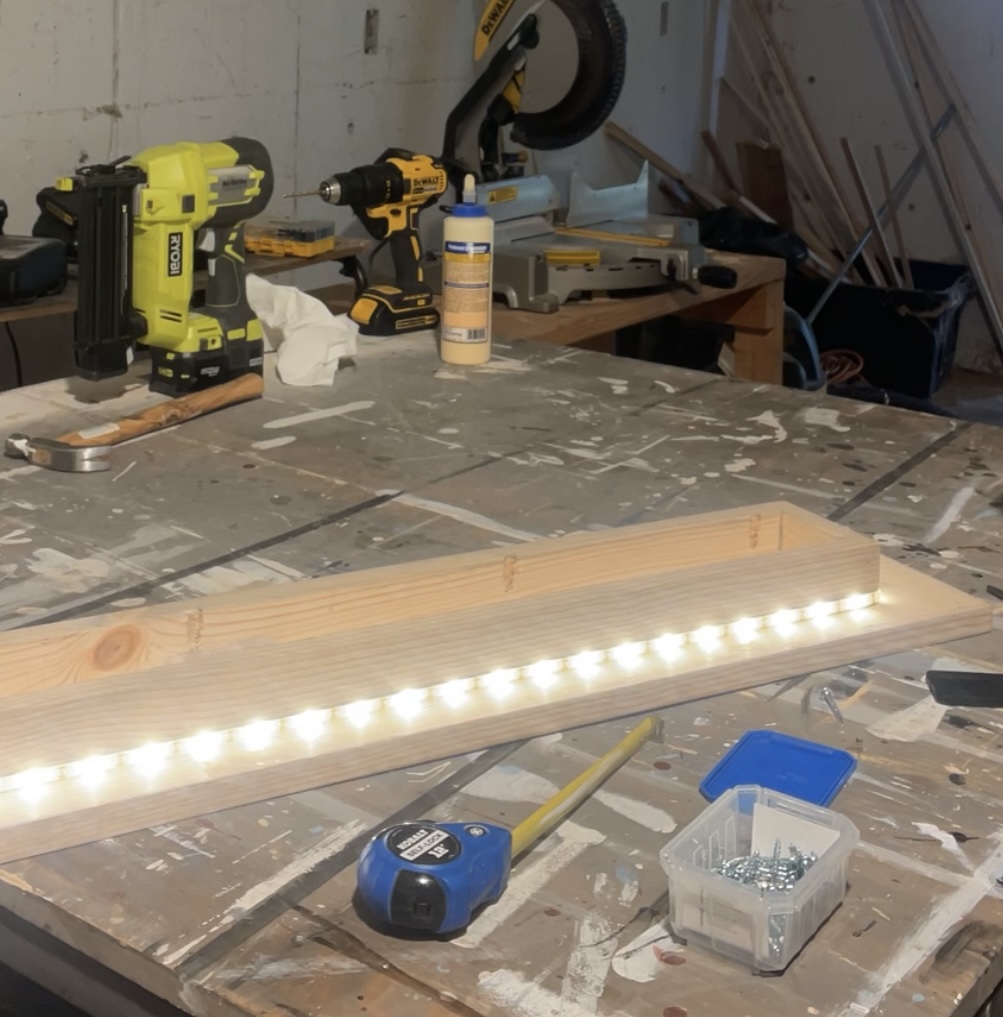
Make your own gorgeous wood centerpiece riser, it floats and is lighted to elevate your decor and dishes!

We love this both with decor on top, or your favorite meal on top!

table runner riser

lighted floating table runner


How This Floating Wood Riser Centerpiece is Made

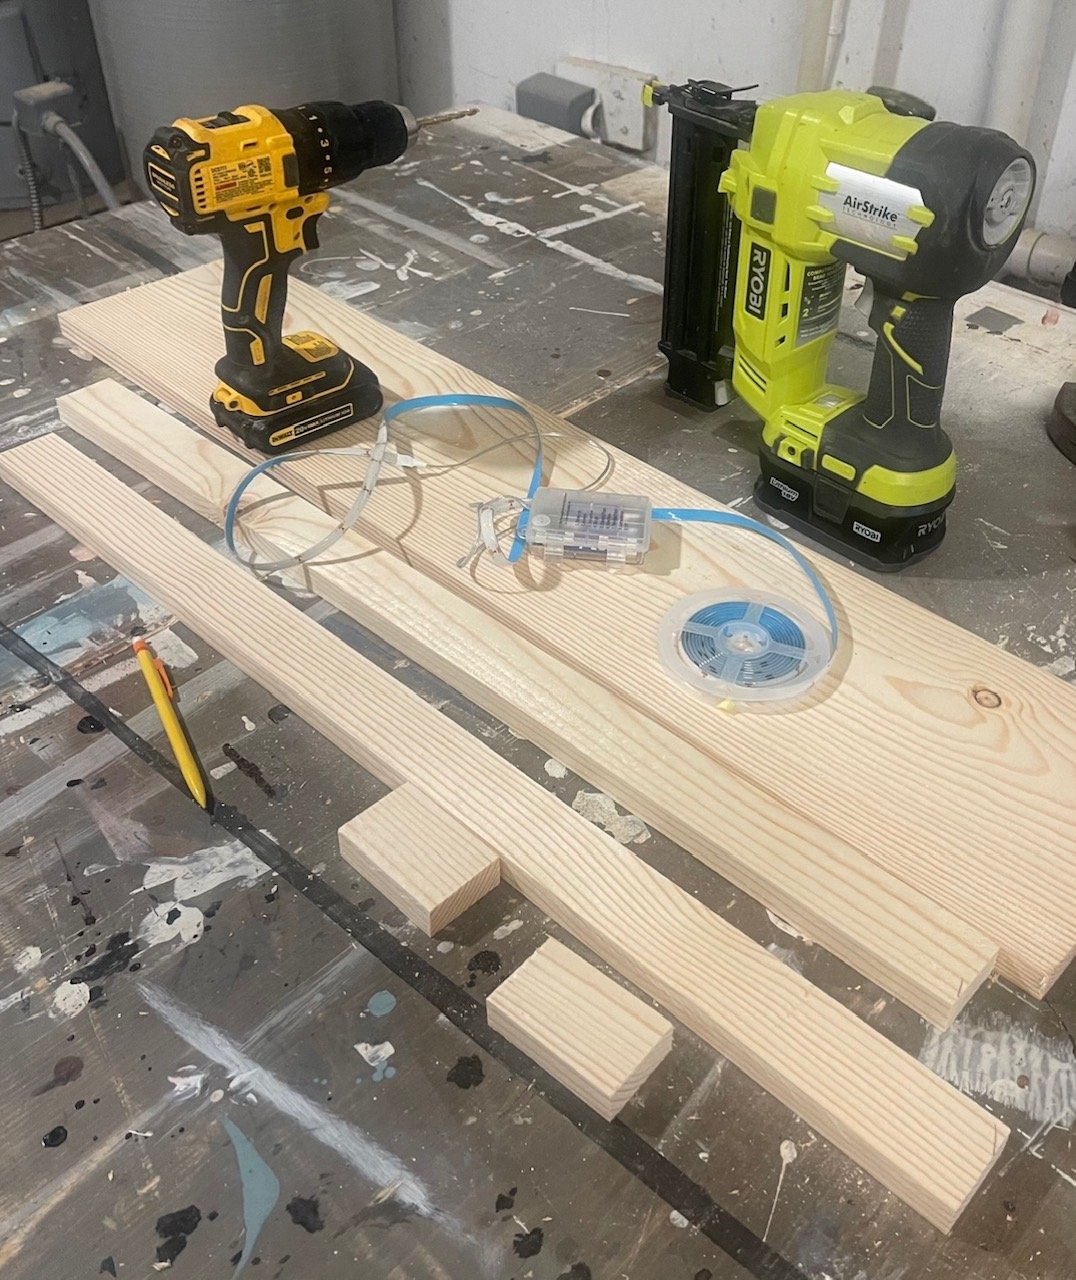
This wood runner centerpiece riser is so easy to make.  We used 1x pine whitewood boards and brad nails to whip it together.

diy wood table runner riser

Here's the pieces cut.  I used a miter saw to make my cuts, but you could also use a jigsaw or circular saw.

wood table runner riser


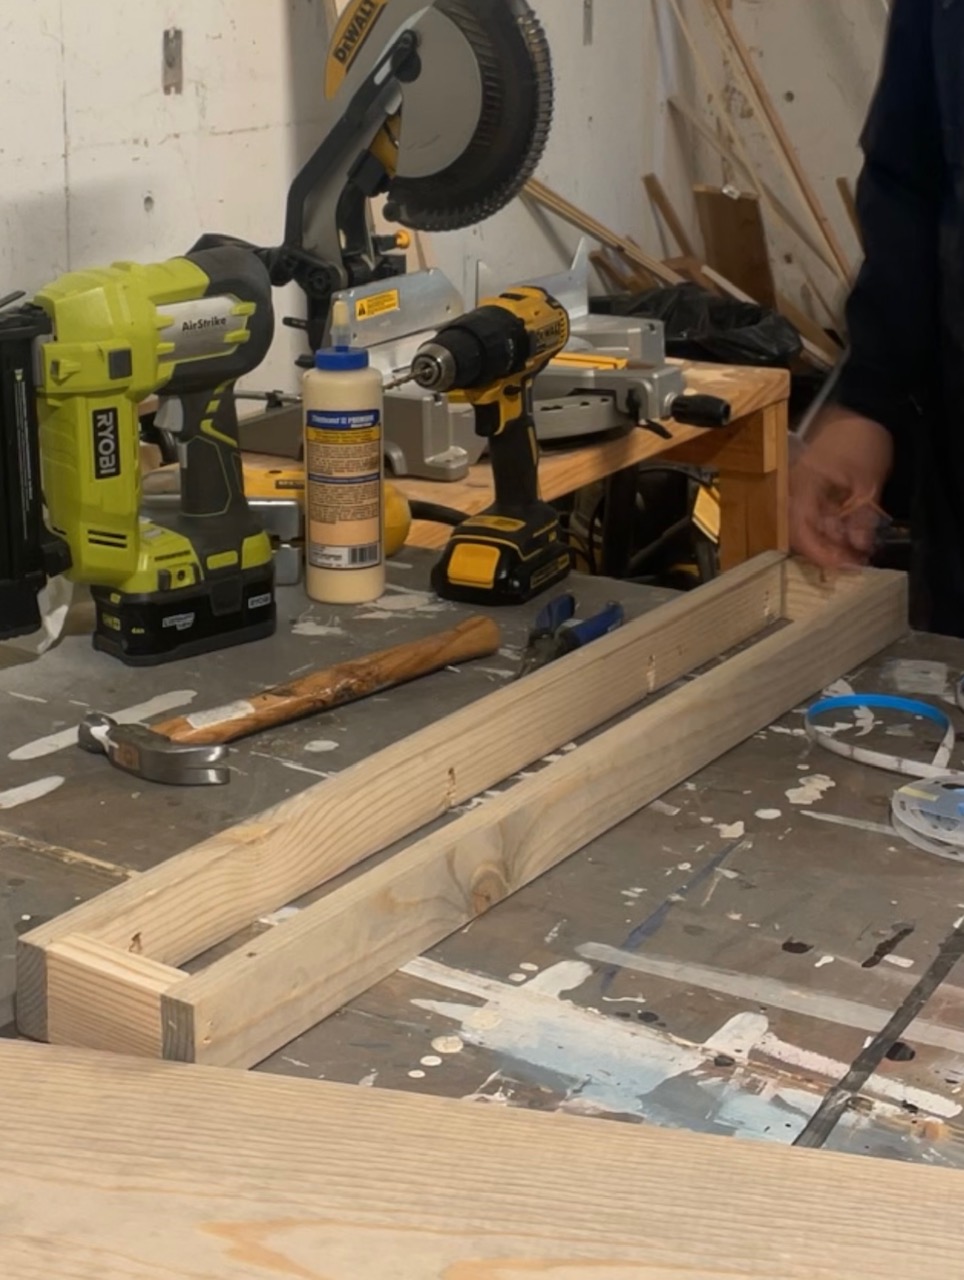
For assembly, I used glue and 1-1/4" brad nails and a brad nailer.


wood table runner riser


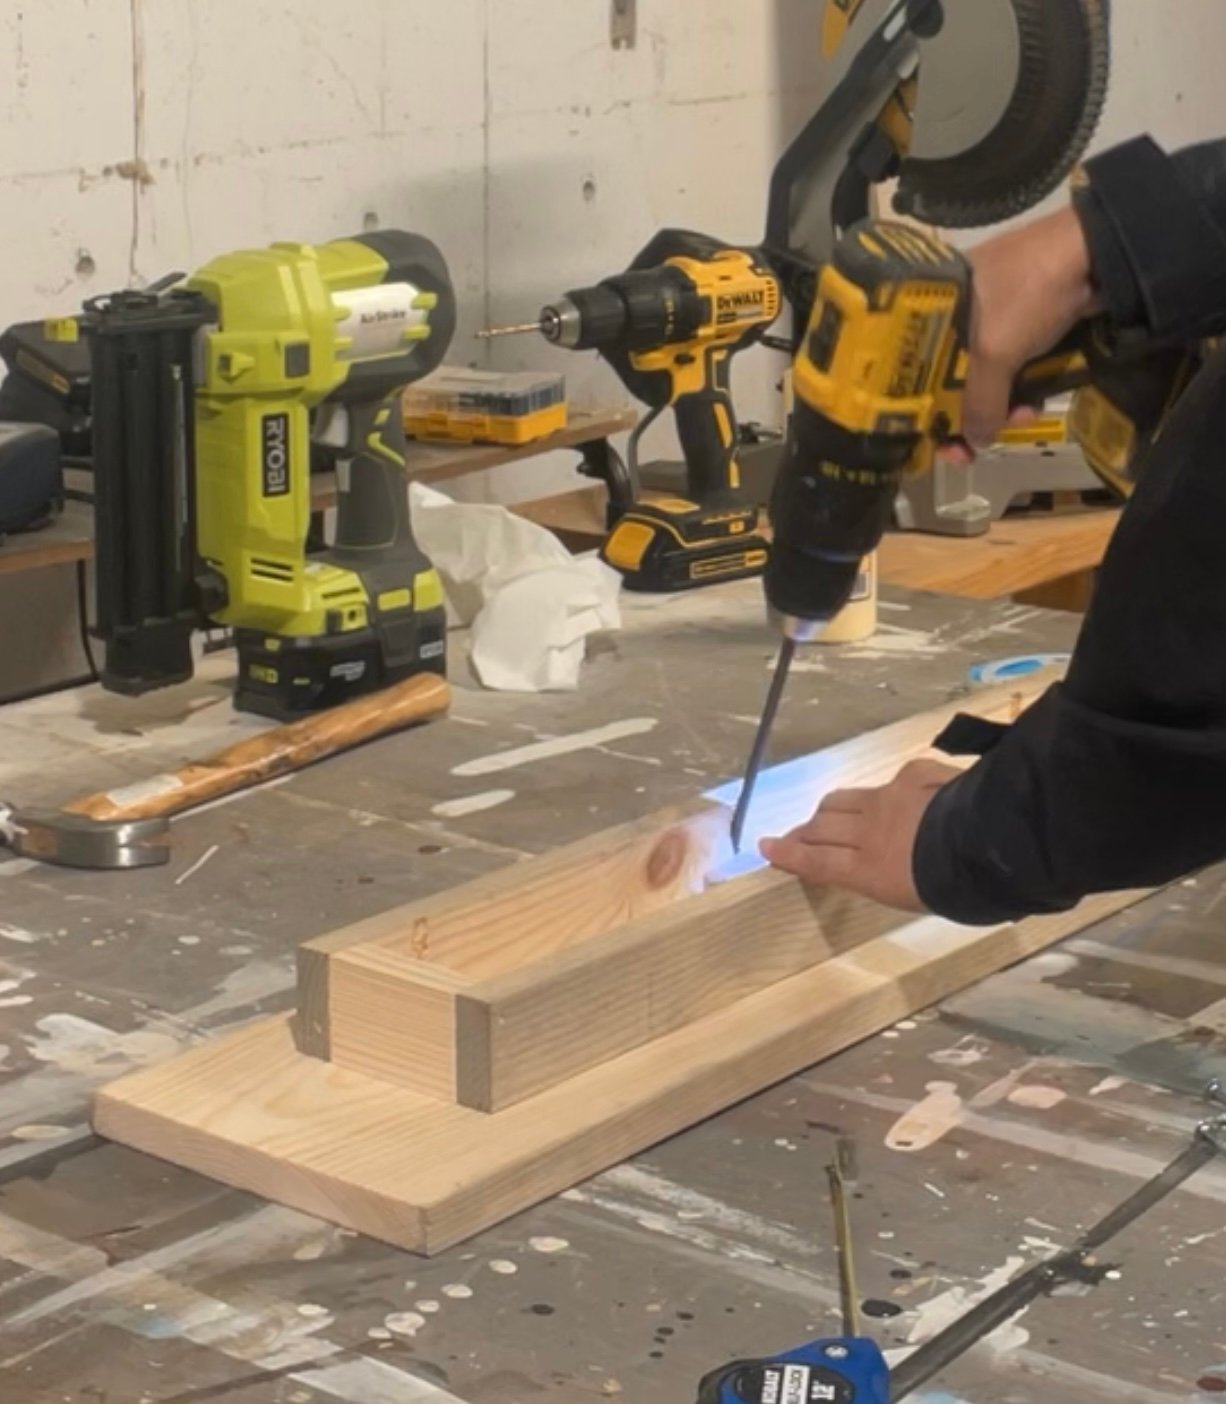
To attach the bottom, I decided to go fancy and used pocket holes on the inside BUT this is totally optional.  You can also just nail and glue from the top (I detail out how to do this in the plans below).


wood table runner riser


from Recent Project Plans https://ift.tt/WqKY1La

2023年10月23日星期一

DIY Wood Trunk with Storage - Free Woodworking Plan

Why I Built this Wood Trunk

I have been storing our gift wrapping supplies in the guest room - it just makes sense to be able to wrap presents in the guest room with the door closed. So I wanted to create a storage solution that guests would not use, but was still easily accessible. 

An end of bed chest was the answer. Guests can use the bench top for setting suitcases and bags, or even seating, but all the storage inside would still be super easy to get to.

Photos of Gift Wrap Inside Wood Chest


Other Uses for This Wood Trunk

While I use my wood trunk as a gift wrapping station in my guest room, there's lot more uses throughout the home!

  • Entryway bench with gear and shoe storage inside
  • End of bed bench for queen or king sized beds
  • Living room bench 
  • Dining room bench banquette seating
  • Kids room as toybox


The Inspiration Behind this Wood Trunk

The wood trunk is inspired by Pottery Barn Parkview Wood Trunk.  Costing $1200, and not shipping to my home, this wood trunk was out of reach for me.  So I decided to build my own using locally sourced wood, right in my own garage.


Video Tutorial - How I Build this Wood Trunk

This wood trunk was actually pretty straight forward to build.  Watch this quick build video to see how this project goes together.


from Recent Project Plans https://ift.tt/LWR06BM