Show notes coming soon.
The post 😱 You’ll never believe the answers to these woodworking questions! 😱 | Morning Show appeared first on The Wood Whisperer.
from The Wood Whisperer https://ift.tt/38GTGIA
Show notes coming soon.
The post 😱 You’ll never believe the answers to these woodworking questions! 😱 | Morning Show appeared first on The Wood Whisperer.
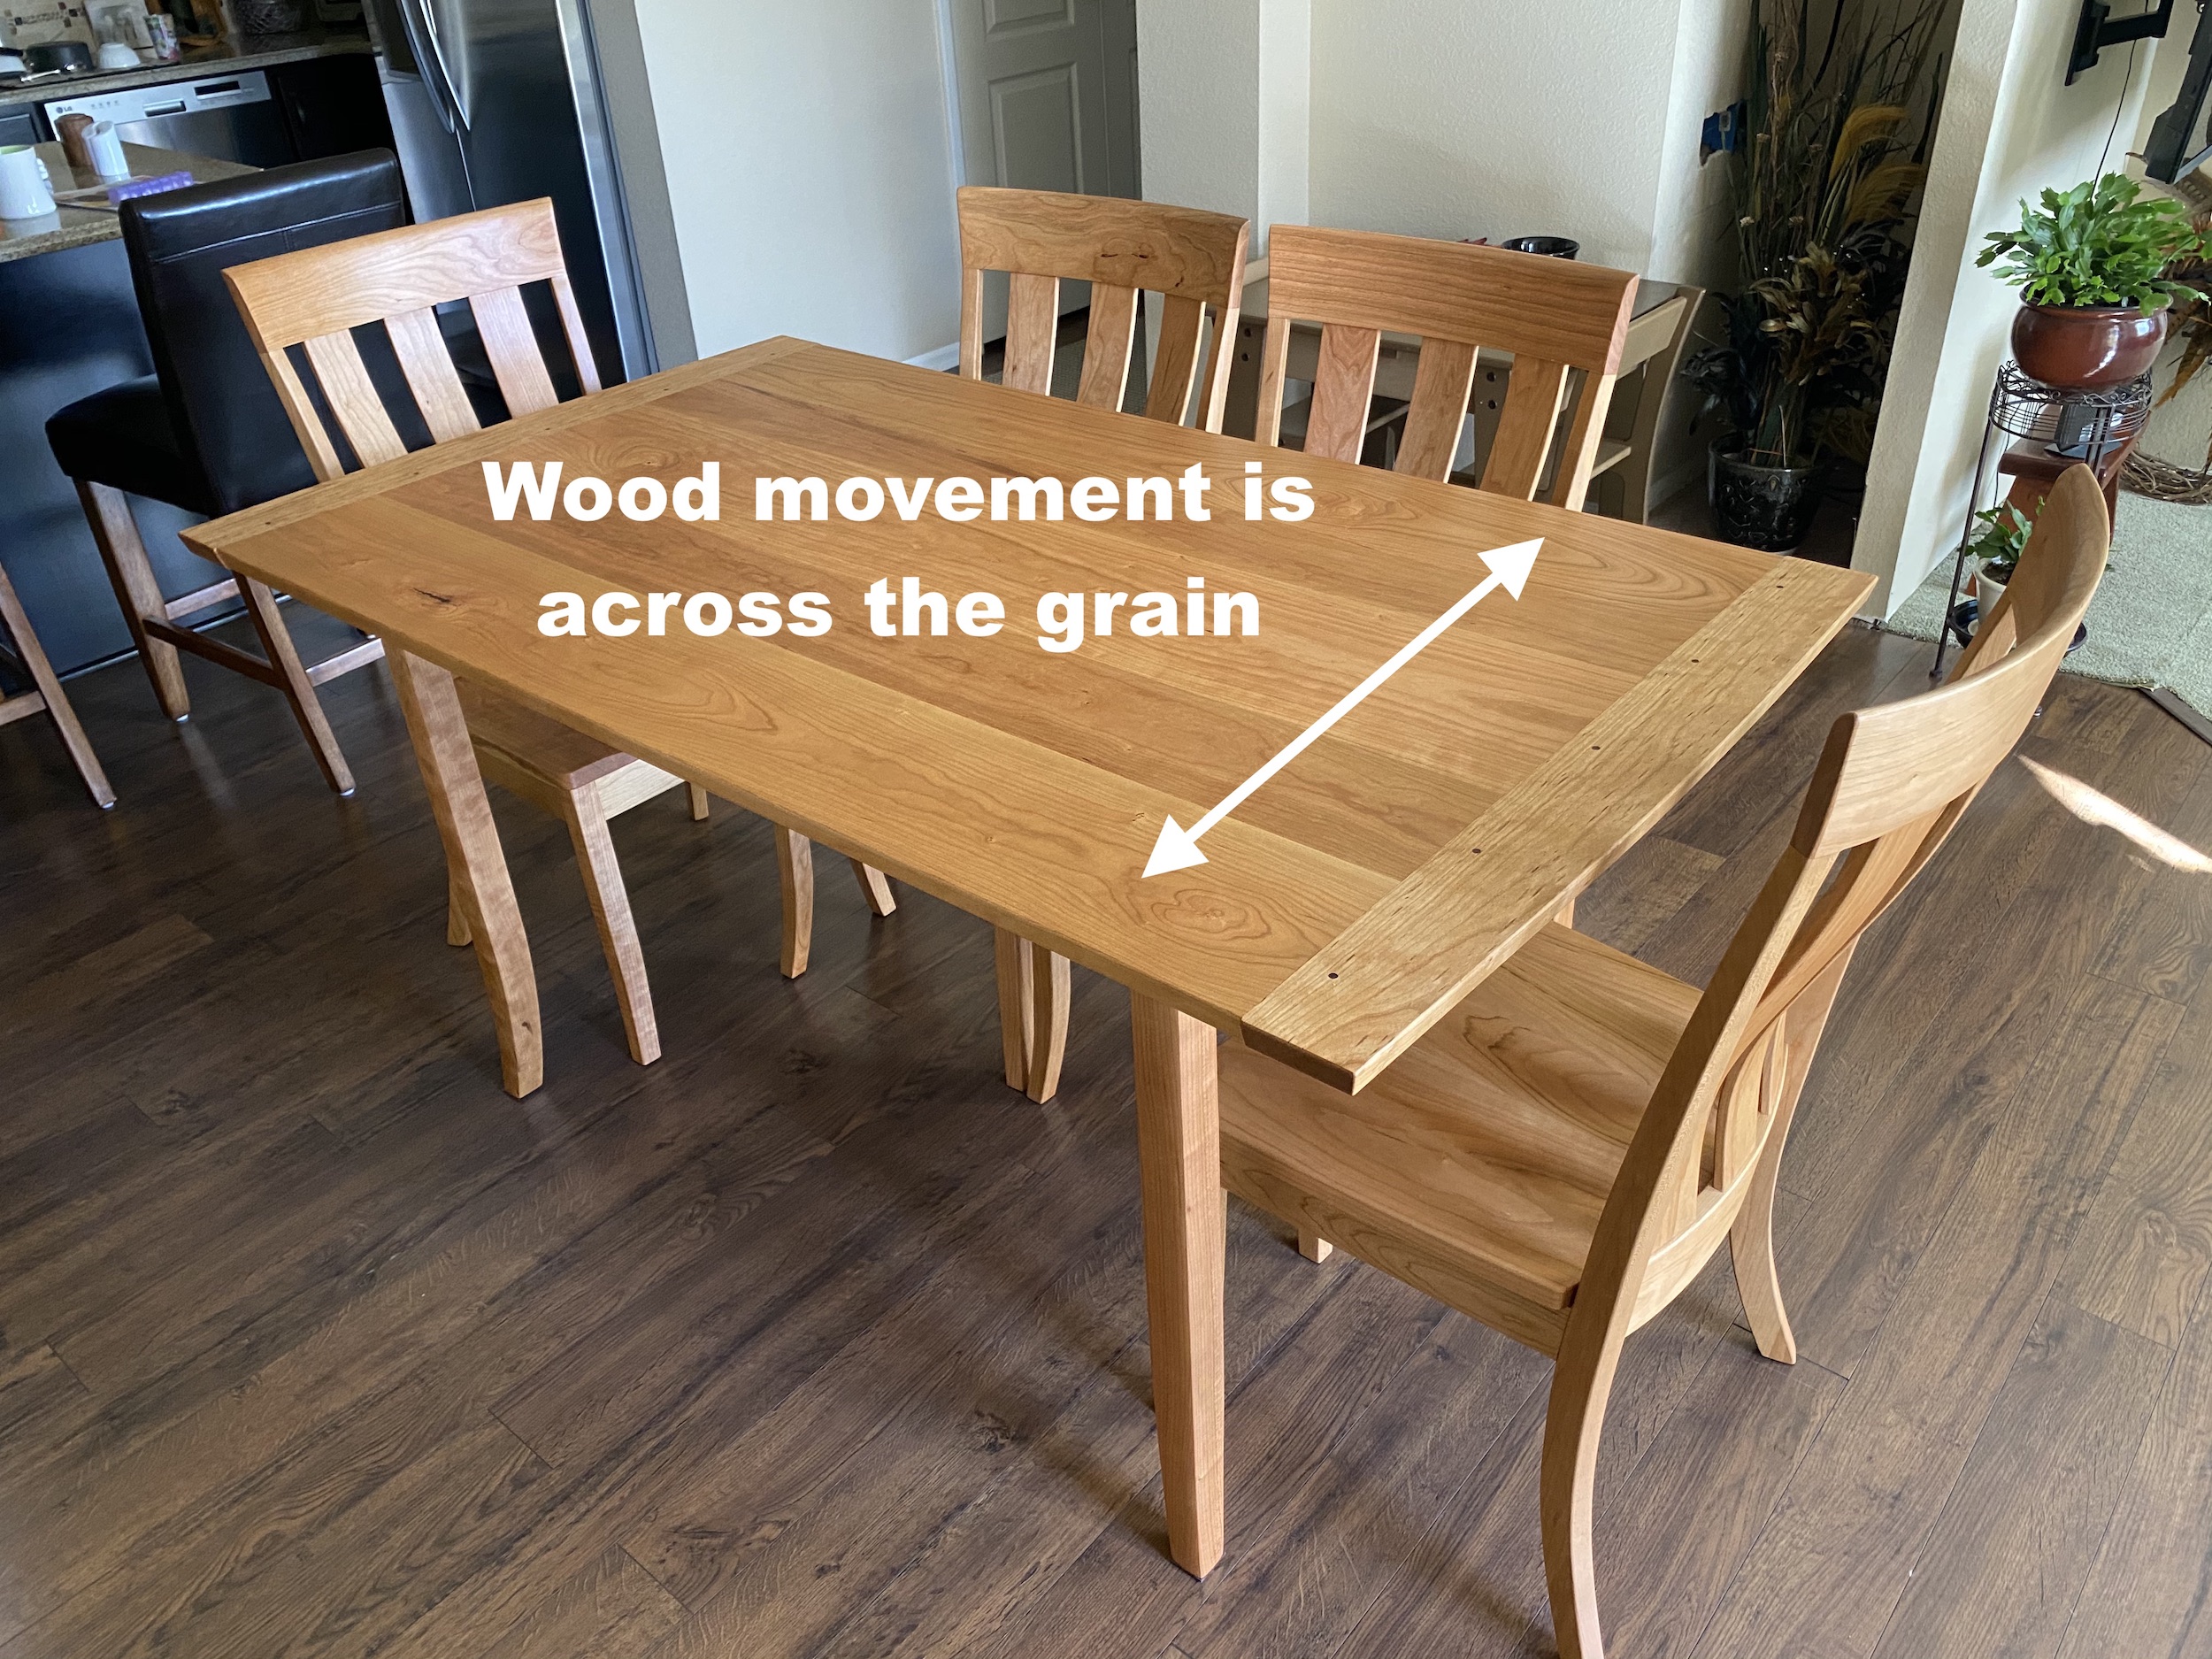
Breadboard ends can be an attractive addition to table tops or panels. When made properly, they can also help stabilize panels and keep them flat. Unfortunately, many folks get them wrong. Before we dig into that let’s first establish what a breadboard end is. Have you ever seen a large farmhouse style table where the ends feature cross-grain boards (something like the picture below)? That’s a breadboard end. What many people fail to consider is that simply gluing and screwing a board to the end of a panel is actually a recipe for disaster. As the table top expands and contracts with seasonal humidity across its width, the breadboard fights that movement. Tension builds up and eventually the top will crack. The breadboard may also begin to pull away from the table creating unsightly gaps. So the real magic of a breadboard end happens when you allow for that seasonable movement. Using good joinery and drawbore pins, we can pull the breadboard end tight to the table while still allowing the table the grow and shrink as needed.
Consider this your guide for how to do that using four different methods.
Please note that breadboards are NEVER necessary. A properly-milled and constructed panel should generally stay flat under normal conditions, so the only time I add a breadboard end is if I think the design benefits from it visually. Learn to make nice flat panels here.
1: The Haunched Tenon Method
2: The Long Tenon Method
3: The G&G Inspired Screw Method
4: The Domino Method
The post Breadboard Ends: The Joint Most People Get Wrong appeared first on The Wood Whisperer.
Show notes coming soon.
The post All Hail Chodd! appeared first on The Wood Whisperer.

The post WFC 2020 Results! appeared first on The Wood Whisperer.
I wanted to make something special for my son Mateo’s 9th birthday. His favorite game is Fortnite so I thought it would be cool to pull in a graphic of his favorite skin (Agent Peely) and include his gamer tag in a carving. My new shop assistant Jon did all the heavy-lifting with the Powermatic CNC side of things and we tag-teamed the painting and finishing work. While this isn’t our usual kind of “project” I thought it would still be fun to show the process. And there’s nothing like making something in the shop that causes a kid’s face to light up!
The post Fortnite Sign Via CNC appeared first on The Wood Whisperer.
Show notes coming soon.
The post Missouri Bush Oil | Morning Show appeared first on The Wood Whisperer.
This year our Guild scholarship distribution was handled a little differently. When Covid shut schools down in March we put out an open invitation to shop teachers in Middle & High School to reach out to us for help with their online learning plans. We had many requests and we were able to fulfill every single one because of the generous scholarship donations.
Even though this happened in March, we wanted to recognize the teachers teaching in such a challenging time and also thank the kind donations to help get all of these teachers set up in the Guild to share the videos with their students.
We will open our scholarship application again in May 2021. If you would like to donate toward the fund you can find more information here.
Guild Scholarship Recipients
Chris Davis
George Zubieta
Conrad Ackerman
Jonathan Au
Clint Behling
Brock Cameron
Giuseppe Tambasco
Rhona Kane
Thank you to the Scholarship donors!
Anonymous
Gerry Tolbert
Eric Lew
Peter Perrello
Frank Caserta
Amy Martin Pupo
David Nichols
Andrew Gibson-White
Raleigh Beringer
Andy Pridmore
Alan Lillich
Nathan Rewerts
Brian Walford
Brodie Brickey
Gordon White
Anonymous
Anonymous
Joe Romanowski
Anonymous
Anonymous
Anonymous
The post 2020 Guild Scholarship Recipients appeared first on The Wood Whisperer.
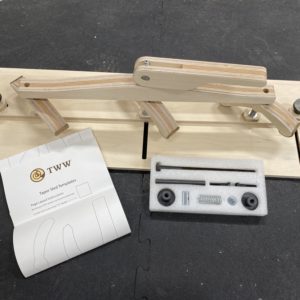
Over the years, I’ve made a lot of tapers. I usually cobble together a one-time use jig from scrap and throw it away when I’m done. And while there are a lot of tapering jig/sled designs out there I couldn’t find anything that inspired me enough to build or buy it. So I challenged my buddy Andy Klein with the task of coming up with a tapering sled that not only accommodates just about any taper I’d need to make, but also does it in a way that’s quick and easy to adjust. That’s what we’re introducing today: The Taper Maker
It features a single cam handle that adjust up and down as needed with three spring-loaded hold-downs. The sled can accommodate nearly 2.5″ of thickness on my saw and almost 36″ in length. It can be used for tapers as well as straight line rips for jointing operations.
We offer a hardware kit and plans if you’d like to make one for yourself. With most fancy tapering jigs on the market going for over $100, we think this is a great cost-effective solution.
By the way, if you want to see Andy using the jig for a cool project, check this out.
The post The Taper Maker appeared first on The Wood Whisperer.
00:00:34 – Good morning, it’s the Woodworking Morning Show
00:00:42 – Thanks to our Patreon subscribers and YouTube Members!
00:02:10 – Tee Shirt PreOrder ends Oct 31st and taper maker is for sale now!
00:07:05 – How often do you use the measuring tape on the miter station t-track?
00:08:30 – Happy Anniversary Spagnuolos!
00:11:43 – How much warping happens when lumber is air-dried vertically?
00:13:38 – How would you exhaust a room dedicated for spraying / finishing?
00:15:48 – What is the purpose of the inserts in a router table?
00:16:55 – How much of the bit needs to be in the collett?
00:18:05 – How can I learn more about the “why” in woodworking?
00:22:00 – Does Tasmanian blackwood compare to walnut?
00:22:45 – How do you make end grain look like it’s not laminated?
00:24:13 – When do you go with “quick and dirty” overdoing it “properly”?
00:26:40 – Do every inch of projects need to be finished or do you leave interiors and corners?
00:28:15 – Is walnut safe for furniture for pets?
00:30:40 – What’s the best way to store plans where they’re not going to rust?
00:32:10 – Woodworker’s Fighting Cancer update. We reached our goal!
00:33:23 – How does the guild discount work for the Roubo build?
00:33:50 – Is Bell Forrest doing a black Friday sale against this year?
00:35:20 – How deep should a dowel joint go?
00:37:30 – Do you have a video of applying Rubio to furniture?
00:40:30 – Do you have a detail on the different spokeshaves on the wall?
00:42:37 – How do you protect your phone/camera/electronics in the shop?
00:43:47 – How can you stop the floor moving in your shop?
The post Shiskabobbing My Uvula appeared first on The Wood Whisperer.
00:01:03 – Welcome to the WoodWhisperer Morning Show
00:01:15 – Thanks to our new Patreon subscribers and YouTube Members!
00:02:45 – Woodworkers Fighting Cancer – Submit your desk or bid on an auction until Oct 18th.
00:04:40 – How do you like the wireless charger on your desk?
00:05:04 – Last week for the Sketchup Project pre order
00:06:45 – Do you pre-sand your parts before assembly?
00:08:14 – Any advice for using a panel raising bit with a back cutter?
00:09:30 – Can I buy the Sketchup Course for someone else?
00:10:45 – Any tips to put value on board feet of wood?
00:12:27 – Are guild projects live meetings or recordings?
00:13:20 – Is pine that bad to build furniture out of?
00:15:05 – How do you position a cabinet saw for long rips?
00:17:12 – Have you experienced the slowness in the web version of Sketchup?
00:21:07 – How do you decide what goes on the free site versus what goes in the guild?
00:23:05 – What’s the benefit to applying a second coat to a “monocoat” product?
00:24:55 – Is there a beginner video series starring Nicole in the works?
00:25:48 – Can you put tung oil on cutting boards?
00:26:17 – Is jatoba a good wood for cutting boards?
00:28:10 – How do you sharpen your hatchet?
00:30:10 – How do you define exotic woods vs domestic?
00:31:40 – Is there still a scholarship or sponsor fund?
00:33:31 – What dust collector do you recommend?
00:34:50 – How do you manage a relationship while working together?
00:38:47 – How flat does the sole of a hand plane need to be?
00:40:00 – Is domino a method for doing breadboard ends?
00:40:30 – Any recommendations for an air compressor-ran HVLP?
00:40:57 – What is the bench hatchet for?
00:41:55 – When is your next BBQ video coming out?
00:42:25 – What do you do with your scrap wood?
The post Nicole’s in the Closet appeared first on The Wood Whisperer.

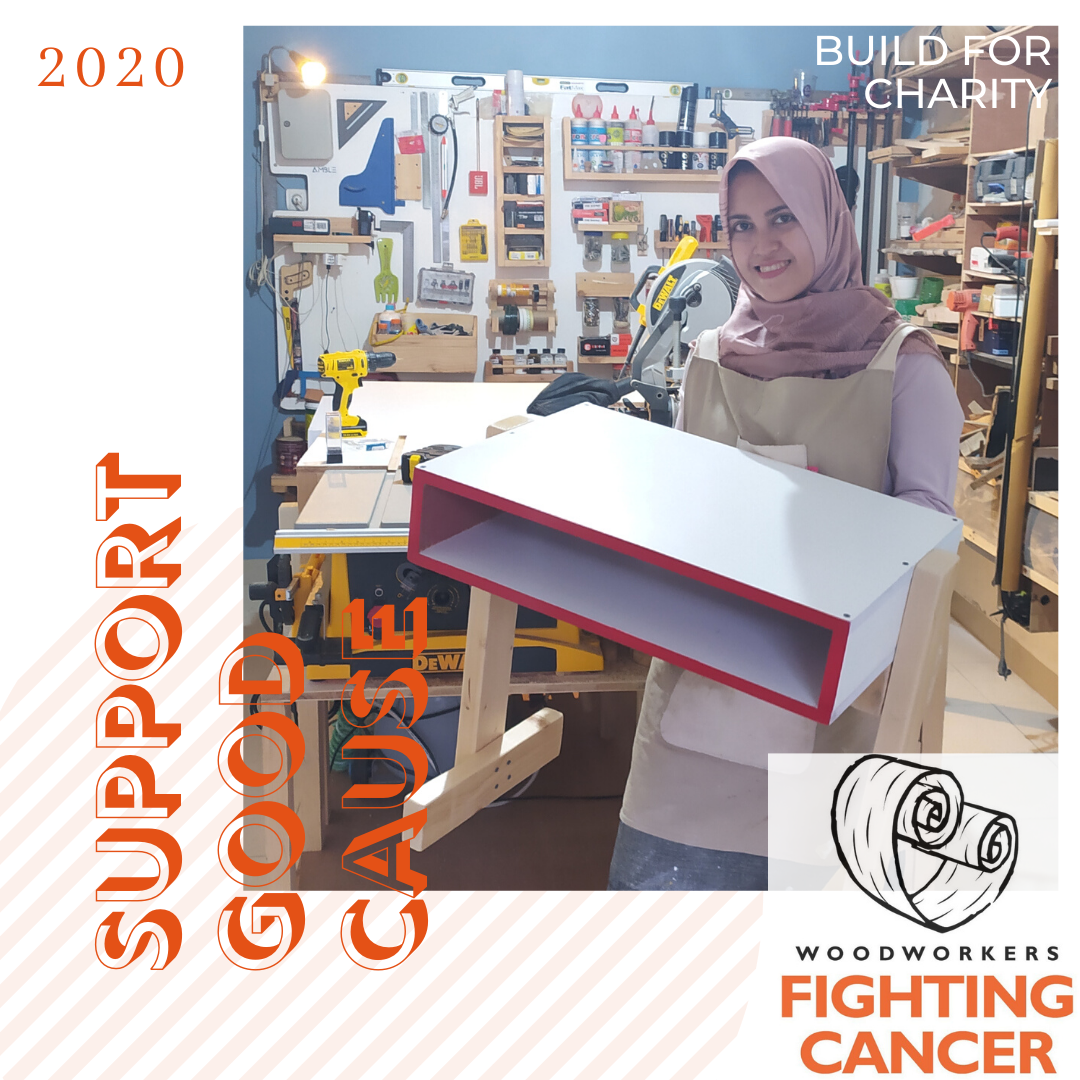
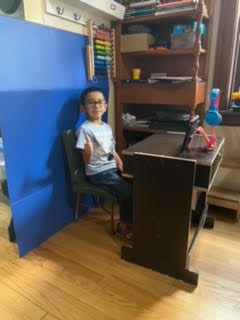
What is Woodworkers Fighting Cancer? We are woodworkers united in the fight against cancer. Started in 2010, it is a yearly community woodworking build that raises money for various cancer charities. Over the last 10 years, we have raised over $100,000 for non-profits like Cancer Research Institute(CRI), Cancer Care, the Jessie Rees Foundation, the Jimmy Fund, and this year we are supporting St. Jude Children’s Research Hospital. Learn how you can personally help out below.
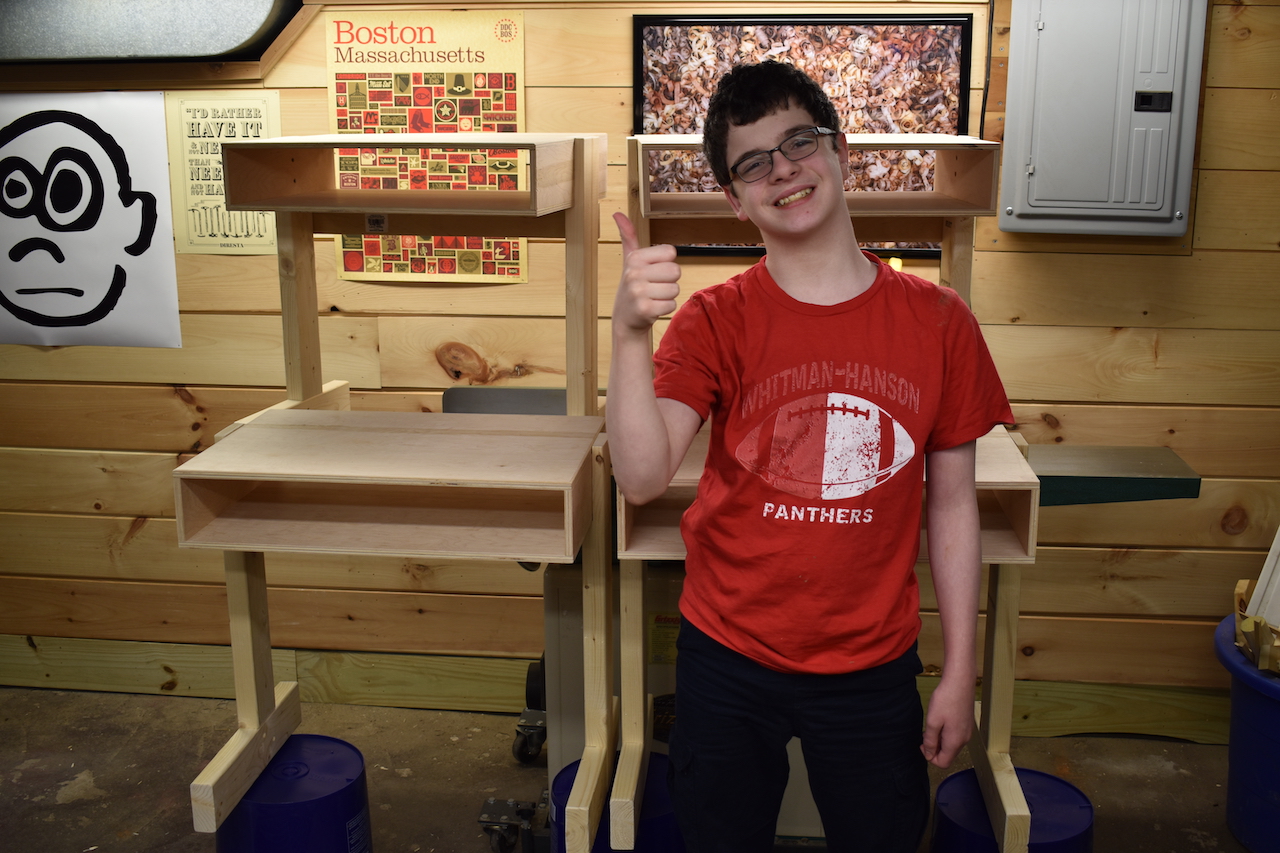
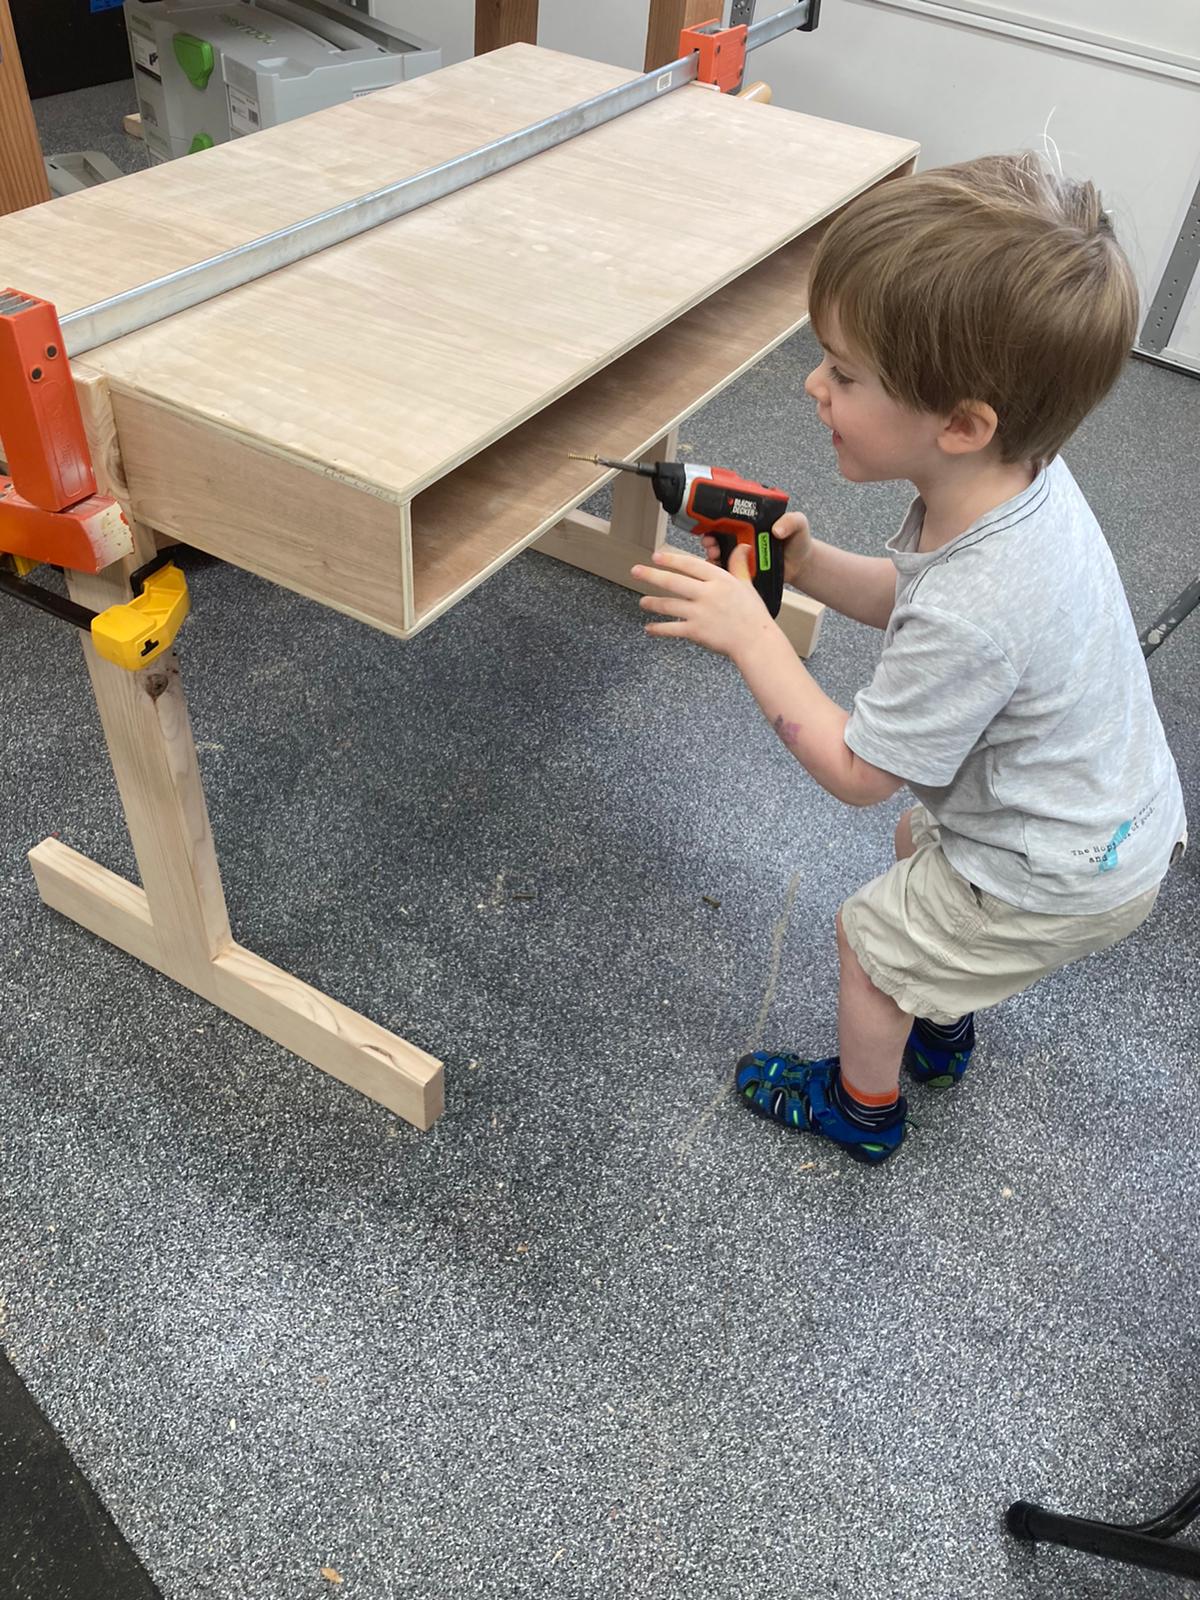
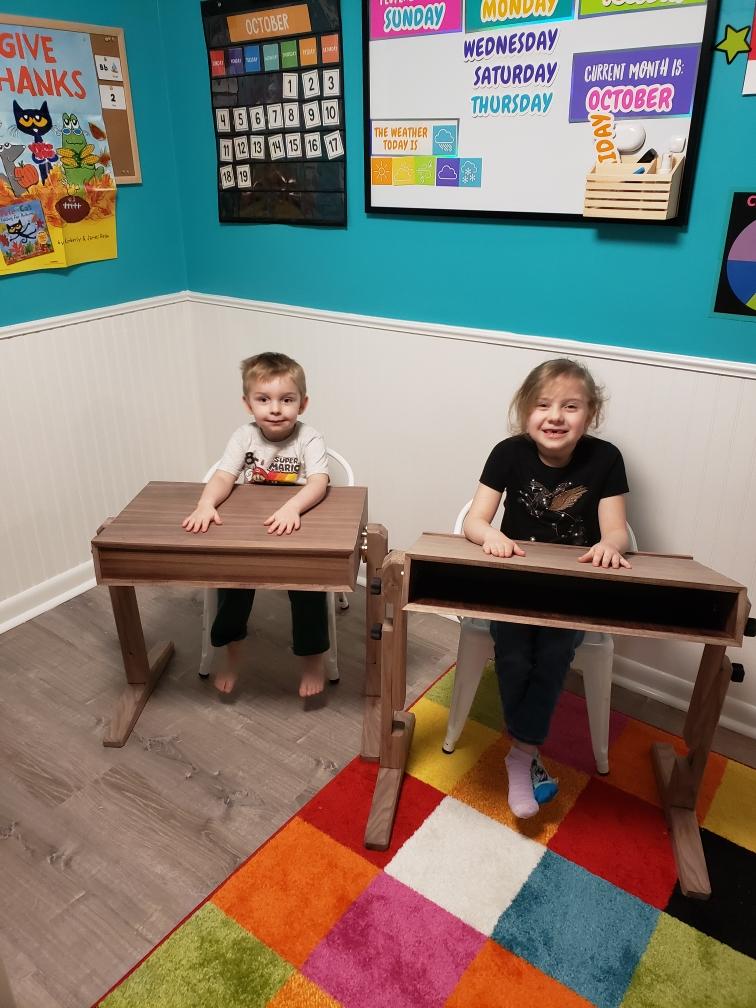
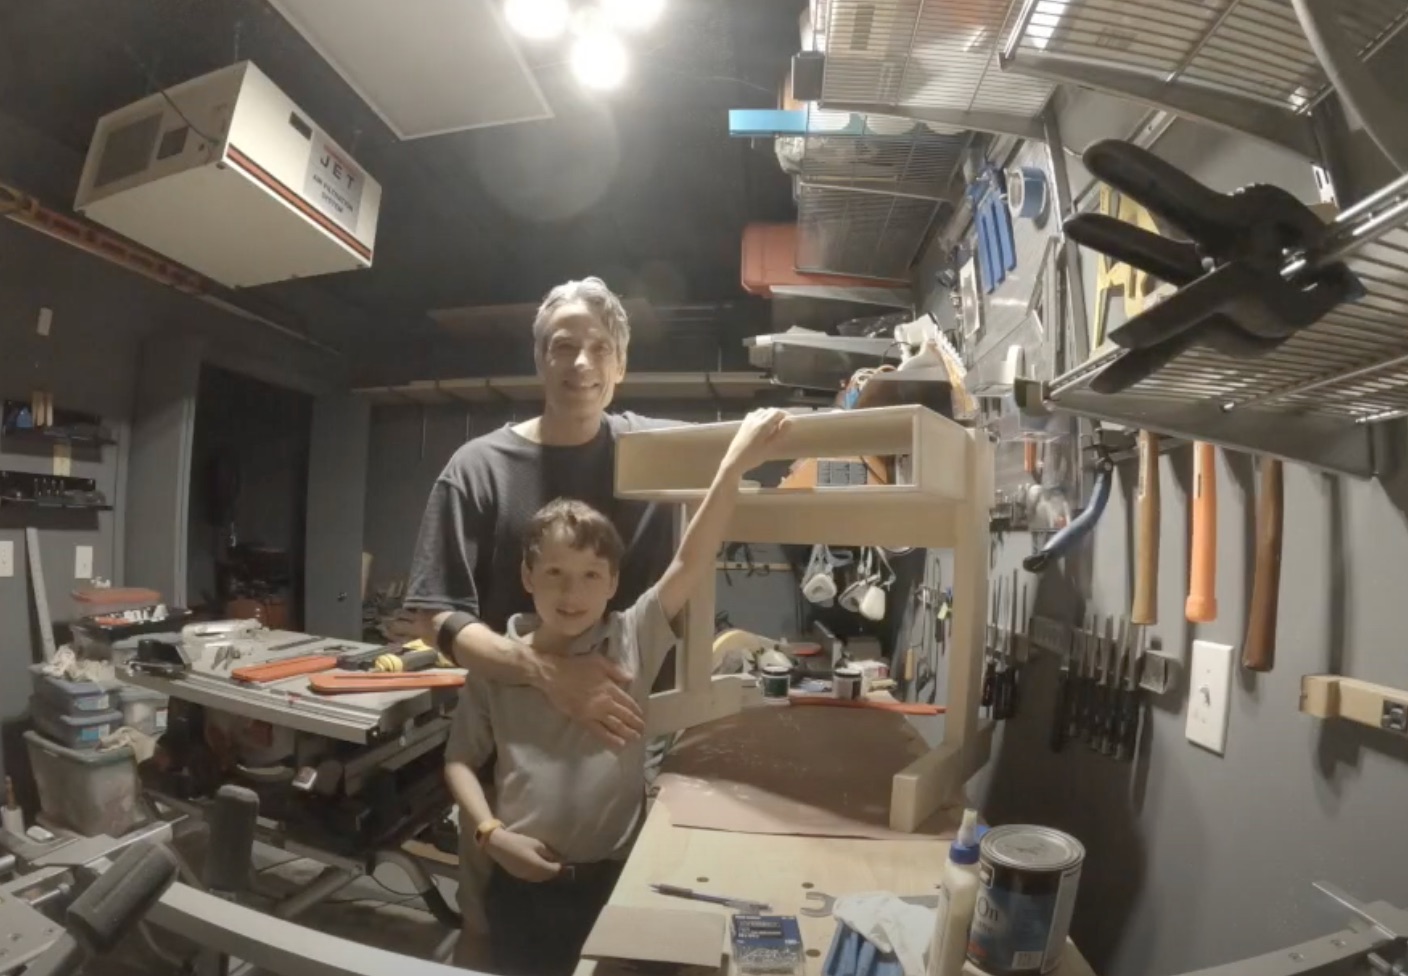
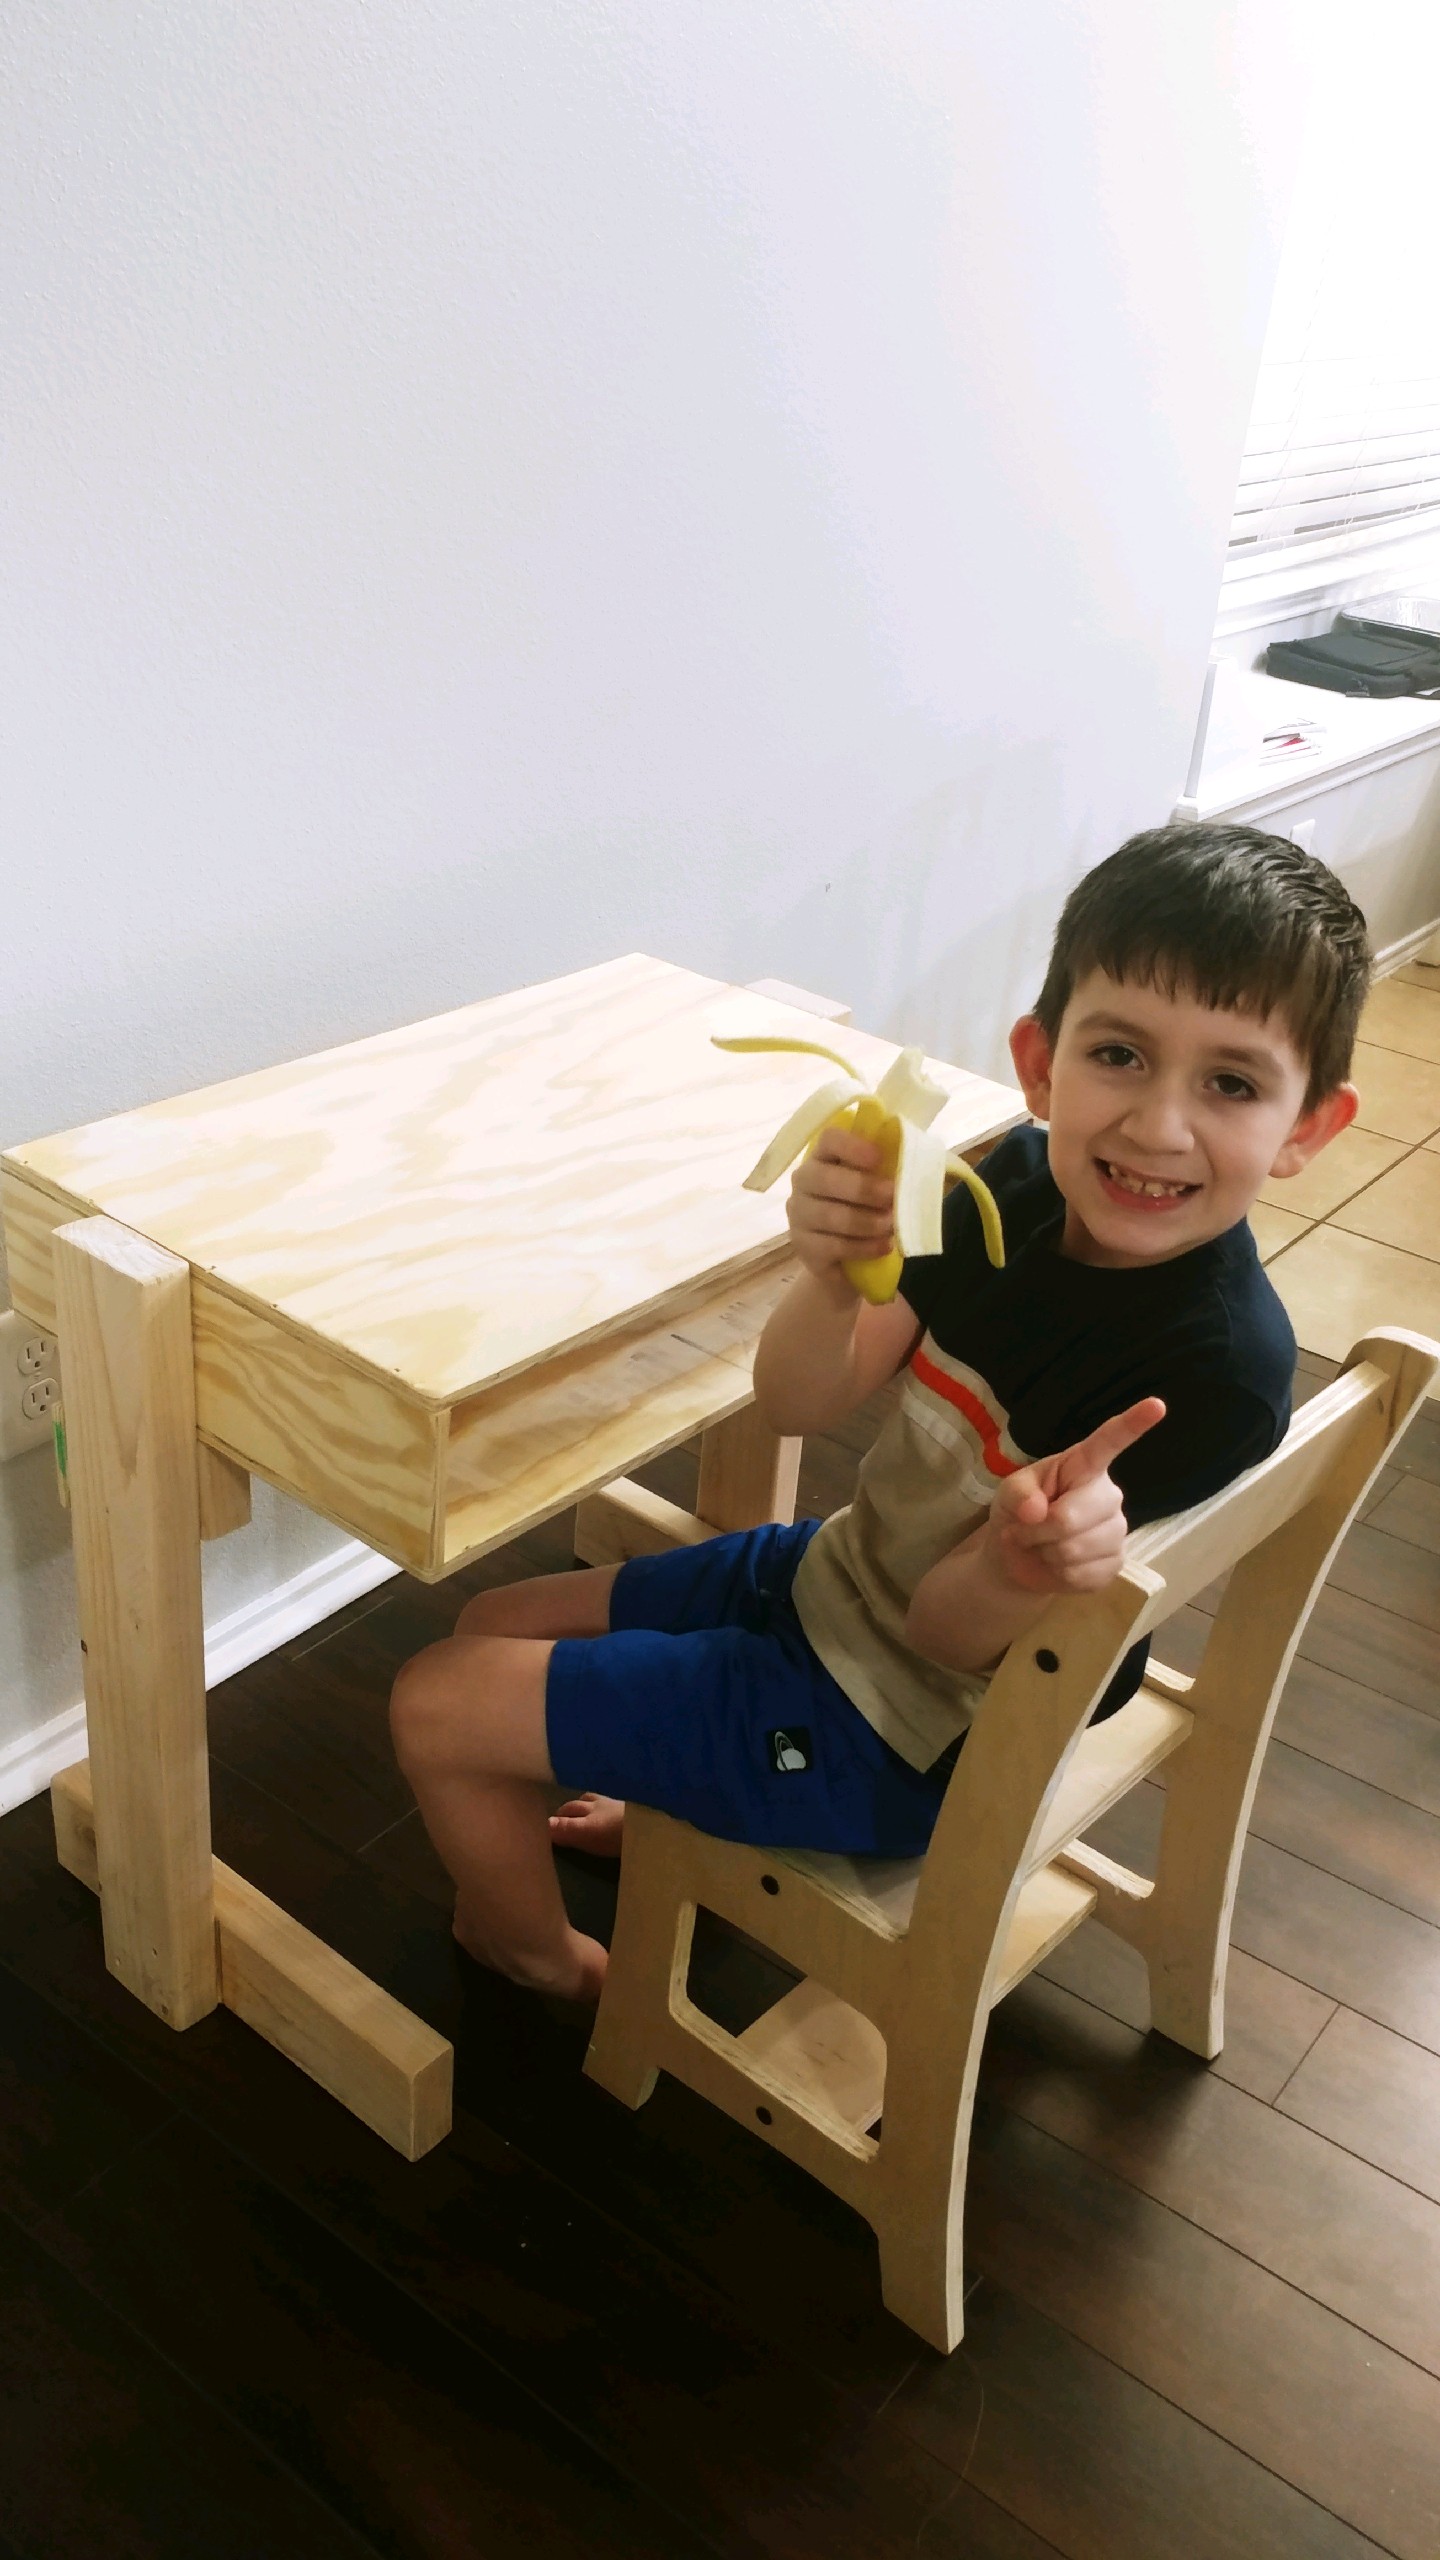
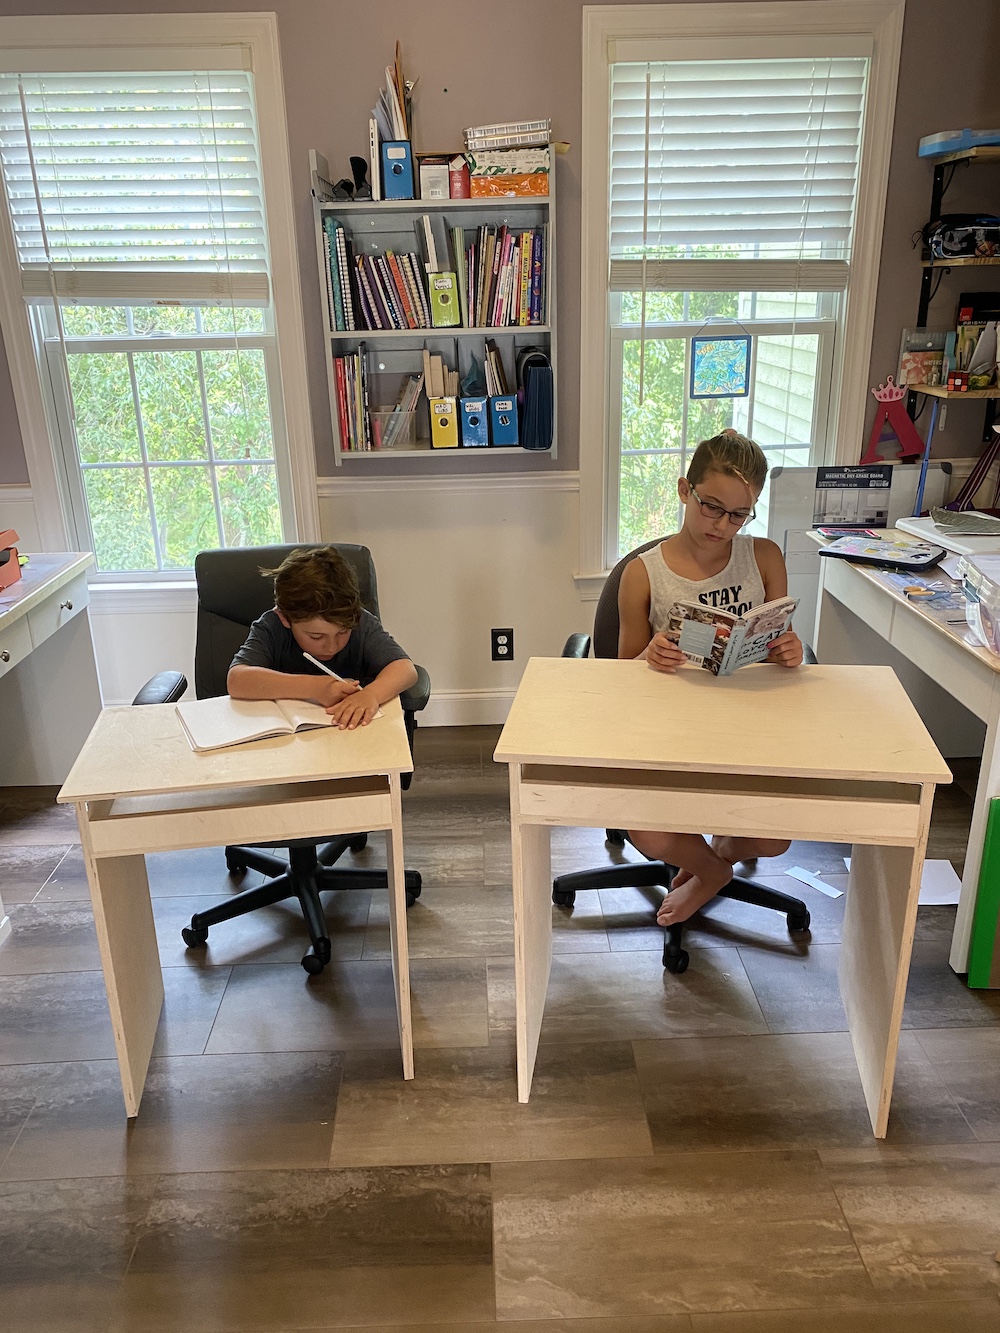
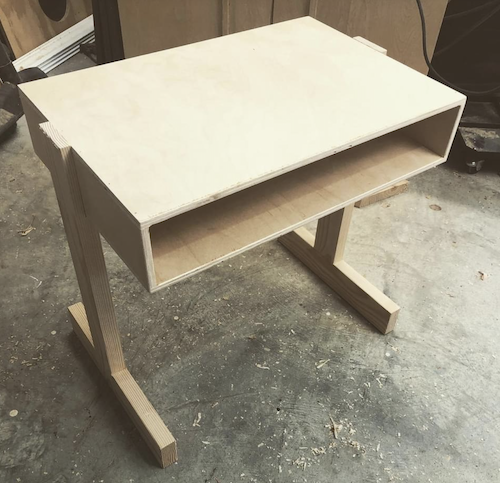
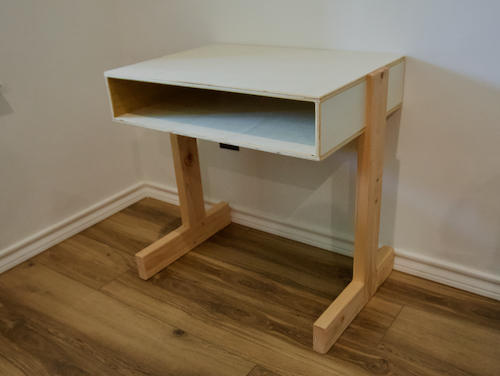
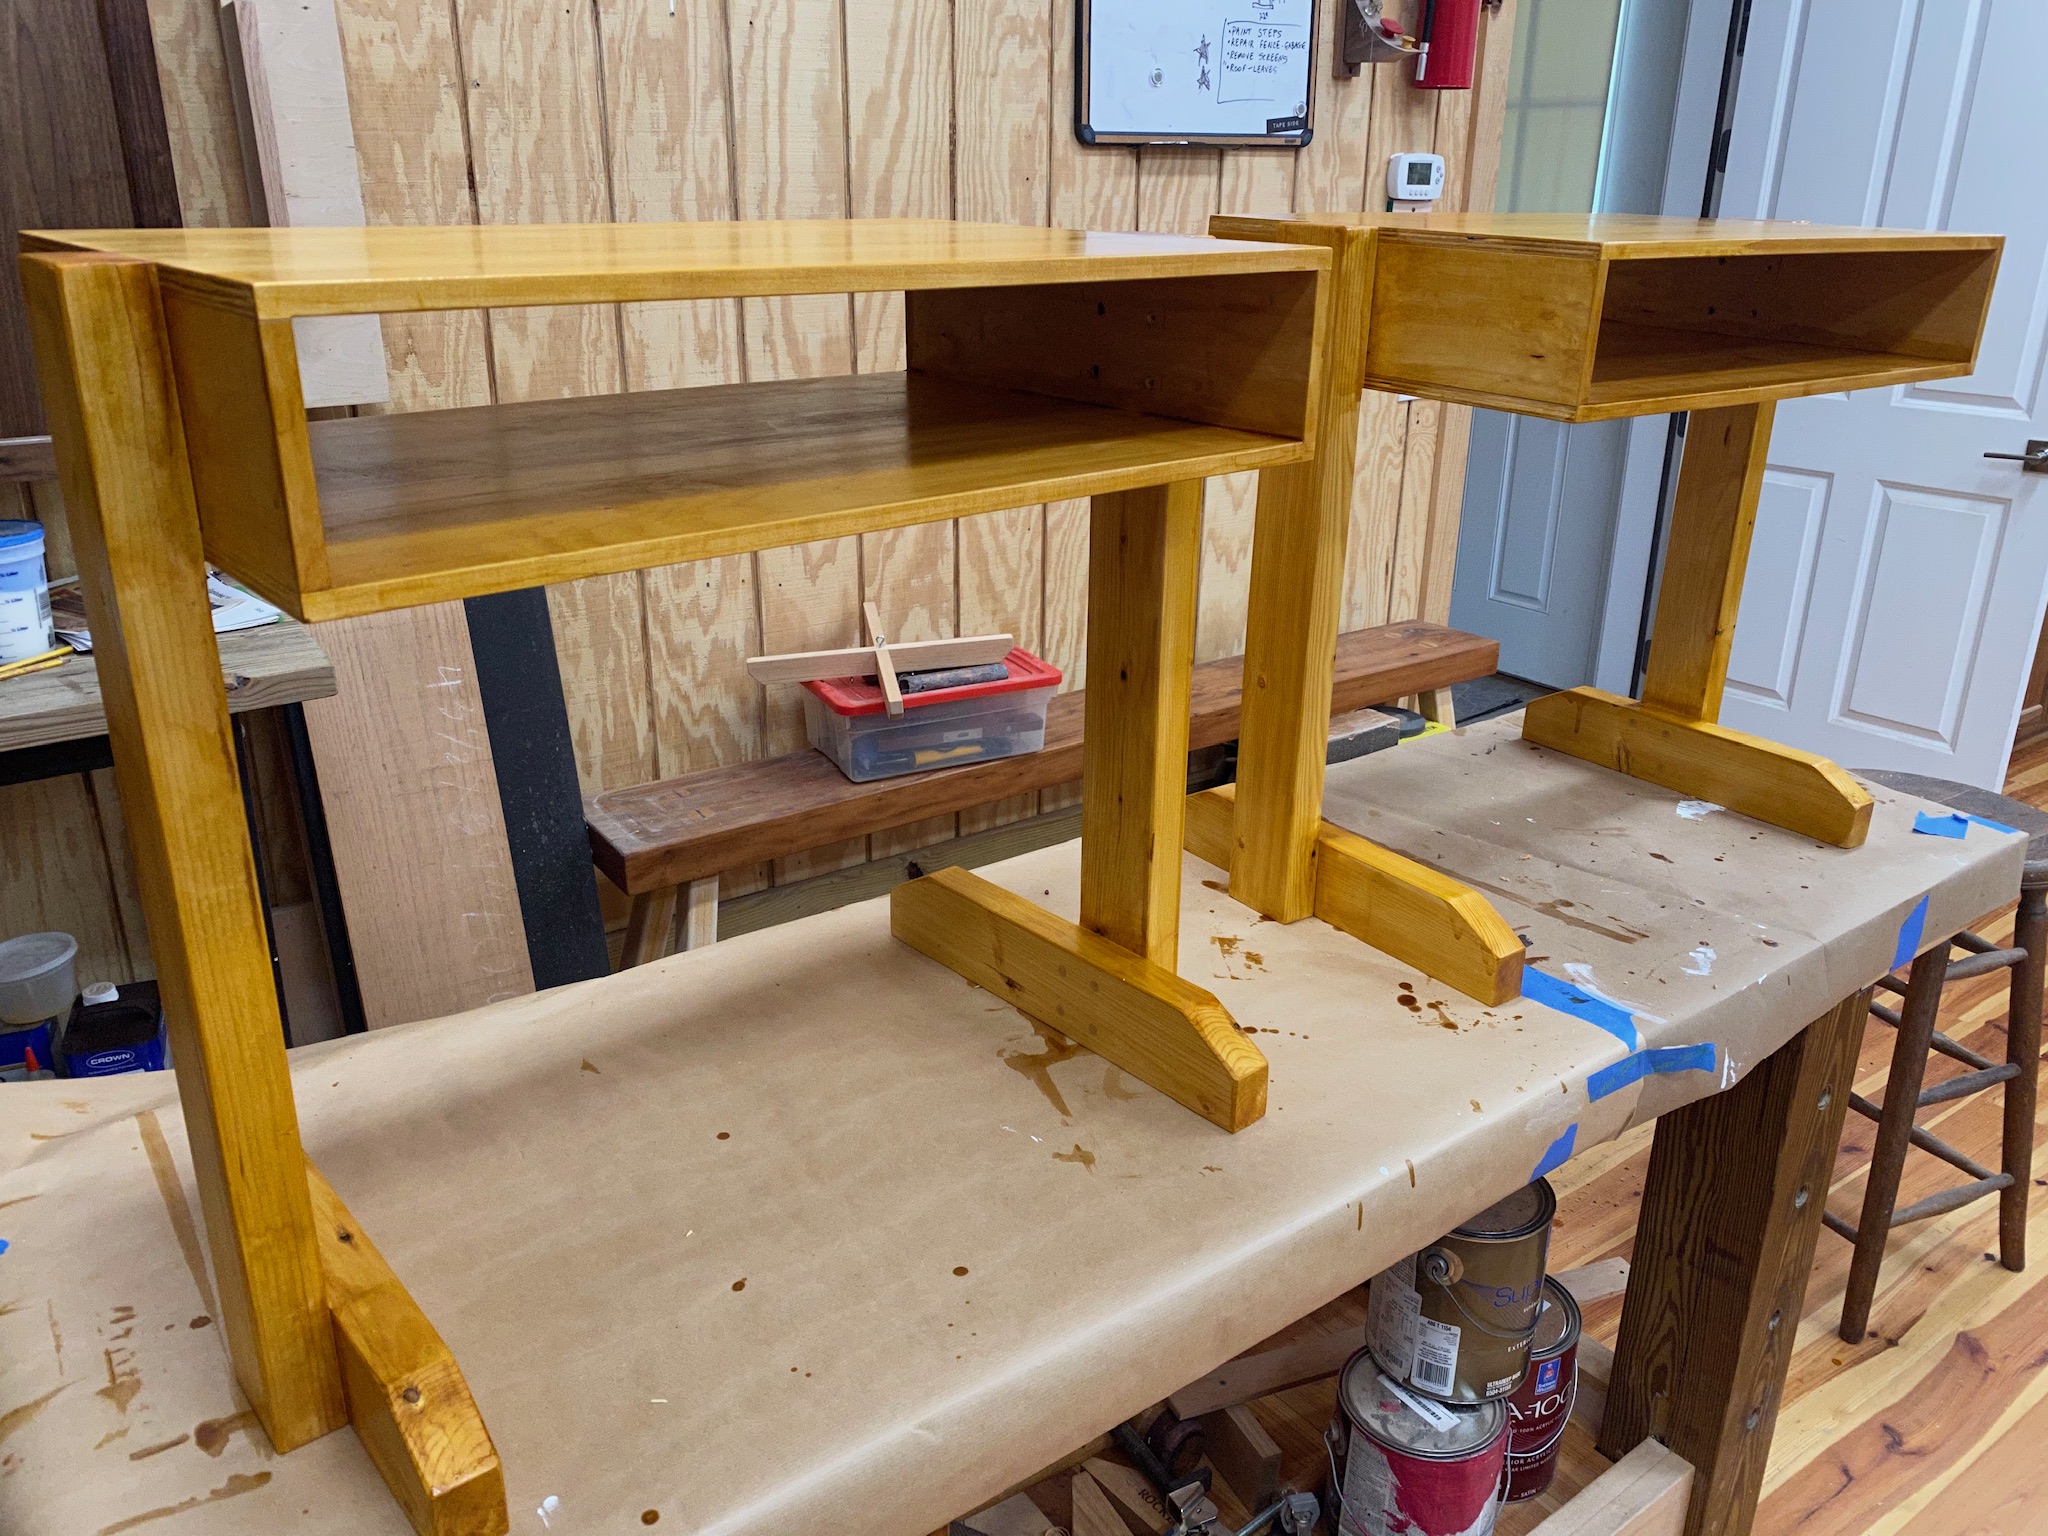
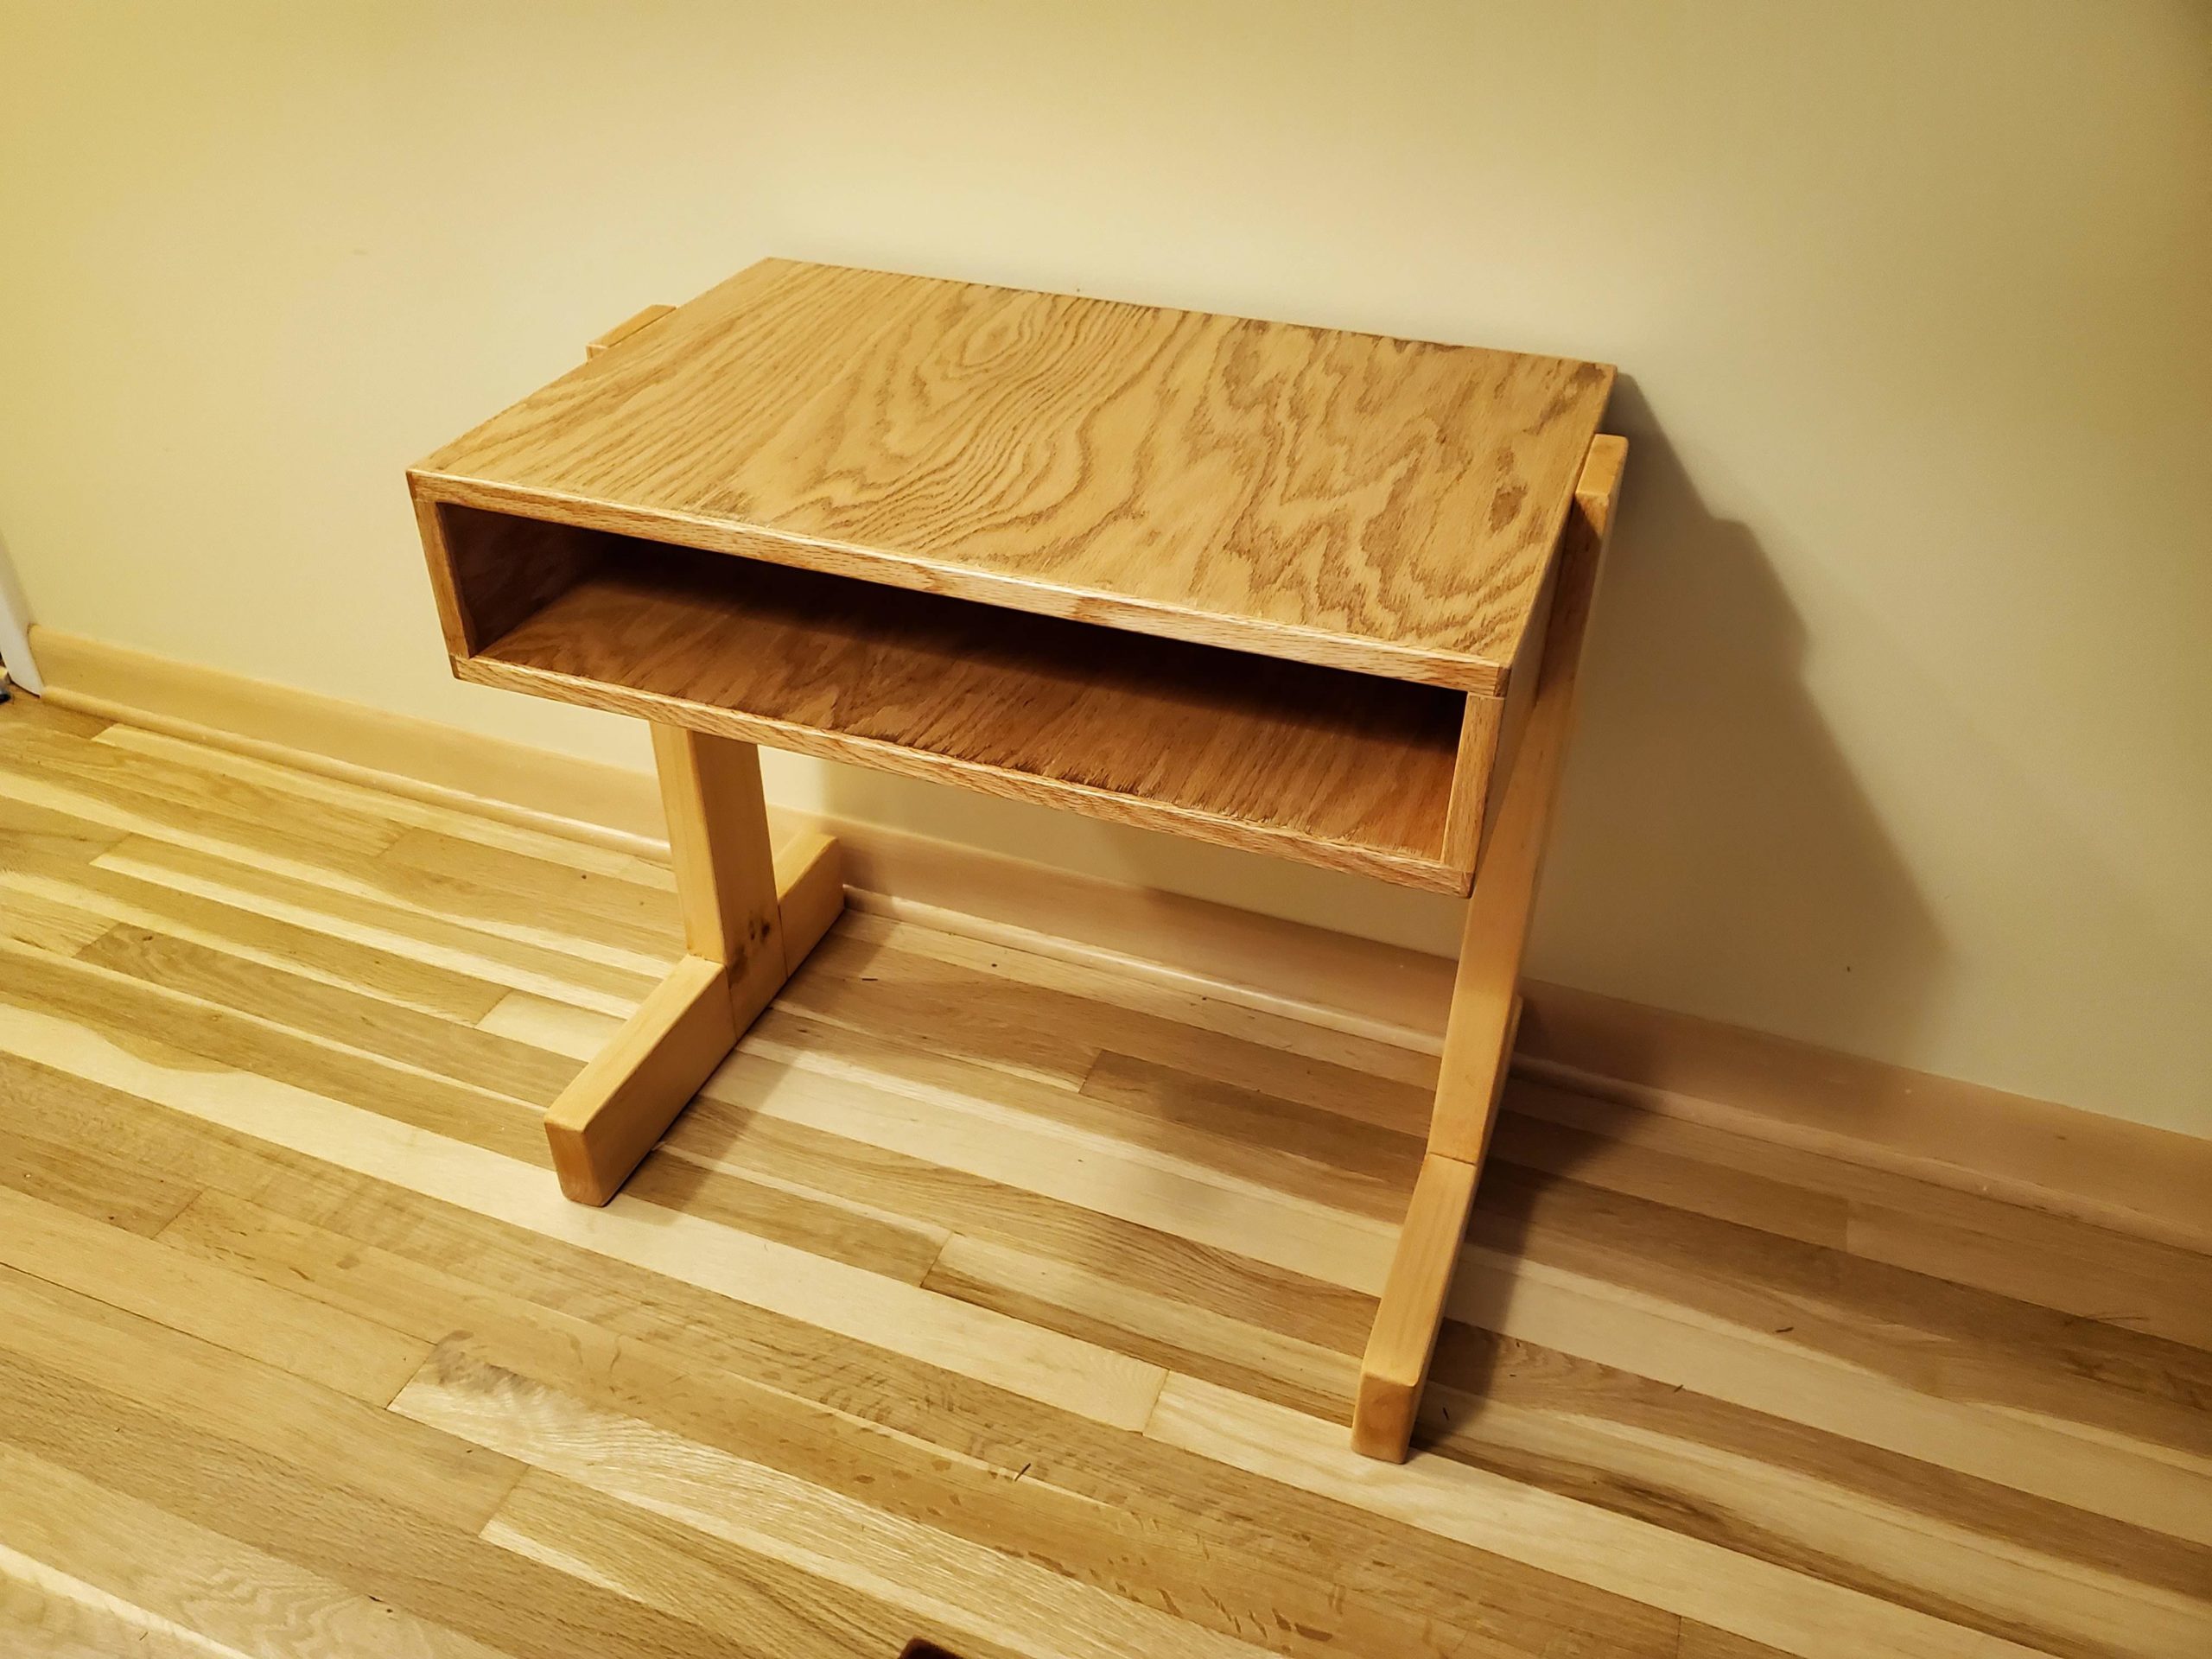
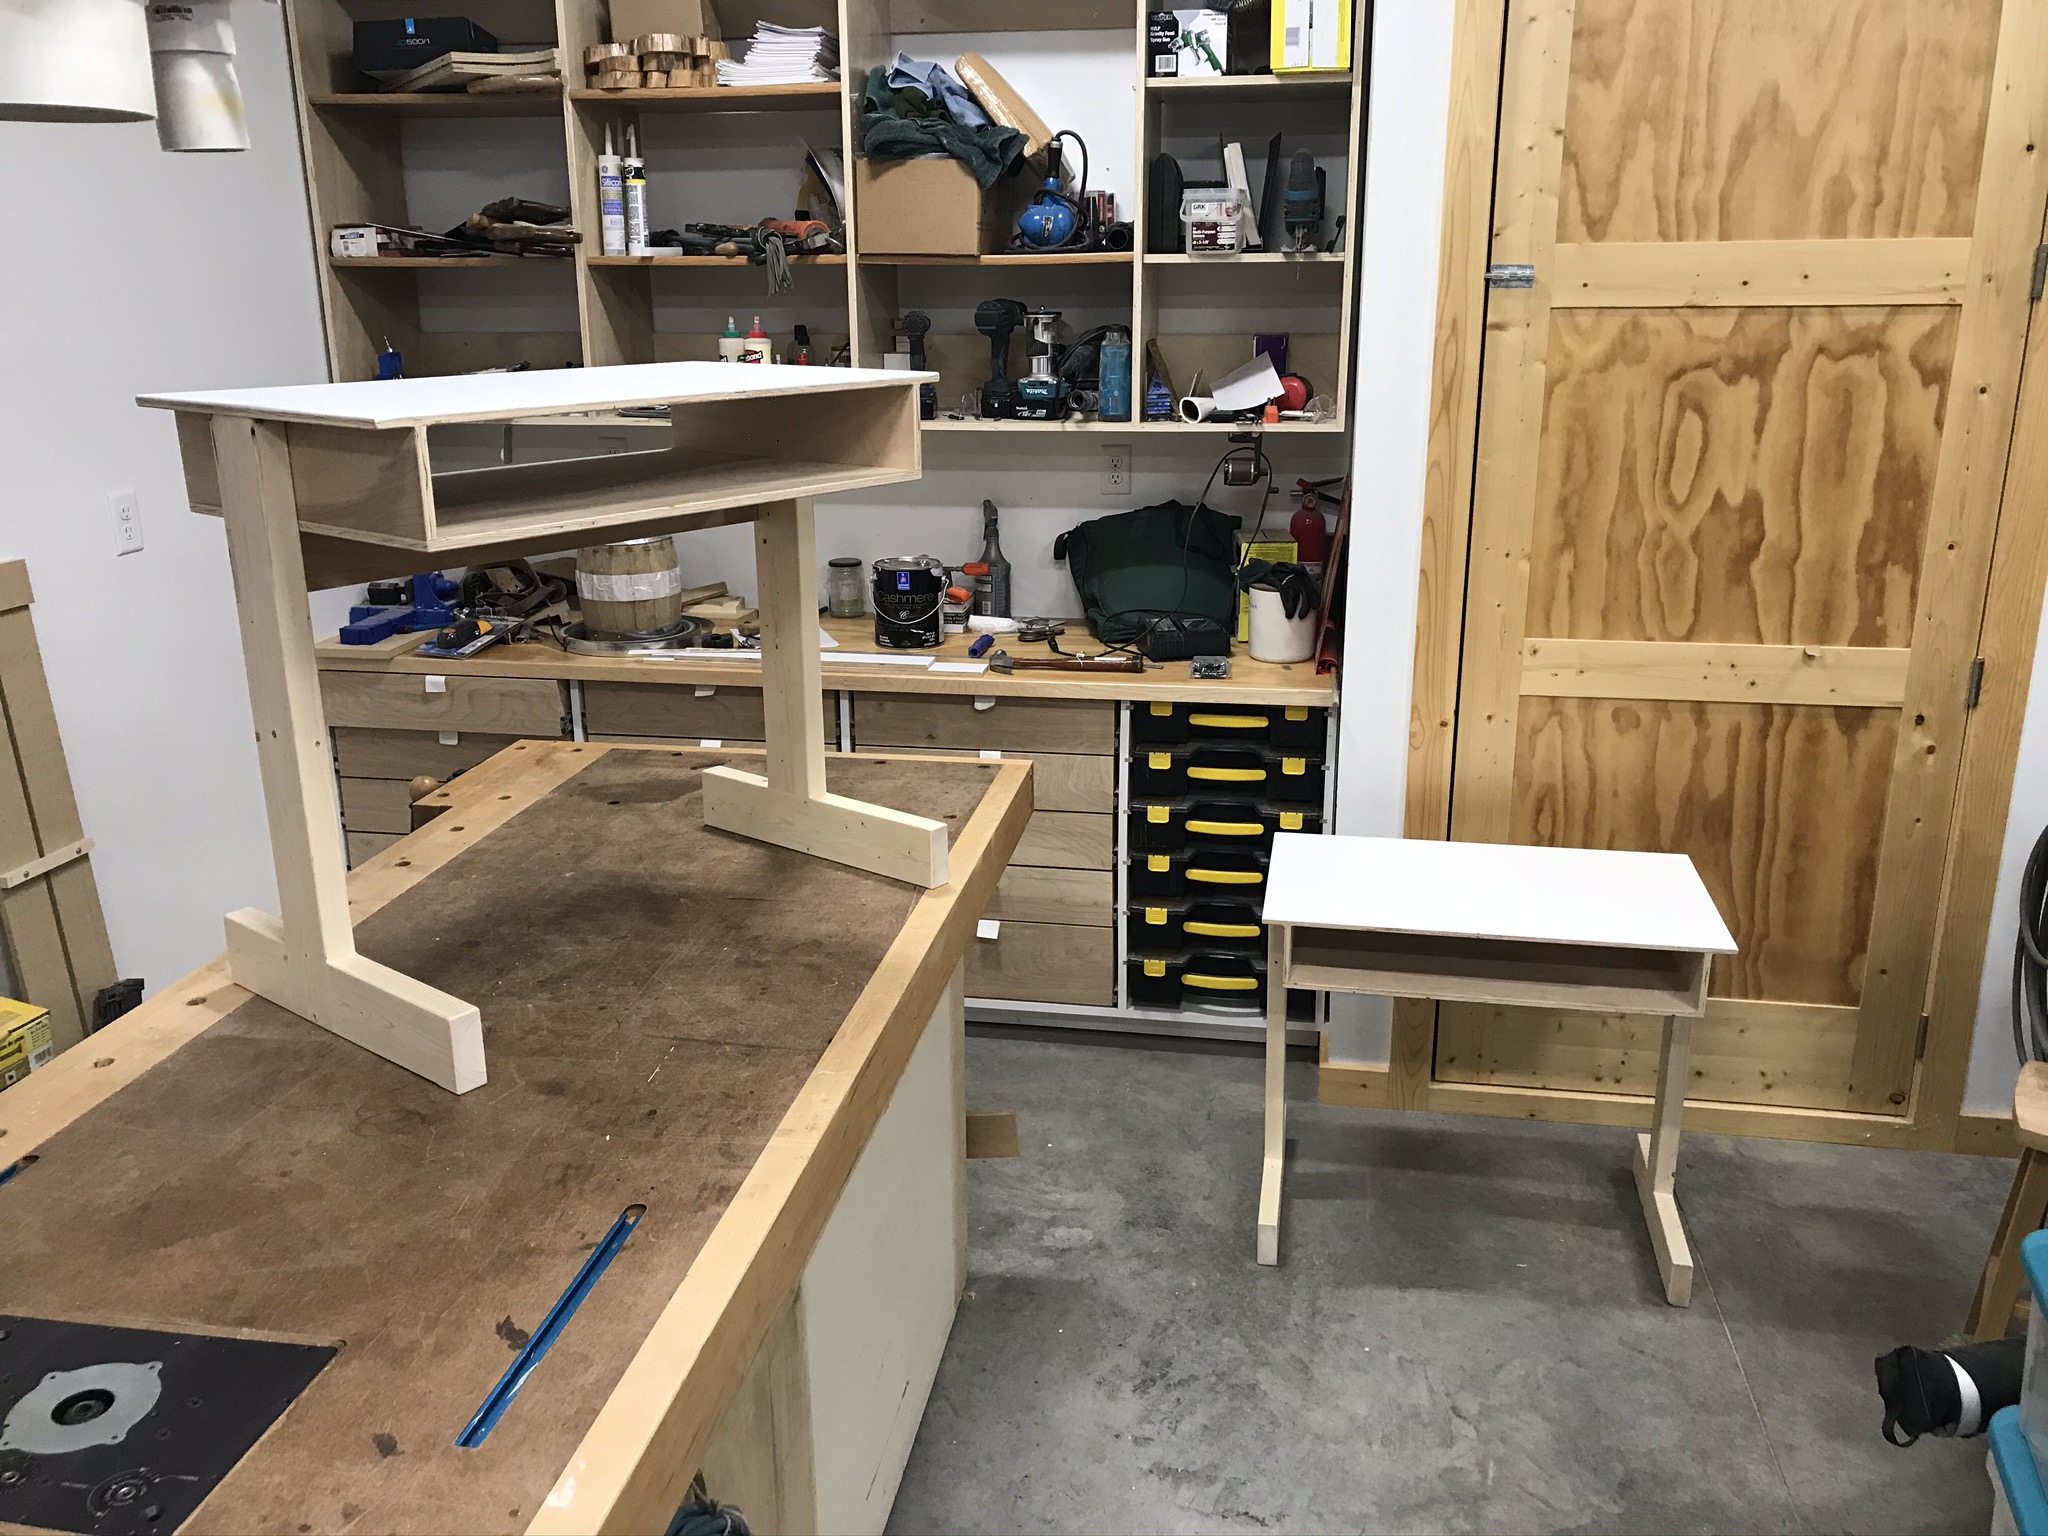
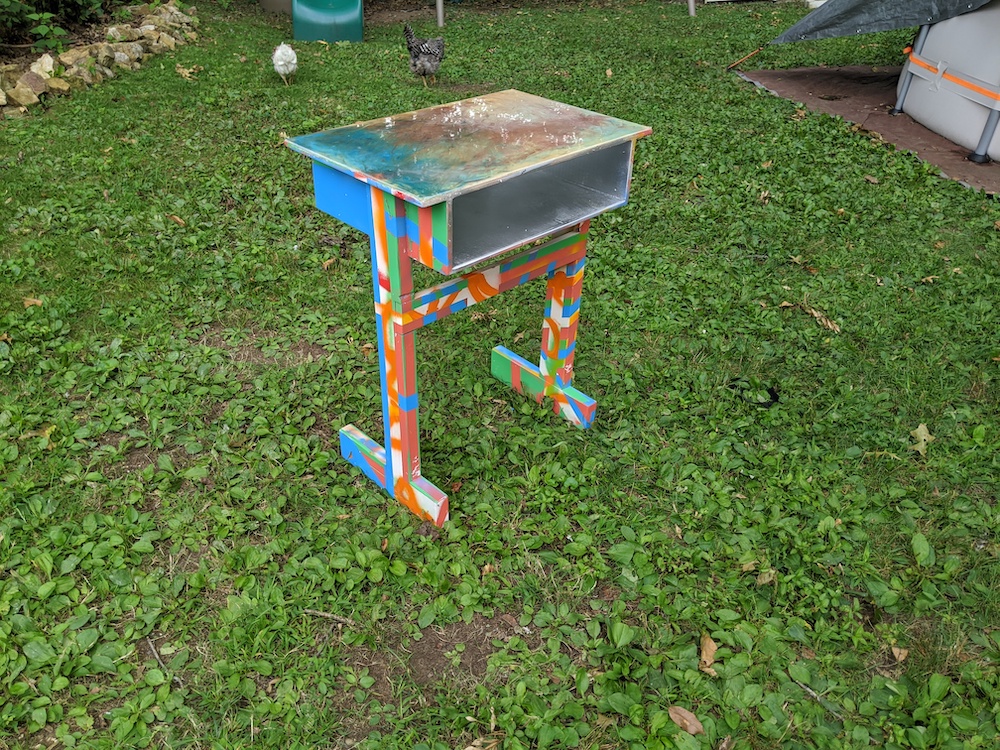
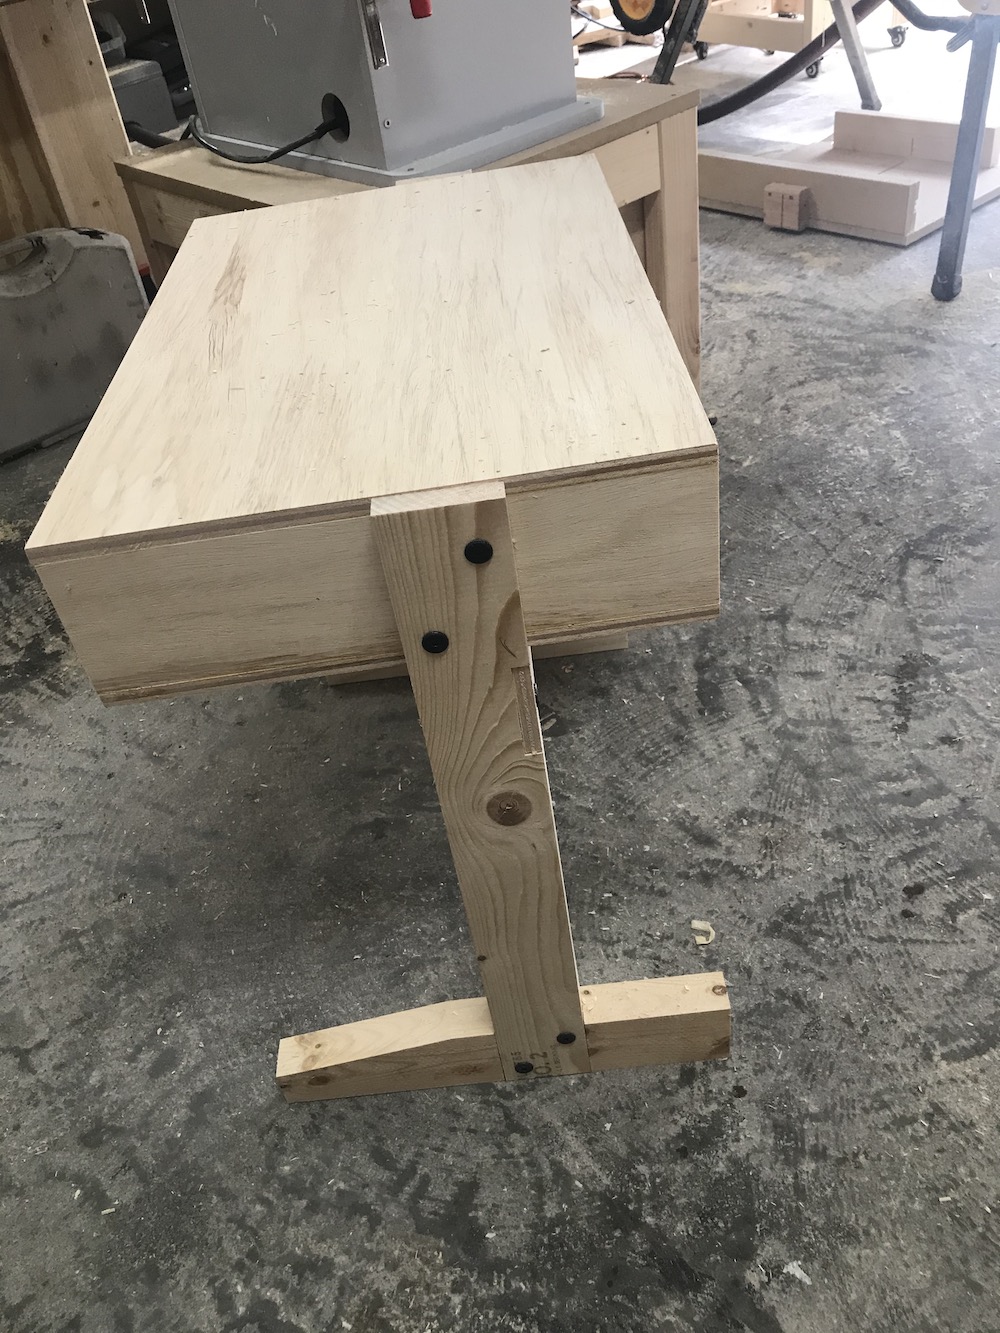
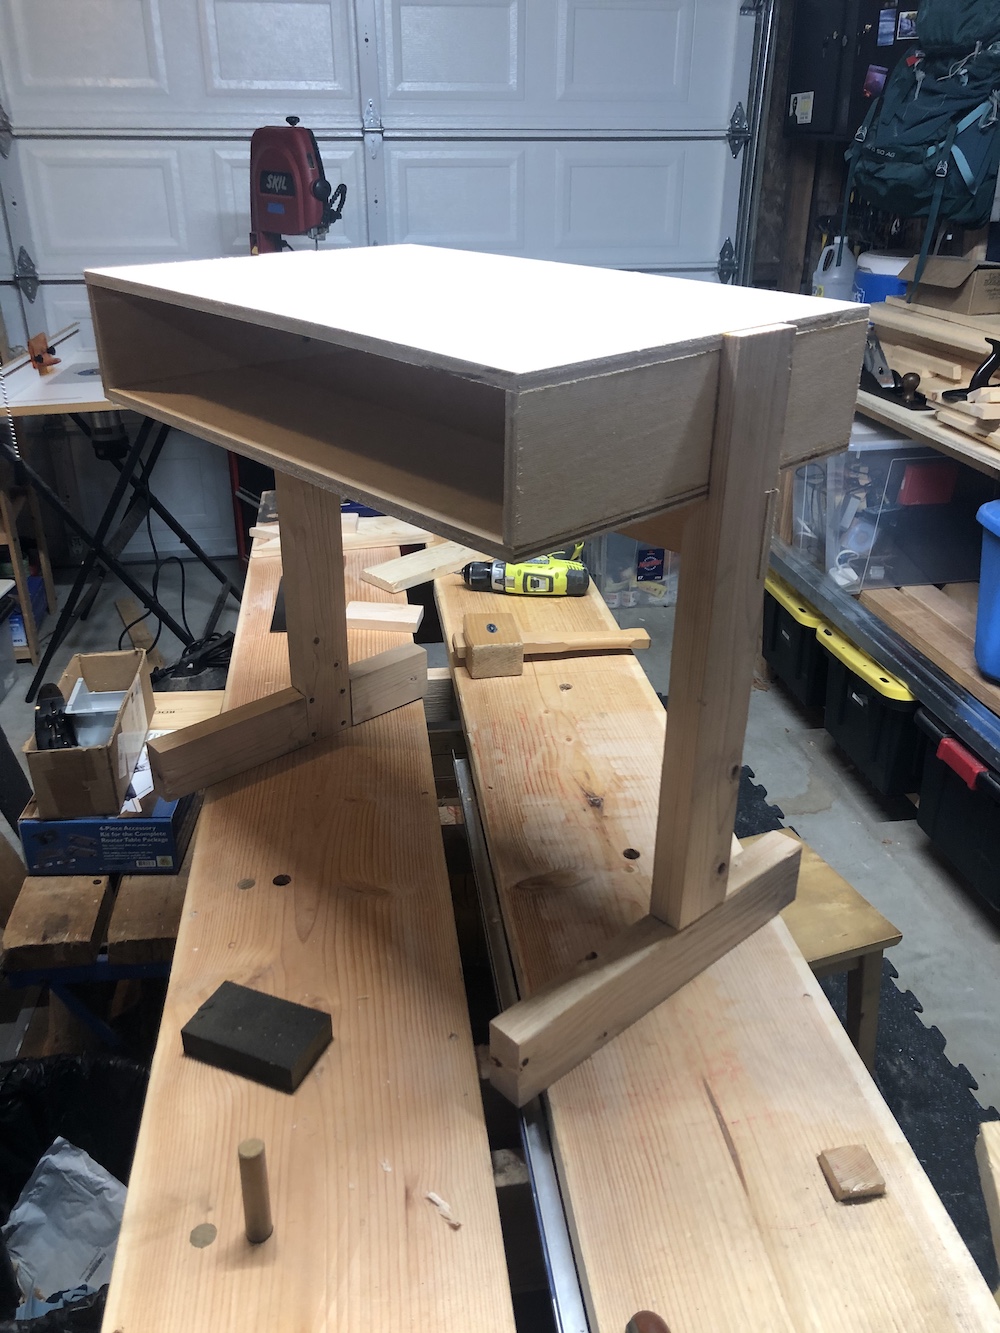
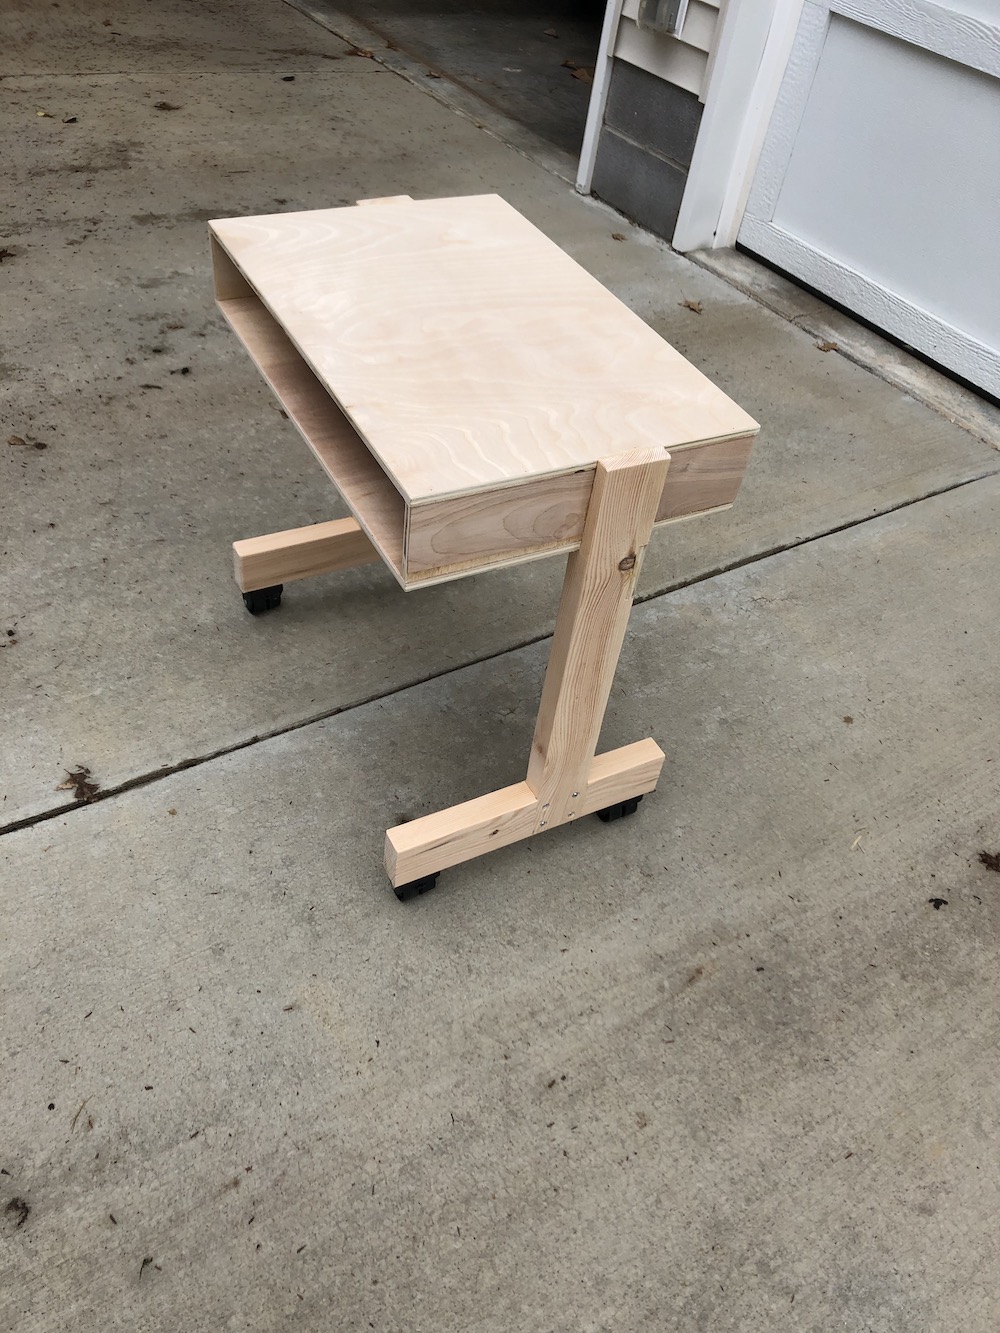
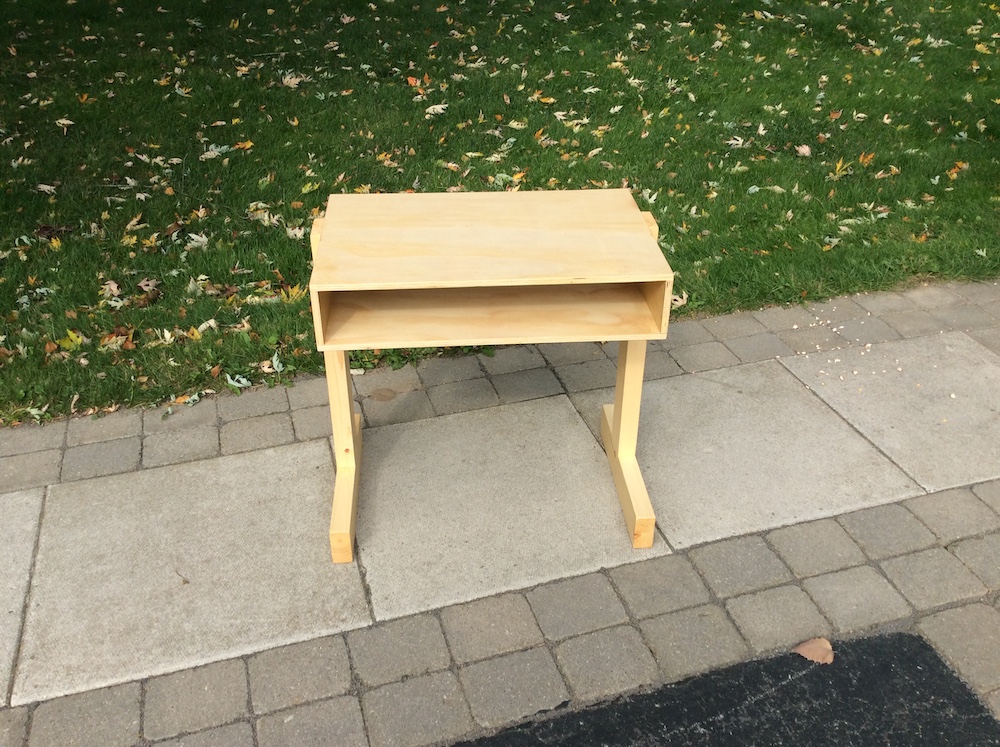
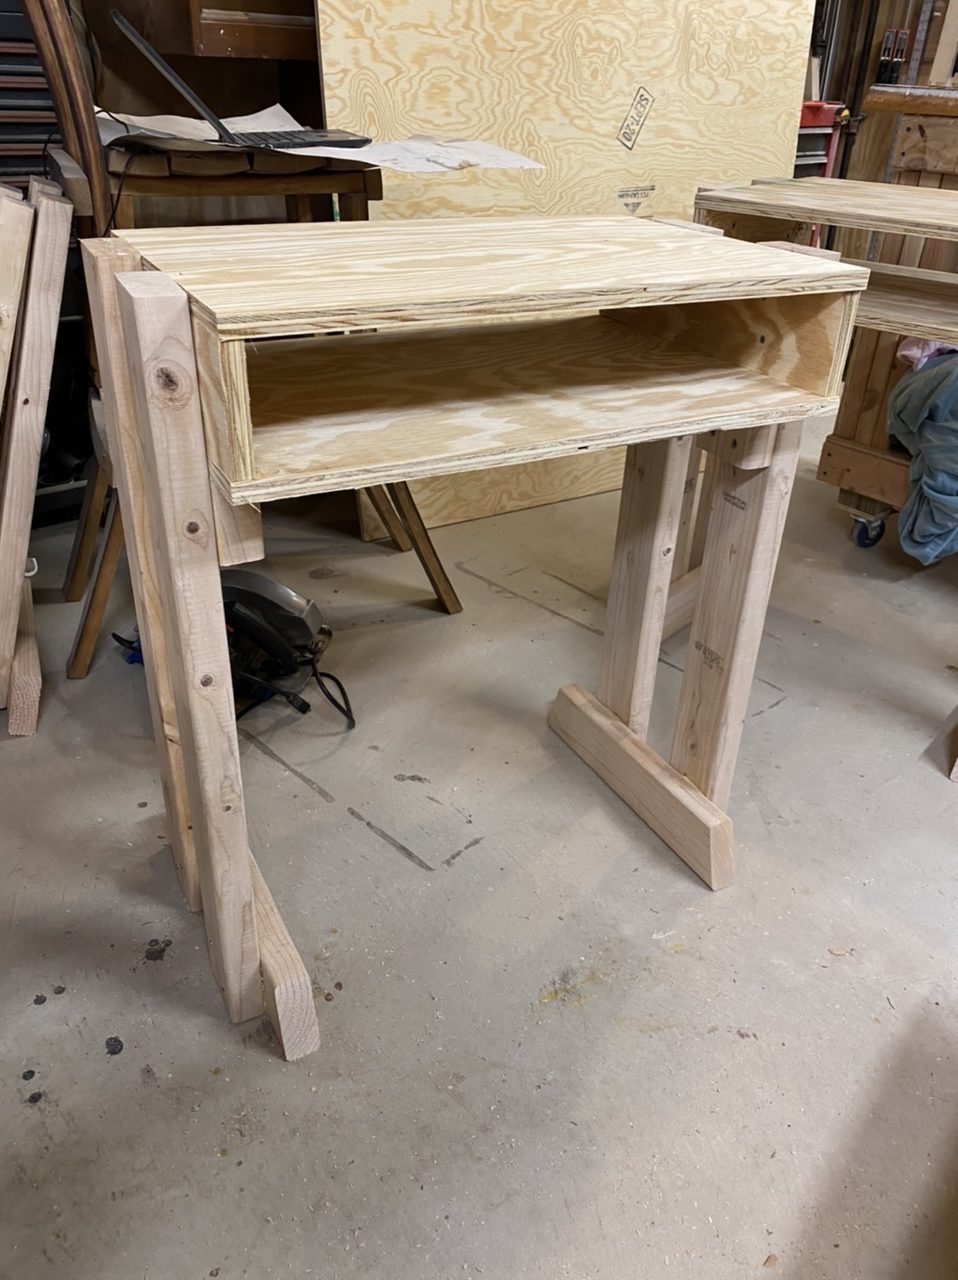
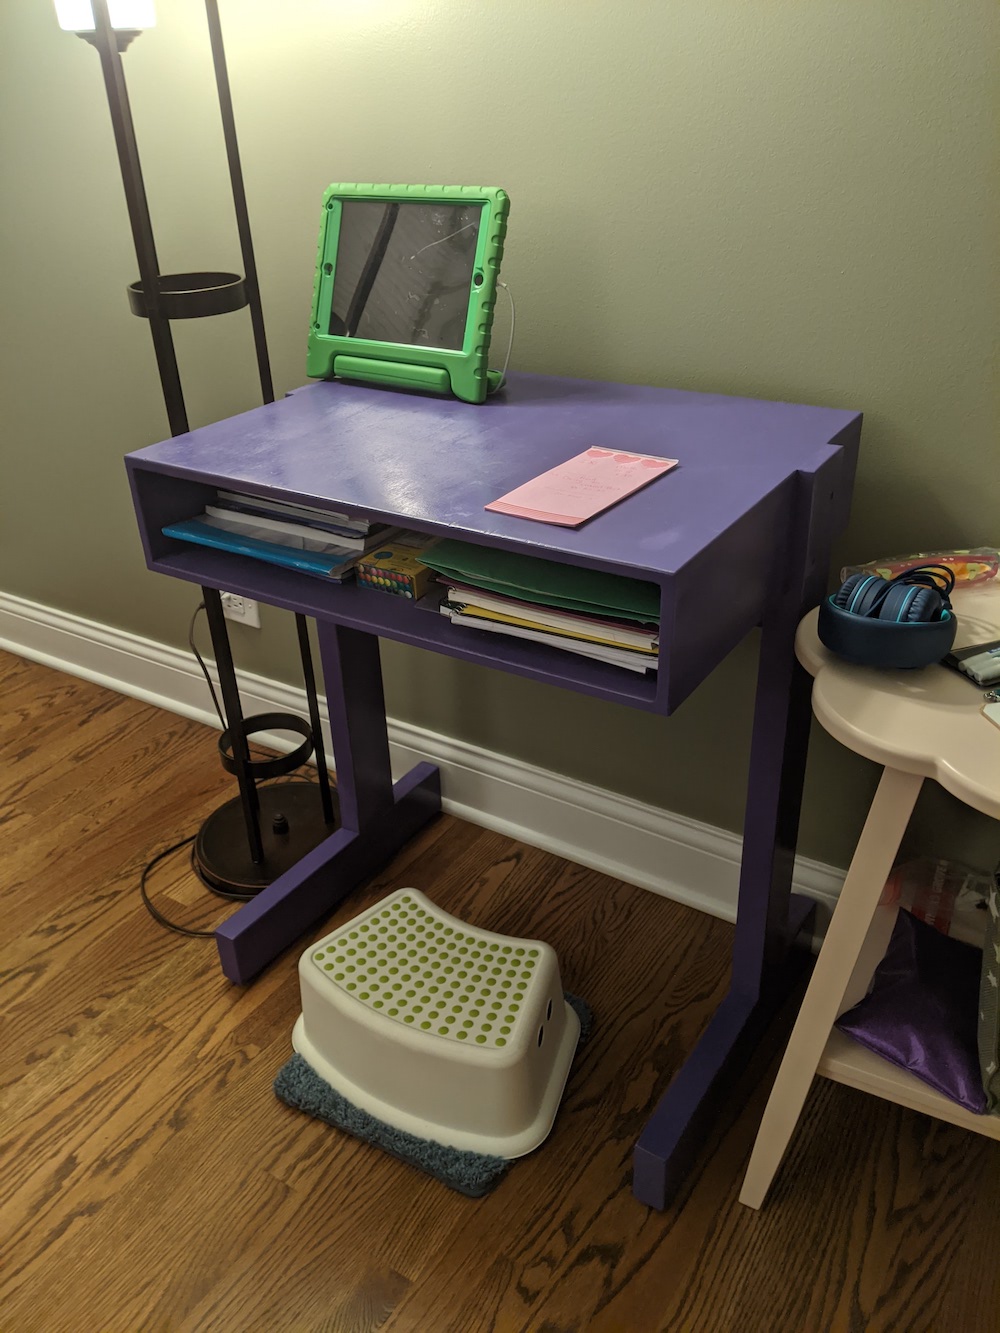
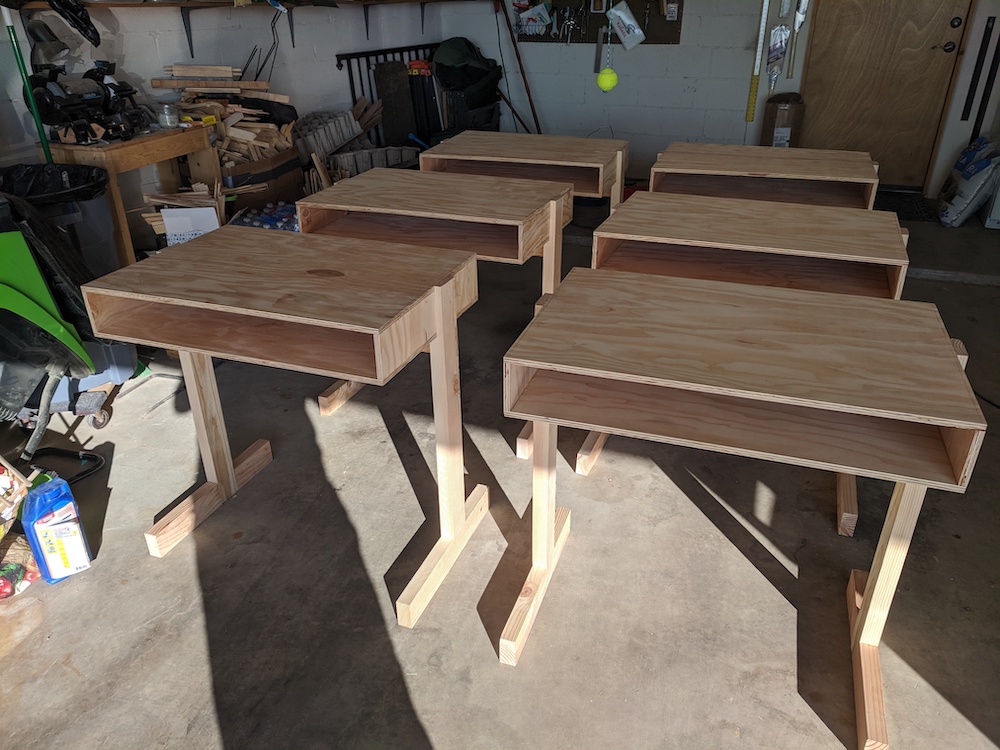
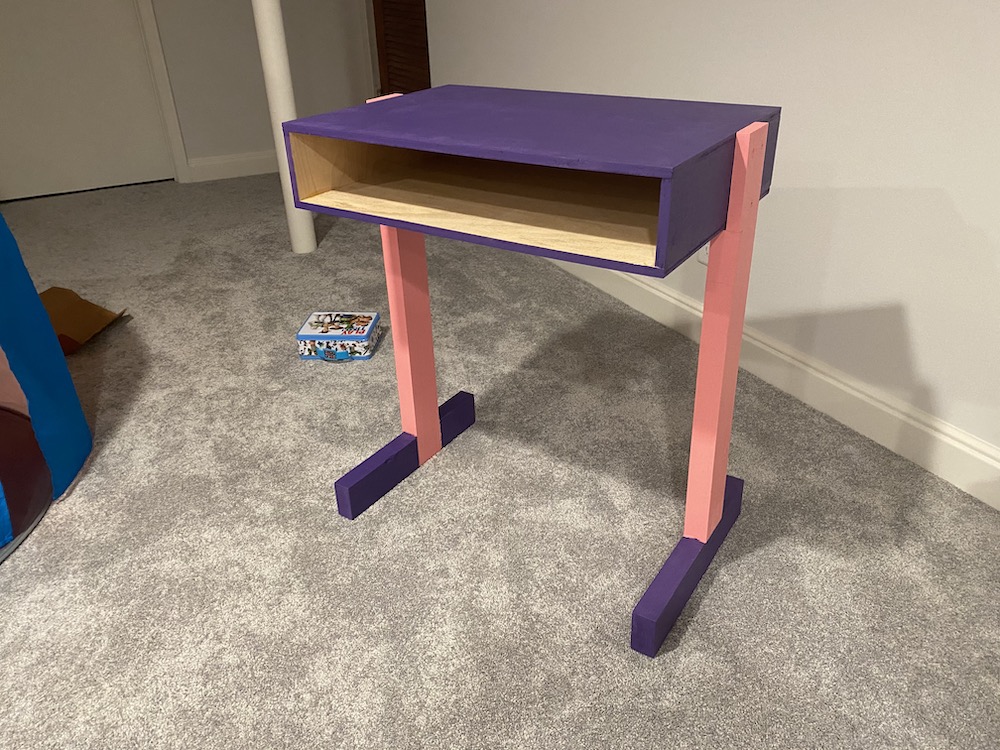
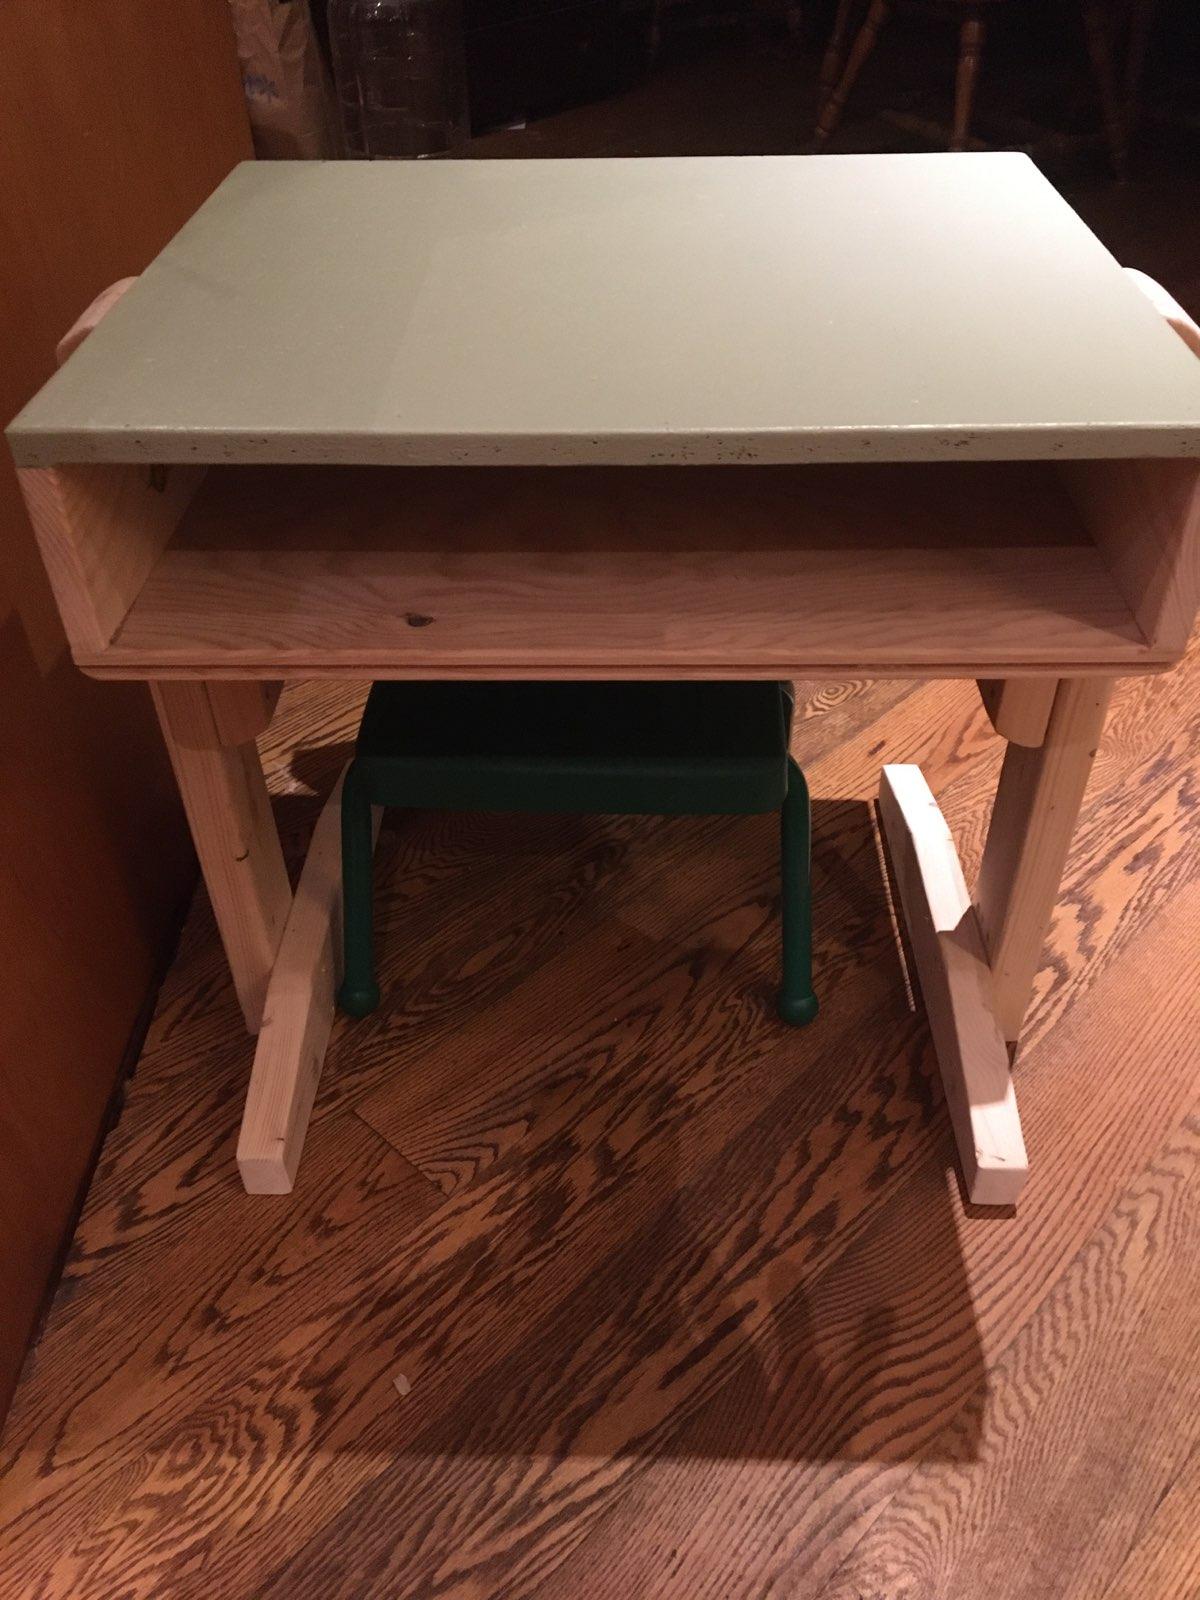
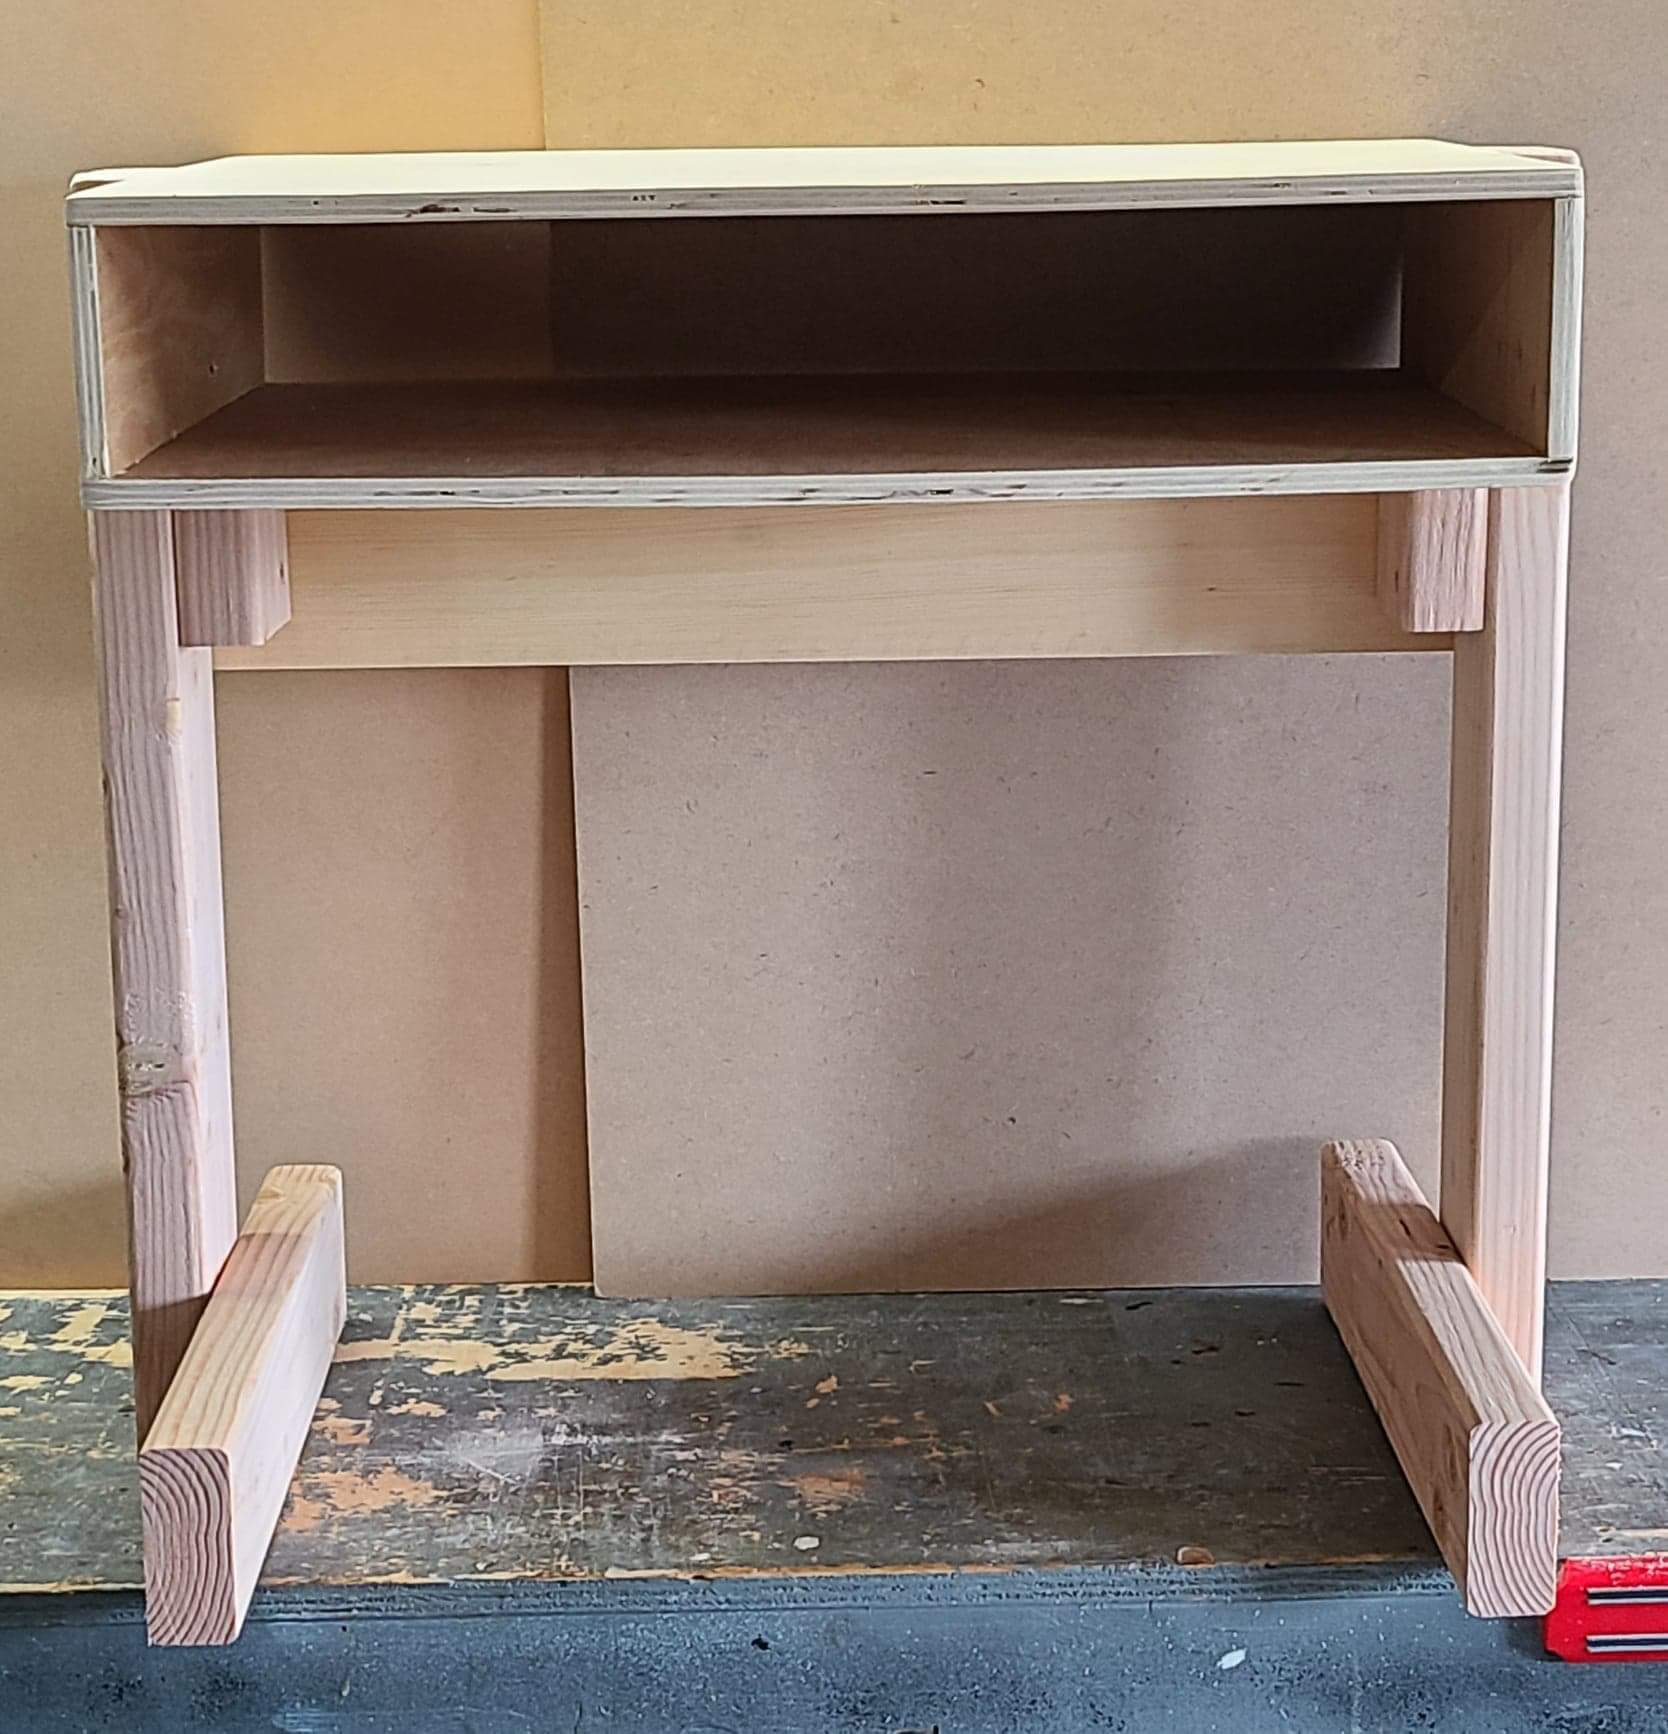
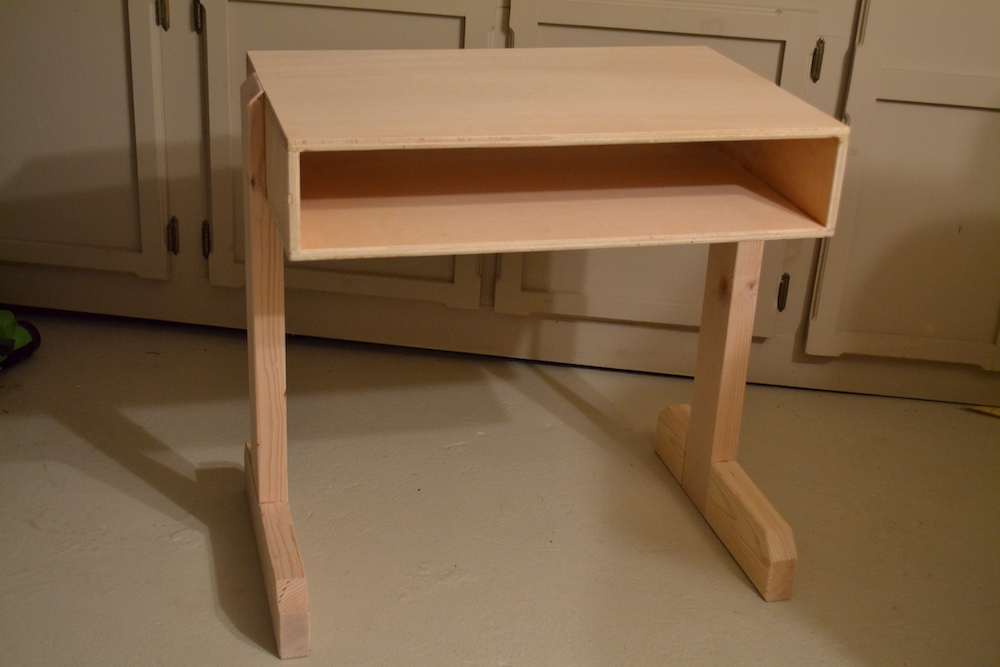
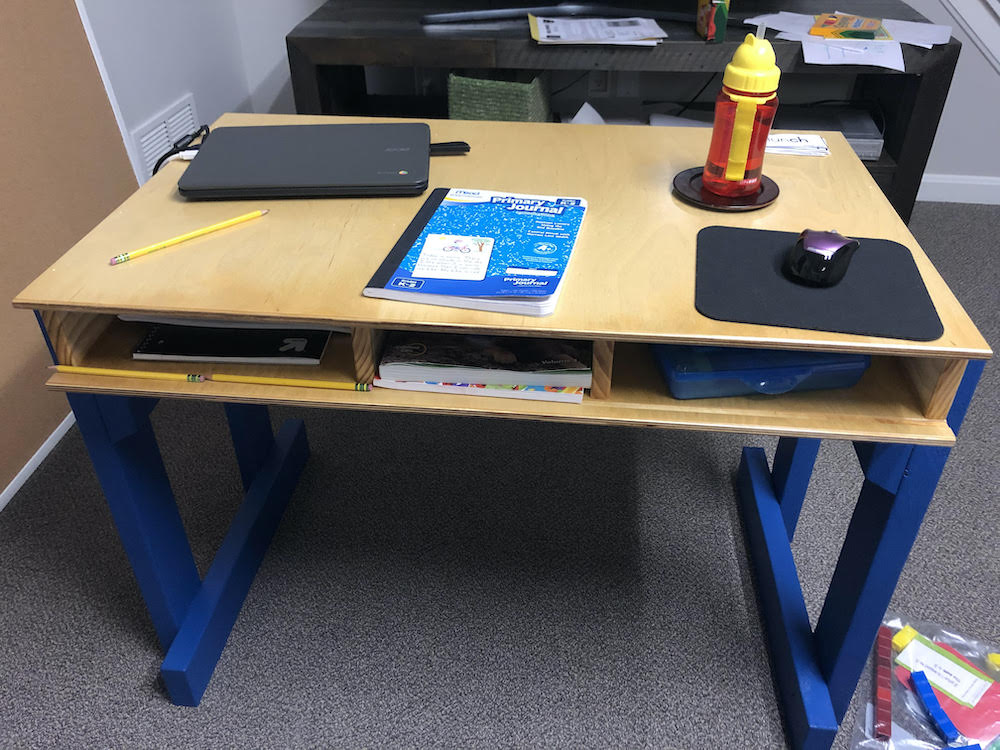
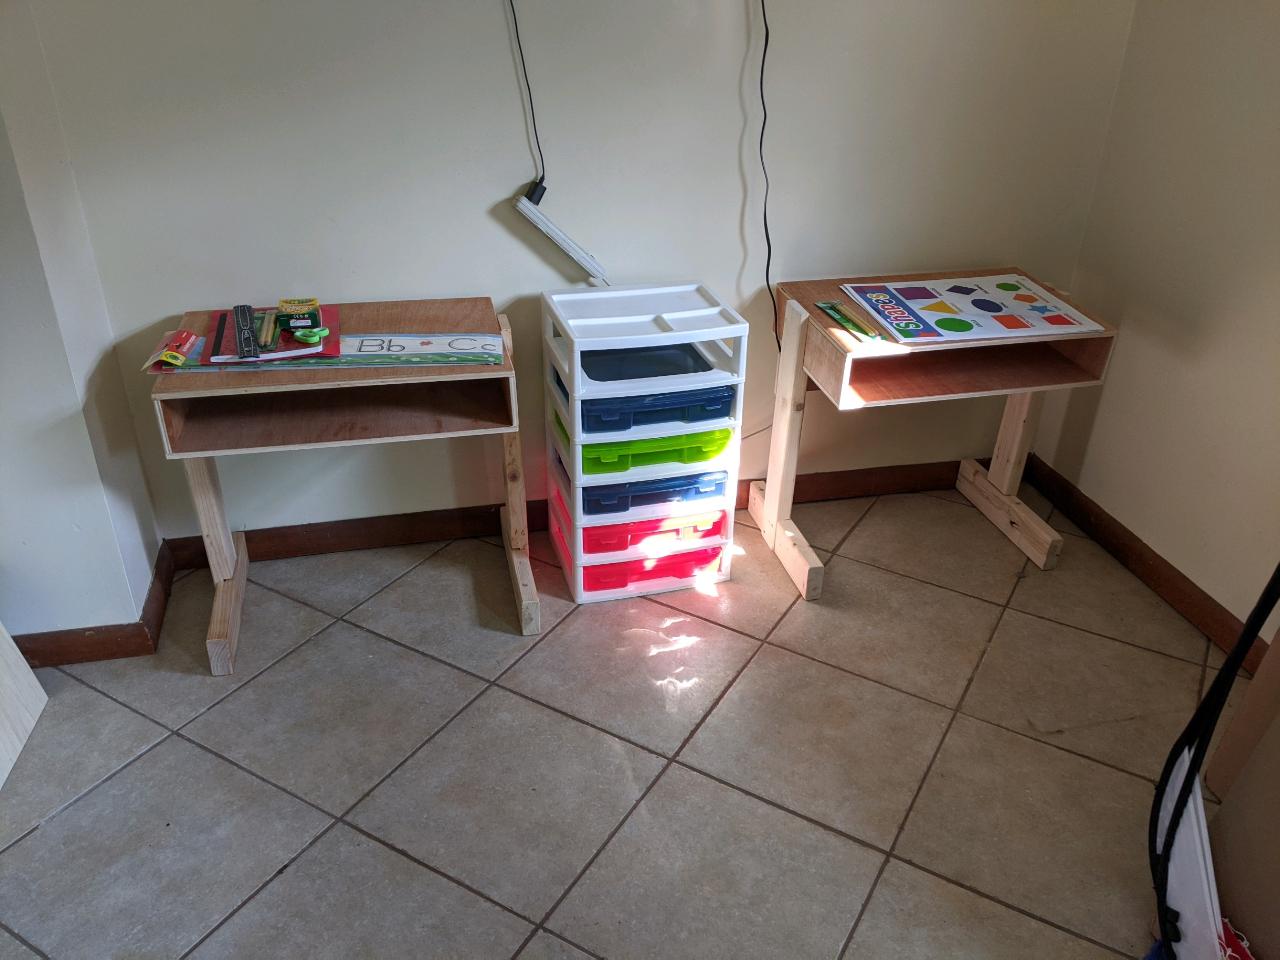
If you build and submit this year’s project (the DIY Kids Desk) before October 19th, 2020, we’ll donate money to St. Jude on your behalf (one per person). If you build* and send us a photo, we’ll donate $5. If you make a video, we’ll donate $10. *Please note the desk needs to be this plan for it to count towards our total.
We’ll donate $5 to the cause on your behalf for a picture or $10 for a video. Watch the project video and download the plan here! Again the deadline is Oct. 19th, 2020 and it needs to be the desk shown.
Bid on one of our 21 different auctions sponsored by Powermatic, Titebond, MLCS Woodworking, Brusso Hardware, Bell Forest Products, Fuji Spray, Woodpeckers, Rockler Woodworking and Hardware, Matt Cremona, and The Wood Whisperer. 100% of your bid goes directly to the charity! You have until October 19th, 2020 to bid!
Don’t have time to build the project? Consider donating directly to St. Jude and help us reach our $10,000 goal! Donations in ANY amount are appreciated.
The post Woodworkers Fighting Cancer 2020 appeared first on The Wood Whisperer.
Show notes coming soon
The post Who Flocking Cares?! appeared first on The Wood Whisperer.
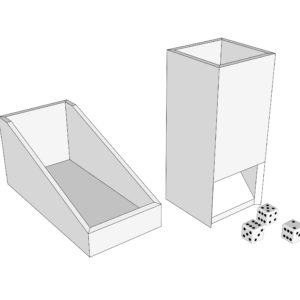
We’re a family of gamers, from classic board games to the latest video games, gaming is one of our favorite pastimes. Whenever we play a dice game, the kids will often throw the dice across the table so Nicole requested I make a Dice Tower: a simple device that randomized the dice and contains them in a small try. It’s really nothing more than a simple box with offset ramps on the inside. My design is incredibly simple but you can add as much complexity as you like, including additional ramps and additional obstacles inside the tower that will help jostle the dice around.
If you’d like a set of plans for this project, we offer them for just $5.
If you want to try the flocking method I demonstrated, you’ll want these products:
The post Dice Tower with Flocking Demo appeared first on The Wood Whisperer.
Show notes coming soon.
The post Don’t Hook My Neck Meat appeared first on The Wood Whisperer.
Show notes coming soon.
The post Old Man Spags | TWW Morning Show appeared first on The Wood Whisperer.
After completing the full 4-part series for Nicole’s desk, I asked the community if they preferred the long in-depth videos or the shorter/faster summaries. The most popular answer was “both.” So this is a heavily edited version of the build. If you’re interested in the full series, head on over to Part 1.
The post Nicole’s Desk | Short Attention Span Version appeared first on The Wood Whisperer.
The mortises for the drawer front were cut in Part 3 and now it’s time to make the drawer side tenons. I use a “hybrid” method making the shoulder with the table saw and using a hand saw and chisels to cut out each tenon. One thing you might notice is that the mortise and tenons joints are not arranged in the way that benefits the drawer. Most times, you want your drawer joinery oriented in such a way that the interlocking components resist the front to back motion of the drawer. But in this case, I wanted to make a strong visual statement and given the kind of use this drawer will see, I have zero concerns about the drawer coming apart in the future. The tight fit and the glue bond means that drawer is going to easily outlive anyone reading these words.
You should also notice that keeping the drawer sides at an angle creates a lot of extra work for us. Installing the drawer bottom and the slides both become trickier than usual but I think the extra work is worth it for such a unique drawer. And the angle is necessary for our parallelogram through tenons so I’m very happy with the design choice.
The finish I’m applying here is Rubio Monocoat, a hardwax oil. It’s an incredibly easy to apply, low-luster finish that provided enough protection for a desk. And perhaps most importantly, makes future finish repairs very easy.
I hope you enjoyed this series and thanks for following along.
The post The Drawer & Finish | Nicole’s Desk Pt. 4 appeared first on The Wood Whisperer.
Show notes coming soon.
The post No Mic for Nicole appeared first on The Wood Whisperer.
Show notes coming soon.
The post Farting on All Cylinders appeared first on The Wood Whisperer.
For the most part, I’m a pretty even-keeled guy. I don’t lose my temper easily I don’t usually get too emotional (outside of laughter) in the shop. But when disaster struck while routing mortises in my drawer front, I kind of lost it and threw my bluetooth headset on the ground. Perhaps it was my subconscious giving me an opportunity to try out the new version with the gel ear cushions. Anyway, the reason I got so upset was because the error was due to a bit malfunction. Oddly enough, I’m much better at dealing with mistakes caused by my own stupidity. Thankfully, I did make a backup piece and was able to use that to complete the drawer front. I also upgraded my bit to this one from Eagle America, which features a much better design for securing the bearings.
Aside from my temper tantrum, this video covers the construction and shaping of the top, attachement to the base, and the mortises in the drawer front. It’s jam-packed with information and problem-solving.
The post I Lost My Temper | Nicole’s Desk Pt. 3 appeared first on The Wood Whisperer.