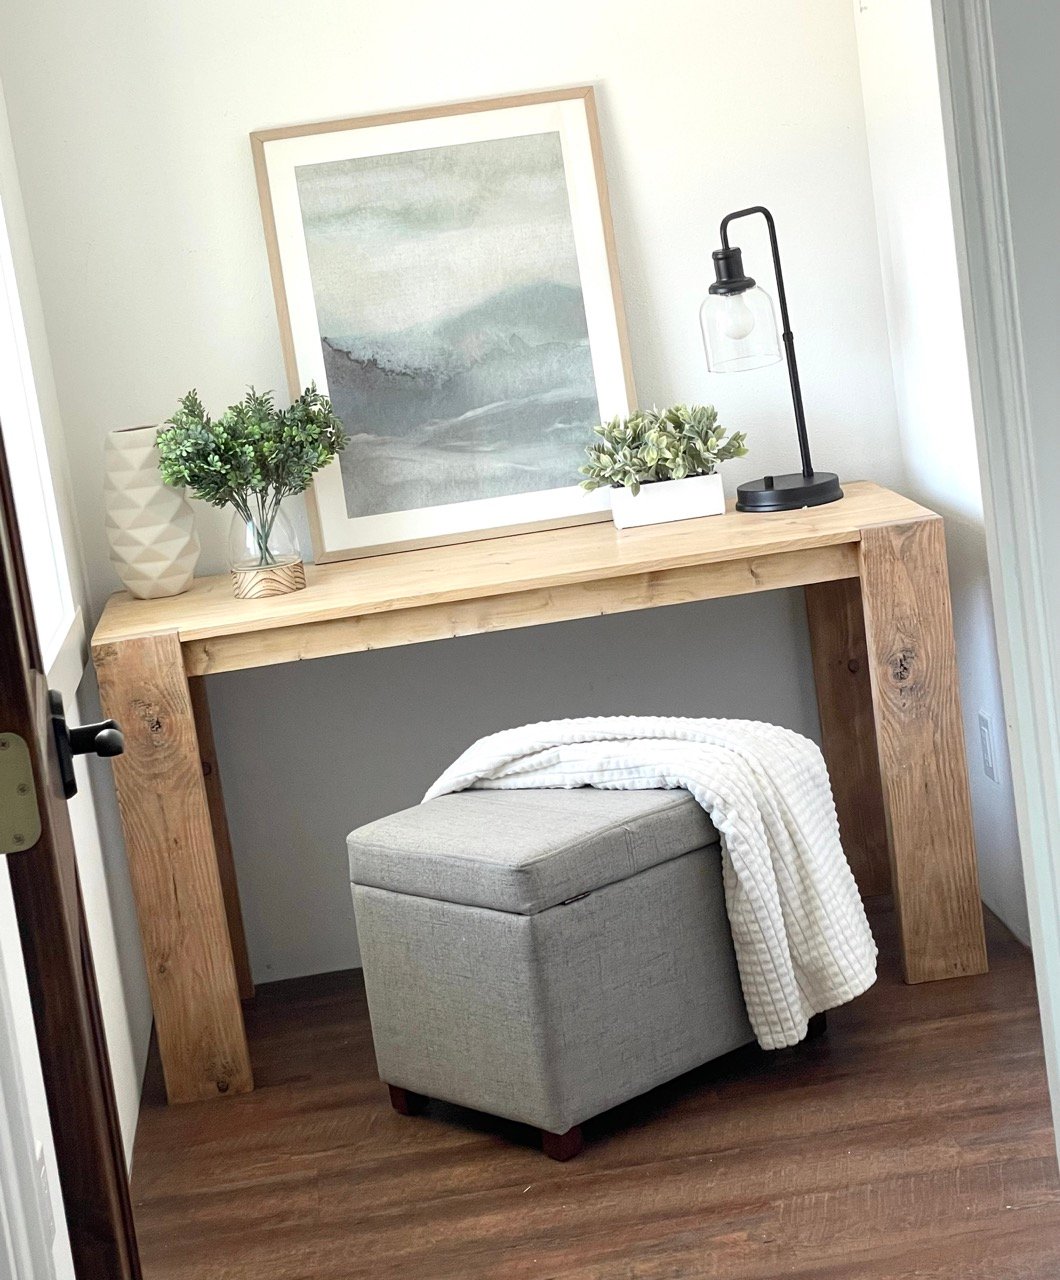
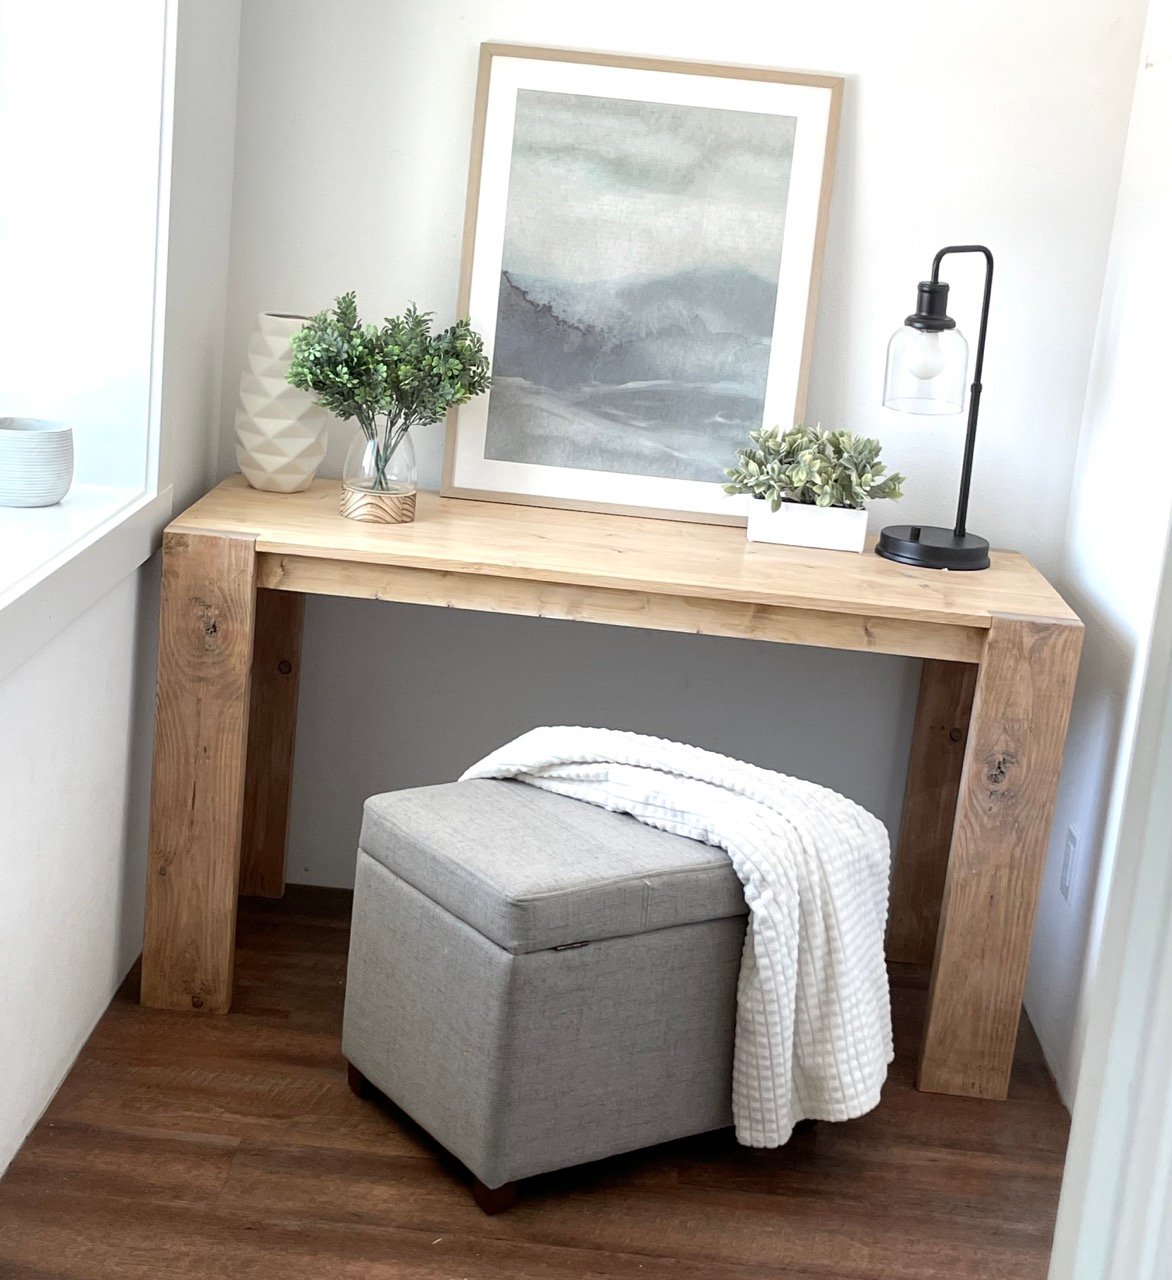
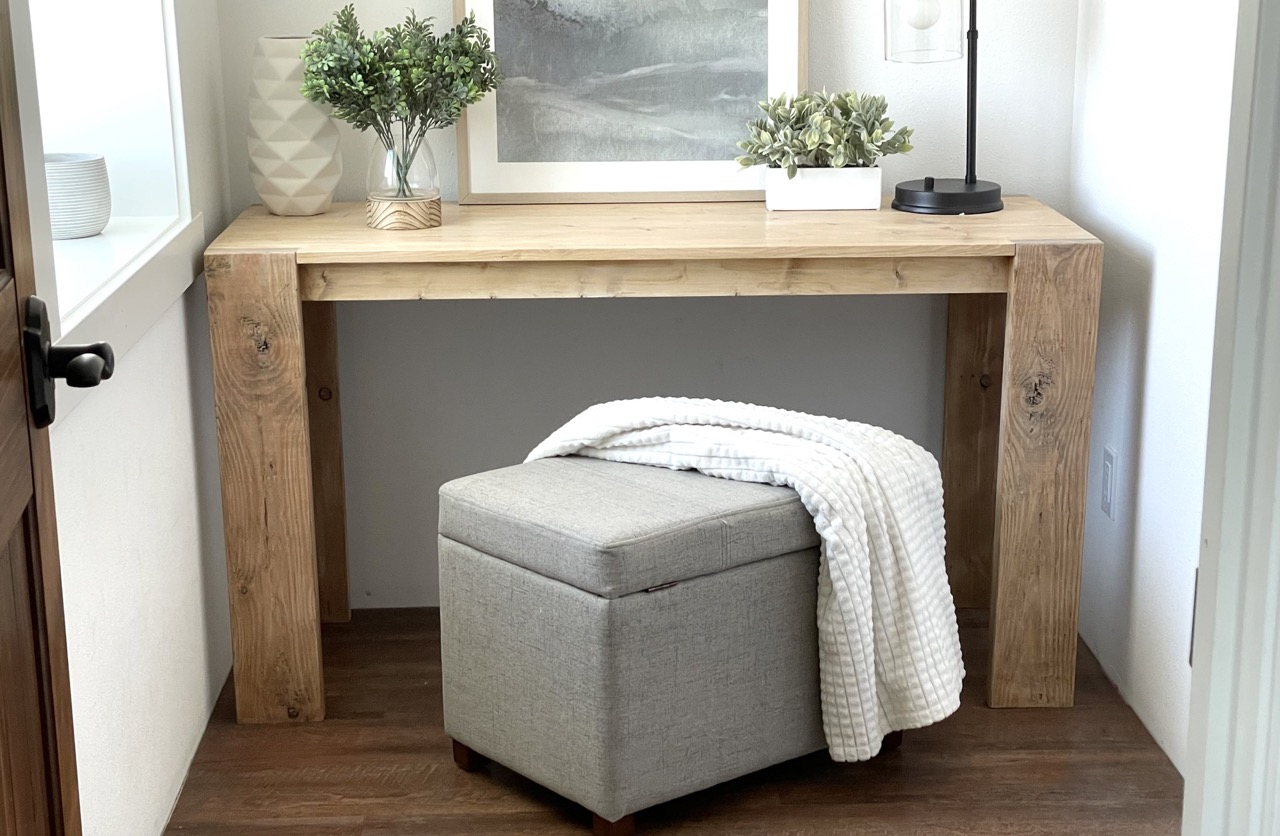
About This Desk
This is a very simple desk, made using 2x6 legs and a 1x top. The modern styling creates a beautiful frame for your decor and compliments your space.
This desk can be painted or stained any color.
More Plans in This Collection
I love this style so much, I made more plans in this collection. I'll keep adding to it - it is a beautiful style!
- Chunky Coffee Table Plans (square)
- Chunky Coffee Table Plans (rectangle)
- Chunky End Table Plans
- Chunky Console Table Plans (coming soon)
How I Build This Desk
This desk was a pretty easy build. I used a pocket hole jig to make the piece look more professional, with all hidden joints. The pocket hole jig also made it more sturdy. If you don't have a pocket hole jig, watch how I made the matching coffee table with just a brad nailer.
First, I build the tabletop surface in the size I wanted.
Then I used a jigsaw to cut out the corners of the tabletop for the legs to show through.
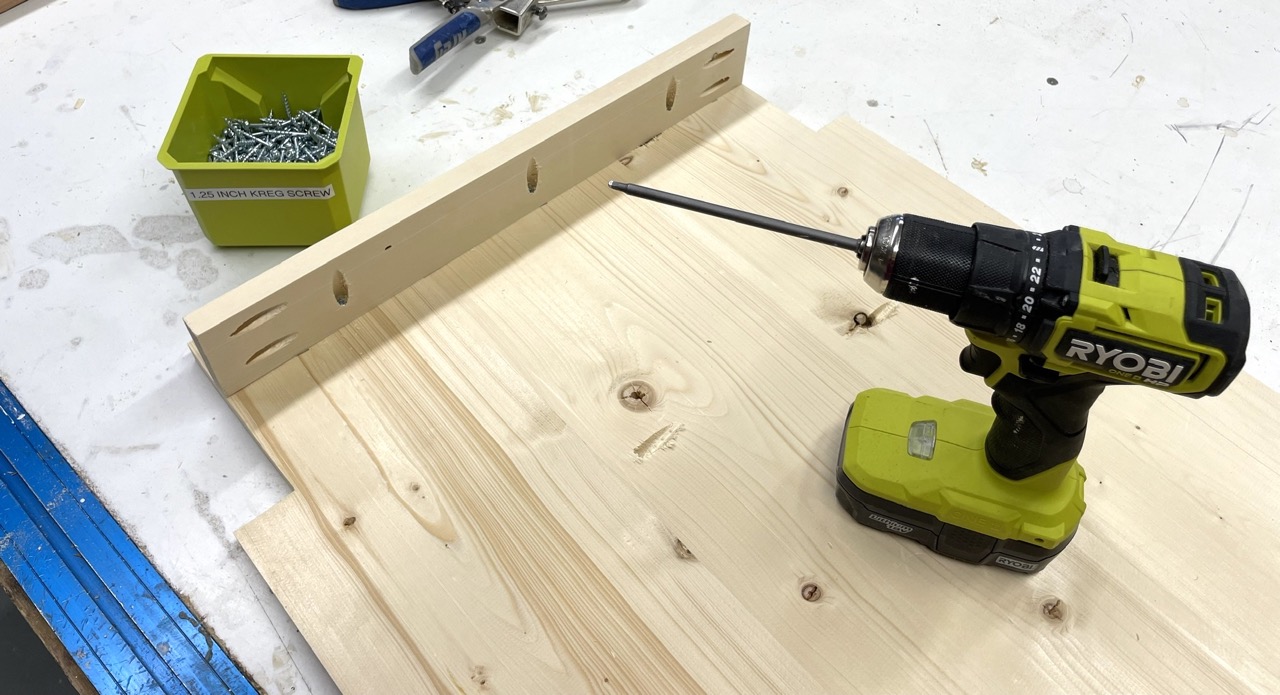
Then, I measured and cut the 1x4 side aprons, and drilled 3/4" pocket holes on the ends and facing upward (pictured upside down above). I attach the 1x4 apron to the underside of the tabletop with 1-1/4" pocket holes.
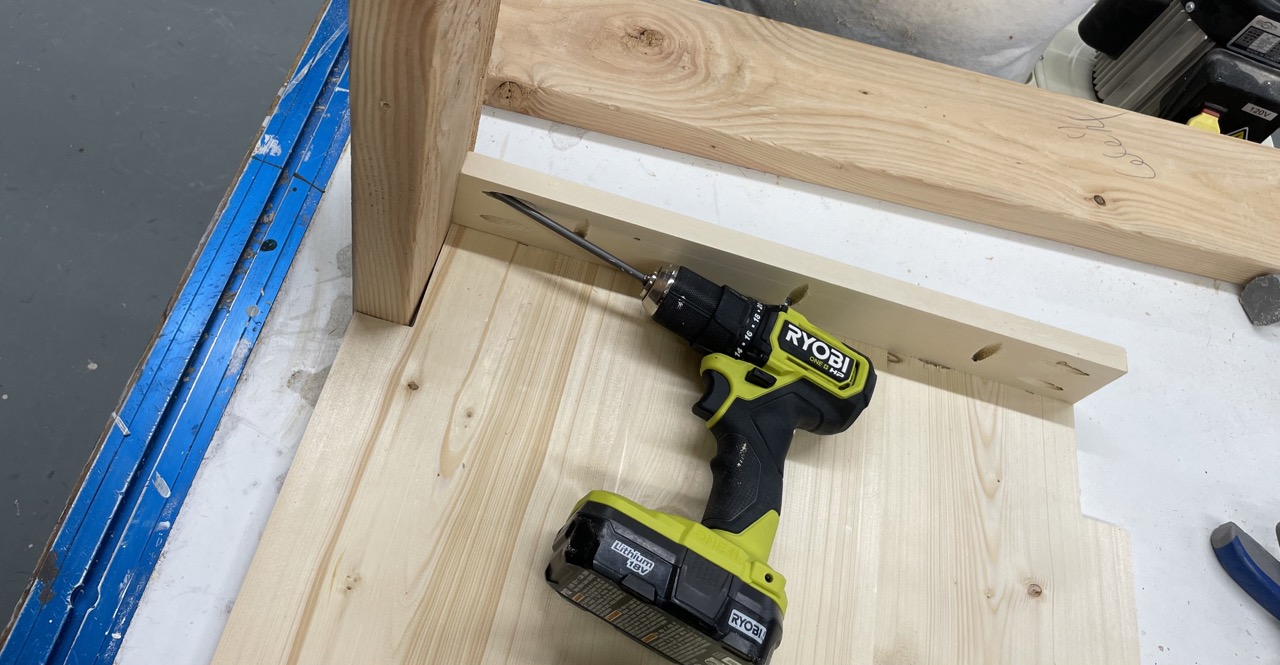
Next, I set the legs in place and attached with the predrilled pocket holes from the side aprons into the legs.
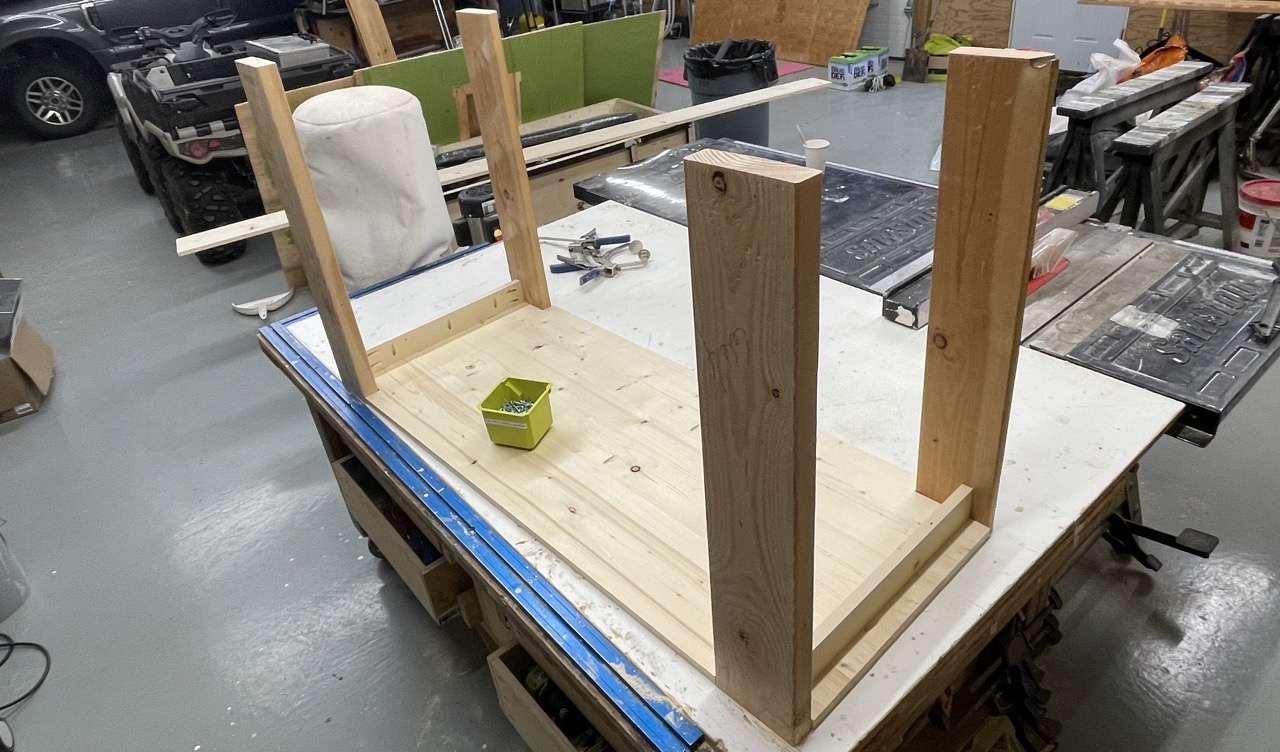
Here's what all four legs in place look like.
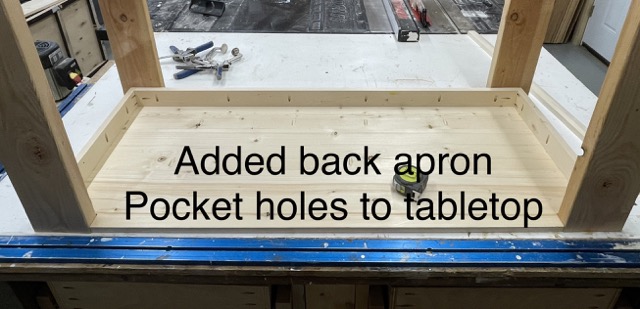
For the back, I repeated those steps to add the back apron with pocket holes.
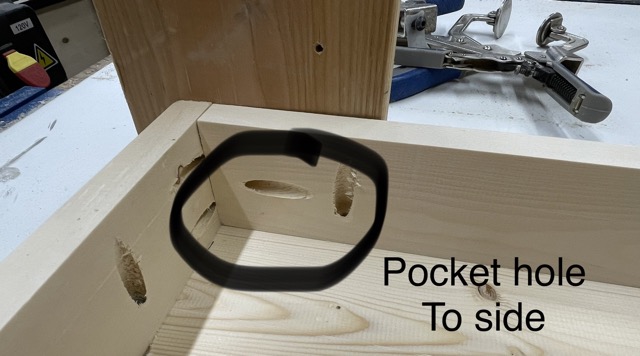
Where the back apron meets the side aprons, I drilled one pocket hole in the middle so it didn't cross the two pocket holes drilled in the side apron. Then I joined the back apron to the side aprons. I did NOT attach to the legs yet.
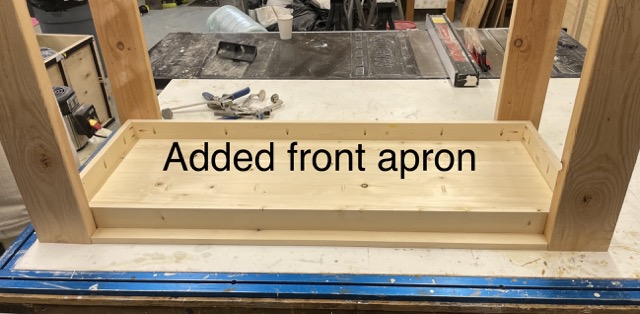
I repeated these steps - but do NOT attach to the legs yet. First, flip over -
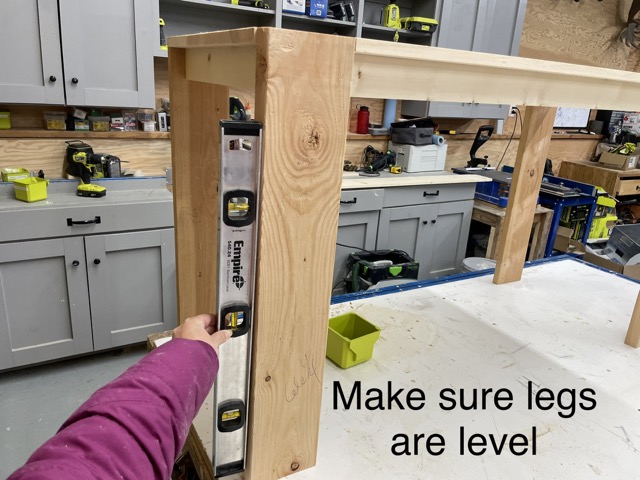
Then level up all the legs using a level.
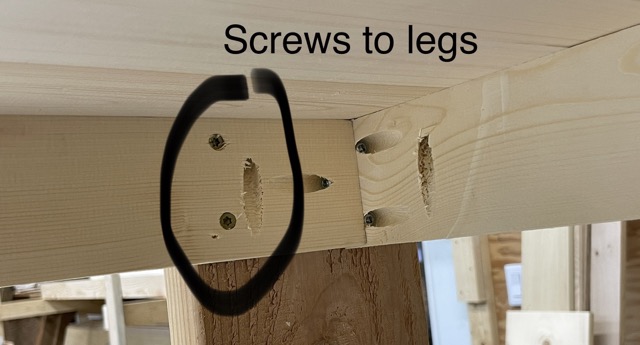
Once the legs are level, and the desk is sitting flat on a level surface, attach the front and back aprons to the legs from the inside with a couple more screws.
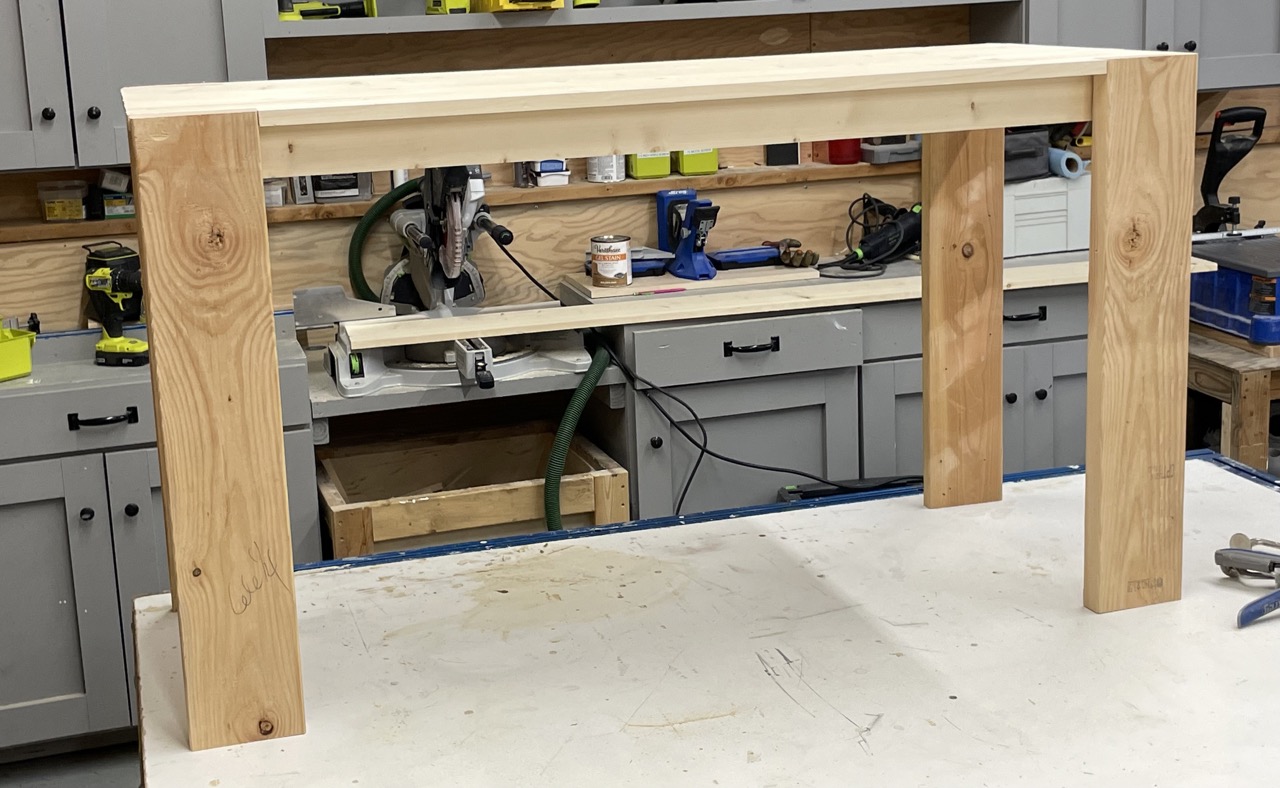
Here's the desk built. There's still lots of work to be done ... I sanded the entire desk with 120 grit sandpaper.
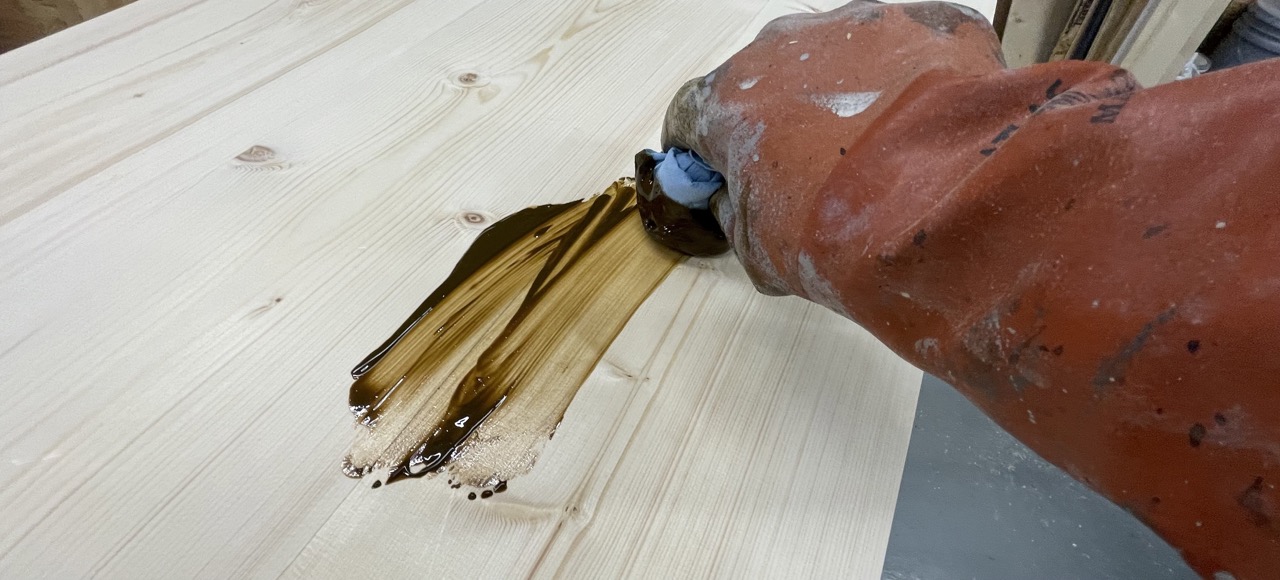
Then I stained with Golden Oak.
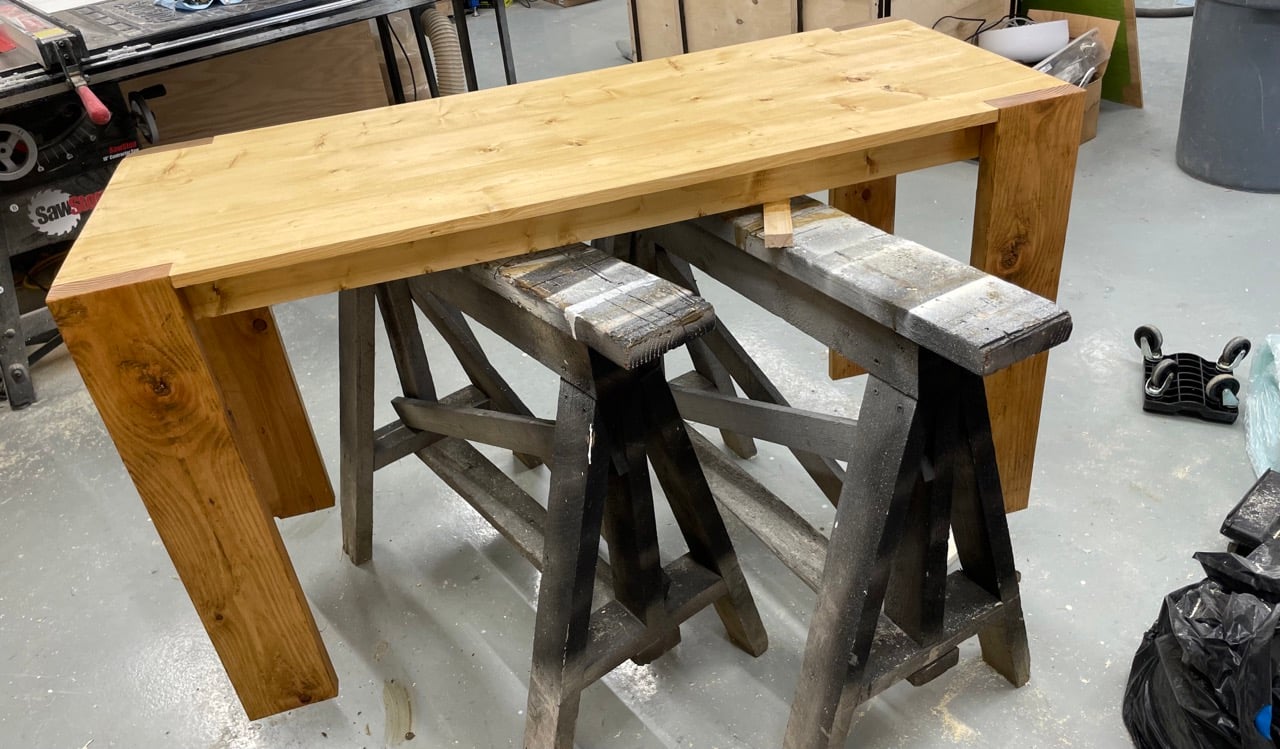
The stain seemed off and flat and orange. Also the different wood species took the stain differently. No problem!
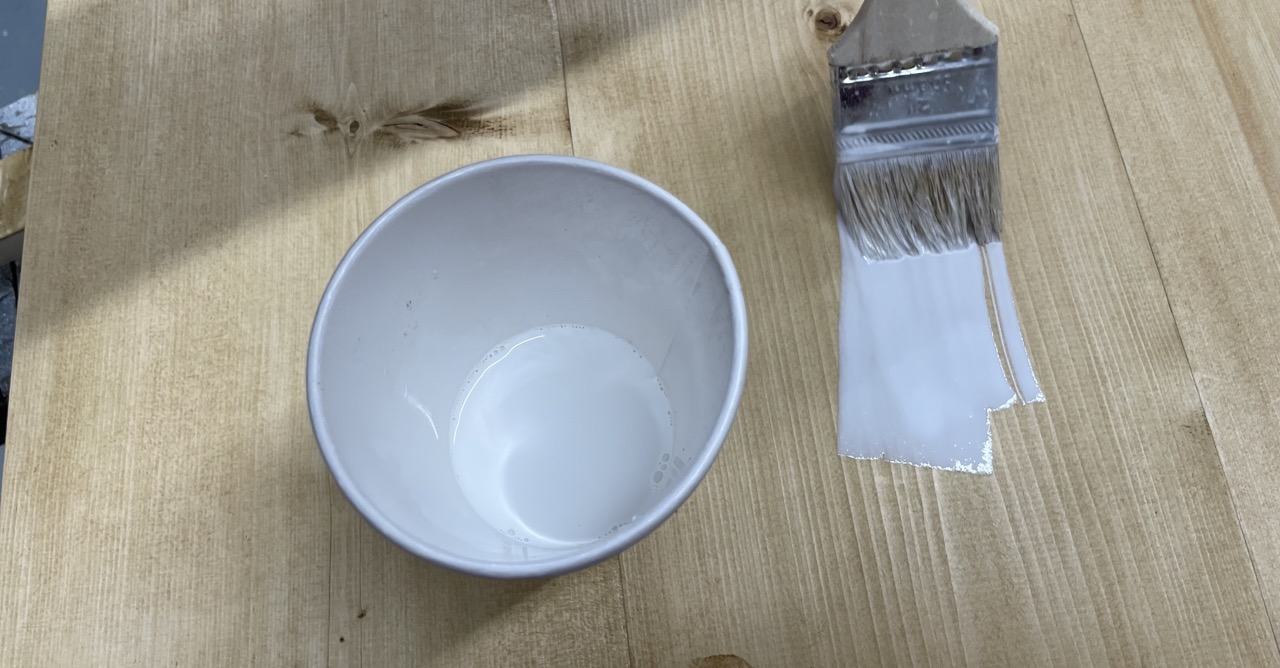
I applied a watered down white paint over top, rubbing it in. This mutes the stain color, adds dimension, and helped the different wood tones blend - like adding a flattering filter to the piece.
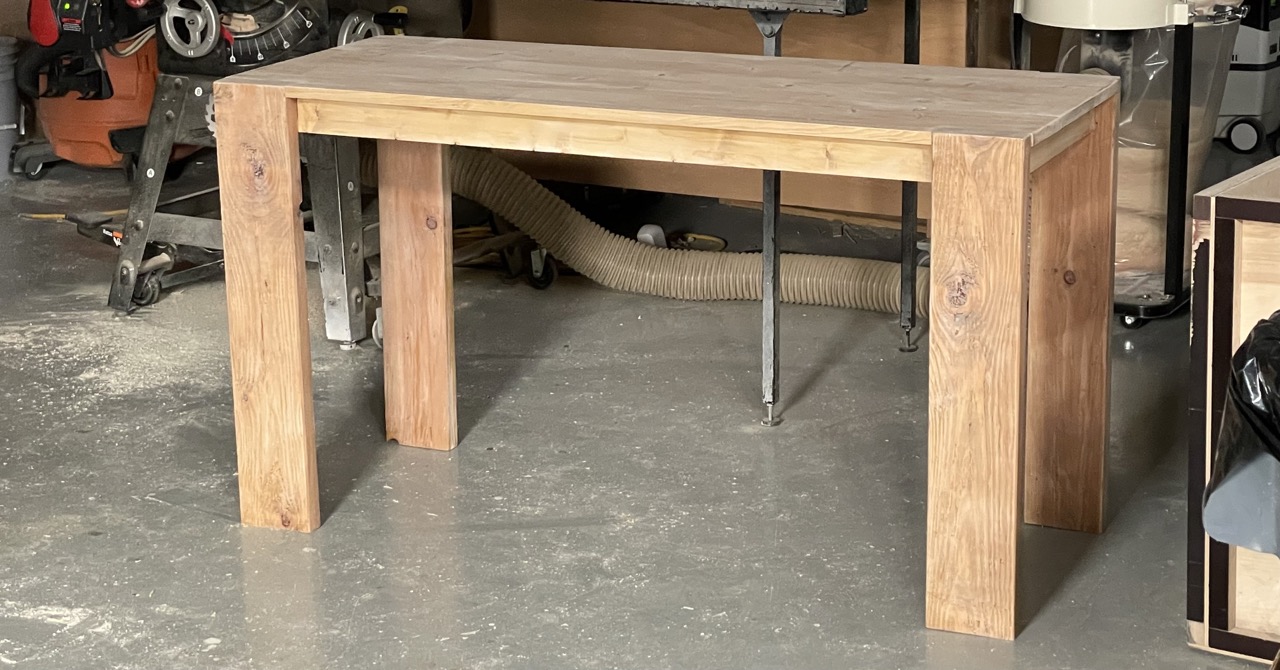
Adding a Drawer
You could easily add a drawer to this desk. Here's an example of how you could do that:
Styling the Desk
This desk on it's own is pretty plain. It needs styling! Here's some tips:

- Upholstered ottoman looks beautiful paired with this desk, but if using as a main desk, opt for a more comfortable chair.
- A mirror or artwork above is essential - if using artwork, choose the artwork first, then match the rest of the decor with the artwork
- A beautiful lamp adds interest and functionality
- Greenery is a must
- Vases can be used to hold office accessories
Free Plans to Build This Desk
Here's the free plans to build this desk. If you build, please share, we love seeing your work!
from Recent Project Plans https://ift.tt/pjfOB64
没有评论:
发表评论