2024年6月27日星期四

36" Floating Vanity Cabinet - Free Plans

Why I Built This Project

My friend is building a custom lakehouse and wanted a floating vanity for their half bath to match their kitchen cabinetry.  But a quote from the cabinet shop came in at $900 for just the vanity (no top).  Dismayed, she called me.

The design she requested was simple enough, open shelves on the sides and a door in the center to conceal the plumbing.  I had her order up a door so it would match her kitchen cabinetry, and got to building.

My job was simply to create a plywood box with some shelves -

diy vanity

This was an easy enough build, but because of the "floating" part, I did make it extra strong, with even the back made of 3/4" plywood.

floating vanity

The door is an inset, I just had her order it 1/4" less in height and width than the opening, so that gave me an 1/8" gap all around when finished.

My friend color matched the paint and painted the carcass.  I helped install the door, and this is how it turned out:

blue floating vanity

Not bad for one sheet of plywood, right?

diy floating vanity

The total cost for the carcass, door, paint and hinge was about $200, so about a $700 savings.  It did take me about 2 hours to build, and my friend spent some time painting it.  

We love that this vanity is 3/4" plywood, so super strong and should last them as long as they need it to.

I'm thankful I was invited to help with this project, and glad to be able to share my plans with you.  


Free Plans to Build Your Own 36" Floating Bath Vanity

Advanced Project:  this is an advanced project, and needs a table saw and extra care to keep it square and strong enough to hang on the wall.  

TIP: If able to add additional framing in the wall to support the vanity, this will help with strength


from Recent Project Plans https://ift.tt/DF43JmO

2024年6月18日星期二

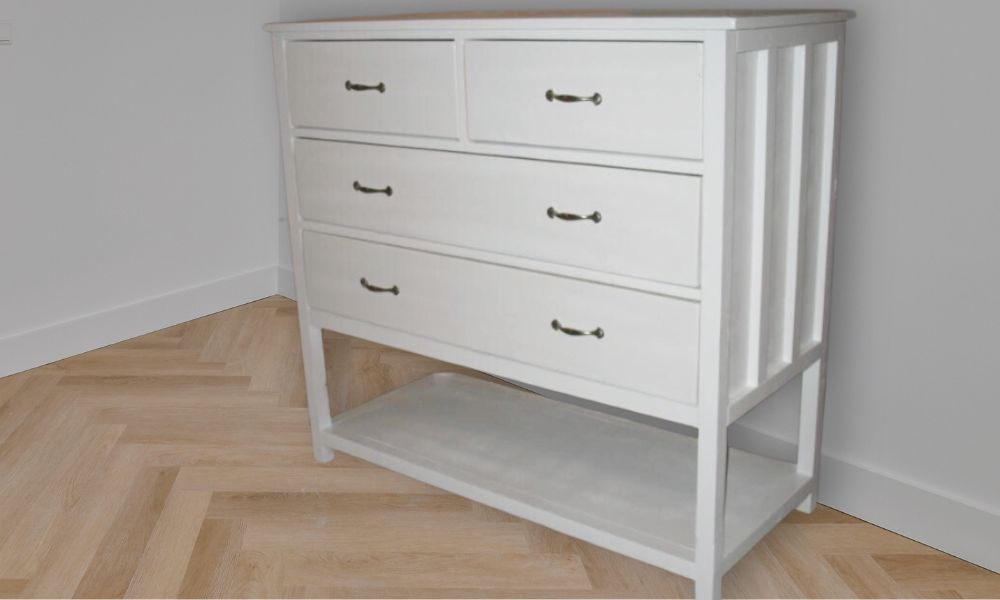
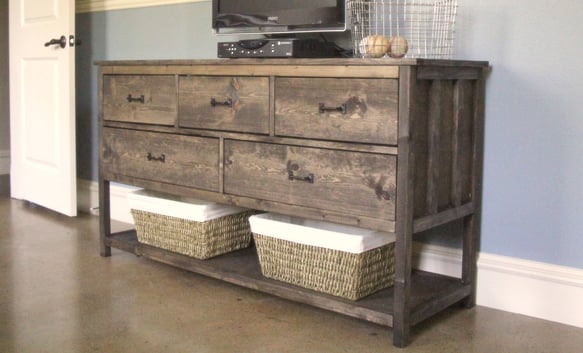
Mid Height Dresser with 5 Drawers - Cabin Collection


Why I Built this Dresser

There was a time when I dreaded building dressers, they are not as quick and easy as other storage projects, and you do need to take extra time and care to make sure the drawers slide smoothly.

But after building so many dressers, I've realized a few things -

  • Dressers are super easy to paint or stain - you just are finishing the exterior - no reaching inside and painting open shelves.  The extra time spent building the drawers is made up in the simplified finishing process
  • Dressers have the storage built in - so no spending money and time sourcing baskets or bins to fit in your open shelves
  • Dresser hide it all, so you don't have to coordinate the contents
  • Dressers are super functional and powerhouse storage centers in the home.

This dresser I built for my son.  It's a great joy to be able to build him a high quality, very sturdy dresser, that will last, and looks great.  The good news is I can also build him matching beds, nightstands, whatever he wants - and match the style and finish for a complete set for his room.

I love the size of this dresser - it is a smaller footprint, and a little taller, but not so tall that the upper drawers aren't reachable.  The top surface can still be used as a shelf too.  The two smaller drawers are perfect size for socks and underwear.  The three larger drawers are perfect for pants and shirts. 


How I Built this Dresser

This dresser wasn't hard to build - it did take some time, about three days, working on it for a few hours a day.  The painting part was very fast, as all I painted was the exterior.  Here's a quick video showing how I built this dresser:


More Plans in This Collection

We love this style of plan so much, we made many matching plans!  Here's what we recommend:

open bottom dresser plans

Mid height dresser with open bottom shelf - this dresser is very similar to the dresser in this plan, but with an open bottom shelf.


ana white dresser plans

Wide dresser with open bottom shelf - this dresser is similar in construction style, but wider with an open bottom shelf.


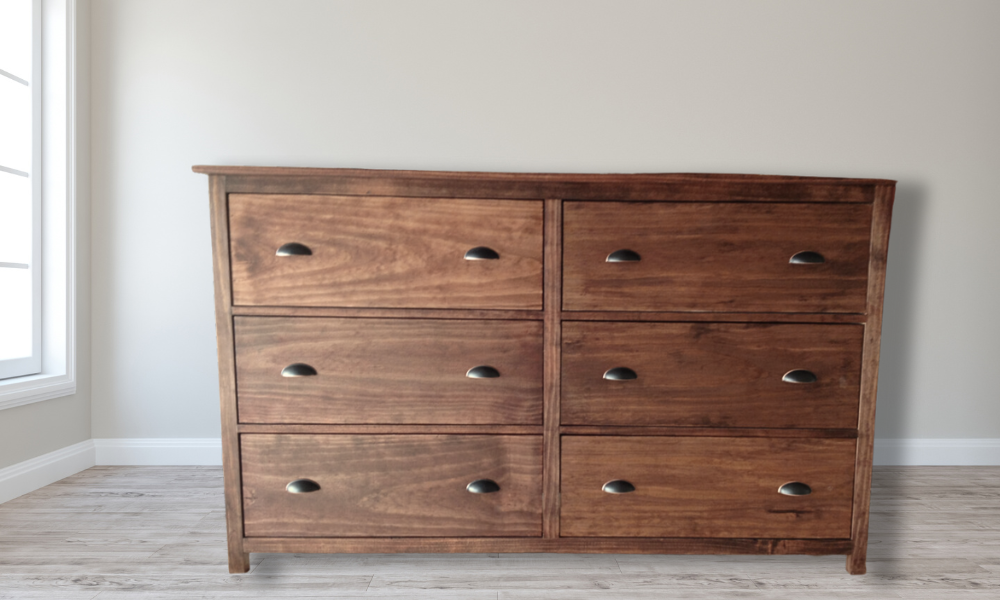
ana white dresser plans

Wide 6 Drawer Dresser - for all the storage, this wide dresser features six big drawers and a large top surface.


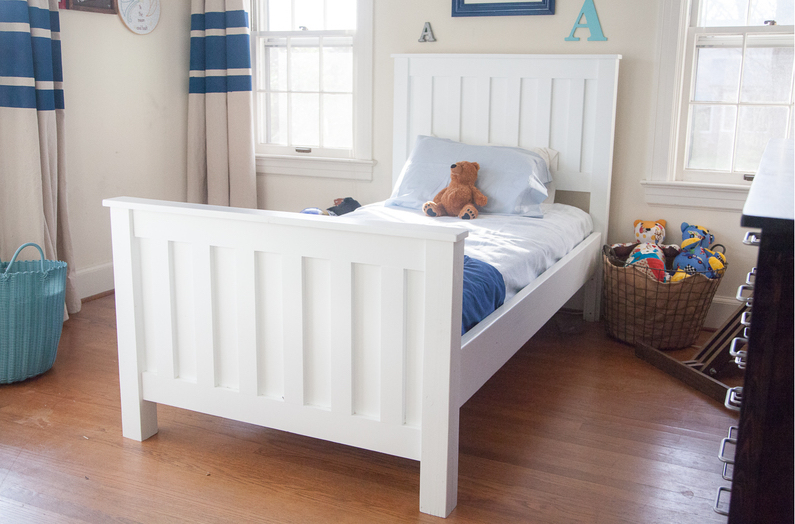
Panel Bed -This bed is the perfect pairing for this dresser


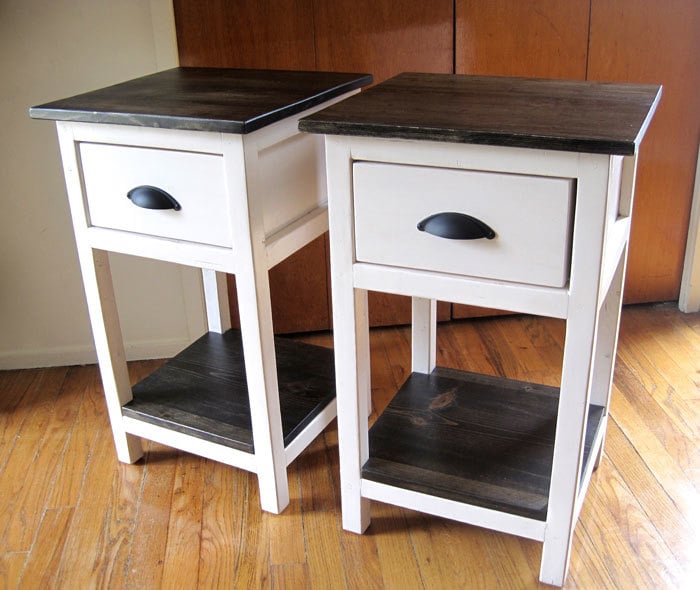
mini farmhouse bedside tables

These Nightstands are built using the same materials and style


wood nightstand with drawers rustic farmhouse

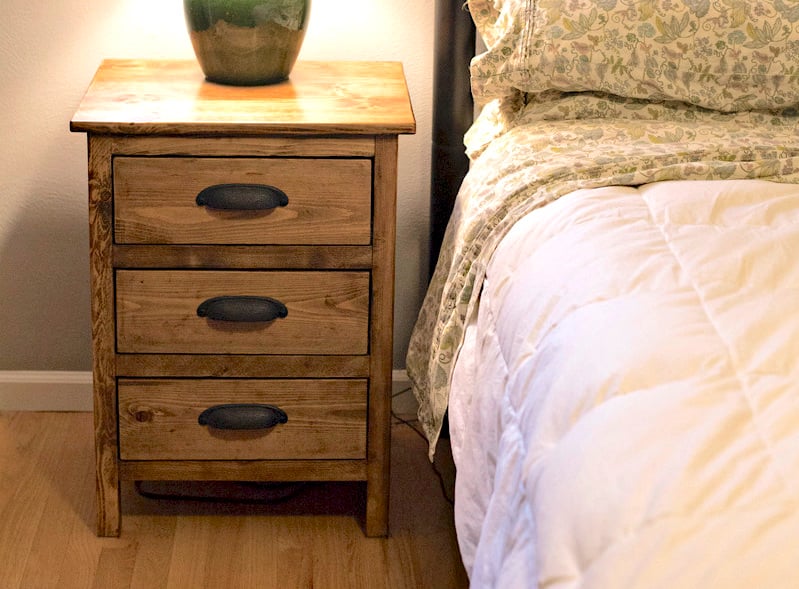
Need more drawers?  This nightstand with three drawers uses the same materials and building style.


Free Plans to Build Your Own Mid Height 5 Drawer Dresser

Love this dresser?  Make it yours and build it with free plans below.


from Recent Project Plans https://ift.tt/yjoJDws

2024年6月11日星期二

Portable Two Piece Wooden Beach Chair with Free Plans

Why I Made These Beach Chairs

It's summer, and my kids are looking forward to swimming at our little river washed beach spot.  I'm so tired of buying camp chairs that break after a year or two, and end of living forever in a landfill since they aren't repairable, reusable or biodegradable.  

wood chair vs camp chair

I've been making wood outdoor chairs in our yard, but what about a chair that is portable enough to travel?

I am certainly not the creator of this design (not sure who to credit here), but I did give it my own twist by using cedar fence pickets to make the chairs lighter, more durable, and less expensive.  Also, I went through many prototypes attempting to find the perfect balance between comfort, durability, portability and ease of building.

The result is a very comfortable, lightweight chair.  It is perfect for myself and the kids.  My husband thought it would need to be a little stronger to support him, so we also are providing a plan option for a stronger version (that also is heavier).  

1x2 version of the chair

1x2 version of the chair as built in the video is lighter, but not as strong and more difficult to build

The back height hits at the shoulders, so you can recline fully.  The seat height is low enough that it supports your seat, but keeps you close enough to the ground that a footrest is not needed.

Of note, when leaning forward, the chair can tip forward.  I did prototypes with front legs and tested different angles, in the end, I determined that the forward tipping potential was not worth the extra moving parts, weight and complexity (more to break) needed to solve the issue.  The chair is so low to the ground, your feet would always be on the ground (unless you are under four feet tall).  So yes, the chair can tip, but your feet will always be there to support you.

How I Built These Chairs

These chairs were QUICK to build, and so easy, I hope this becomes a youth project favorite.  But there are some techniques to use to help you build the chairs square, and make sure they nest together.  Please take a second to watch the quick build video here:

VIDEO COMING SOON


from Recent Project Plans https://ift.tt/pHsWg94

2024年6月9日星期日

Creating a concrete slab from start to finish

In this video, I'm showing you how to create a concrete slab from start to finish! Whether you're looking to relocate a shed, build a new patio, or just tackle a fun DIY project, this detailed guide covers all the steps you'll need. From prepping the area and selecting the right materials to pouring and finishing the concrete, I've got you covered. 🚀 Tools Used: (Affiliate Links) • Mud Mixer https://ift.tt/x8YUdlQ • Circular Saw https://amzn.to/3wZqueL • Level https://amzn.to/3RkLvaC • Hand Tamper https://ift.tt/IQ2BwjC • Drill https://amzn.to/3Xg92x9 • Drill Dewalt https://amzn.to/45h16O8 • Metal Screed https://amzn.to/3xjEQ9H (one I used is no longer available) • Concrete vibrator https://amzn.to/45eyqVS • Concrete float https://amzn.to/3Vi7gJ5 • Concrete trowel https://amzn.to/45f7sxs • Concrete edger https://amzn.to/4c9WMCD • Hand Tools (Level, Measuring tape, Hammer, shovel) • Garden tools (Shovel, Rake) Materials Used: (Affiliate Links) • (14) Concrete https://ift.tt/rGtRLWQ • Reinforcement mesh https://ift.tt/Dbo17lK • Metal Stakes https://ift.tt/3IiLrQe • 2in Screws for the stakes • 3 in-frame assembly • (3) 2 by 4 Lumber https://ift.tt/Zs94CEO CHAPTERS: 0:00 - Intro 1:03 - Mapping Out the Area 1:49 - Prepping the Ground 3:38 - Building the Form 6:21 - Adding Reinforcement 7:39 - Using the Mud Mixer 11:11 - Screeding the Top 11:38 - Vibrating the Concrete 12:39 - Edging the Concrete 14:05 - Finishing the Concrete 14:42 - Removing the Form 15:38 - Moving the Shed 16:09 - Final Thoughts ********** Support my work ********** My Woodworking Plans: https://ift.tt/Ek5CBwK Help me make more Video: https://ift.tt/8qCxgb9 YouTube: Subscribe & "RING the Bell": http://bit.ly/1PtWJEd Instagram: https://ift.tt/boFUZAK Pinterest: https://ift.tt/viLJqpV #ConcreteDiy #SlabProject #ConcreteMix #ConcreteTools #ConcreteSteps

from DIY Creators https://www.youtube.com/watch?v=Vp71xICB1CM

2024年5月23日星期四

Rustic Wedding Ceremony Arch Plans

Here's the perfect plans to build your own wedding ceremony arch!  This is traditional style arch, that features rustic cross bracing and since it is solid wood, can be stained any color.

You can use 1x6 and 2x6 to create a thicker look.

It can be disassembled and reused about 10 times before the screw holes will start to strip out.  

We love the idea of using the wood for a bench or other project as a permanent fixture in the home, after the ceremony.  It would make a great end of bed bench!


from Recent Project Plans https://ift.tt/tBL63Nl

2024年5月22日星期三

Hexagon Wedding Arch Free Plans

A hexagon wedding arch adds a modern detail to a wedding ceremony.  You can make your own quickly and easily using these free plans.


Can I make the arch with a wider width board for a thicker frame?

Yes, a 1x6 board will look great!  You can directly substitute the 1x6 for the 1x4s in the cut list and shopping list.


What about making the arch narrower?

You can, but I wouldn't go any smaller than a 1x3, as there won't be much there to attach the two boards together.  But prove me wrong, I'd love to see a 1x2 or 2x2 version.


Will the arch tip over?

We recommend using fishing line and tent stakes to prevent the arch from tipping over.  If in an indoor setting, the arch can be tied to the walls for additional support.  This is especially important with top heavy floral arrangements or potential wind.


Can I disassemble the arch and use it again?

Yes, but with the method of joinery, expect to be able to assemble and disassemble about 10 times before the screws strip out the wood.  If you are looking to create a rental piece, building a second hexagon and lapping joints, with bolts at joints, would be a better long term solution.


What about a double hexagon arch?

Yep, you can do that!  Just build two arches, then connect in between with 1x boards where desired.


What type of finish do you recommend?

It depends on the look you are going for.  Most people want a rustic wood finish - to achieve that look, use a wood stain (small can is all you'll need) and apply with a foam applicator brush and wipe off.  A aged wood accelerator will give you a gray look.  White paint will give you a crisp white look.


I don't have a pocket hole jig - how do I join boards together?

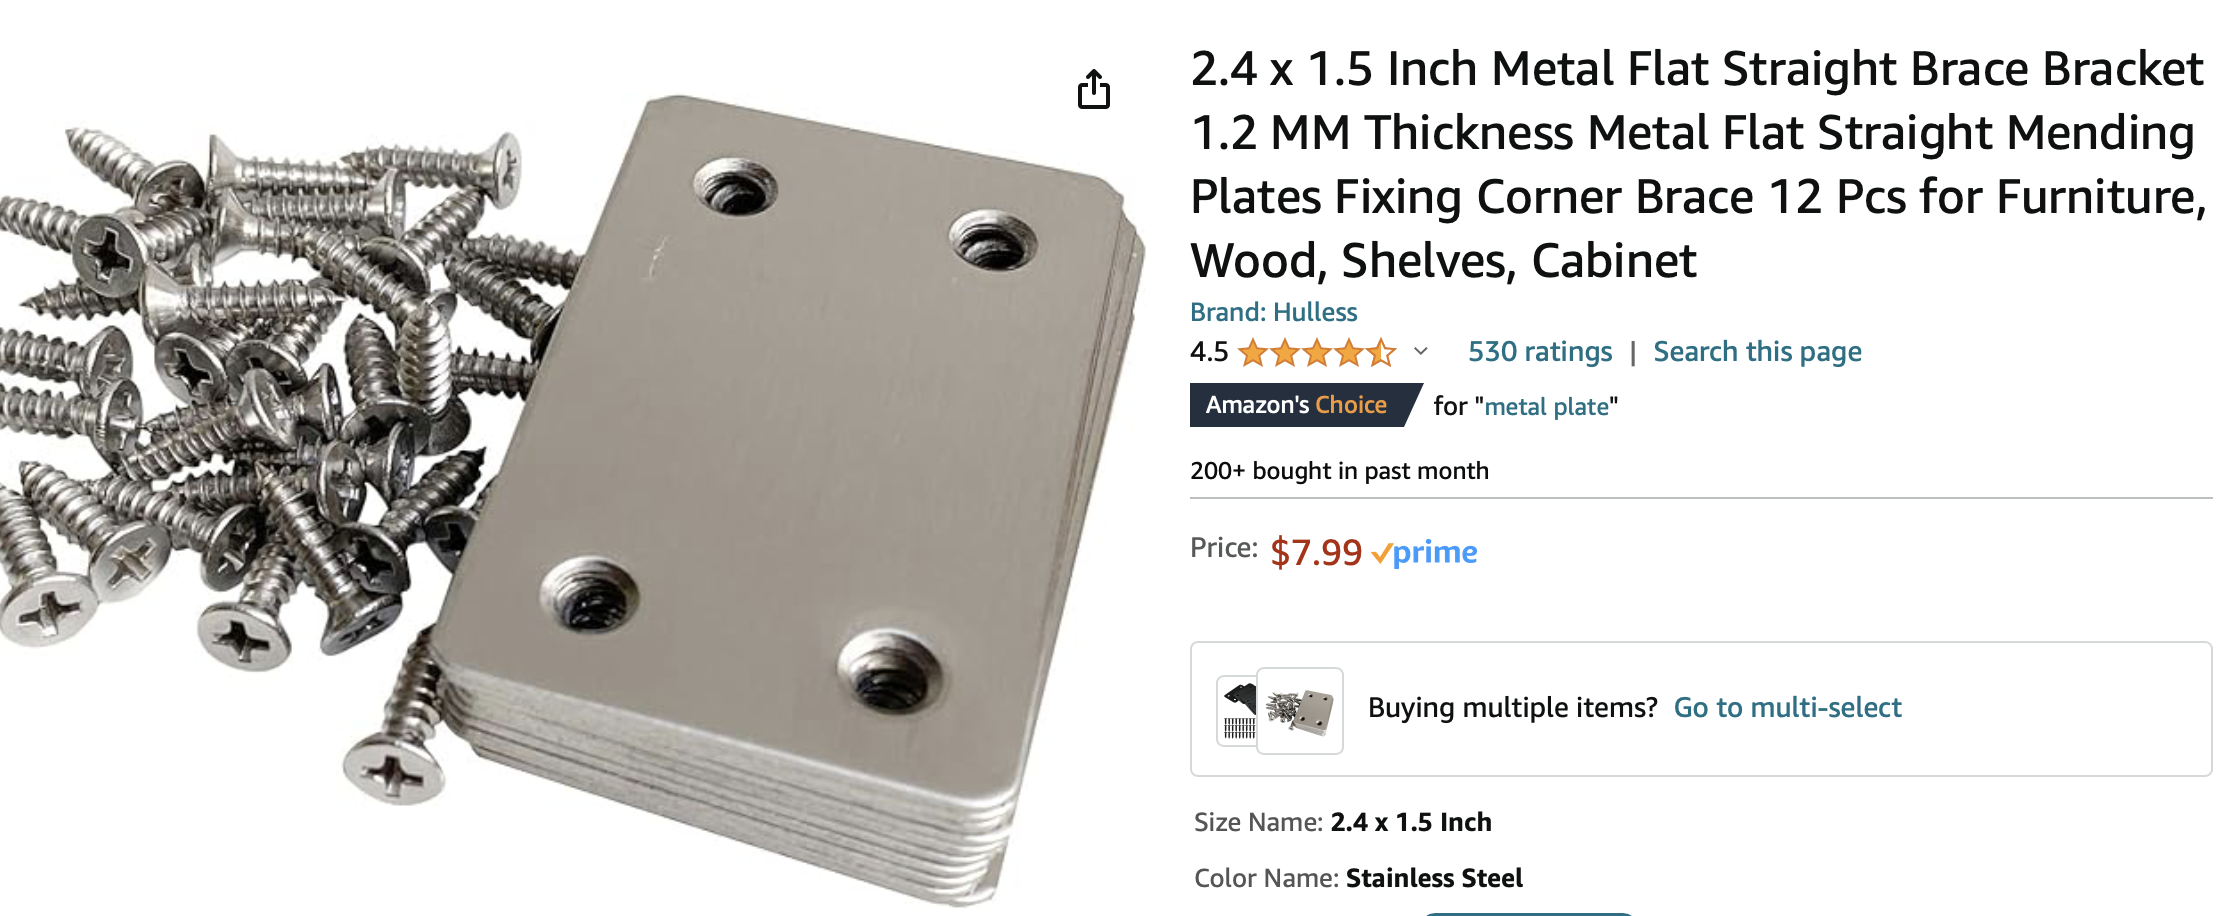
The easiest method is to buy mending plates or tie plates like these from Amazon 


Ana White mending plate

Make sure the screws are 3/4" long, so it doesn't poke through the wood, and make sure there are at least four holes in the mending plates (8 would be ideal).  The mending plates should be no bigger than 2" x 5" for a 1x4 board.  


Do I need a miter saw?

The miter saw is going to be the easiest, fastest and safest way to accomplish making these cuts.  You can use a speed square and a circular saw (or even a jigsaw) to make the cuts, but it will definitely be more difficult.  


Free Plans to Make Your Own Hexagon Wedding Arch

Here's the free plans to make your own wedding arch in a hexagon shape.  Please send us a photo if you build, we can't wait to see how your arch turns out!


from Recent Project Plans https://ift.tt/cms5waJ

2024年5月21日星期二

12x16 Greenhouse with Twinwall Glazing - Free Build Plans with Video

Why We Built This Greenhouse

Our friends were looking to add a beautiful, long term greenhouse to their yard.  They had already built a 12 x 16 wood deck for the greenhouse, and just needed the structure on top.

Since it was winter, they wanted to prefab the pieces inside a shop, and then just assemble outside.  So they asked me to draw up plans to help them prefab the pieces.

I did the plans, and our friends cut the pieces out and refinished them in a black paint.  Then we just met up a few times over last winter and helped put it all together and install the twin wall glazing.

Then this spring, we finished it up and it's ready for planting!

Why Choose This Greenhouse Plan

  • This is a large greenhouse, with lots of space inside
  • The exterior is fully sealed off, so this keeps the maintenance down, similar to the maintenance of a well built house
  • This plan is optimized for the twin-wall polycarbonate sheets, which offer insulating properties and is more attractive to look at
  • We designed the front for fitting a storm door - so it's easy to come and go year round
  • The eaves have been designed for easy installation of a gutter system for rain collection
  • You can add siding to match your house to the lower portion of the greenhouse
  • This greenhouse turned out very sturdy and attractive looking

Quick Video of Us Putting this Greenhouse Together

Here's a quick video of us working on this greenhouse over last winter


Base Options for Greenhouses

Our friends already had a base built for their greenhouse, so we didn't show that in the video.  Your base should be determined by your needs and property.  Here' a few popular options:

  • Wood Deck - this is what our friends used for this greenhouse.  A deck was built on poured concrete footings.  If you like this option, use the same techniques as building a deck - this meant concrete footings under the frost line for us in Alaska.  For the top of the deck, our friends used painted tongue and groove plywood, as they will have only raised beds inside their greenhouse.  
  • Concrete Pad - this is a popular option if you have a pad, or want something very low maintenance.  Do consider water drainage, anchoring the walls tot he concrete, and make sure the bottom plate of your walls is treated lumber. 
  • Soil or Gravel Pad - this is the least expensive option, make sure the base of your walls are treated lumber, and use a method of anchoring that is suitable for your region

My recommendation is to do some research in your local region on what works for greenhouse bases.

Free Plans to Build Your Own Large Greenhouse with Twinwall Glazing

This is an advanced project, and builders should have general knowledge of framing techniques and tools.  We are happy to be able to provide the free plans for you to use, please share photos of your project when you are done!


from Recent Project Plans https://ift.tt/wRkADUh