2021年3月20日星期六
DiResta [Giant] "Stained Glass" Windows
from jimmydiresta https://www.youtube.com/watch?v=2MGtiM_ux0I

2021年3月15日星期一
Built-In Pantry Shelving
We are building a cabin style house in Alaska to resale. It is very small, every square foot is extremely valueable.
A pantry is a must have on any house I build. I design my kitchens to hold tools (dishes, mixing bowls, pots and pans, cutting boards, etc) and spices and coffee. That's it. Everything else goes in the pantry. Yes, everything. If it regularly rotates out, it needs to be on open shelving in the pantry. That way you don't end up with expired cans in deep drawers or moldy bread at the back of the shelf. Or maybe worse, you can't access and inventory what you have quickly and easily.
Even though this house is small, we made sure to include a pantry right in the middle of the kitchen.
This week, we are tackling the pantry shelving. We want to put the right shelving in that can last a lifetime and won't need to be ripped out or changed later. You might as well do it right the first time, it saves you time and money in the long run.
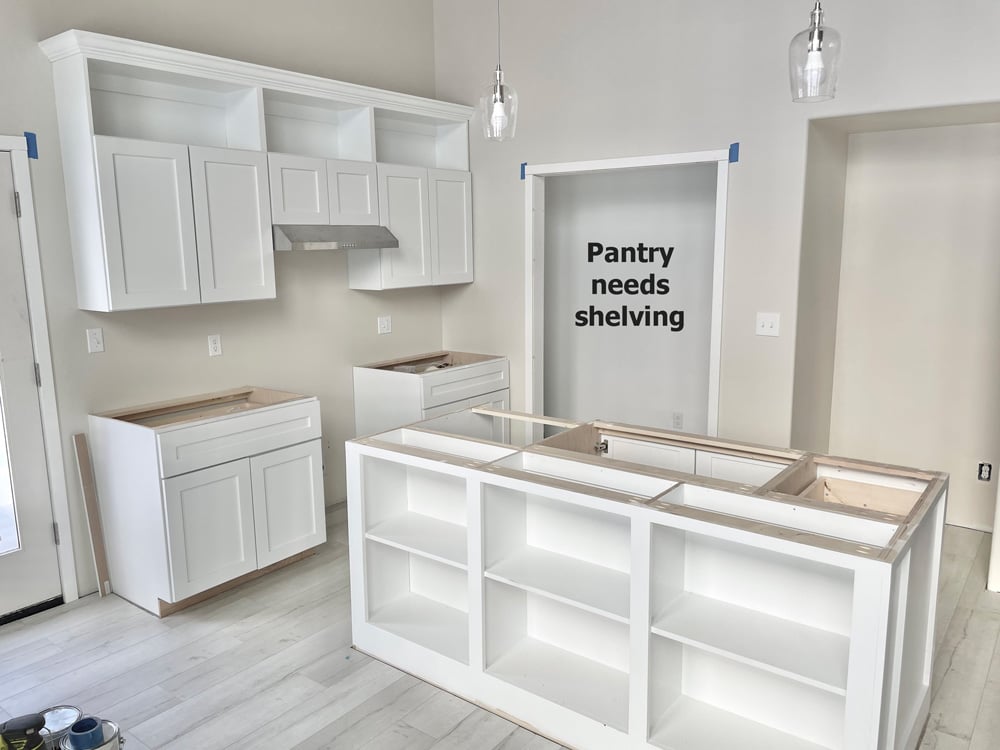
Related: Want to see this kitchen get built? Check out our other Cabin House Build posts.
Here's what we came up with as a final result:
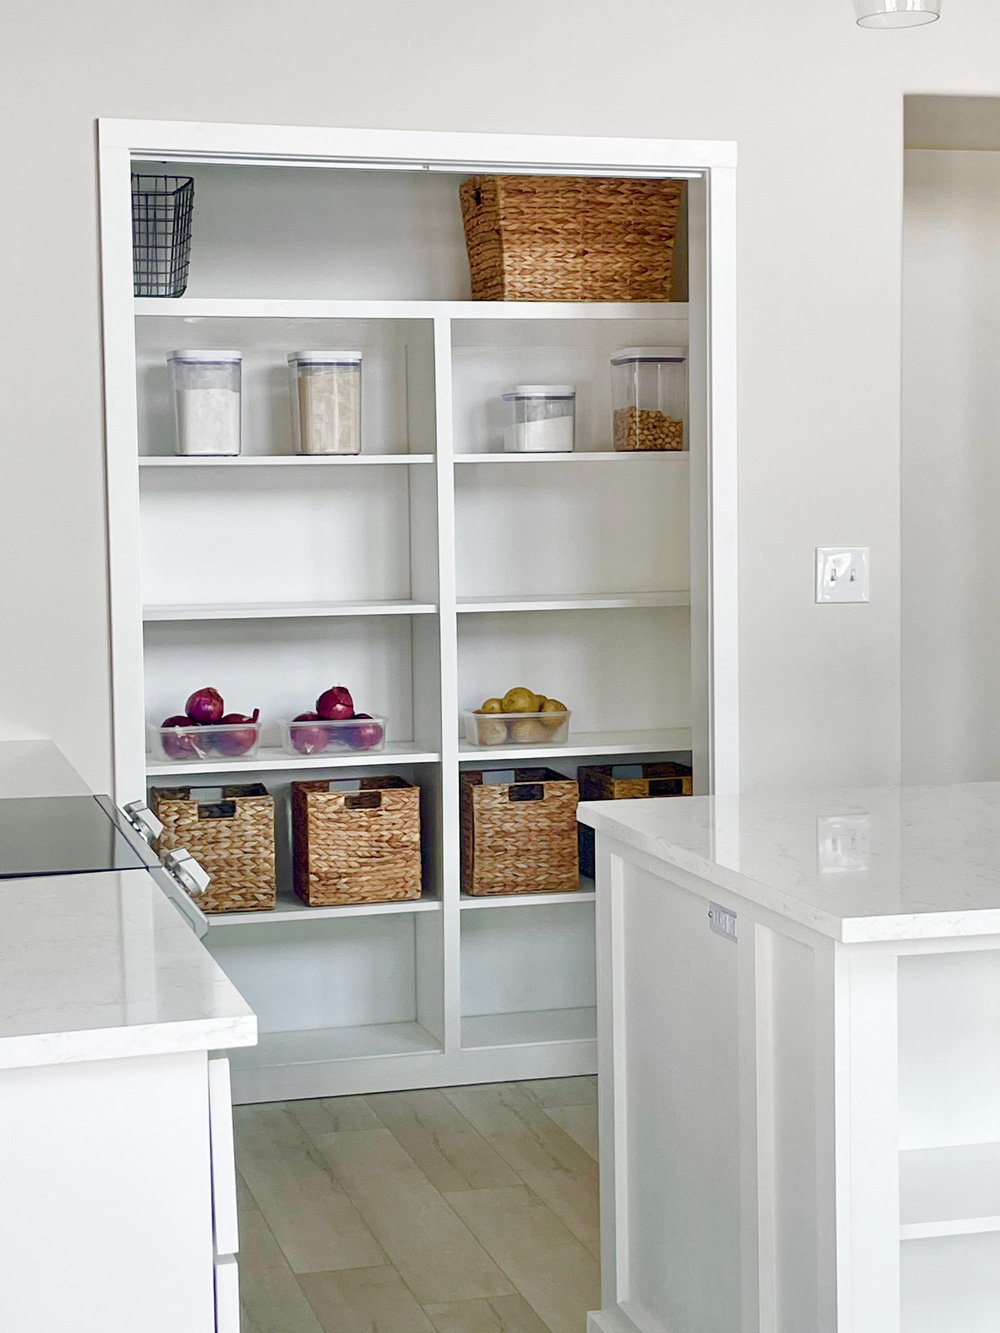
And an inside look.
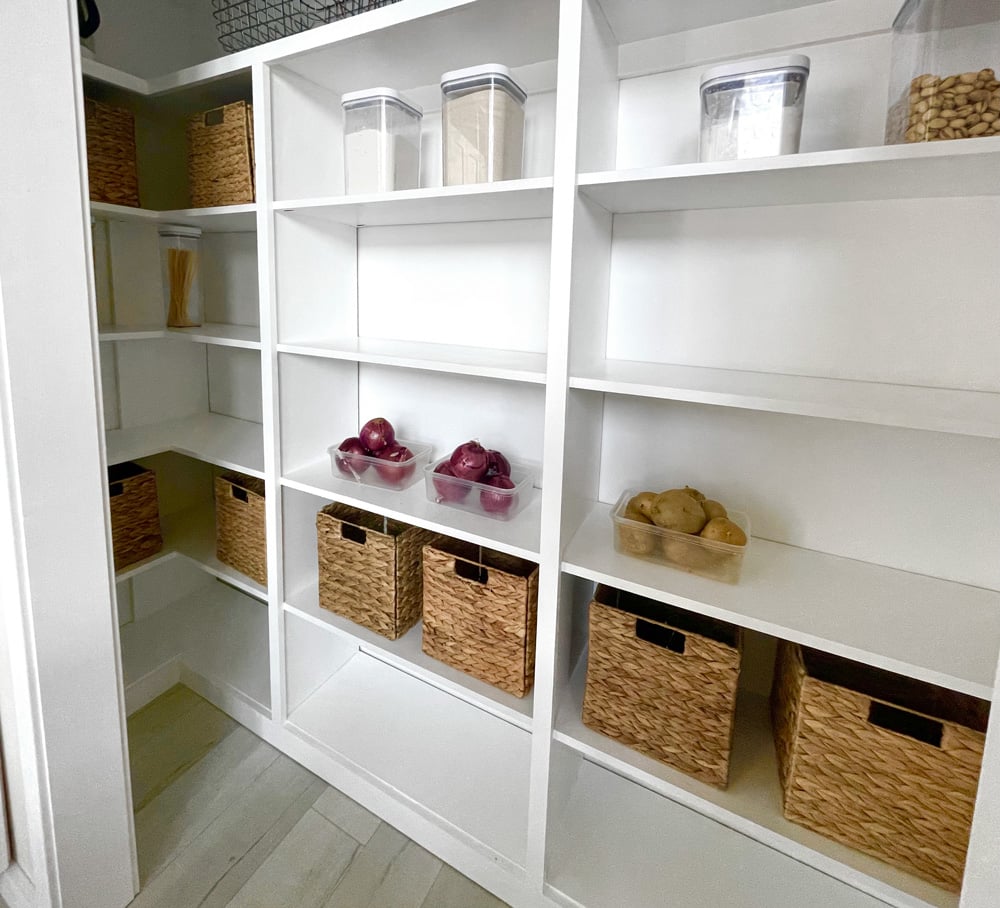
It was some work to add the corner, but it was worth it for the more accessible storage.
We did a build video on this pantry:
Video coming soon
And the free, easy to customize (for yes, YOUR space) is here using our Shelf Help Configurator.
Let us know what you think of this project and if you love it, build it and share a photo!
Thanks!
Ana
from Recent Project Plans https://ift.tt/3eGEbnh
2021年3月13日星期六
2021年3月7日星期日
Modern Farmhouse DIY Staircase Railing
Would you believe me if I told you that of all the stair railings I've done over the years, this one was the simplest, fastest, cheapest and easiest to build? And we do kinda love the modern farmhouse railing look too!
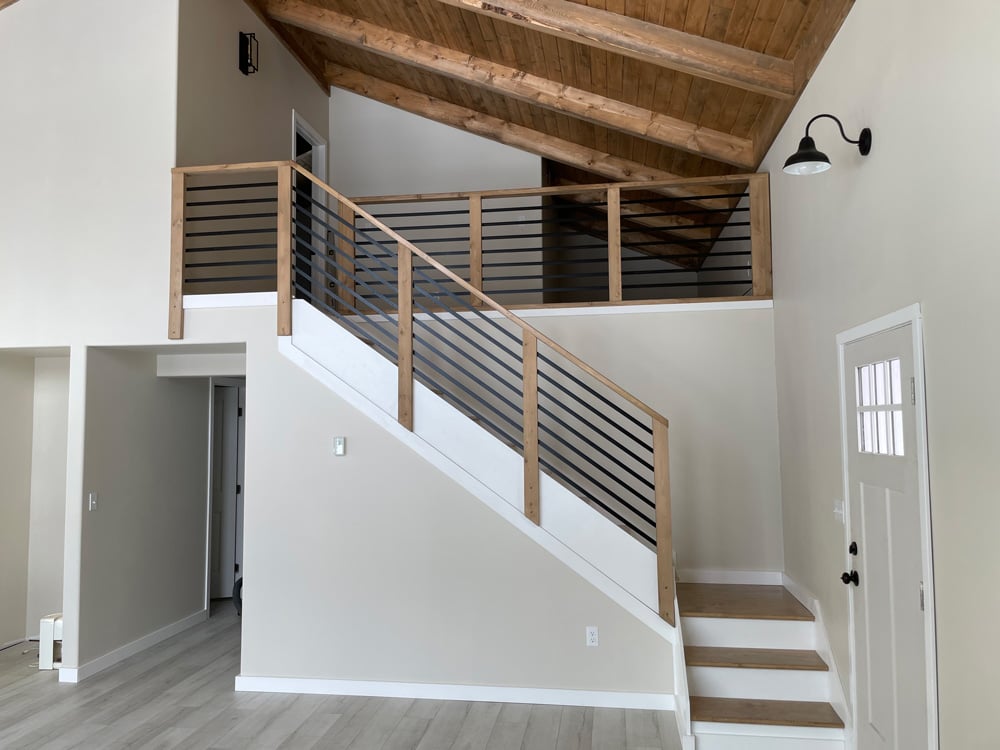
Video Tutorial for this DIY Staircase Handrail:
Photo Steps of How We Built this DIY Staircase Handrail
First, we started with some 2x4s.
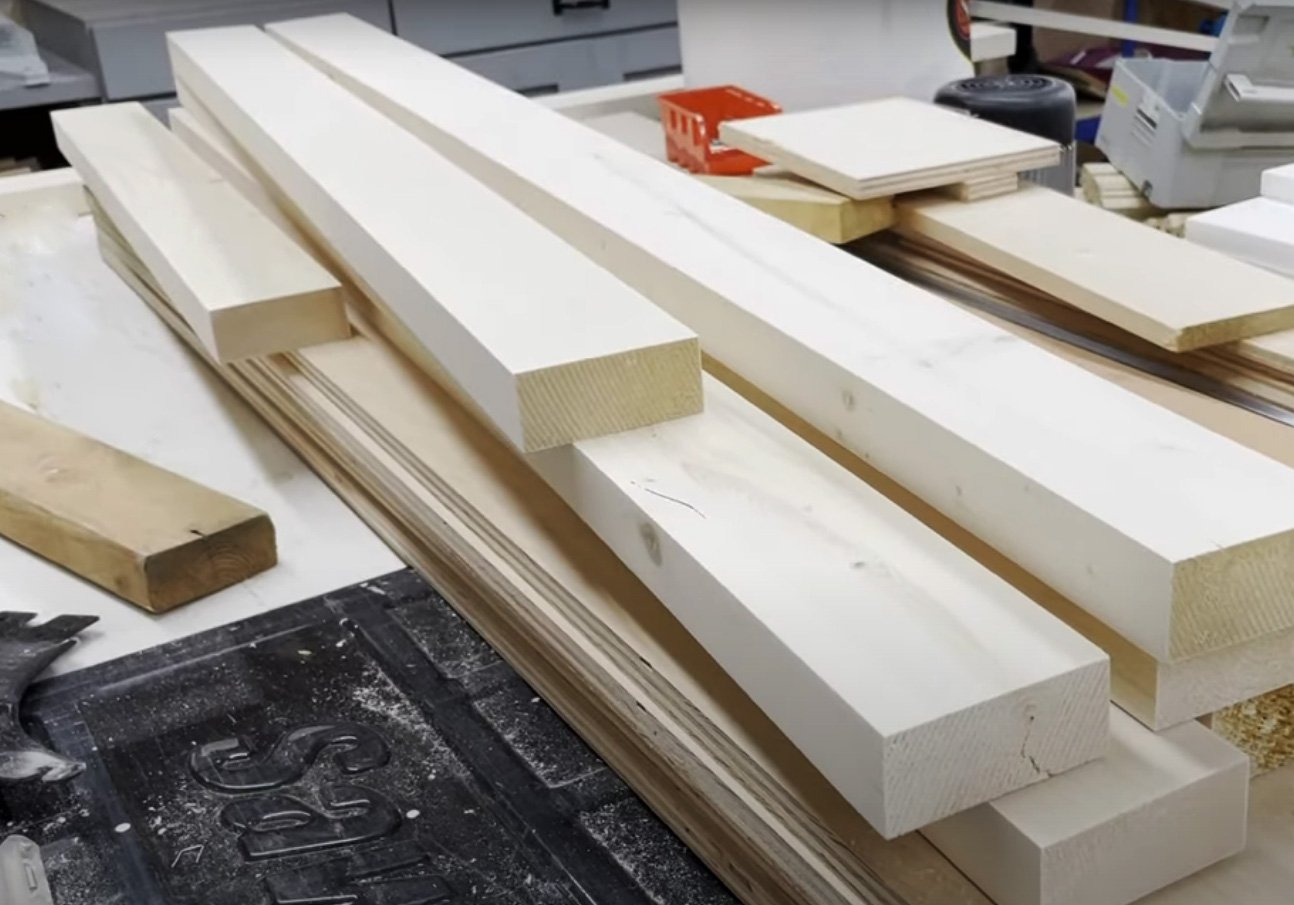
We sanded and stained and cut into 48" long pieces for the post. We also cut pieces for the top cap, again too long so we can trim in place.
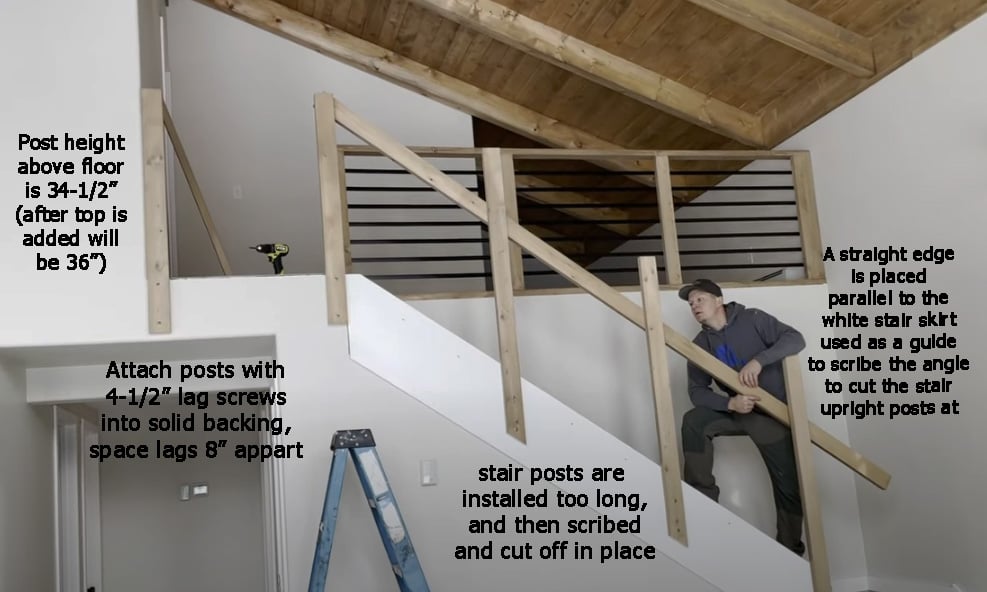
We used 4-1/2" lag screws to attach to solid backing, spacing about 3-4 feet appart. On the stairs, we ran the 2x4s longer, so we could cut them off as needed.
To get the angle to cut the stair posts off right, we held up a straight edge (we used the 2x4 cap to be installed in the next step) so it was parallel with the stair skirt. Then we penciled in the overlap of the straight edge on the posts.
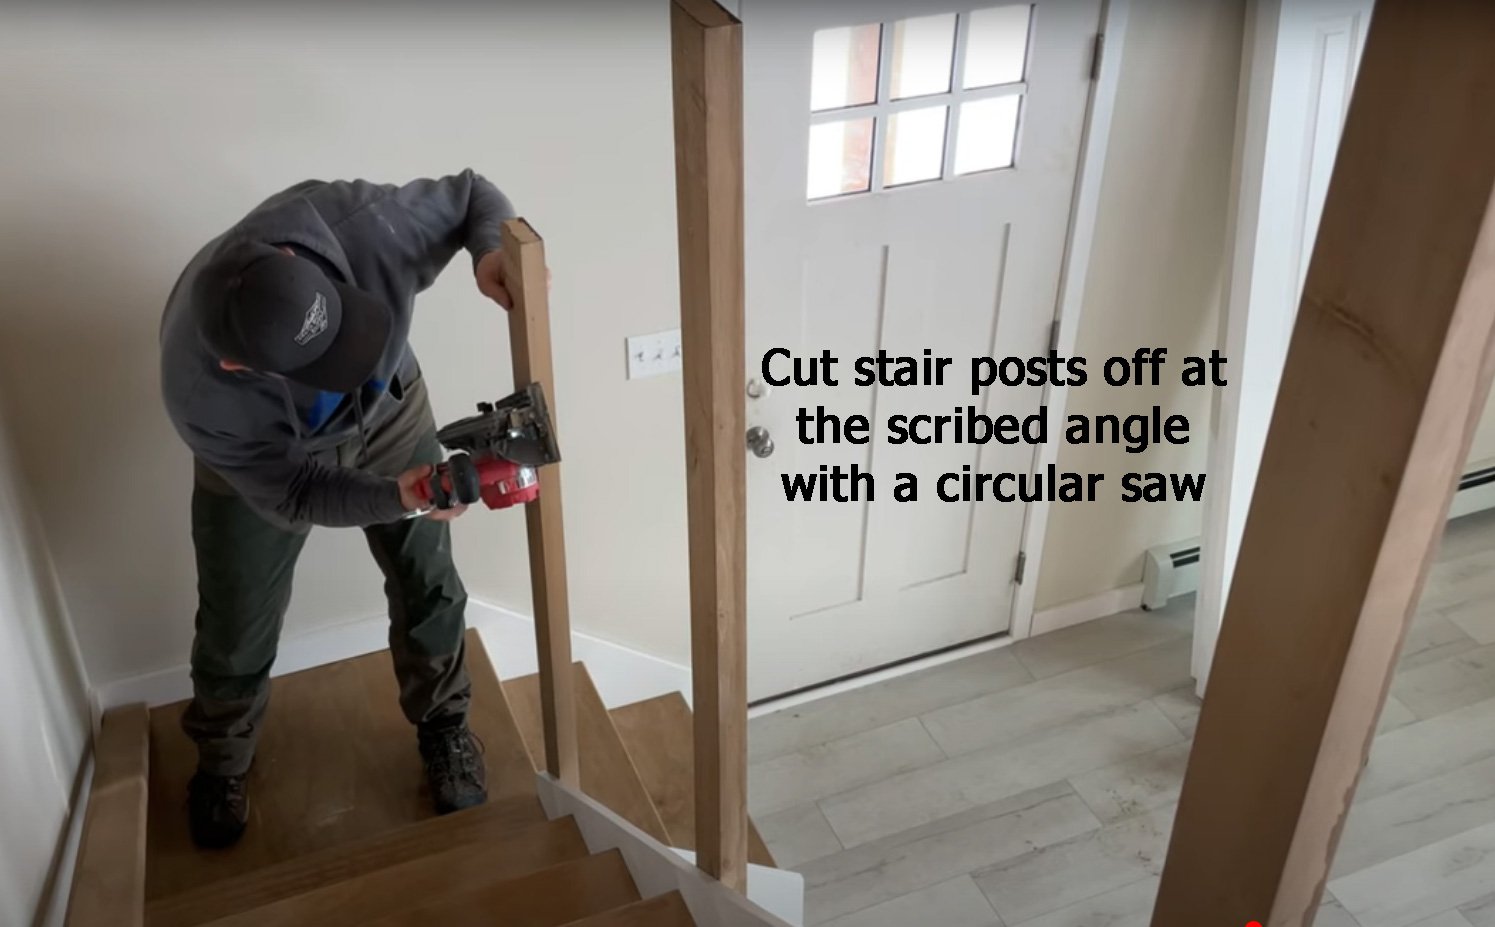
Then we cut the stair posts off at the pencil lines.
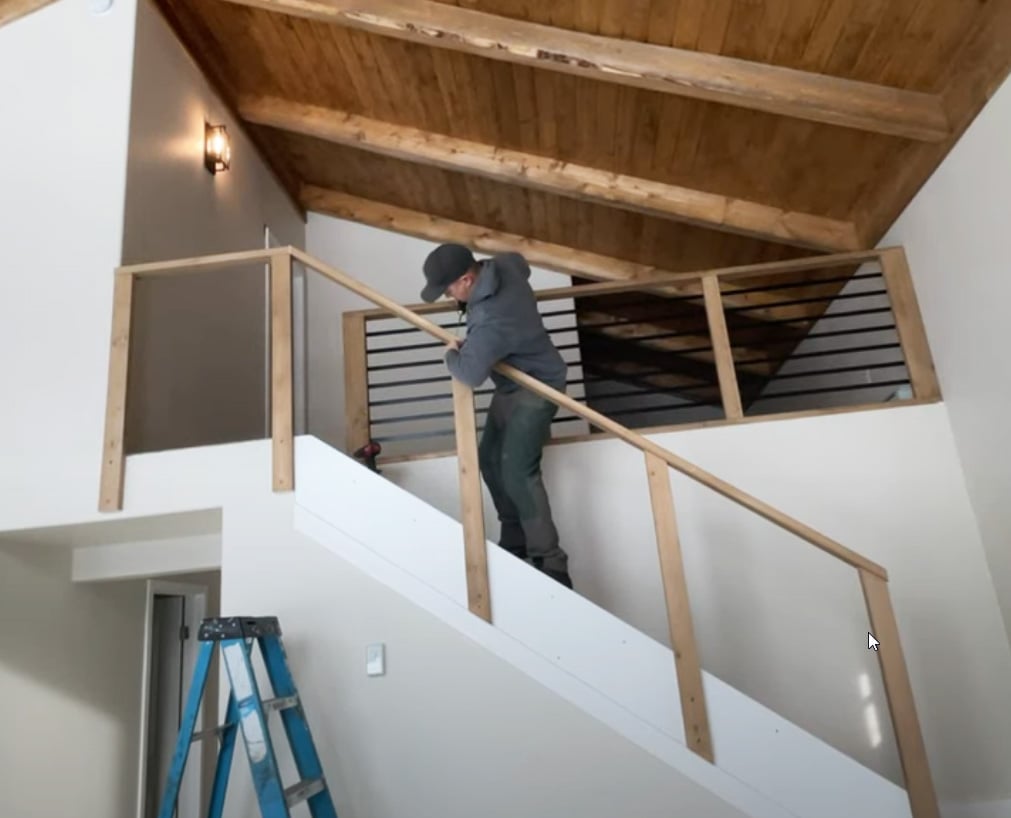
To finish the wood framing for the stair handrail, we attached a cap to the top. To get the cap end angles right, we again held it in place, and traced where it overlapped the other parts of the stair framing. To attach the cap, we used 3" wood construction screws.
Ok, now here's where we cheat.
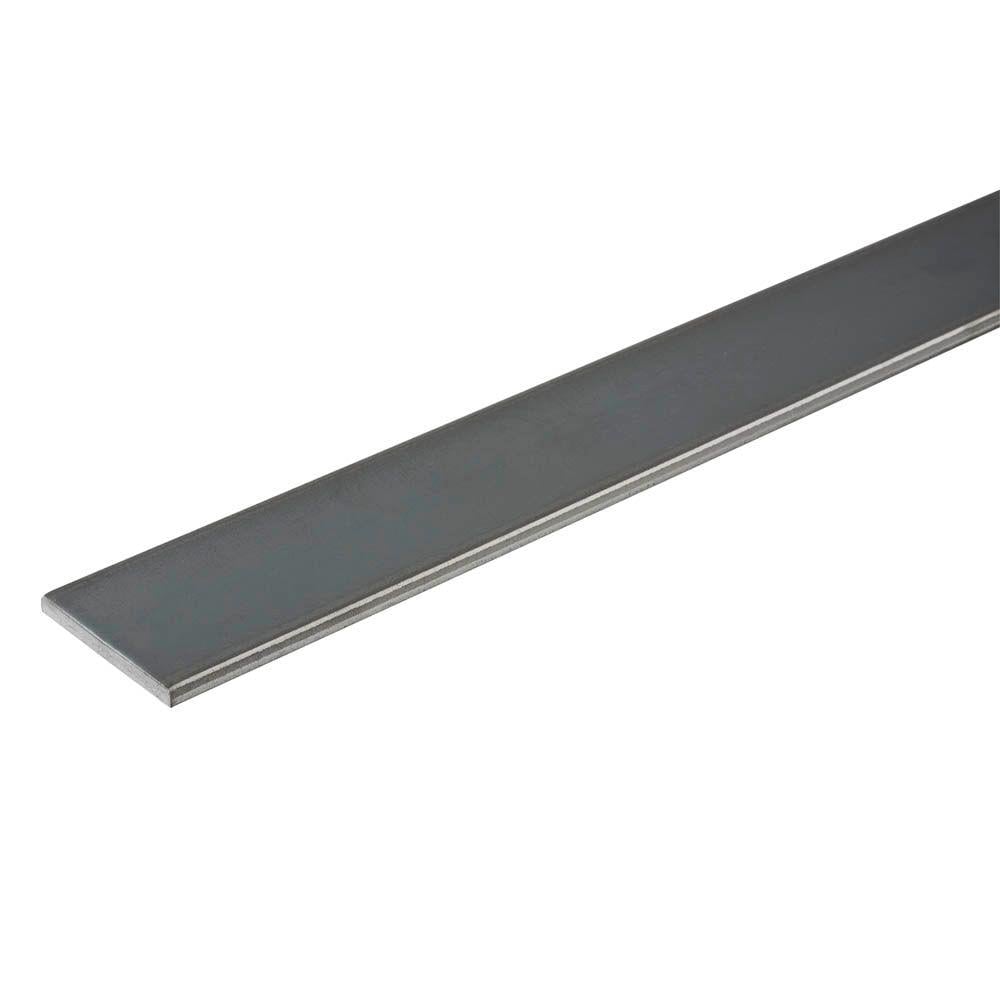
We purchased metal flat bar in 1" width (you can get 20' pieces from a specialty metal store, this entire handrail system was about $170 in metal) and simply cut it with a metal blade and screwed it to the back side of the 2x4 uprights with a 1-1/4" screw.
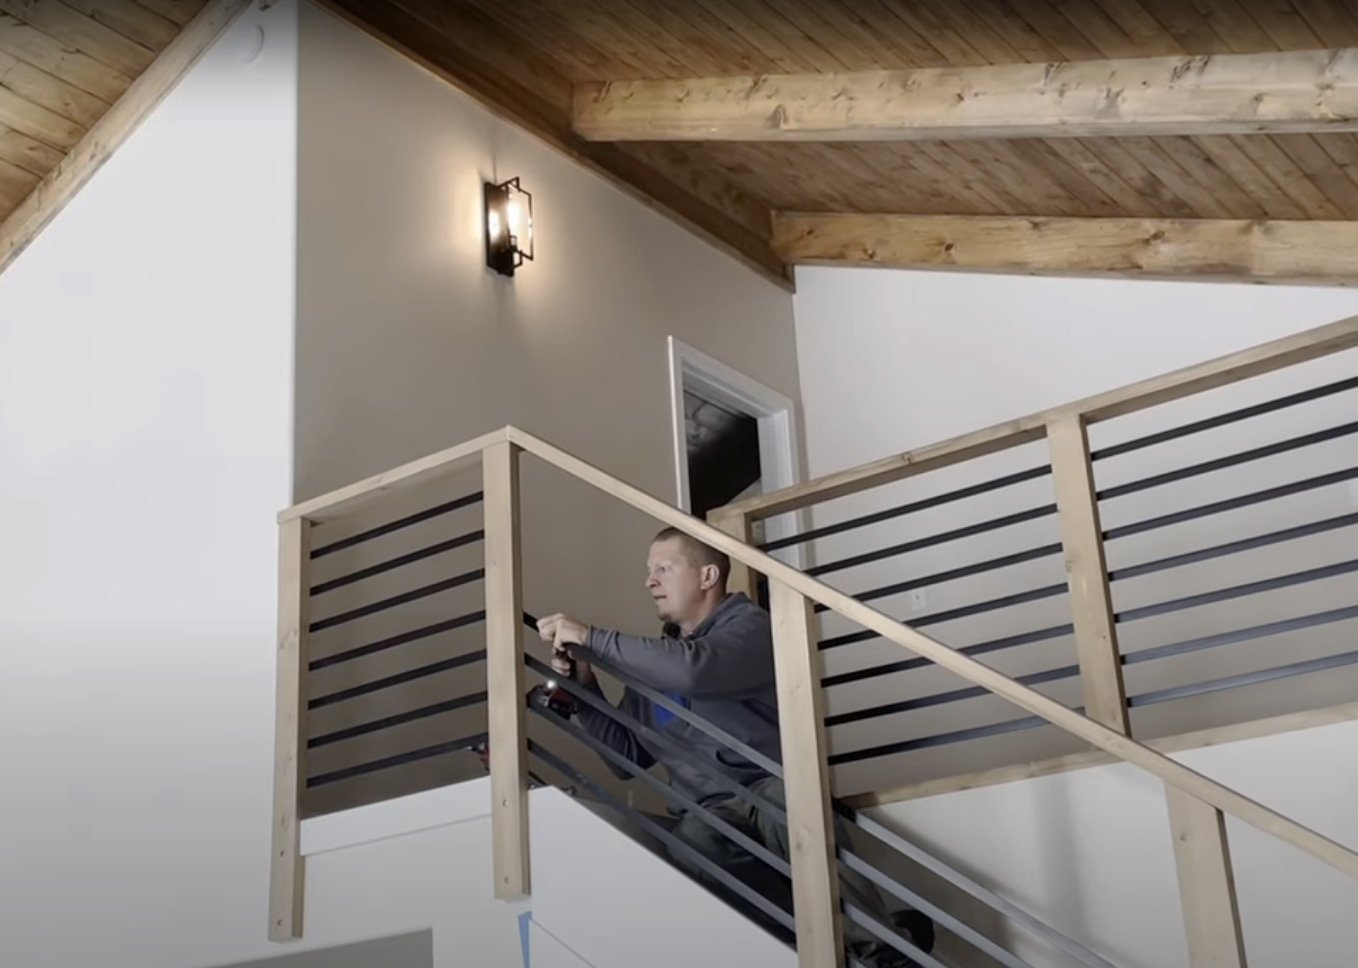
Standard code requires less than 4" openings in railings. So we did a little math and figured out how many rows we'd need and how far apart and marked the straight section of railing, cut the metal flat bar and screwed it to the inside of the 2x4. We just used one screw per post.
This gave us a starting point for the stair railing runs. And then we just eyeballed to make sure the metal was running parallel to the top cap and the skirt and screwed it to the post.
Here's what it looks like from the back.
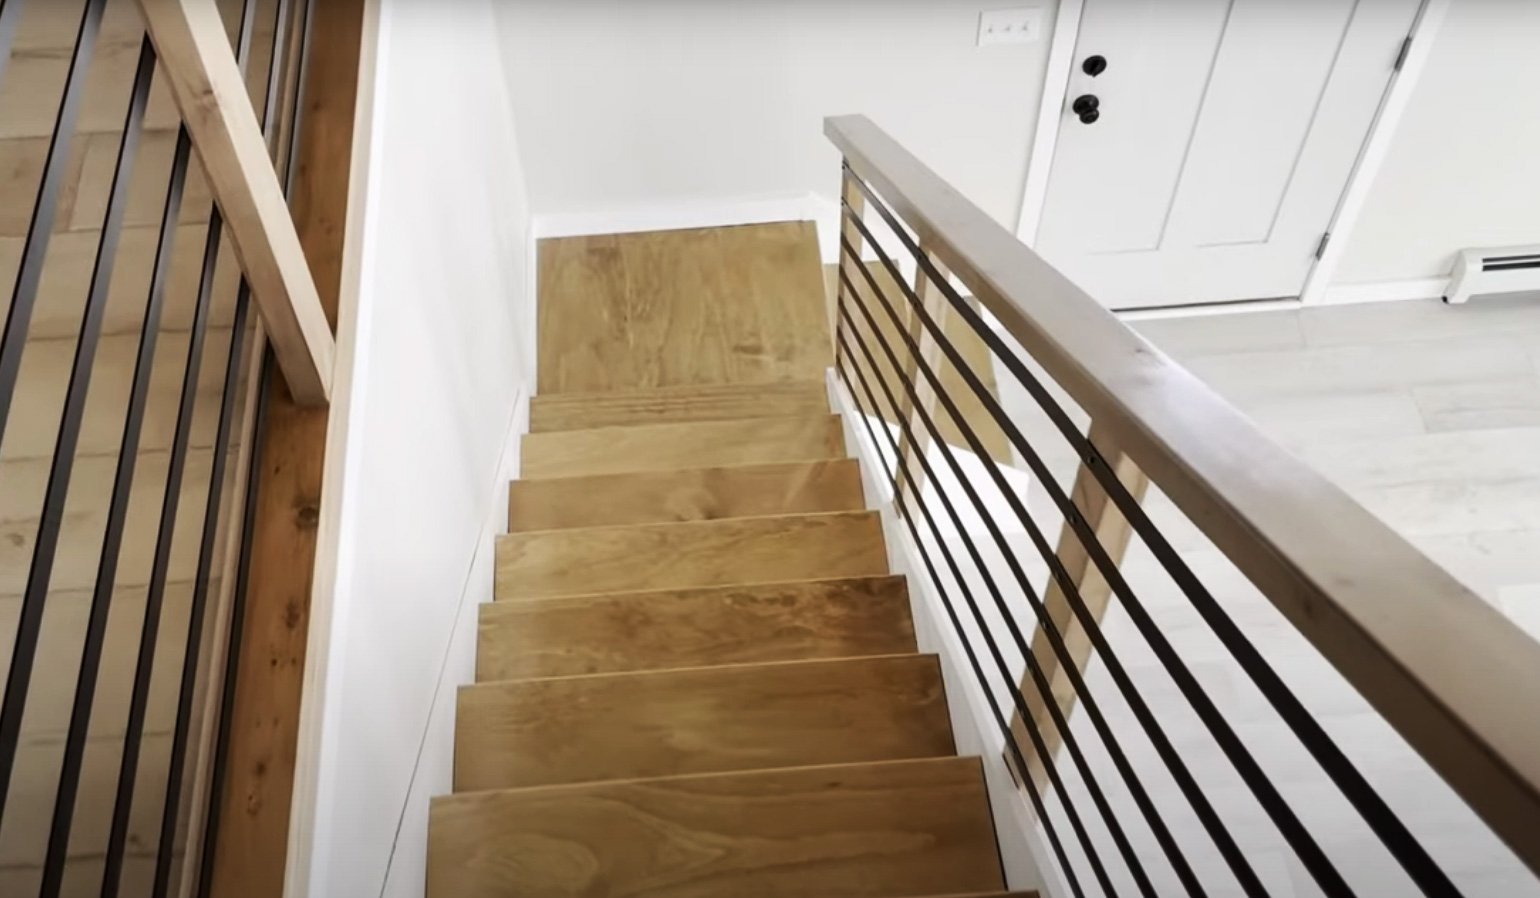
You probably noticed the loft railing. This was even easier to build, but we do recommend using the same method as the stair railing with the outside mount posts for increased strength.
Thank you for using our tutorials. We hope you use it, and share a photo! You can add a brag post or tag me on Instagram #anawhite or @anawhitediy
XO Ana
from Recent Project Plans https://ift.tt/3bnt00G
3 Useful DIY projects from old wood pallets
from DIY Creators https://www.youtube.com/watch?v=W145xYfEcrA
2021年3月6日星期六
2021年3月2日星期二
How to make pendant light from pallets
from DIY Creators https://www.youtube.com/watch?v=OrvKHPEPuEE
订阅:
博文 (Atom)