Reader submitted photo by Sharon L
from Recent Project Plans https://ift.tt/T4f3uGl
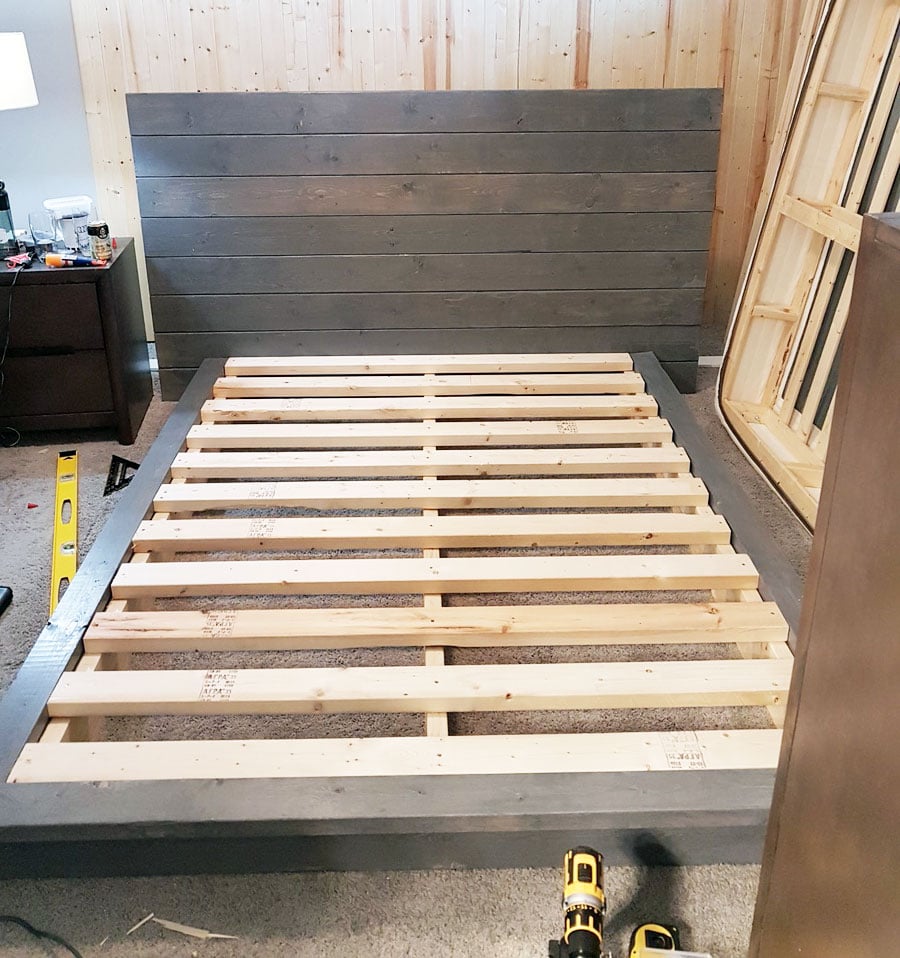
We took a modern silhouette and built it using 2x lumber... and this is how it turned out!
I love the combination of rustic materials in a modern shape.
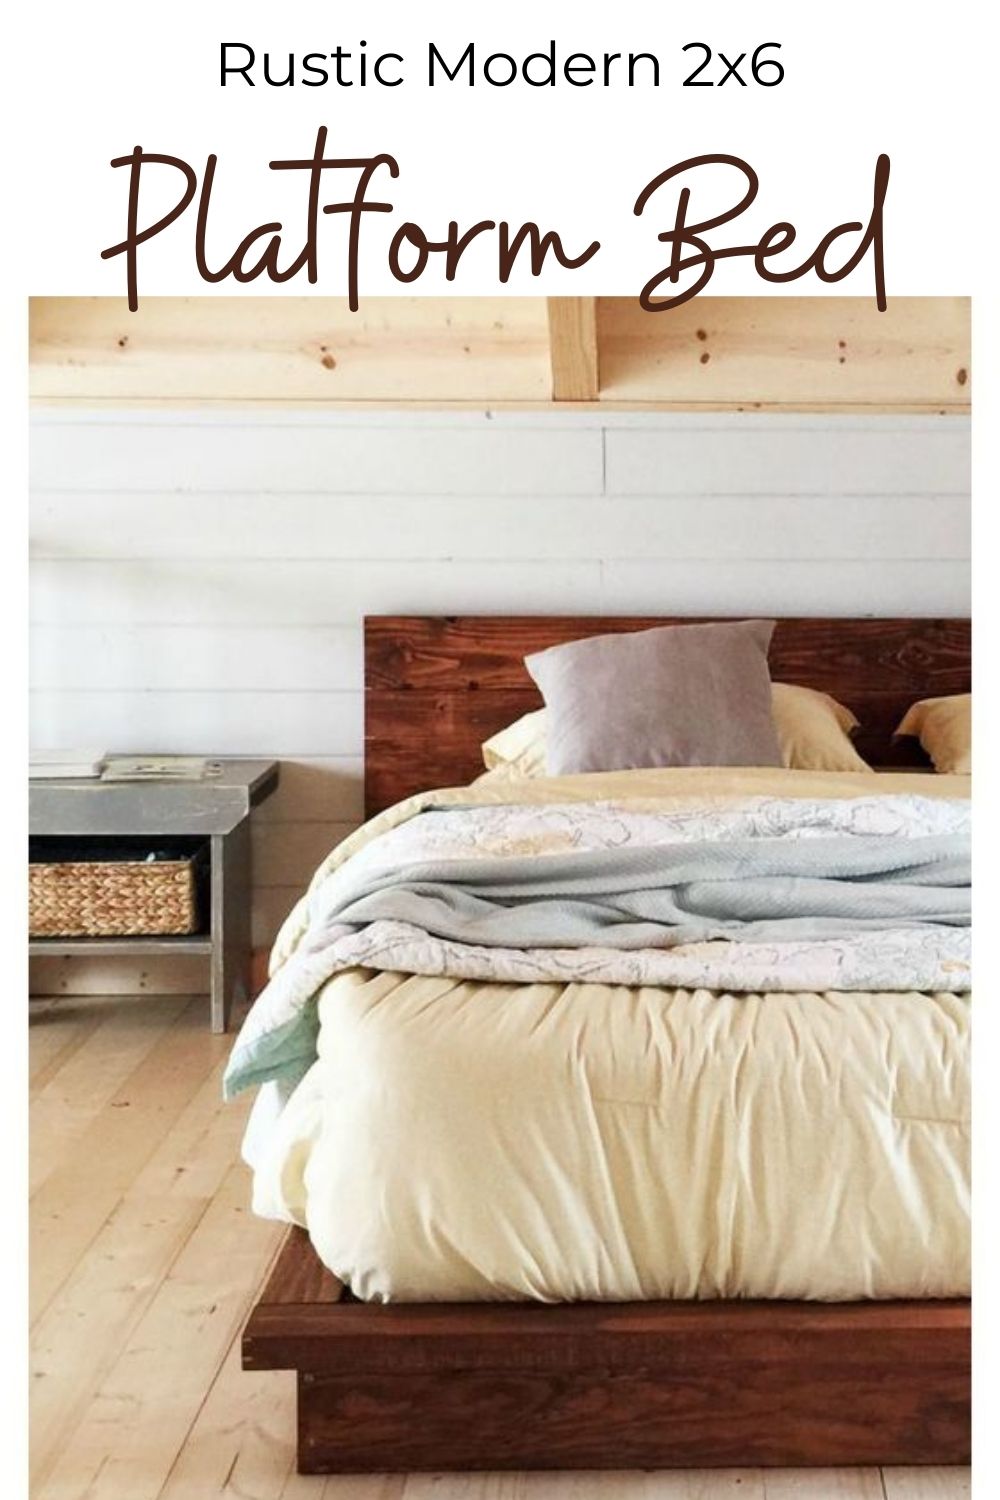
This bed turned out so well, we had to share the plans in all mattress sizes for free! You'll love this beginner friendly design that creates amazing results!
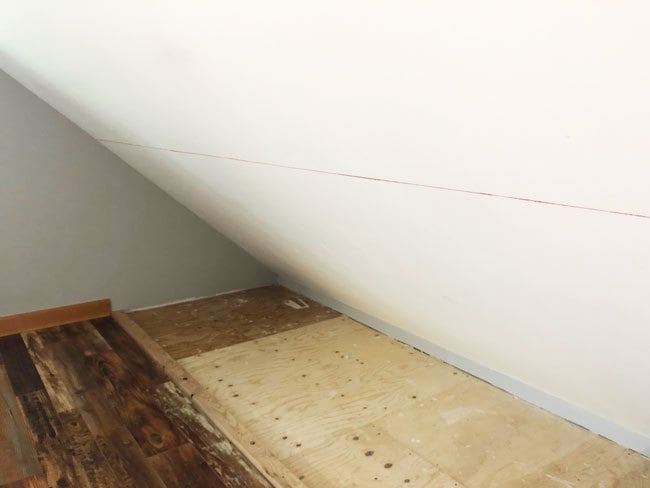
Sloped ceilings add so much charm and character to a home. But they can make a room awkward and challenging to use.
We recently took our attic room sloped ceilings that looked like this -
And built knee walls out of 2x4s and plywood
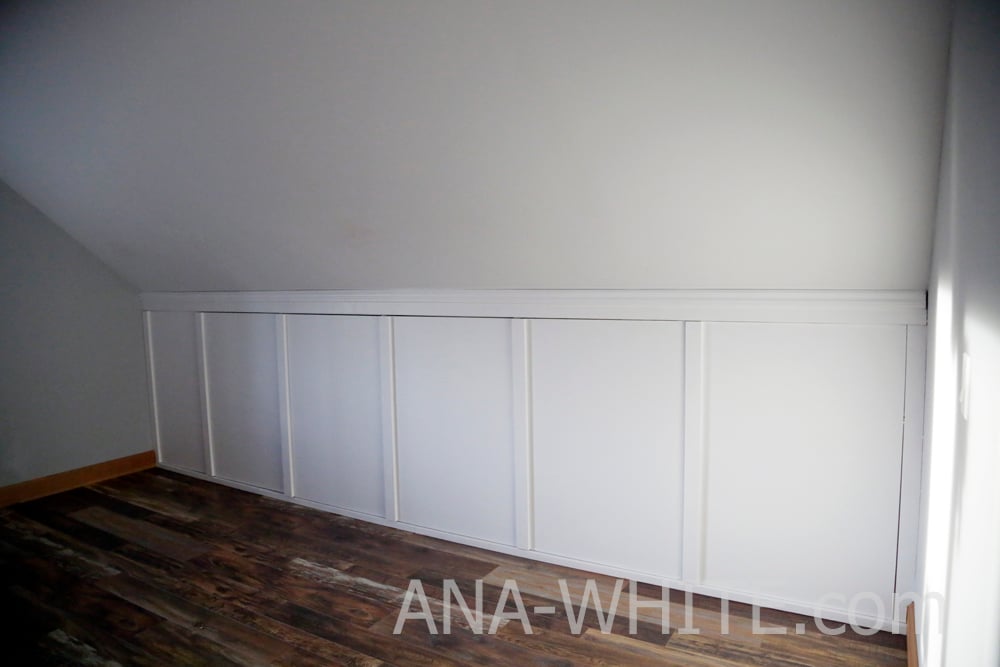
But since I wanted the space behind the knee wall to be accessible for storage, we created hidden doors in the knee wall.
The entire knee wall is actually hidden doors - so the area behind is completely accessible.
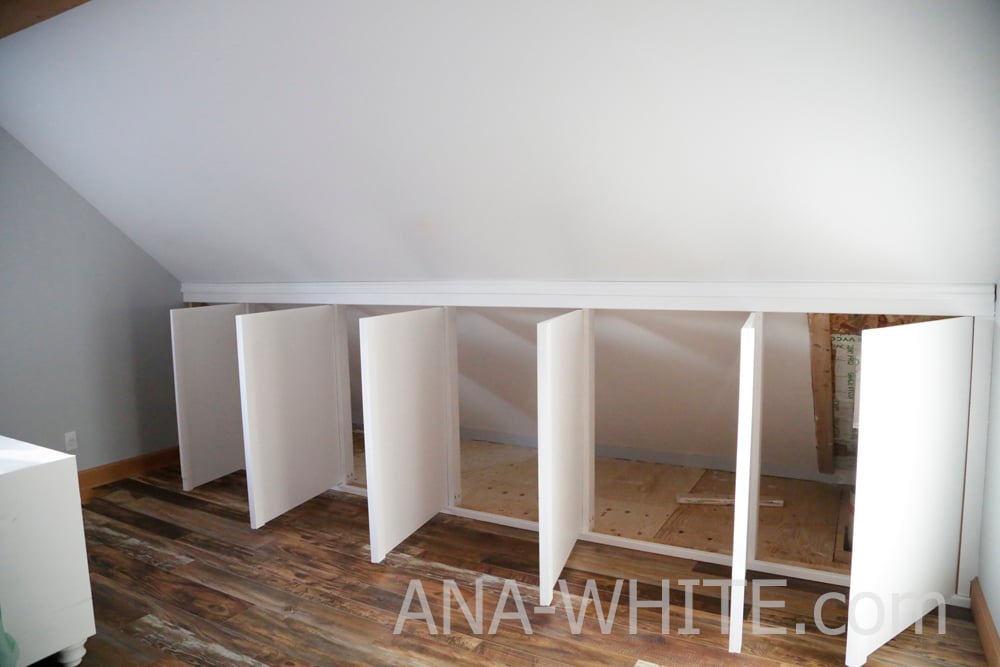
You could take this project a step further and add closet rods and shelving to create a built in closet. We'll be using the knee wall storage for totes and off season things.
It's been a few years since we tackled this project. Here's what it looks like today:
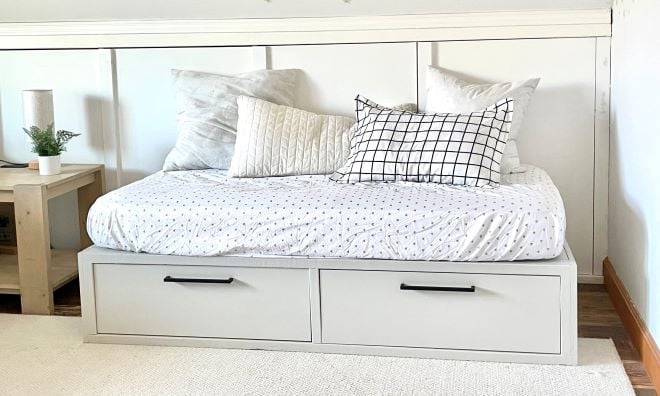
Related: Storage daybed plans here
The all-doors system gives us options for furniture placement - you can place furniture anywhere and there's always a door still available somewhere.
It still looks awesome and none of the doors or hinges have sagged at all.
We use the space for storing Christmas decorations, heirloom gifts that we can't part with but don't necessarily use daily, and of course, the kids use the space for hide and seek. You'd never know this is actually a wall of doors.
This was a fairly easy project - but time consuming since the walls are each sixteen feet long - that my husband and I tackled over the course of a few days, working a few hours each day on it. We are confident that the average homeowner could tackle this project. Here's how we built our knee walls with hidden storage -
First, alot of planning and measuring.
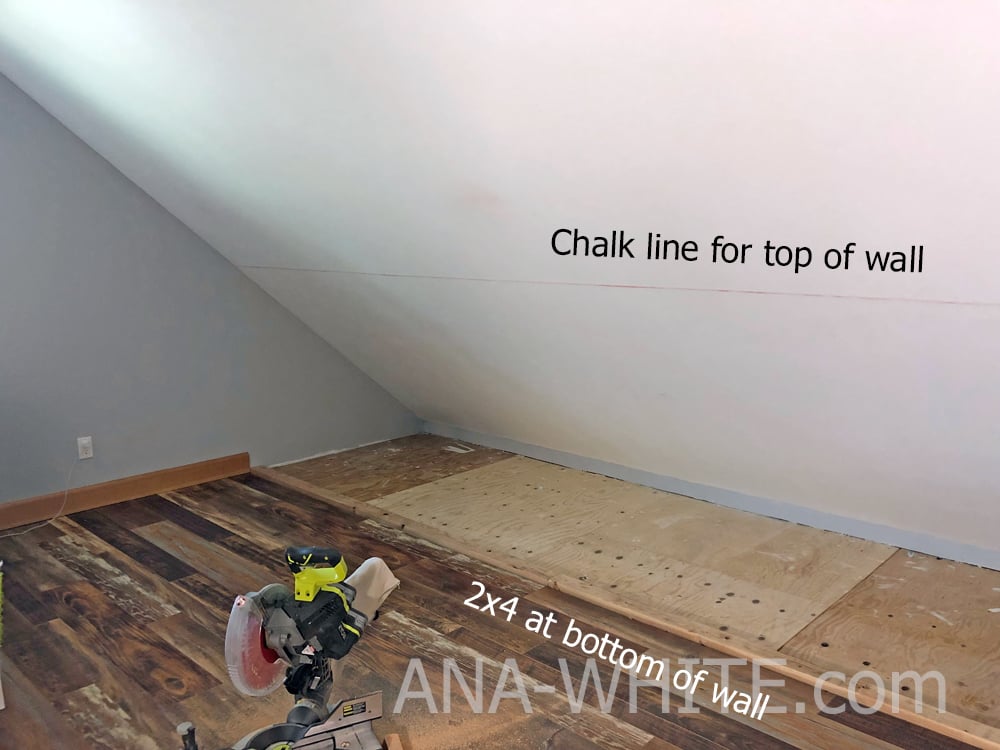
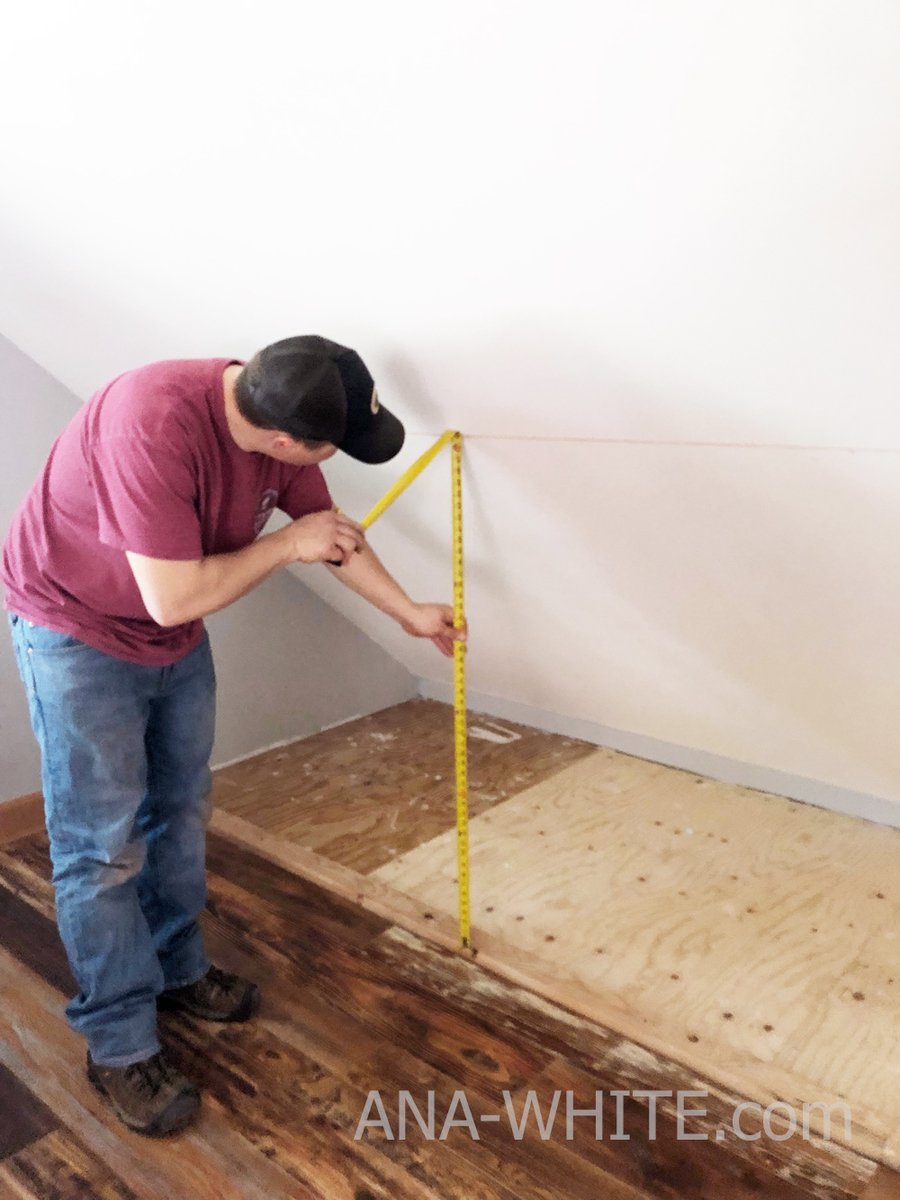
We decided on making the wall 48" tall, because this is where the ceiling height becomes useuable for furniture, and it also helps maximize materials use.
We also decided on making the doors 32" wide, so you can get exactly three 48" tall x 32" wide doors out of a sheet of plywood.
The easier way to do this is to just build a pony wall 48" tall x the length of your room, and install it plumb and level.
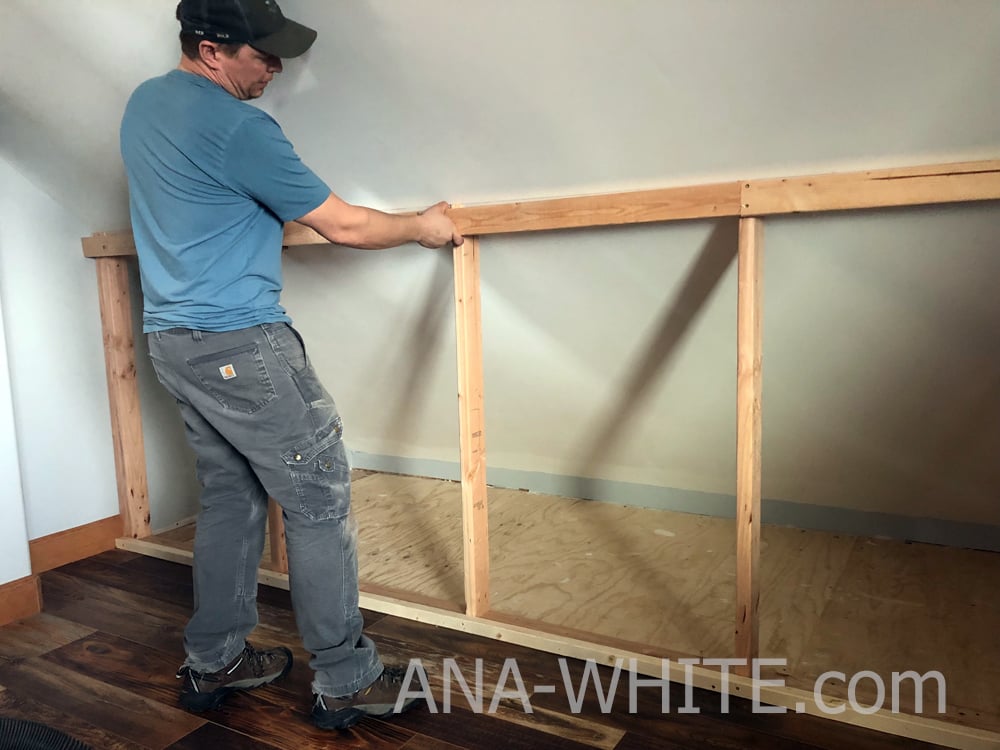
Then trim out the top and bottom to give space for the full overlay doors.
We finished this gap at the top off with a piece of trim.
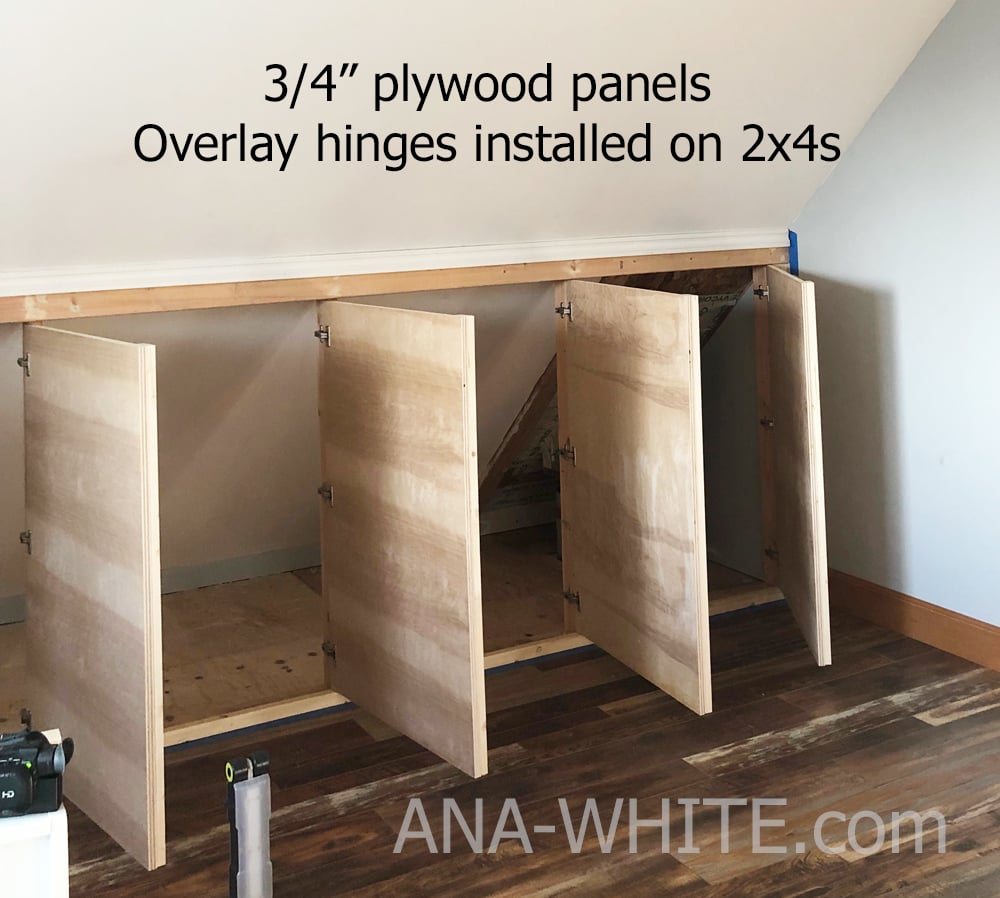
For the doors, we purchased euro style overlay hinges for FRAMELESS cabinets - for a total of 5/8" overlay on each side.
DOOR WIDTH: Inside opening + 1-1/4"
DOOR HEIGHT: Overall opening - 1/2"
We cut our doors on a table saw and installed the hinges and hung the doors in the framing.
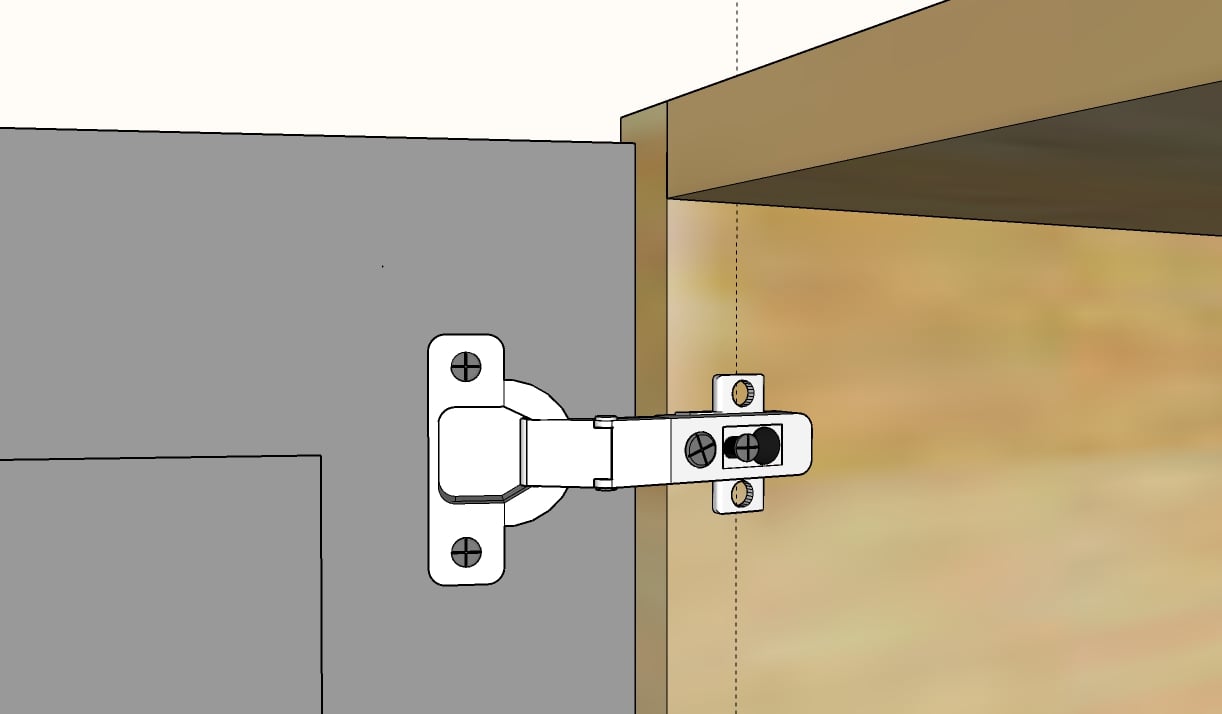
RELATED: How to install concealed hinges
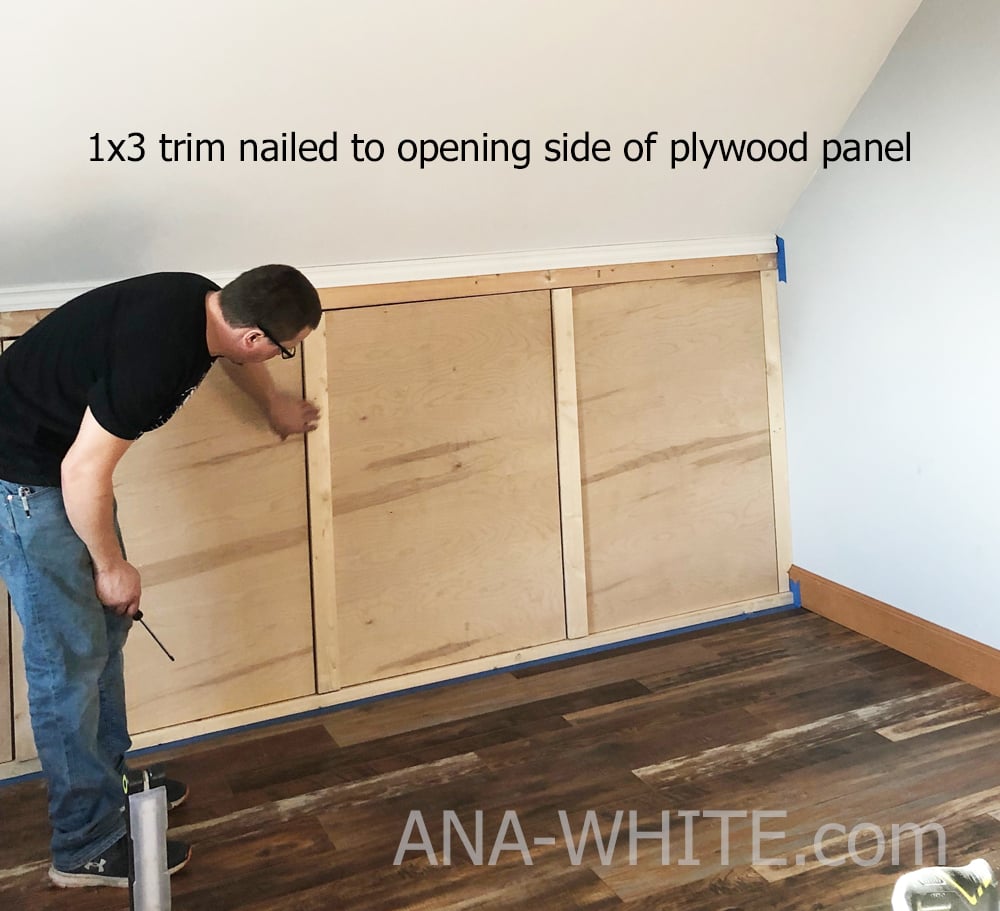
To disguise the door spacing and provide a handle, we nailed 1x3 boads to the opening edge of the plywood door.
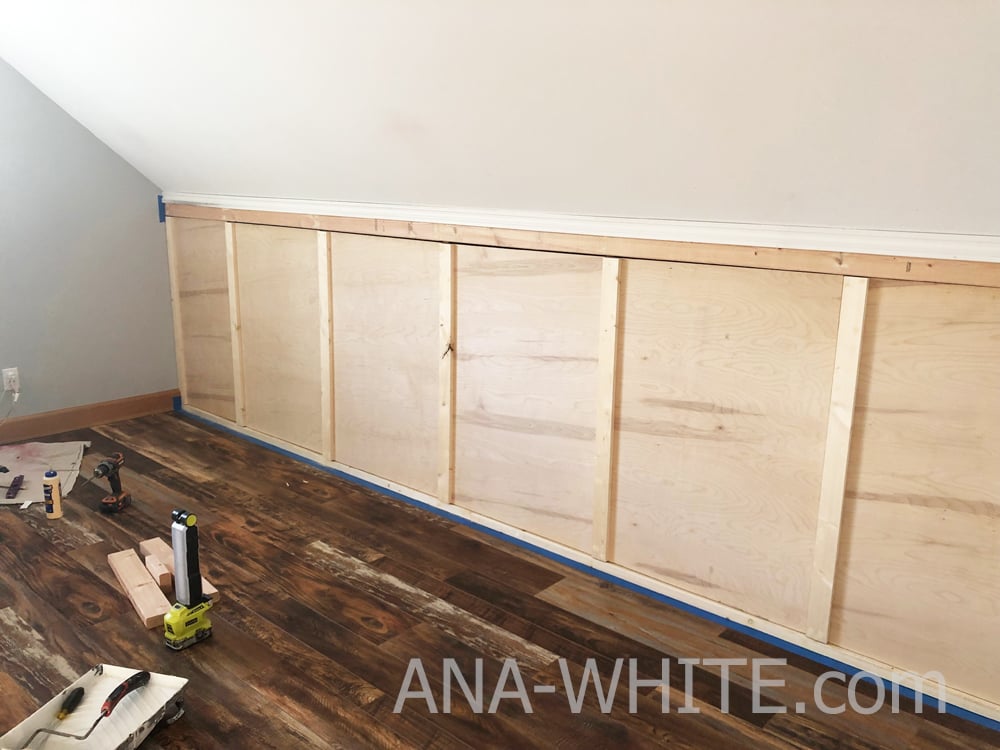
This is what it looks like before paint -
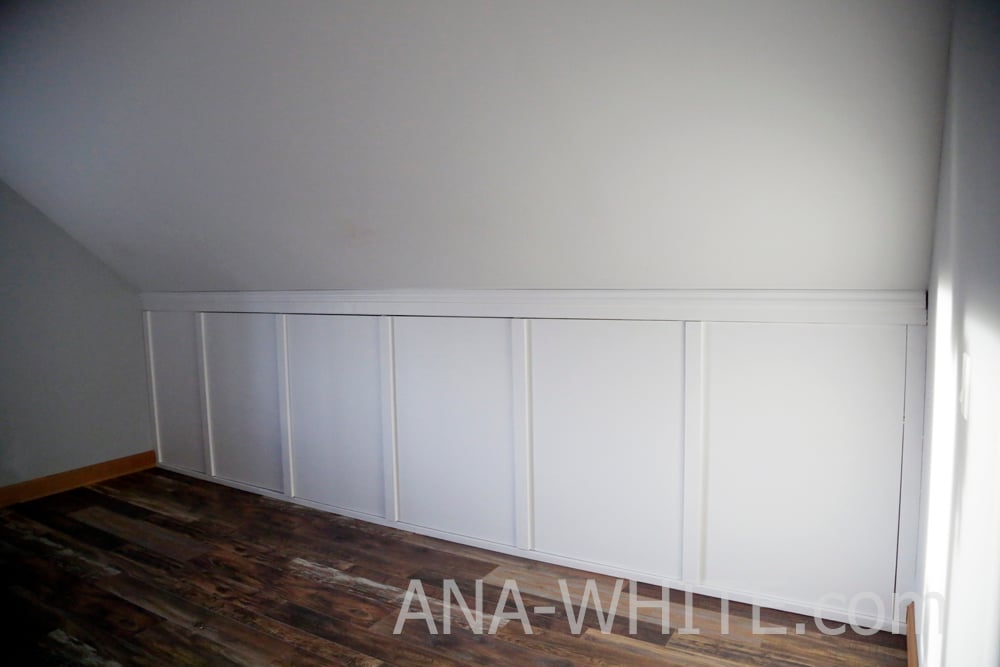
And after paint - We used about a gallon on 32 feet of walls, four feet tall.
We love how this project turned out and know it will greatly improve the function and look of the room.
We also shared in video format this entire build
If you build, please share a photo - tag me on Instagram #anawhite, share to our Facebook page, or add a brag post. We greatly appreciate the support and thank you for using our free tutorials.
Ana
Utility Workaround: Built around water heater and with roll out shoe bench.
Click for more photos and details
Around the Door: Shorter end to fit around garage door:
Click for more photos and details
Face Lift: This user added a barn door to the front
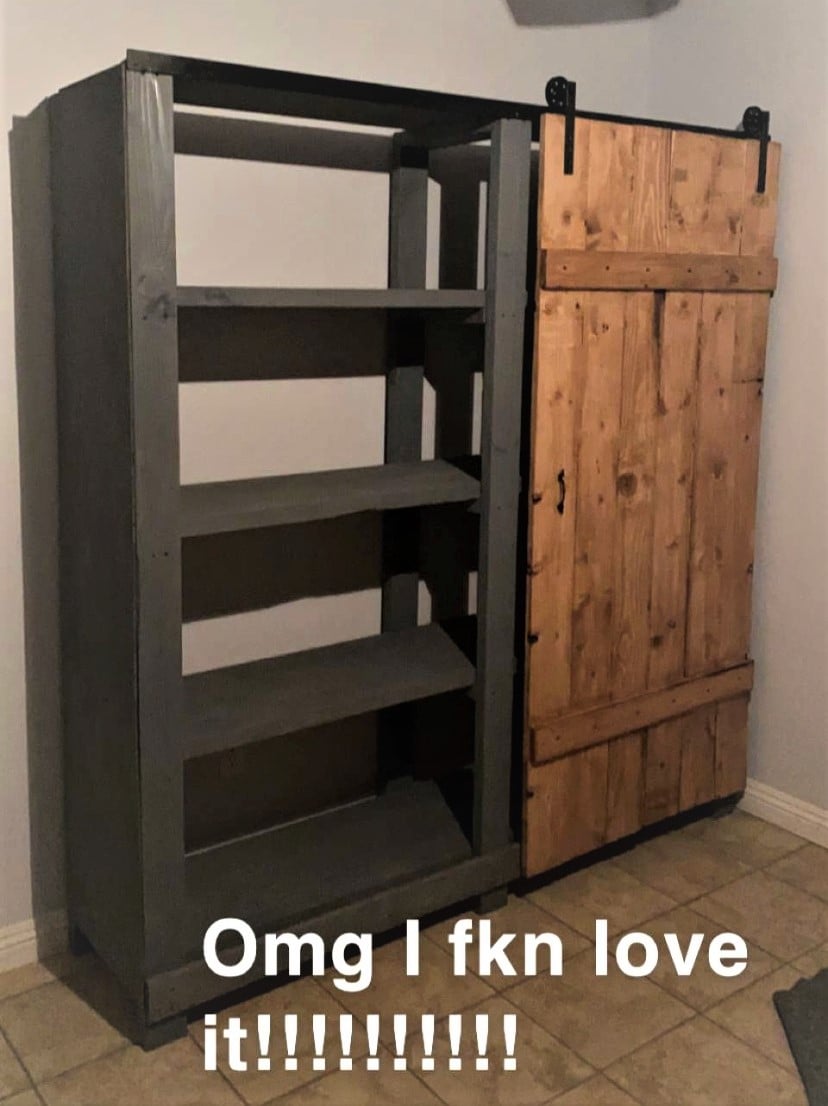
Click for more photos and details
Work Around: A built in workbench in the center, could also be used for a TV
Click for more photos and details
Concrete Basement Wall: Not required to be attached to the wall
Click for more photos and details
Finished: The shelving is solid wood, so you can paint or stain it easily
Click here for more details and photos
Here is a very quick video of building this garage shelving:
Pin For Later!
Want to share your love of DIY with your kiddos? Building a birdhouse is a great starter project.
Here's how you can build a modern cedar birdhouse for just $1 using half of a cedar fence picket.
Here's a free printable for building this birdhouse with instructions.
This plan is designed for a 5 1/2" wide x 1/2" thick fence picket, about $2 each.
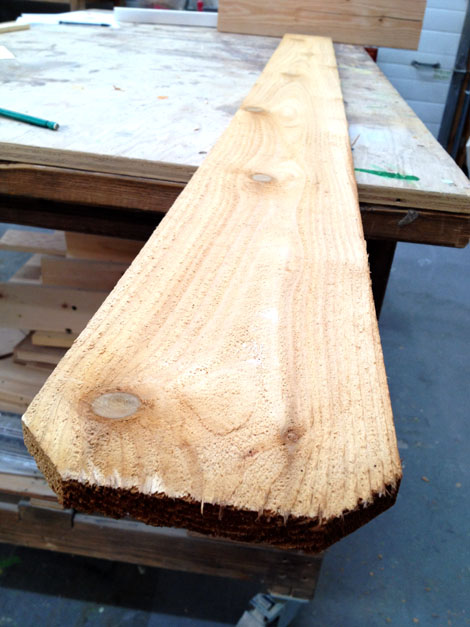
Other materials like a 1x6 could be used, but because the wood is thicker, it may alter your outcome slightly. Adjust accordingly if you use different materials.
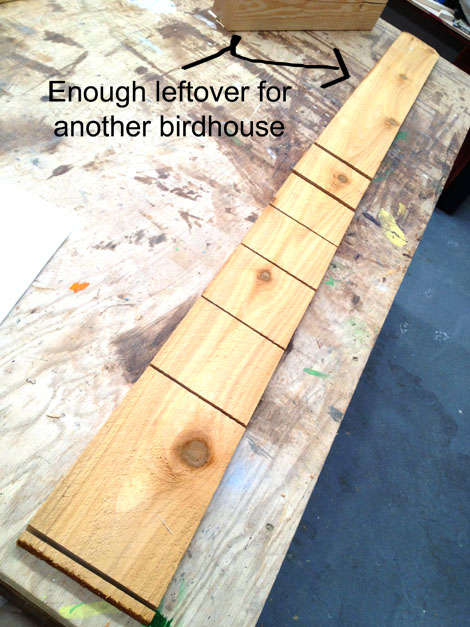
Use a miter saw or circular saw to cut the cedar fence picket as noted in the cut list below. Notice I trimmed the rough end off and there's also enough leftover for a second birdhouse.

Then I just nailed the front to the sides. If you are having kiddos do the assembly, consider predrilling holes and having them attach with pound in nails or screws. Also recommended is wood glue designed for oily wood and exterior applications.
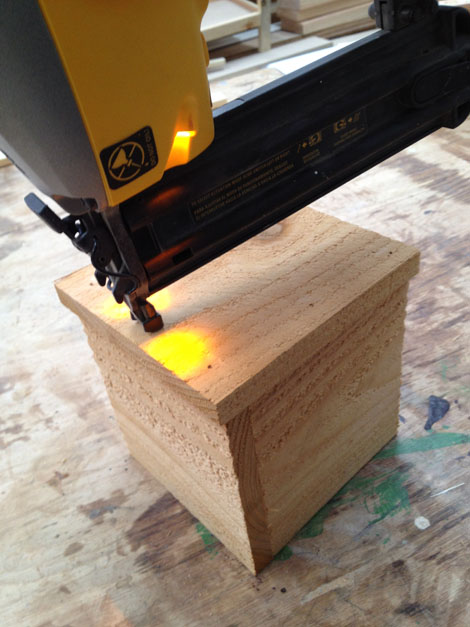
Next, it's time to add the top and bottom - the back side is still open. Notice the back is a little bigger - this is just to add that "mod" feel to it and give you a place to hang on a tree.

Now we'll put the back on ....
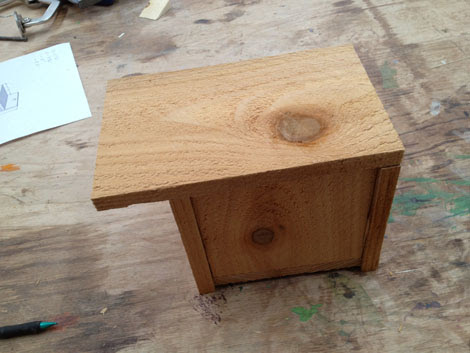
Just line up the bottom and outside edges with the floor and roof ...

Drill a hole to hang the house on a tree
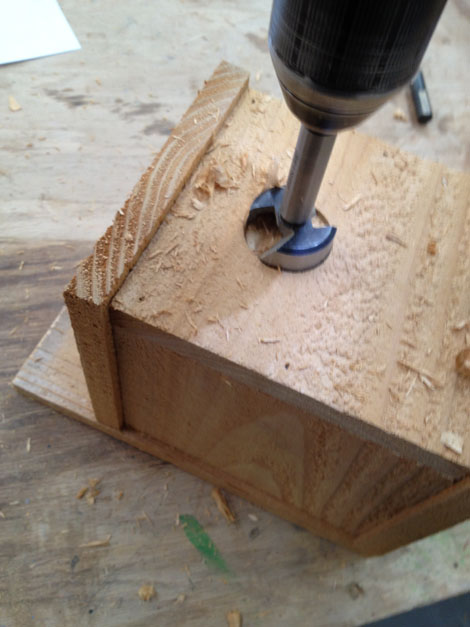
And then add a front door with a larger bit
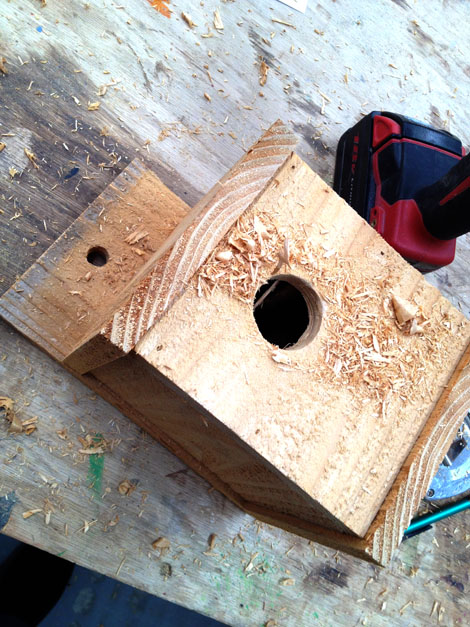
The back can be used to hang on a tree.
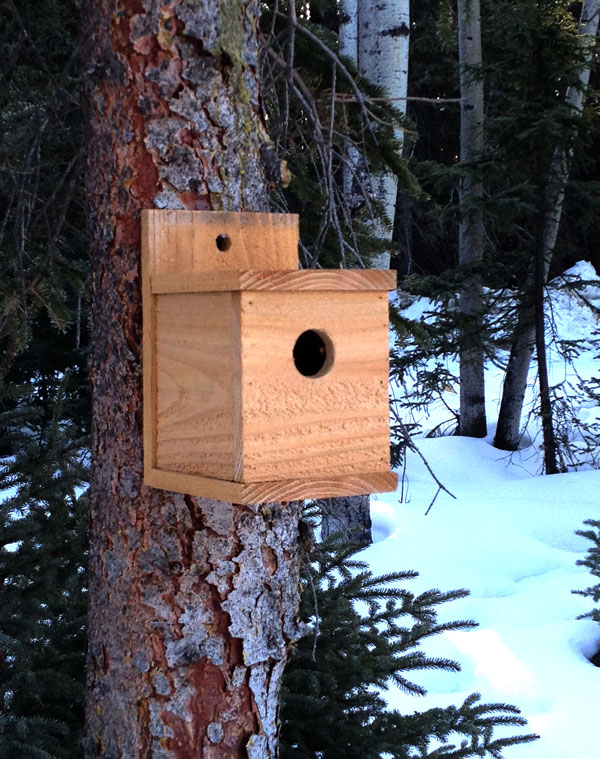
Since this is cedar, no finish is needed. The birds will appreciate that!
PS - If you don't have a pocket hole jig, the original plans for this bench can be found here.
This bed was designed and built in partnership with my friend Whitney at Shanty2Chic. Please take a second to stop over and visit Whitney at Shanty2Chic for lots more details and photos on this bed.
Love this bed frame? Pin it to save to build for later!
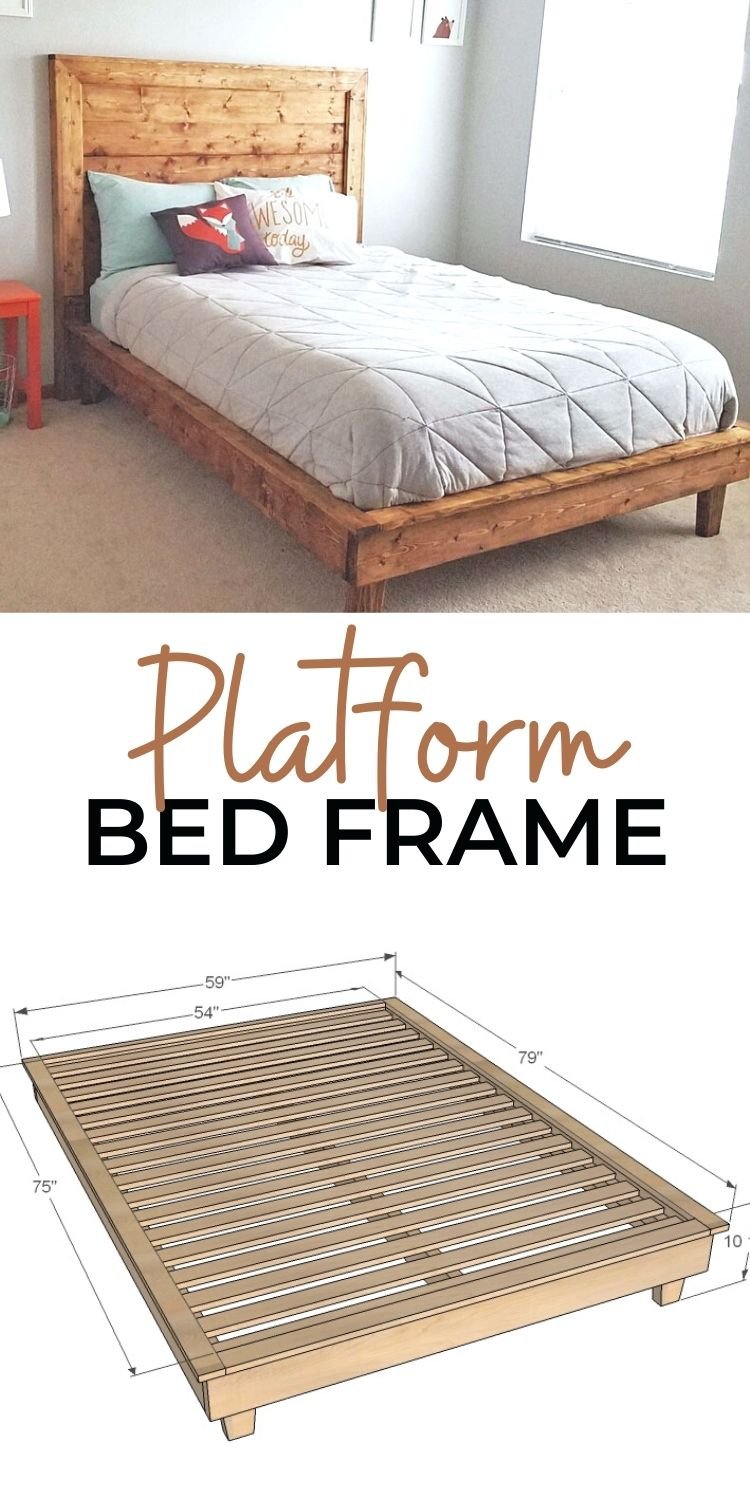
The free plans for this wood bed frame follow. If you build, please add a brag post - this keeps me inspired and helps other users see different options and creative decisions. Thank you for using Ana White plans.
A lift top bed is an easy way to create maximum storage in a bedroom, without the bed appearing complicated with storage drawers or shelves.
A few years back we built a tiny house and everything inside it. Here's the link to the loft system with bed and storage video and project and the Tiny House series if you want to catch up.
Instead of a sofa, I decided to use the foot of a bed as seating.
The bed can be pulled fully out and becomes a full size bed. So basically, it's a trundle bed, but it is never fully pushed under the main bed.
To create storage for the bedding, the trundle bed is actually a lift top storage bed.
Here's the video on how we built it and use it -
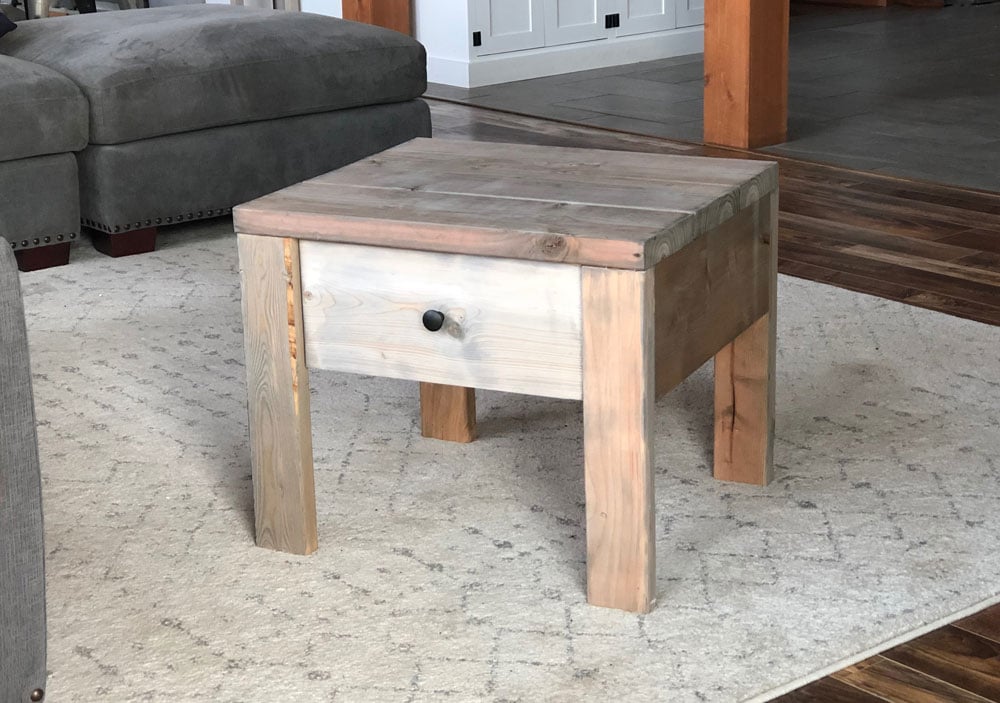
With a simple, solid wood design that can be painted or stained, this DIY end table fits almost any decor and is super functional.
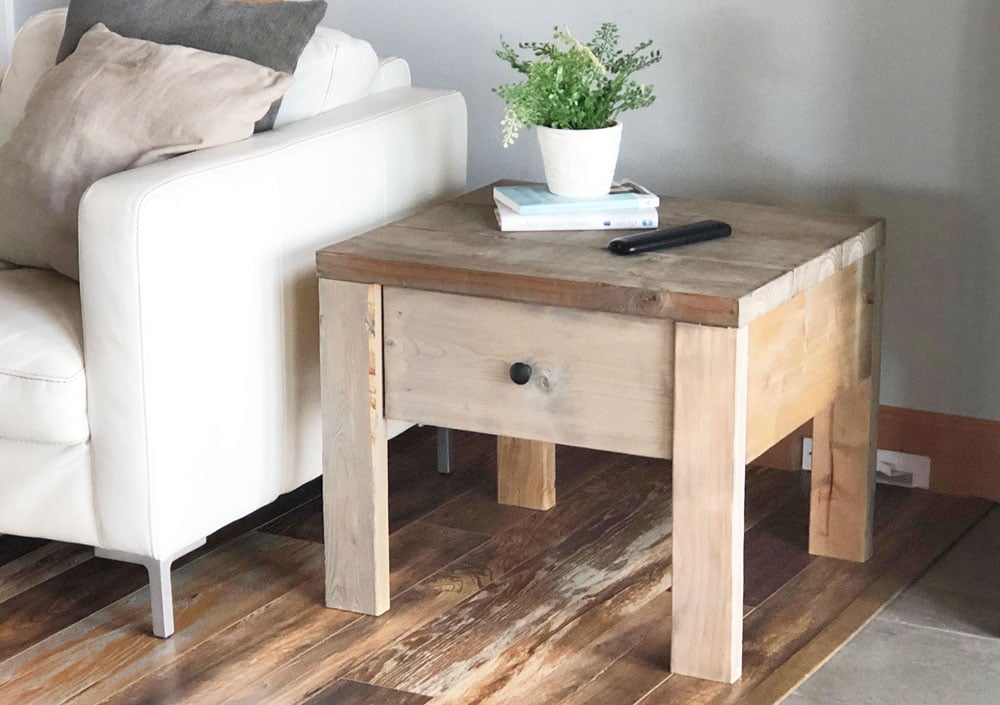
This end table can also be used as a nightstand to match any of our beds, I have it paired with our Modern Farmhouse Bed (plans here).
If you are interested in building this nightstand, please take a moment to watch the build video - HOW this nightstand is built is everything.
We are happy to share with you our free step by step plans below. If you build, we very much appreciate brag posts so others can see how your project turned out.
Want to add some more storage to a bedroom, without cluttering the space? Have you considered a bed with drawers or a captain's bed?
Storage beds can be expensive though! Or cheaply made.
The good news is with just a few basic tools and some lumber, you can build this:

The steps for building this bed are pretty simple - build two 2x4 frames, add the ends, then the drawers and slat system. Watch me create this bed in this video:
VIDEO COMING SOON
Are you interested in just the flip down version?
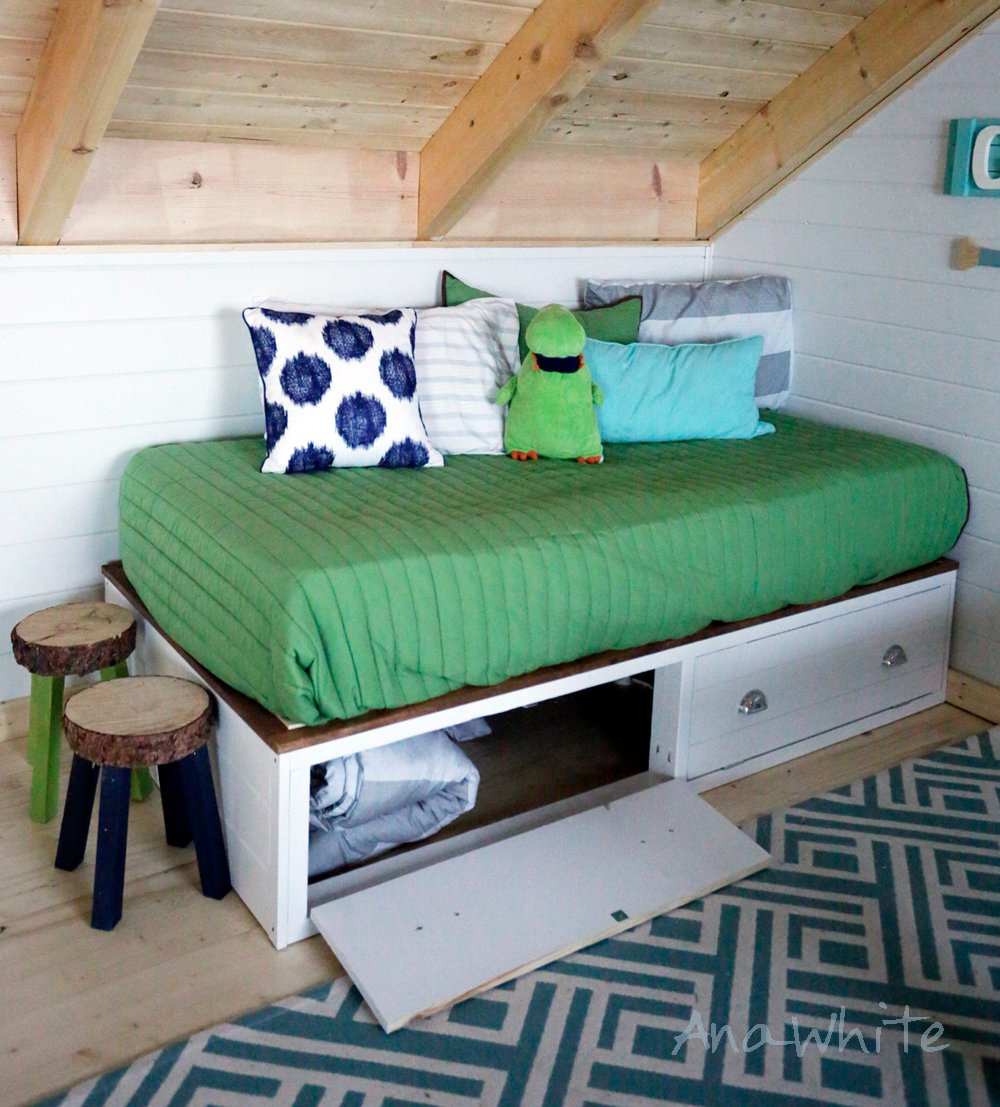
Those plans are here and are much easier. And you can always add drawers later, like I did!
Yes! The twin XL modification is easy. Just add 5" to the overall length.
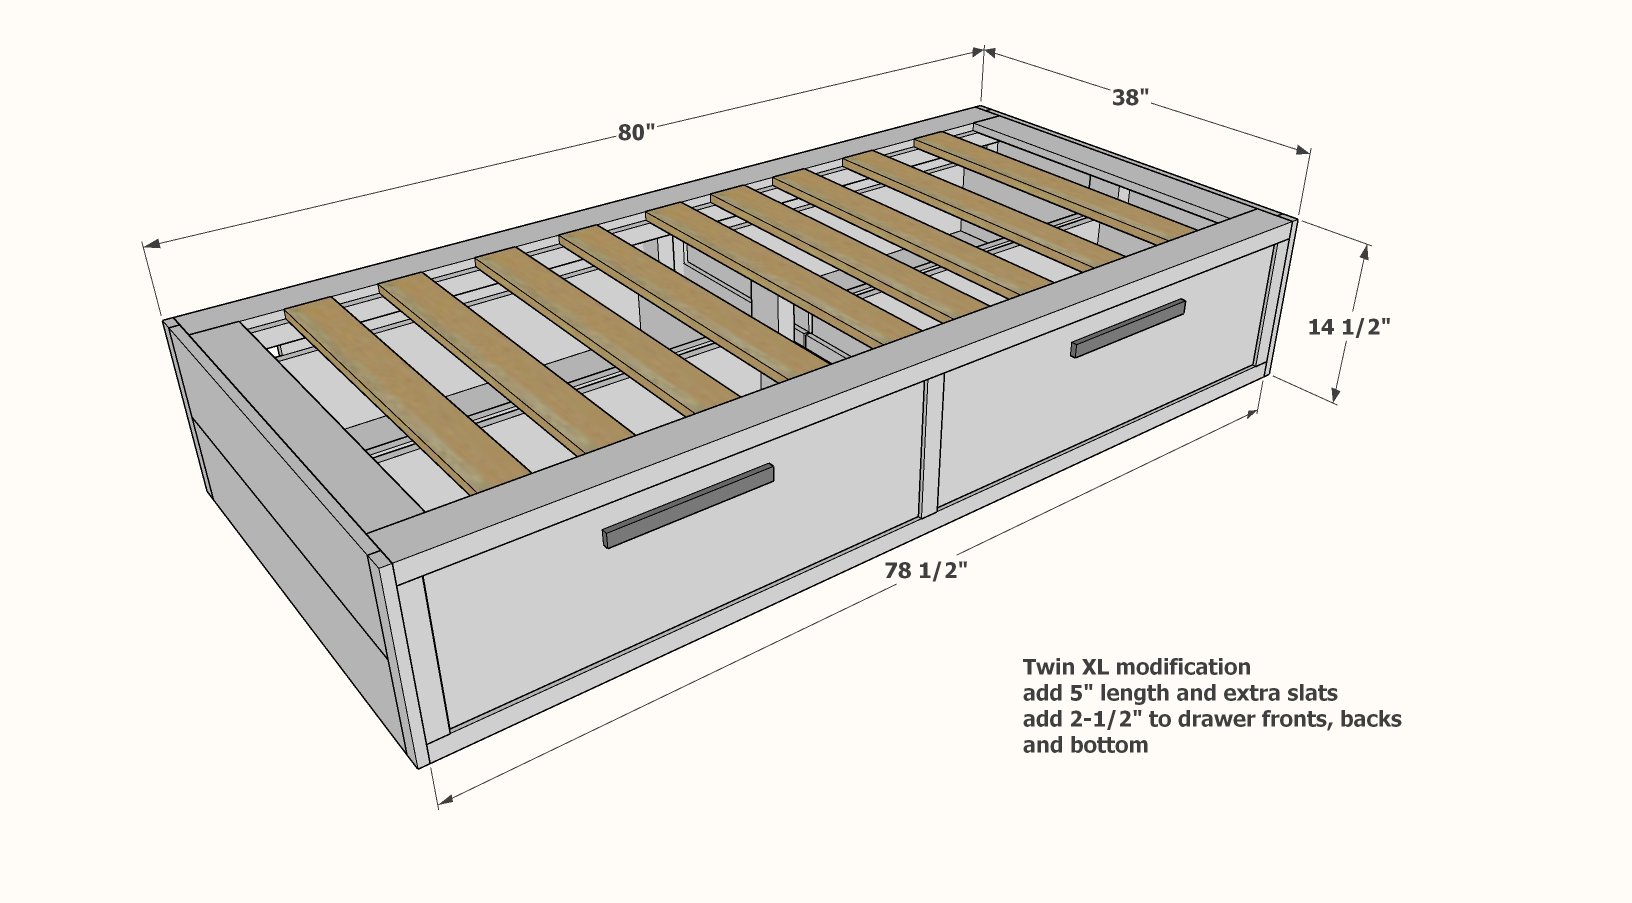
Yes! A standard king is just two twin XL beds but together. Only build drawers for the two outsides (and you can make the drawers deeper for more storage.
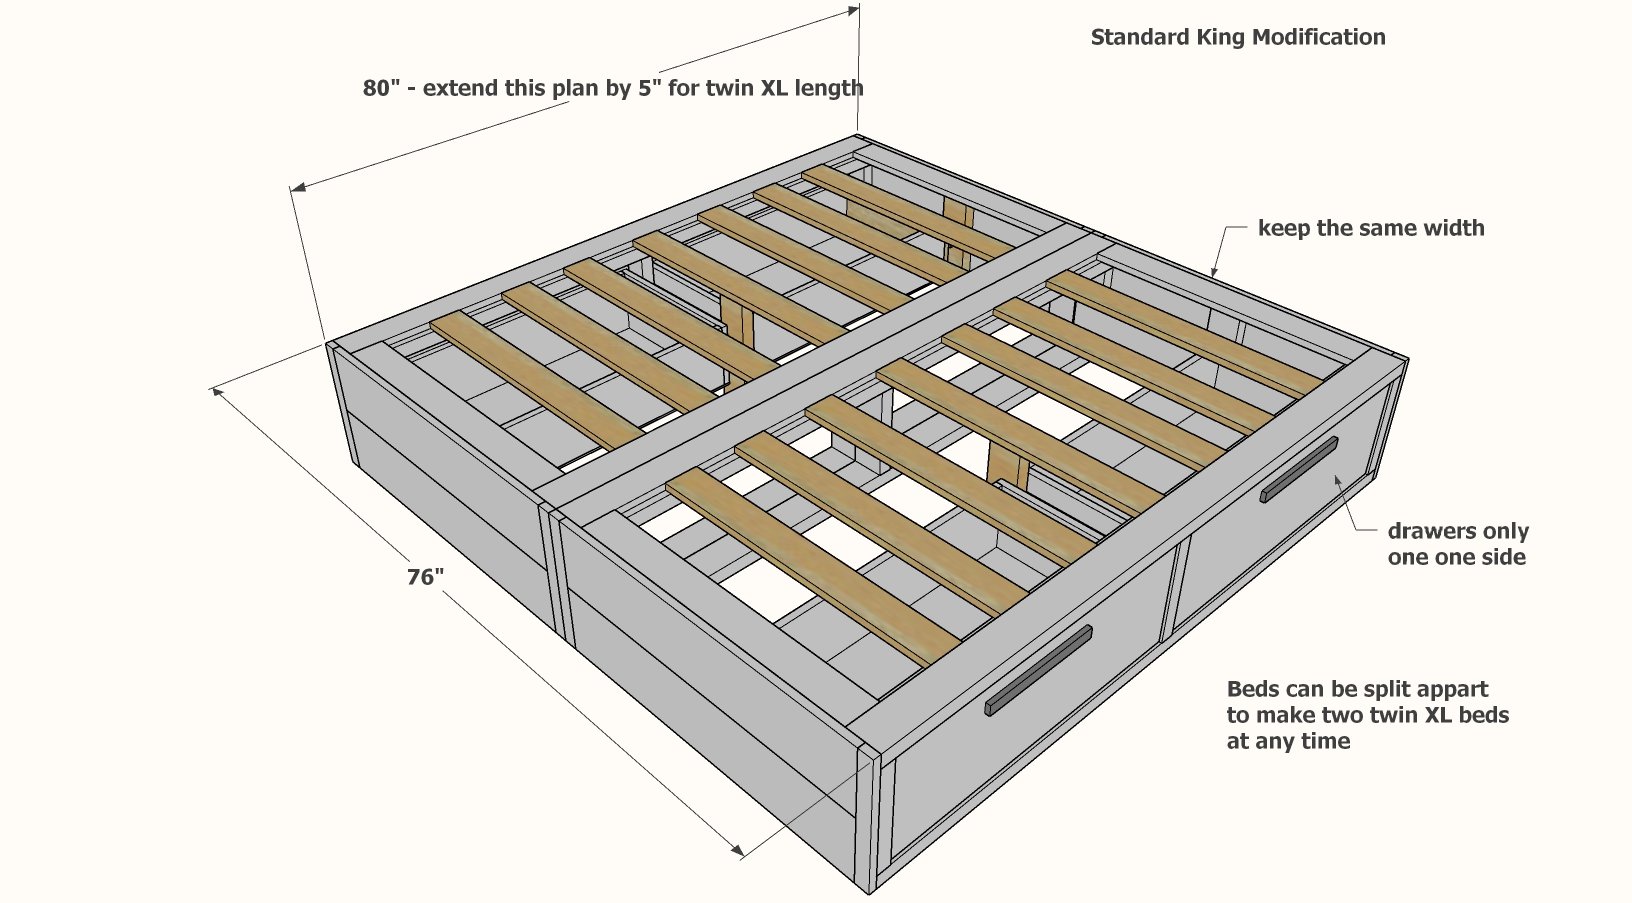
The king is the best bang for your buck if you are wanting to build a bigger bed, and the twin XL option makes them always valuable for kids rooms too.
Yes, you can do this, I would recommend the two bed method like the standard king, so you can move the beds into the room and the center is supported.
It's hard to find an affordable, sturdy, nice looking kids bed. If you go affordable, it may not make it through childhood. But it's hard to spend the money for a quality bed, when you know they will outgrow it quickly.
Have you thought about DIYing your own twin bed frame?
For about the cost of a boxspring, you can!
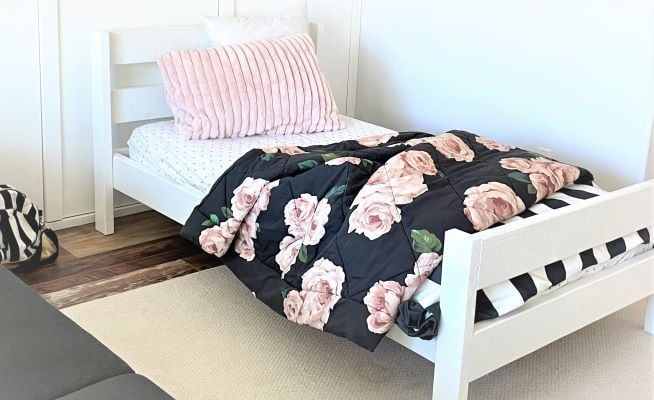
A twin XL bed frame is simply 5" longer. This plan is easy to modify to a twin xl and directions are given in the plan.
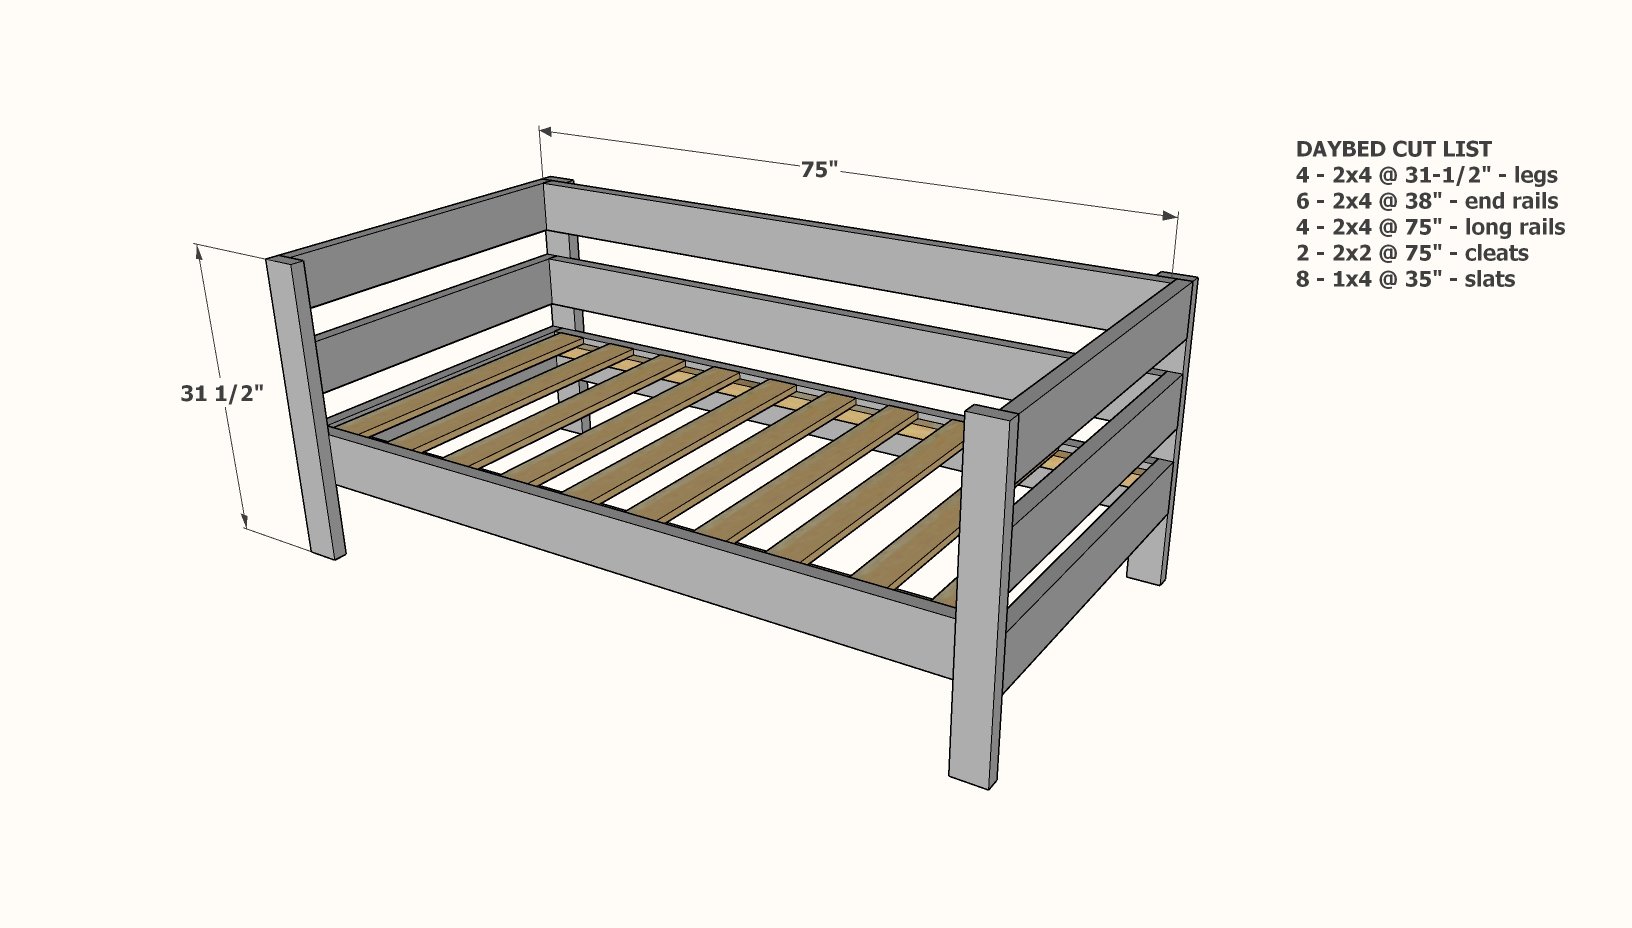
Here's a quick diagram for building as a daybed.
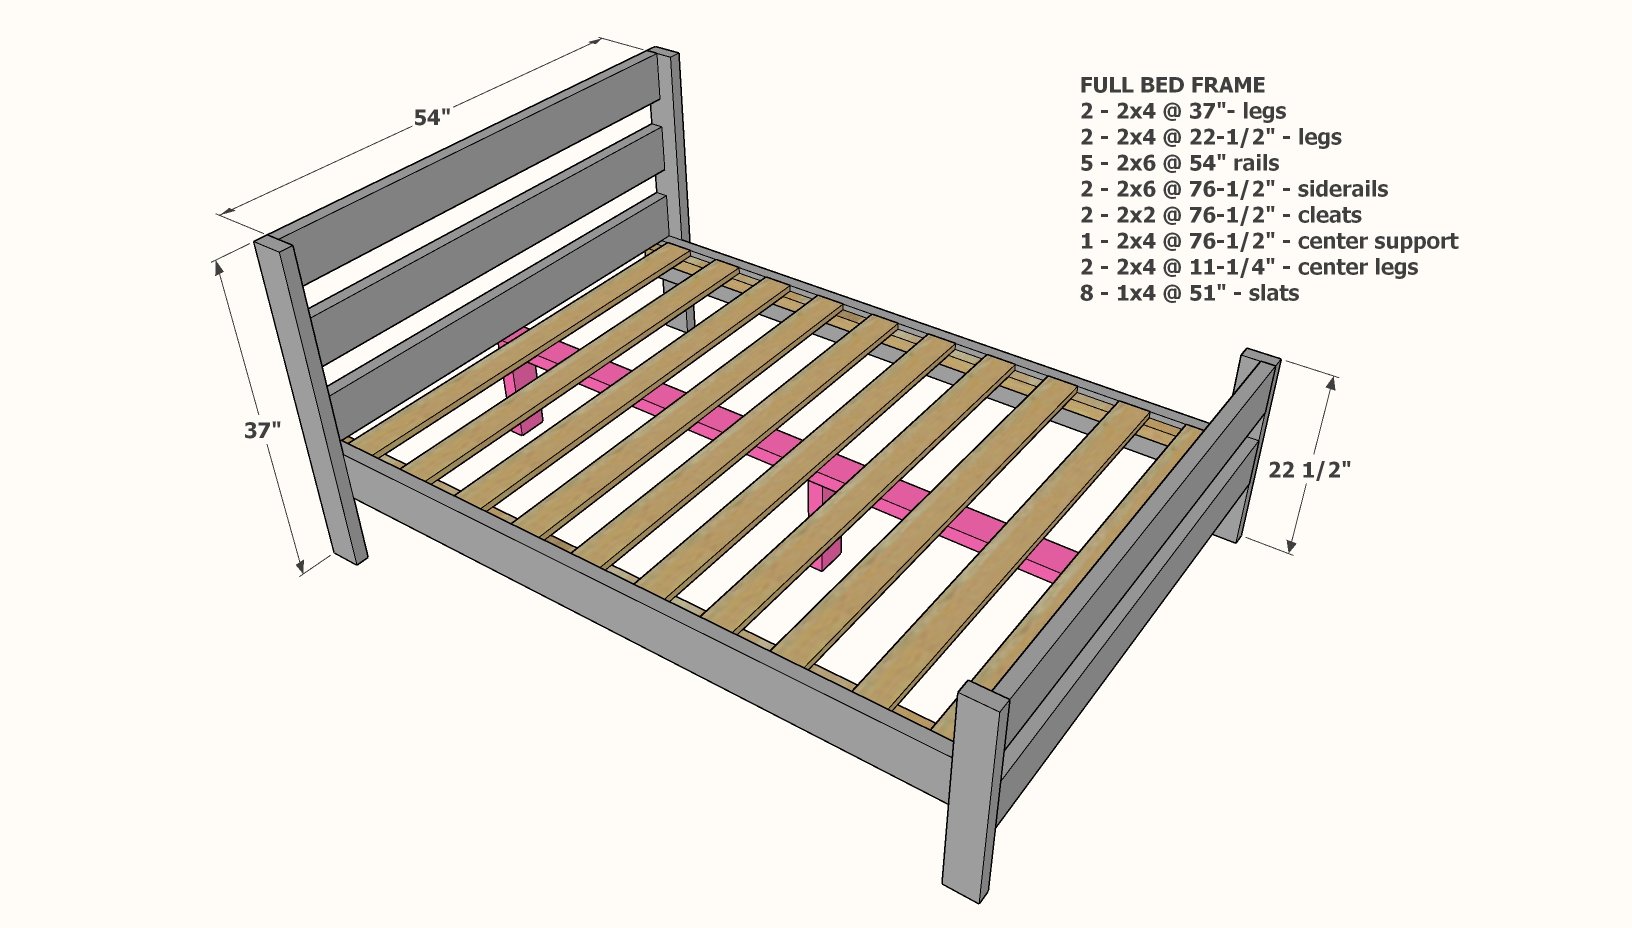
For the full size option, I recommend center legs. The easiest way is to add a center cleat and then legs off it. You are just looking to take some of the weight off the center, so nothing fancy is required.
Build your own wooden egg holder with our free plans. Display those beautiful eggs on your countertop, and free up fridge space. No more dealing with recycling egg boxes.
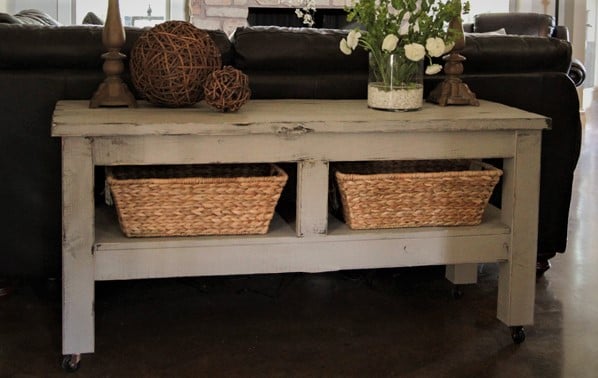
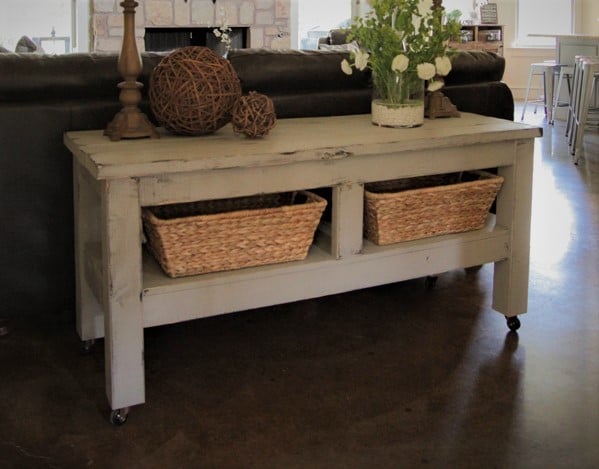
What finish was used? Please visit Whitney from Shanty2Chic for more details
Do I have to use caster wheels? No, of course not. If you skip the casters, just make the legs 28-1/2" long instead.
Can I use 2x4s instead of 4x4s? Yes! It will affect the dimensions, so I'd advise cutting as you go.